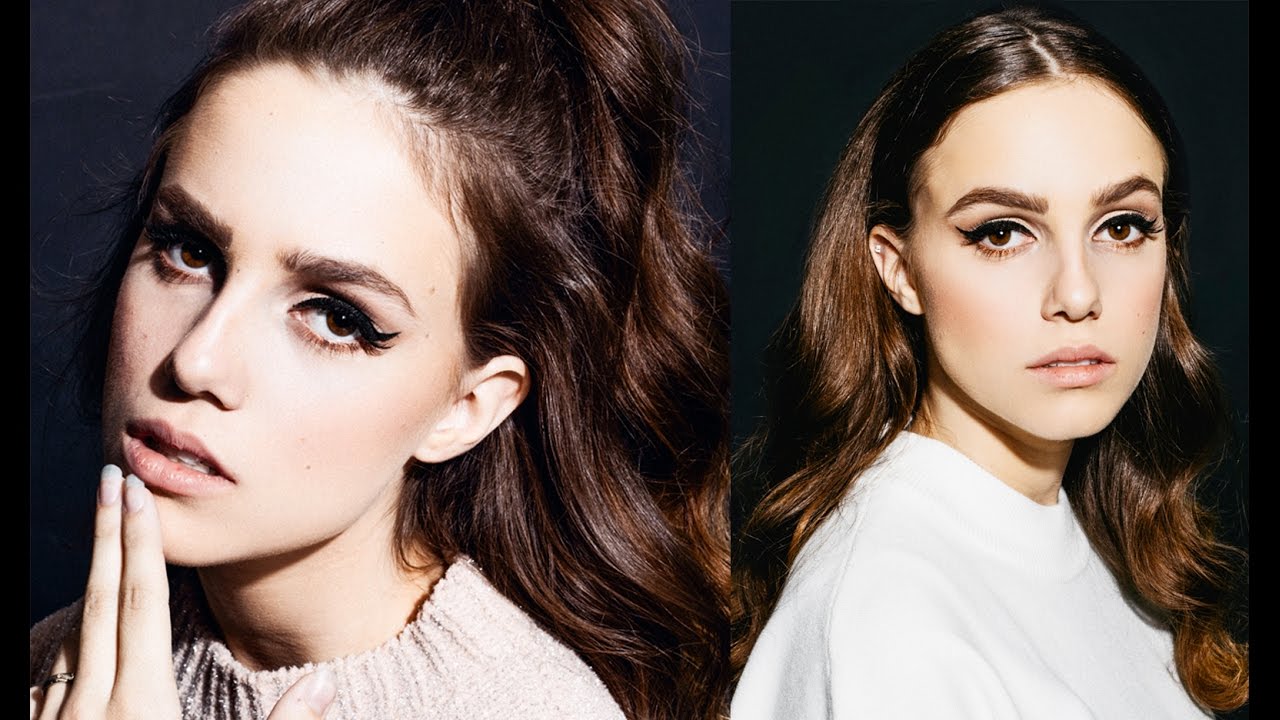
Rental studios have a way of humbling you. You book an hour, the previous group runs long, and suddenly you’re setting up with a fraction of the time you planned for. I’ve been in that exact situation more times than I’d like to admit — once on a beauty editorial in downtown LA where I lost 20 minutes to a fog machine the previous crew left on and forgot to ventilate. What you do with the remaining time tells you everything about how solid your fundamentals actually are.
That’s why I keep coming back to this particular tutorial. In this Jessica Kobeissi studio shoot, she walks into a rented space with maybe 15 minutes left on the clock, a camera she has never touched before, and a lens she’s picking up for the first time. And she still produces tight, clean beauty work. That is not luck. That is a photographer who knows her light so well that the gear almost doesn’t matter.
What follows is my breakdown of what she does and why it works, with the additions I’d make from my own studio practice.
Step 1: Assess What’s Already Set Up
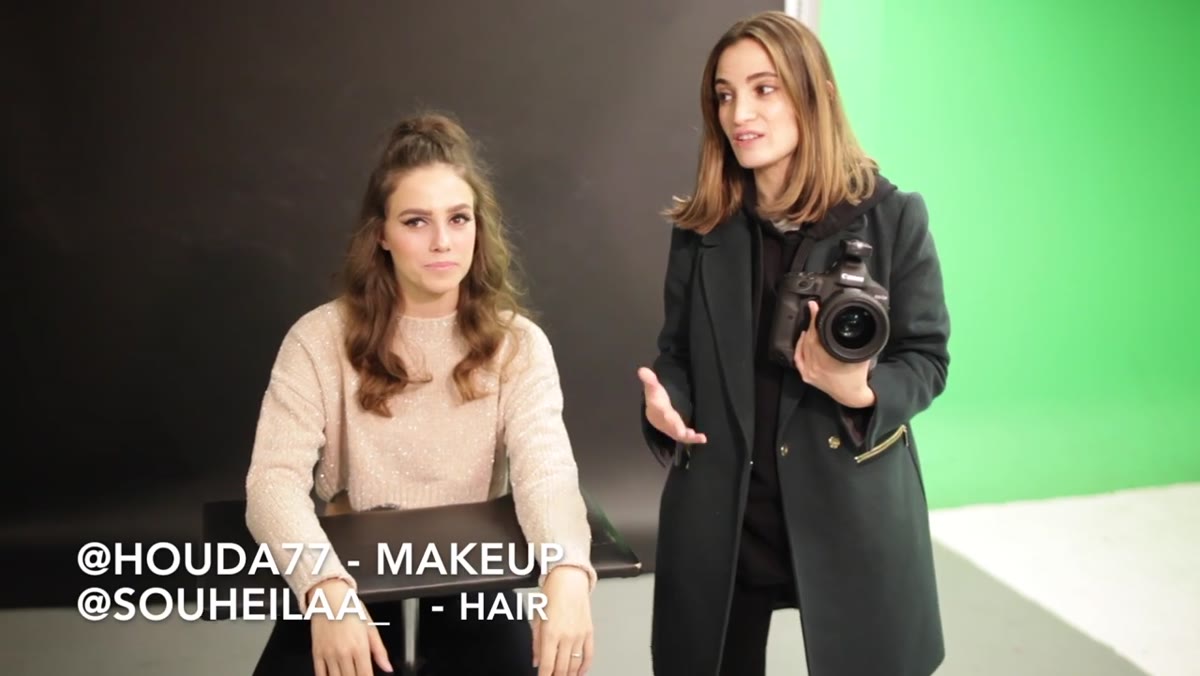 Jessica surveying the rented studio space and equipment
When you walk into a rented studio mid-session, your first job is not to unpack. It’s to look. What modifiers are already rigged? Where is the light pointing? What’s the ambient situation? Jessica identifies immediately that she has a beauty dish to work with and orients her entire plan around that single modifier rather than wasting time rearranging.
In my own studio, I label every light position with masking tape on the floor. When I’m in a rental, I do a quick mental version of the same thing: anchor point, subject position, modifier type, distance. That inventory takes 60 seconds and saves you from shooting 20 minutes of frames with a light that’s two feet too far back.
Step 2: Accept the Gear and Adjust Your Expectations
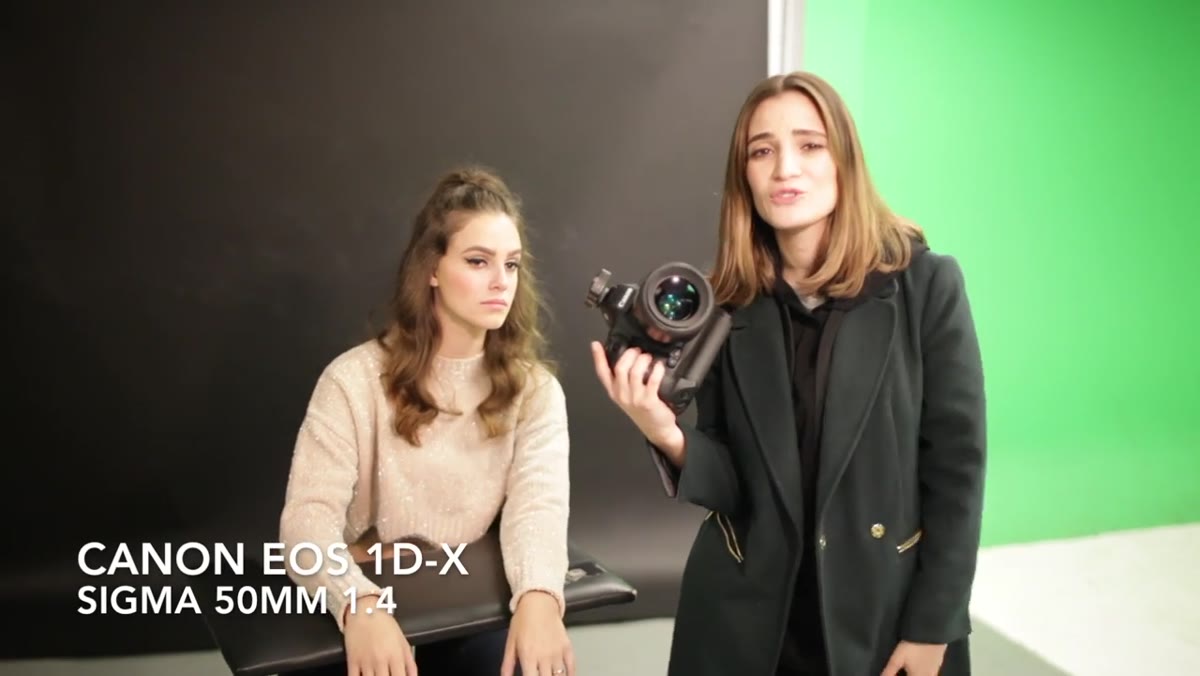 Jessica holding the Canon 1DX with Sigma 50mm 1.4 attached
Jessica was handed a Canon 1DX and a Sigma 50mm f/1.4 by the rental house. She had not used either before. Her honest admission that she couldn’t even find the power button is the most useful thing in this video, because her response to that unfamiliarity is exactly right: she asks, she learns the one thing she needs to know, and she moves on.
The Sigma 50mm f/1.4 is a legitimate workhorse for beauty work. At f/1.4 to f/2.8, you get a compression and bokeh quality that flatters facial structure without the slight distortion you can get from going wider. The 1DX is a heavy body, partly because of its built-in vertical battery grip. If you’ve never shot with one, hold it with both hands and let the weight sit in your left palm under the lens. Fighting the weight costs you stability and sharpness.
Step 3: Position the Beauty Dish for Close Beauty Work
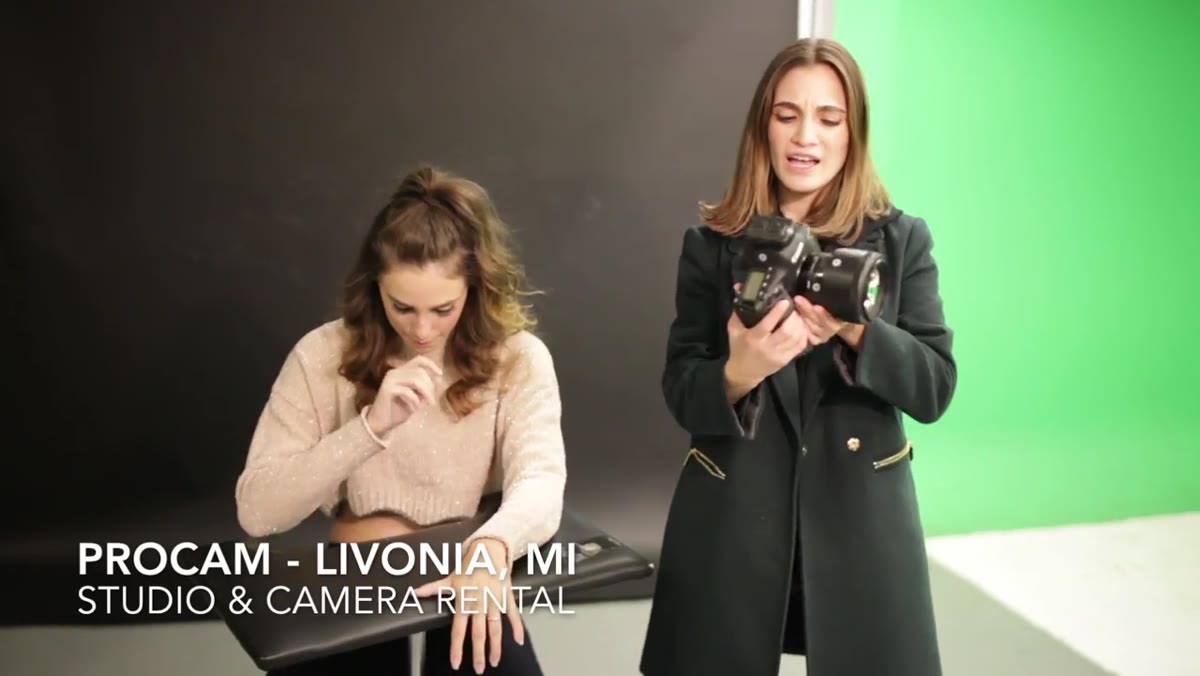 Beauty dish modifier visible in the studio frame
A beauty dish sits in a useful middle ground between a softbox and a bare strobe. It’s harder than a large softbox, which means more defined shadows and better skin texture rendering. It’s softer than a bare head, which means it’s forgiving enough for close-up face shots without carving shadows too deep.
For the kind of close beauty portraits Jessica is shooting, the dish should be positioned slightly above eye level, angled down at roughly 30 to 45 degrees, and placed close enough to the subject that it wraps light around the cheekbones. Distance matters more than most people realize. Move the dish in and you get softer, more flattering gradients. Pull it back and you get harder, more dramatic fall-off. For beauty work, closer is almost always the right answer. If you have a reflector or a white v-flat, place it below the subject’s chin to fill the under-eye shadows without killing the shape.
Step 4: Shoot Close-Up Beauty Frames with Intention
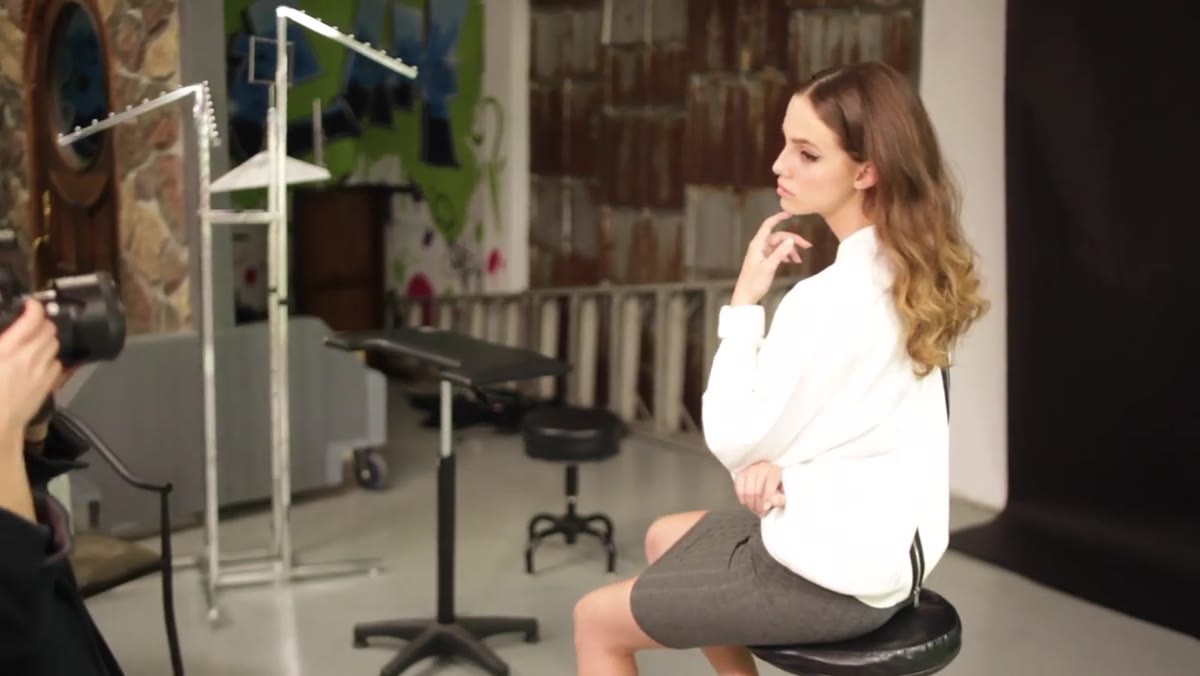 Model being directed during close beauty portrait shots
The session is explicitly focused on close beauty shots, which means your focal plane decisions become critical. At 50mm and f/1.4 or f/2, you can be one to two feet from a face and have eyes sharp while ears go soft. That’s a deliberate aesthetic choice, not a technical accident. Lock focus on the eye closest to the camera. Every time.
Jessica’s direction from the transcript is simple and direct: she tells the model where to look and confirms the frames as she goes. In a time-compressed shoot, there is no room for overly elaborate direction. Give one clear instruction, let the model settle into it, fire a few frames, then give the next adjustment. The model’s energy stays up, the shoot keeps moving, and you don’t spend 10 minutes chasing a pose that isn’t working.
Step 5: Review on Camera, Reserve Judgment for the Full Screen
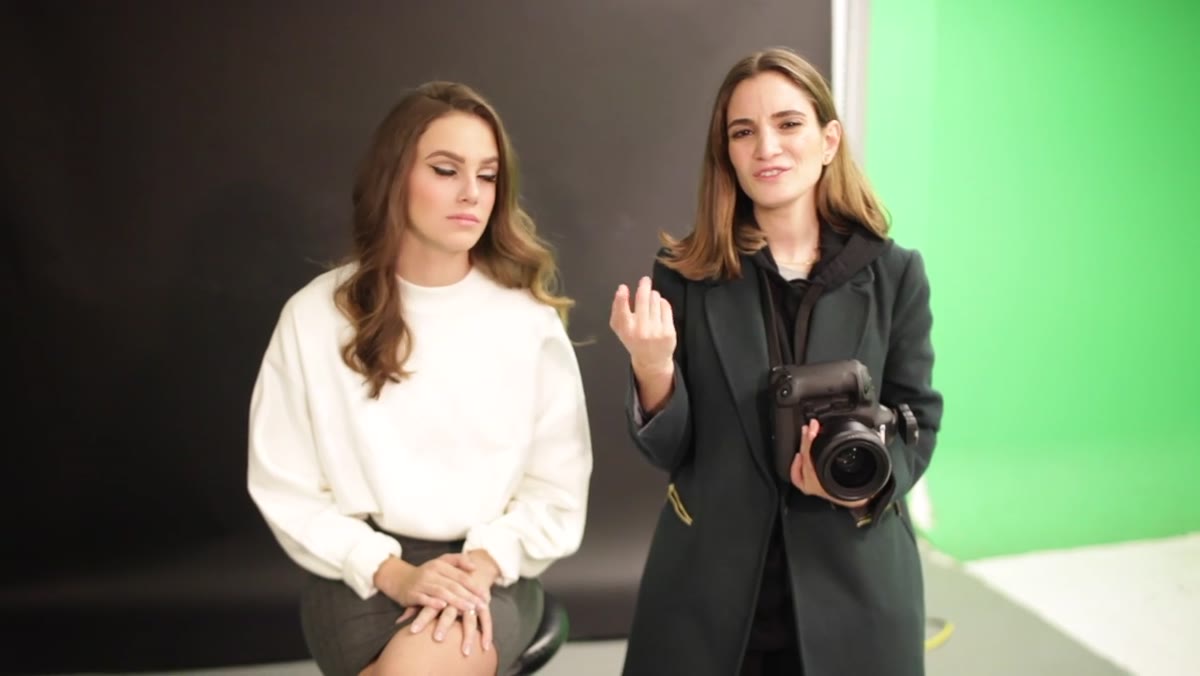 Jessica reviewing images on camera LCD after the shoot
After the session, Jessica is honest that she can’t fully evaluate the difference between the 1DX and her usual Canon 5D Mark II until she sees the files on a proper monitor. This is disciplined thinking. The camera LCD is useful for checking exposure and gross composition problems. It is not a reliable tool for evaluating sharpness, color accuracy, or fine tonal detail.
My own rule: I do a quick chimping pass to confirm my exposure is in the right zone, then I put the camera down and keep shooting. Detailed evaluation happens at the computer, never mid-shoot. The one thing worth checking on the LCD during a studio session is your histogram. If your highlights are blowing out or your shadows are crushed, fix it now. Everything else can wait.
What I’d Add: Dial In Your Color Temperature Before You Fire a Frame
Rented studio strobes are not all balanced the same. Some gel slightly warm, some run a little cool, and older heads can drift. The first thing I do in any rental space is set a custom white balance using a gray card or a ColorChecker under the actual studio strobes. I burned an entire editorial early in my career by trusting the “flash” preset in-camera and ending up with 400 frames that all needed individual correction in post. Fifteen minutes of cleanup turned into three hours.
If you’re shooting tethered, this is even easier to catch. But even if you’re not, one test frame with a gray card and a custom white balance setting costs you 90 seconds and saves you an hour of post-production grief.
The single most useful thing in this tutorial is not the gear discussion. It’s watching a working photographer strip her process down to its absolute essentials under real time pressure and still deliver. Know your light. Know your lens. Direct clearly. Review honestly. Everything else is details.
Watch the full tutorial on YouTube and pay attention to how Jessica moves through the space. That instinct is what years of studio work actually looks like.
Comments (2)
Would love to see a follow-up going deeper into this topic.
Really solid breakdown. This pairs perfectly with the gear work I've been writing about.
Leave a Comment