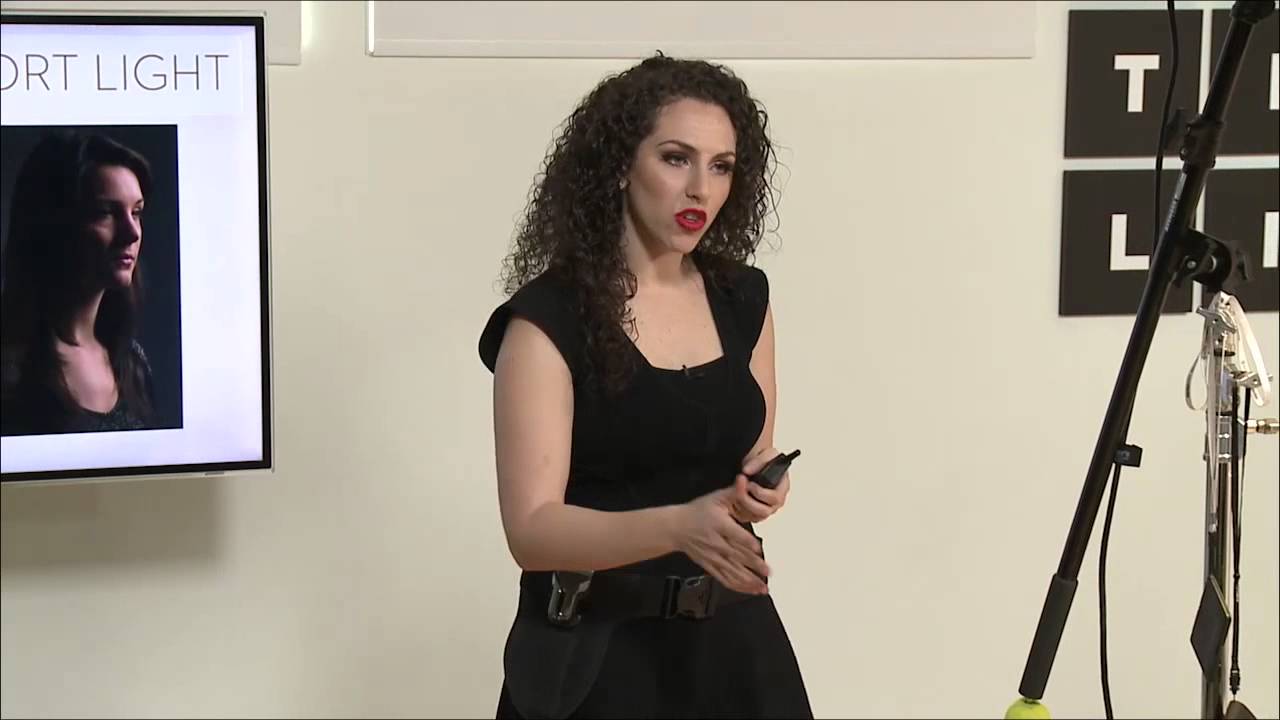
Every shoot I do involves lighting decisions that I need to communicate quickly, sometimes to an art director standing three feet away, sometimes to an assistant I’ve never worked with before. When I started out, I didn’t have a shared vocabulary for that. I’d say things like “make it moodier” or “can you soften that side?” and we’d burn ten minutes figuring out what I actually meant. Learning the core terminology of studio lighting didn’t just make me sound more professional. It made my sets run faster and my results more predictable.
In this CreativeLive tutorial, the instructor walks through the foundational lighting terms that form the backbone of almost every studio conversation you’ll ever have. Watch the full tutorial on YouTube if you want to see the concepts demonstrated on a live subject, but everything below is written so you can follow and apply it without leaving this page.
What struck me watching this is how honest the instructor is about the fact that some of these terms show up more in education than on an actual set. That’s a useful distinction. Knowing what they mean is non-negotiable. Using them every day is optional. Here’s how I’d walk a working photographer through each one.
Step 1: Understand What Broad Light Is and When It Matters
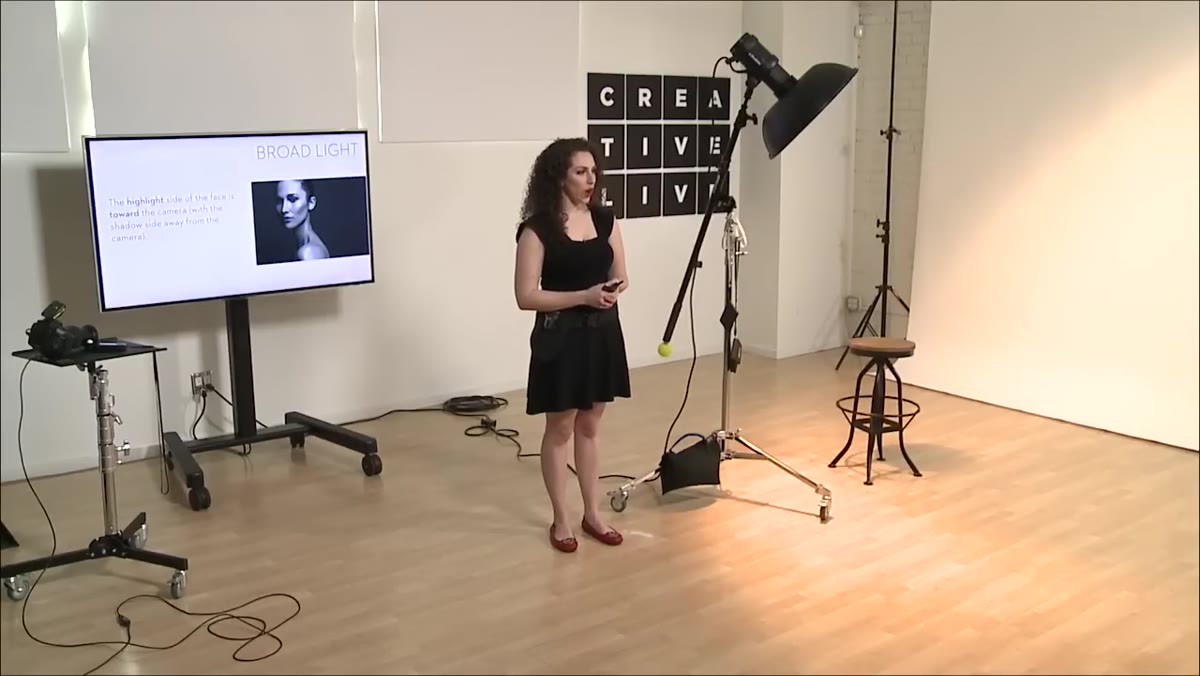 Subject’s head turned, shadow falling away from camera
Broad light happens when your subject’s face is turned to one side and the shadow falls away from the camera. The camera-facing side of the face is the lit side, and because more surface area is illuminated and visible to the lens, the face reads as wider. If you trace a line from your subject’s nose toward the shadow, it’s heading away from you.
Subject’s head turned, shadow falling away from camera
Broad light happens when your subject’s face is turned to one side and the shadow falls away from the camera. The camera-facing side of the face is the lit side, and because more surface area is illuminated and visible to the lens, the face reads as wider. If you trace a line from your subject’s nose toward the shadow, it’s heading away from you.
In practice, this comes up most often when I’m shooting a subject who wants to look fuller or more open-faced, or when I’m going for a warmer, more approachable portrait. It’s also the term I reach for when I’m writing lighting notes in my journal after a shoot, so I can recreate the setup later without guessing.
Step 2: Use Short Light to Narrow and Dramatize
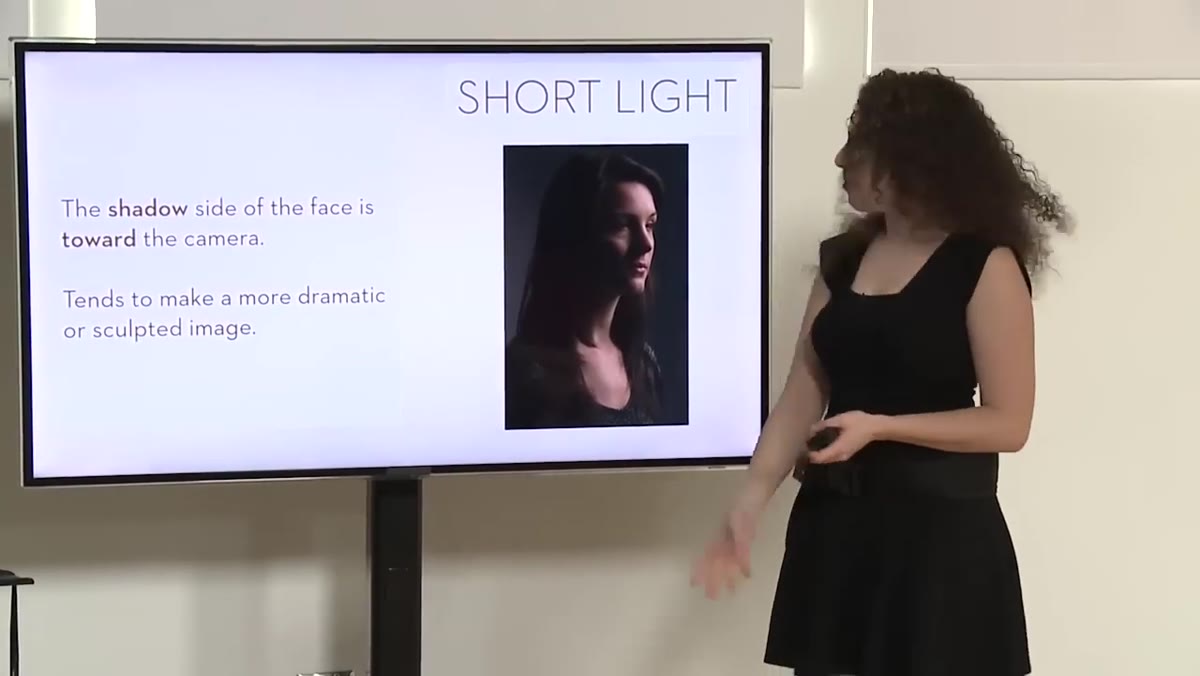 Shadow side of face visible toward camera, narrow lit plane
Short light is the flip side. The subject’s face is still turned, but now the shadow side is facing the camera. The lit portion of the face is the smaller, far-side plane. The result is a narrower, more sculpted look, and because shadow is what the camera is primarily seeing, the image reads as immediately more dramatic.
Shadow side of face visible toward camera, narrow lit plane
Short light is the flip side. The subject’s face is still turned, but now the shadow side is facing the camera. The lit portion of the face is the smaller, far-side plane. The result is a narrower, more sculpted look, and because shadow is what the camera is primarily seeing, the image reads as immediately more dramatic.
This is one I use constantly in fashion and editorial work. Any time a client brief uses words like “edgy,” “high-contrast,” or “moody,” I’m almost certainly setting up short light before the subject even walks on set. It’s the most efficient single adjustment I know for injecting drama into a portrait without adding a single light.
Step 3: Learn Why Shadows Equal Drama, Every Single Time
 Flat-lit example versus shadow-heavy example side by side
The instructor makes a point here that I’d underline twice: shadows are drama. Not gels. Not fog machines. Not extreme angles. Shadows. Flat light with no shadows produces a calm, even image. Add shadows and the emotional temperature of the photograph goes up immediately.
Flat-lit example versus shadow-heavy example side by side
The instructor makes a point here that I’d underline twice: shadows are drama. Not gels. Not fog machines. Not extreme angles. Shadows. Flat light with no shadows produces a calm, even image. Add shadows and the emotional temperature of the photograph goes up immediately.
I keep this as a literal rule for myself on set. If a shot isn’t landing the way I want it to, before I change anything, I ask myself whether I’m working with enough shadow. Nine times out of ten, closing off the fill or flagging a reflector gets me closer than any modifier swap would.
Step 4: Define Flat Light Correctly, Because Most People Get It Wrong
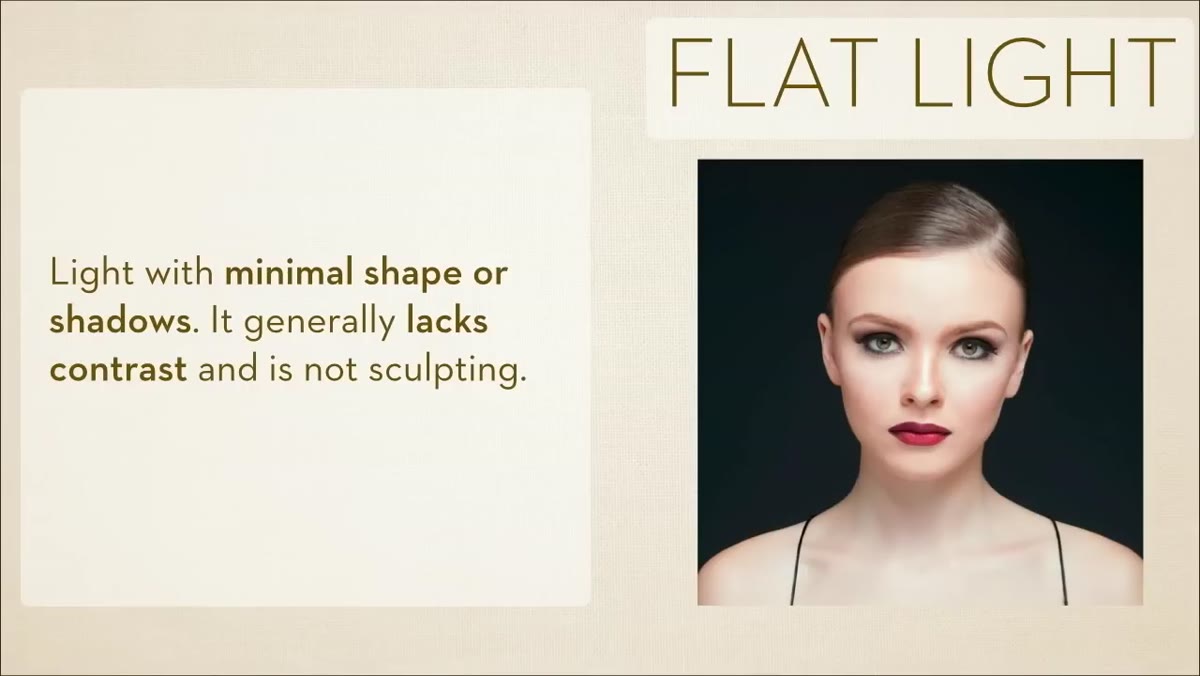 Beauty portrait, evenly lit face, minimal shadow under chin
Flat light means minimal or no shadows on the face. The light source is typically centered and in front of the subject, sometimes positioned slightly lower than eye level. What it does not mean, and this was my own misconception for an embarrassingly long time, is that the image has to be dull, high-key, or low-contrast.
Beauty portrait, evenly lit face, minimal shadow under chin
Flat light means minimal or no shadows on the face. The light source is typically centered and in front of the subject, sometimes positioned slightly lower than eye level. What it does not mean, and this was my own misconception for an embarrassingly long time, is that the image has to be dull, high-key, or low-contrast.
The example the instructor uses in the tutorial shows a dramatic portrait that is still technically flat-lit because there are no meaningful shadows sculpting the face. The tones can still be rich and deep. The mood can still be strong. What’s absent is directional shadow. Once I separated “flat” from “boring” in my head, flat light became a tool I actually wanted to use rather than something to apologize for.
Step 5: Use Dimensional Light to Sculpt the Face in Three Dimensions
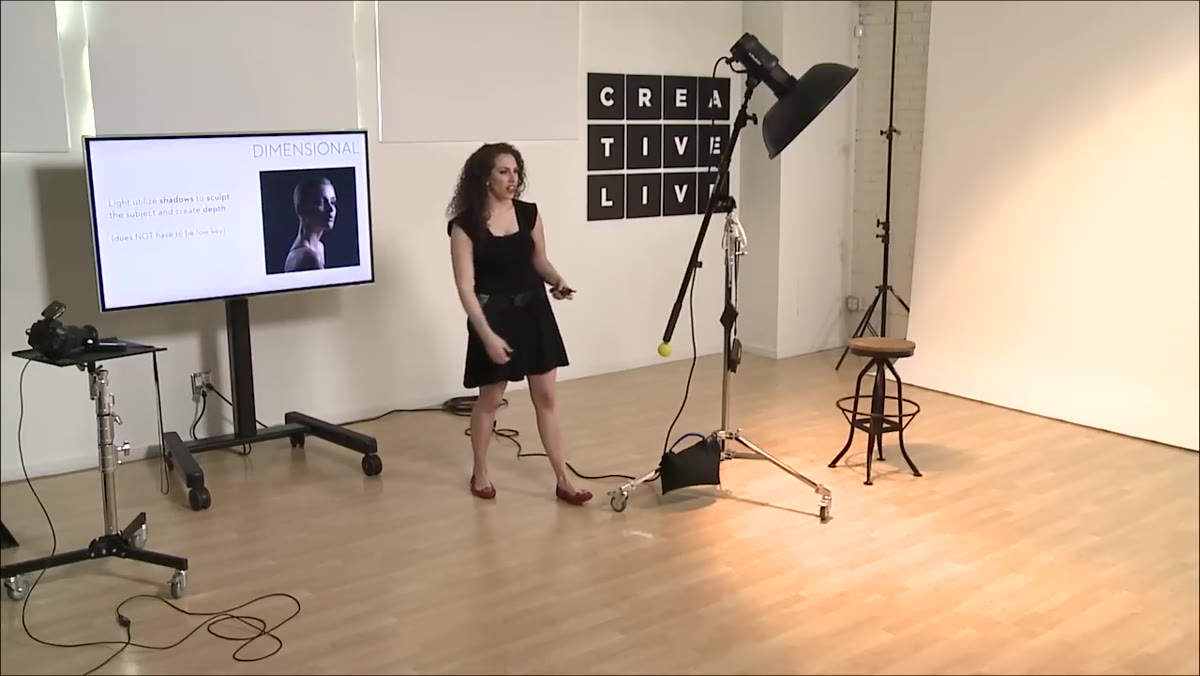 Light coming from behind subject, depth visible in face
Dimensional light uses shadow to make a face look three-dimensional on a two-dimensional surface. When the light has a clear direction, especially when it comes from behind or strongly to one side, the shadows it creates communicate depth. The viewer’s eye reads the image as having physical volume.
Light coming from behind subject, depth visible in face
Dimensional light uses shadow to make a face look three-dimensional on a two-dimensional surface. When the light has a clear direction, especially when it comes from behind or strongly to one side, the shadows it creates communicate depth. The viewer’s eye reads the image as having physical volume.
The practical setup for this is moving your key light off-axis and reducing or eliminating your fill. Even a small angle change from a centered position creates shadow fall-off across the cheekbones, nose, and jaw. That fall-off is what gives the image sculptural weight. I use this for almost every corporate headshot where the subject wants to look authoritative rather than approachable, and for almost every beauty shoot where the product needs the face to feel graphic and high-contrast.
Step 6: Connect the Terms Into a Decision-Making Framework
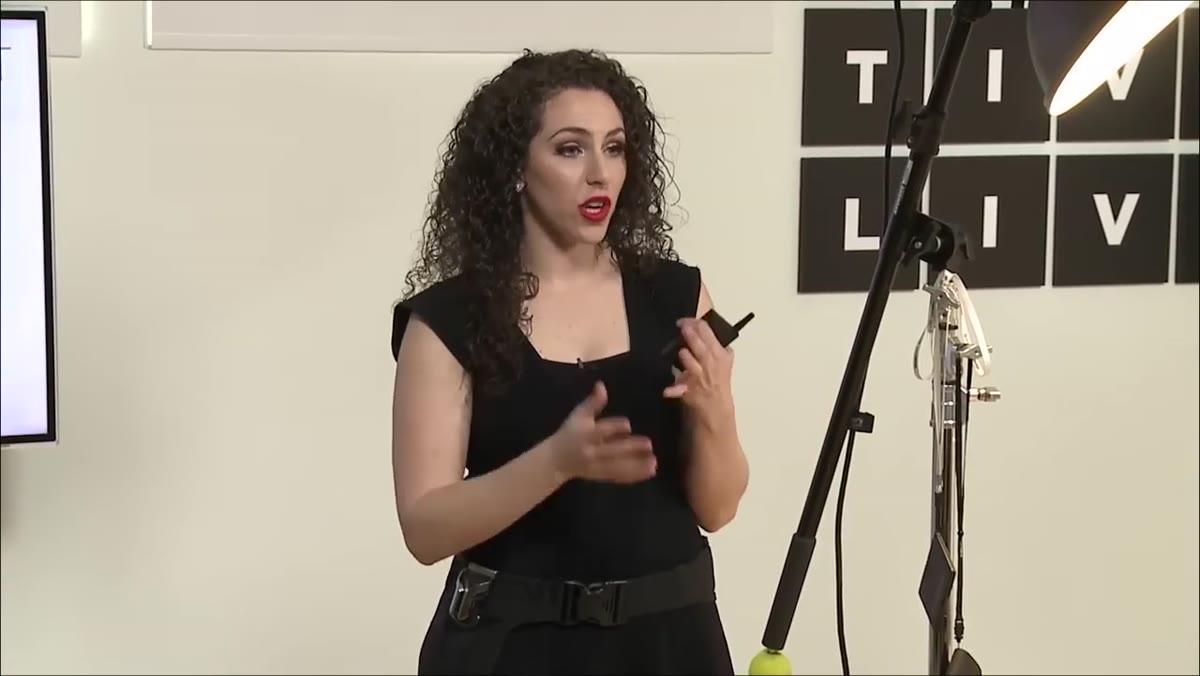
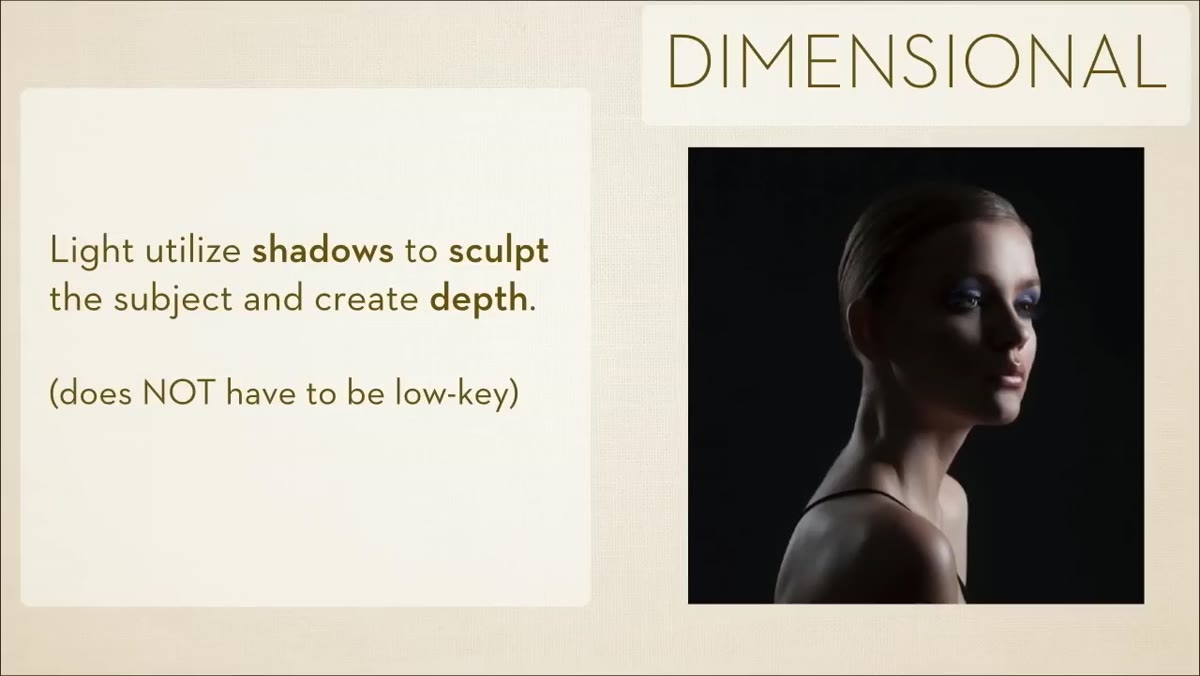 Instructor summarizing flat versus dimensional with subject examples
Once you have all four terms in place, broad, short, flat, and dimensional, they function as a two-axis grid. On one axis you have broad versus short, which describes where the shadow falls relative to the camera. On the other axis you have flat versus dimensional, which describes how much shadow you’re using at all.
Instructor summarizing flat versus dimensional with subject examples
Once you have all four terms in place, broad, short, flat, and dimensional, they function as a two-axis grid. On one axis you have broad versus short, which describes where the shadow falls relative to the camera. On the other axis you have flat versus dimensional, which describes how much shadow you’re using at all.
Before I place a single light on any portrait shoot, I run through both axes in my head. Do I want broad or short? Do I want flat or dimensional? Those two decisions narrow my options significantly before I’ve touched a single stand or modifier. It makes the technical execution feel more like following a recipe and less like guessing in the dark.
A Note From My Own Practice: Write These Down Before You Forget Them
I keep a lighting journal. Every shoot gets a page. And every page starts with two words: one from each axis of that framework above. Not because I need to remember what I did in theory, but because when I look back six months later trying to recreate a specific quality of light, those two words are enough to reconstruct the entire setup in my head.
The first time I did this consistently, I was shocked by how much faster I moved on set. I wasn’t reinventing anything. I was executing against a vocabulary I already owned. If you’re new to this framework, start simple. On your next shoot, identify before you start whether you want the image to be flat or dimensional. Just that one call. Make it deliberately, not accidentally, and notice how it changes the way you set up your lights.
The single most important thing this tutorial communicates is that lighting vocabulary is not academic. It’s a working tool. Know these four terms well enough that you can say them out loud mid-shoot without stopping to think, and your entire creative process becomes faster and more intentional.
Watch the full tutorial on YouTube to see each term demonstrated on a live subject with real lighting setups.
Comments
Leave a Comment