There is a specific kind of anxiety that comes from standing in front of a complex setup with a client waiting and no clear sequence for how to get there. I have felt it more times than I want to admit. The temptation is to turn everything on at once, chase the whole picture simultaneously, and end up with a muddy result you can’t diagnose. The fix, as I keep relearning, is to build the light one source at a time so you know exactly what each layer is contributing before you commit to the next.
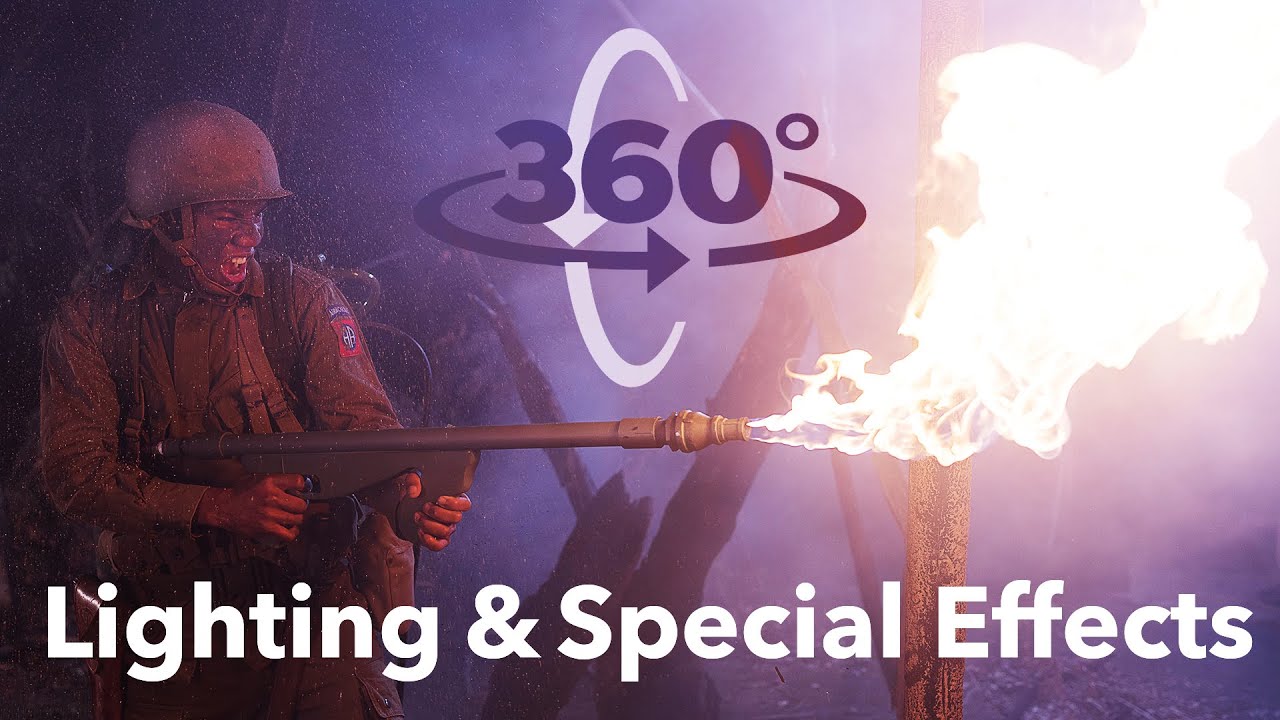
That’s why this tutorial from Jay P. Morgan over at The Slanted Lens stuck with me. Watch the full tutorial on YouTube - it was shot with a 360-degree camera running the entire time, which means you can actually spin around the set and see where every light is placed, not just what the camera sees. Jay is working on a World War II-themed portrait of a subject named Dwight, using remnants from a commercial shoot. The concept is cinematic and layered - strobes, smoke, an air cannon, and eventually a flamethrower. But the process underneath all of that theater is methodical and transferable to almost any dramatic portrait setup.
I keep a lighting journal where I sketch every setup from every shoot. This one earned a full page.
Step 1: Label and Assign Every Light Before You Touch a Power Pack
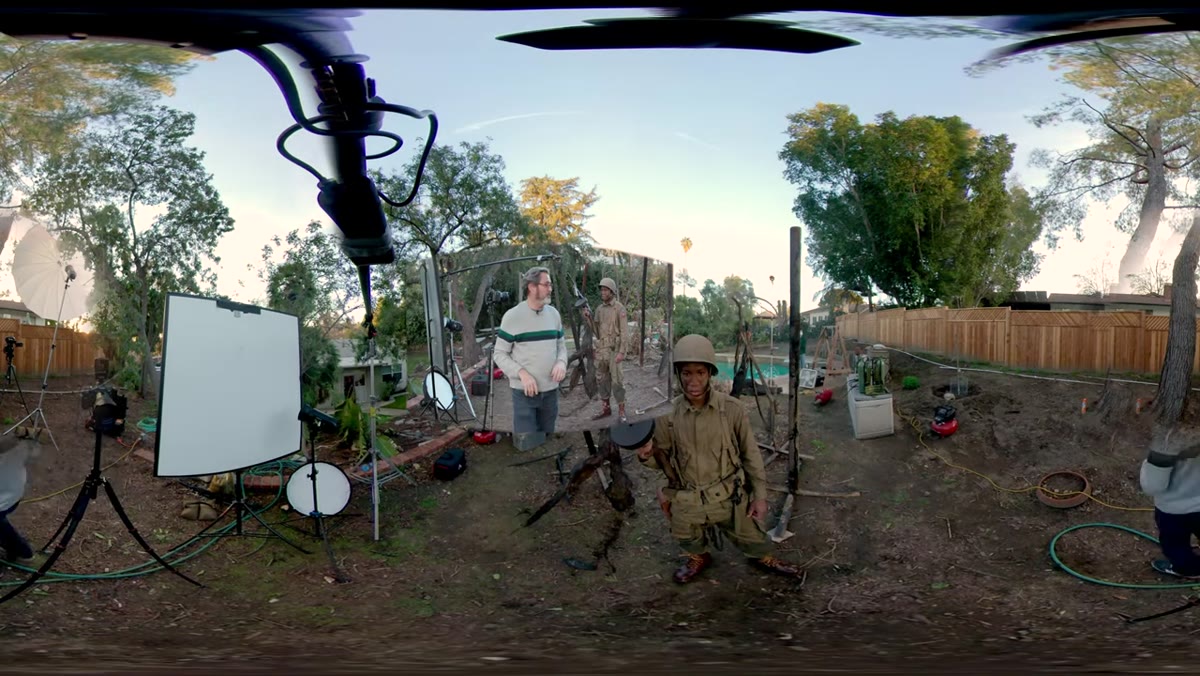 Three numbered strobes positioned around subject on set
Jay numbers every strobe before he starts dialing anything in. Light A is the key. Light B is the fill. Light C is the rim. This sounds almost too simple to mention, but on a multi-light set with an assistant, a model, and variables like smoke machines in play, that naming convention is the only thing keeping you from second-guessing yourself mid-shoot. I use masking tape labels on every head in my studio for exactly this reason. When I call out an adjustment, everyone on set knows which unit I mean without me pointing across the room.
Three numbered strobes positioned around subject on set
Jay numbers every strobe before he starts dialing anything in. Light A is the key. Light B is the fill. Light C is the rim. This sounds almost too simple to mention, but on a multi-light set with an assistant, a model, and variables like smoke machines in play, that naming convention is the only thing keeping you from second-guessing yourself mid-shoot. I use masking tape labels on every head in my studio for exactly this reason. When I call out an adjustment, everyone on set knows which unit I mean without me pointing across the room.
The specific assignment here matters too. Key light bounced off a card. Fill from a large umbrella placed well back. Rim light coming from behind the subject. Three distinct jobs, three distinct tools. Write that down before anything is powered on.
Step 2: Start with the Rim Light Only - Establish the Silhouette First
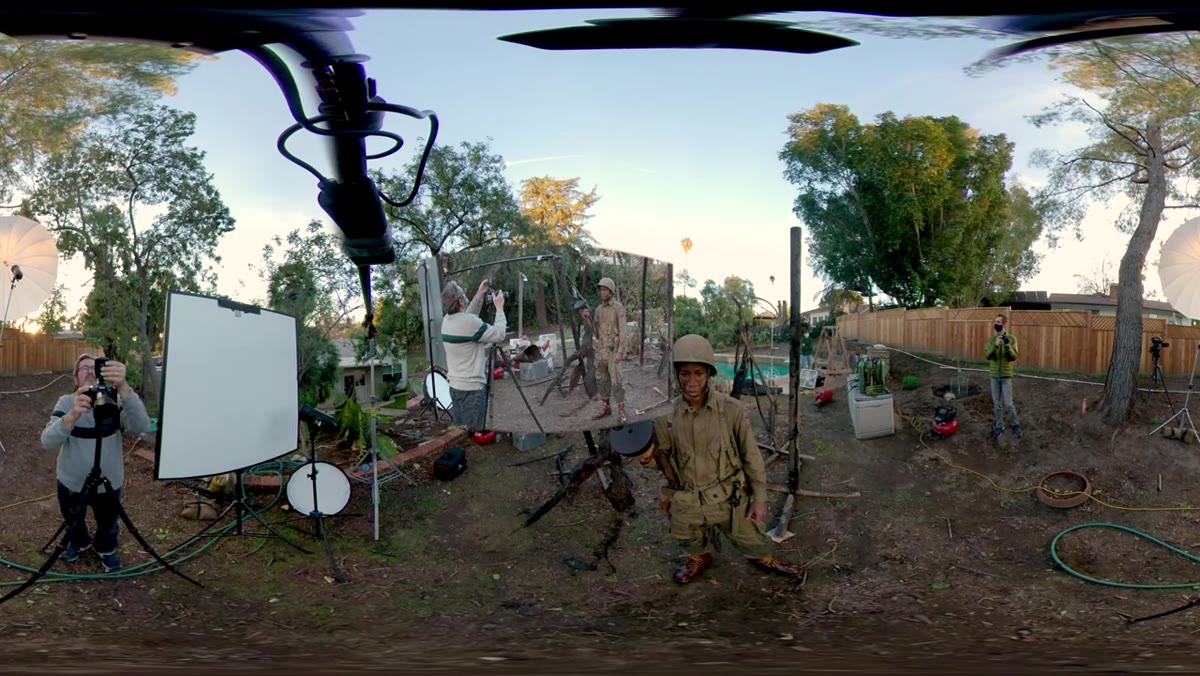 Single rim light on subject, key and fill switched off
Jay’s sequence begins by turning off both A and B and firing only the rim light, which is positioned on camera-right with a full CTO gel warming it up. The opposite side uses an open head without filtration. This single-light pass tells you immediately how your subject reads against the background before you introduce any fill or key. You’re essentially testing the skeleton of the image.
Single rim light on subject, key and fill switched off
Jay’s sequence begins by turning off both A and B and firing only the rim light, which is positioned on camera-right with a full CTO gel warming it up. The opposite side uses an open head without filtration. This single-light pass tells you immediately how your subject reads against the background before you introduce any fill or key. You’re essentially testing the skeleton of the image.
At this stage he’s also reading the ambient sky glow since this is an outdoor dusk setup, which becomes a second rim source. If you’re working inside, you’d substitute a low-powered hair light or a gobo-reflected card. The principle holds: see the edges before you fill the face.
Step 3: Introduce Smoke and Let the Background Lights Do Double Duty
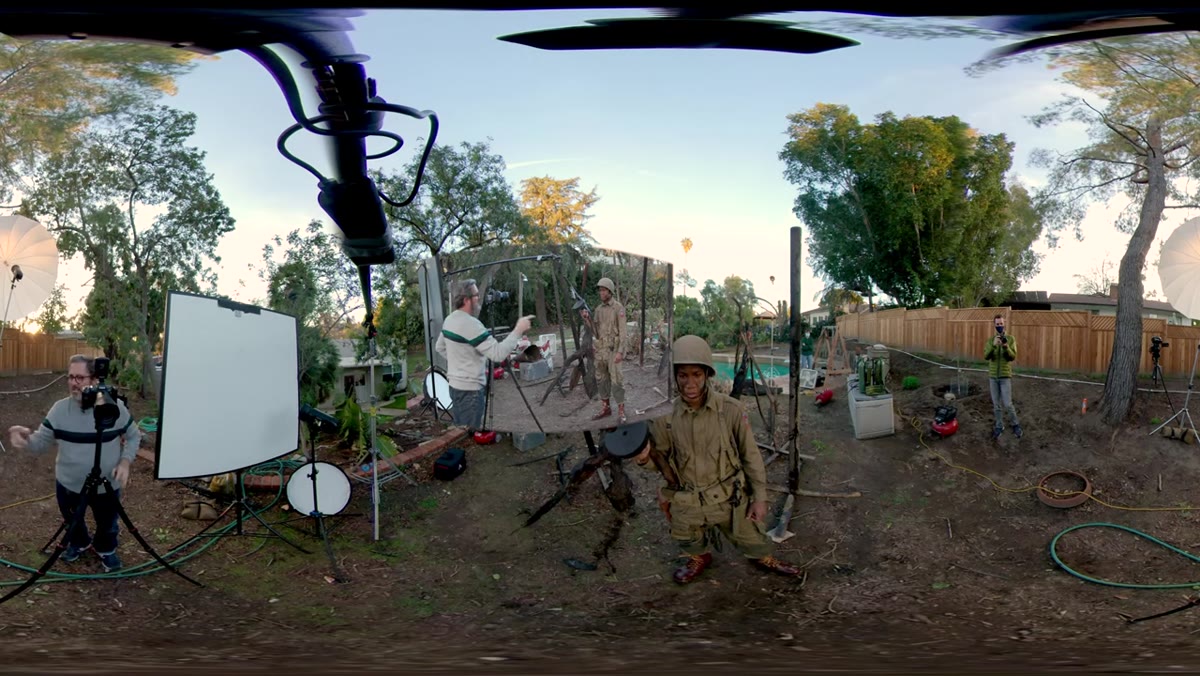 Smoke machine running with fan dispersing it across background
The two back lights are not just rim lights for the subject. They’re also the primary illumination for the smoke being pushed into the frame. Jay sends the smoke through a fan first, which breaks it up and spreads it more evenly rather than letting it billow in a single concentrated column. That diffusion makes the smoke look atmospheric rather than theatrical in a cheap way.
Smoke machine running with fan dispersing it across background
The two back lights are not just rim lights for the subject. They’re also the primary illumination for the smoke being pushed into the frame. Jay sends the smoke through a fan first, which breaks it up and spreads it more evenly rather than letting it billow in a single concentrated column. That diffusion makes the smoke look atmospheric rather than theatrical in a cheap way.
This is a technique worth burning into your workflow: background elements need a dedicated light source, but that source can serve two purposes simultaneously. The rims light Dwight’s shoulders and illuminate the smoke. One unit, two jobs. When you’re budgeting strobes on a location shoot, that kind of efficiency changes what’s possible with a smaller kit.
Step 4: Dial the Rim Light Exposure Up Incrementally
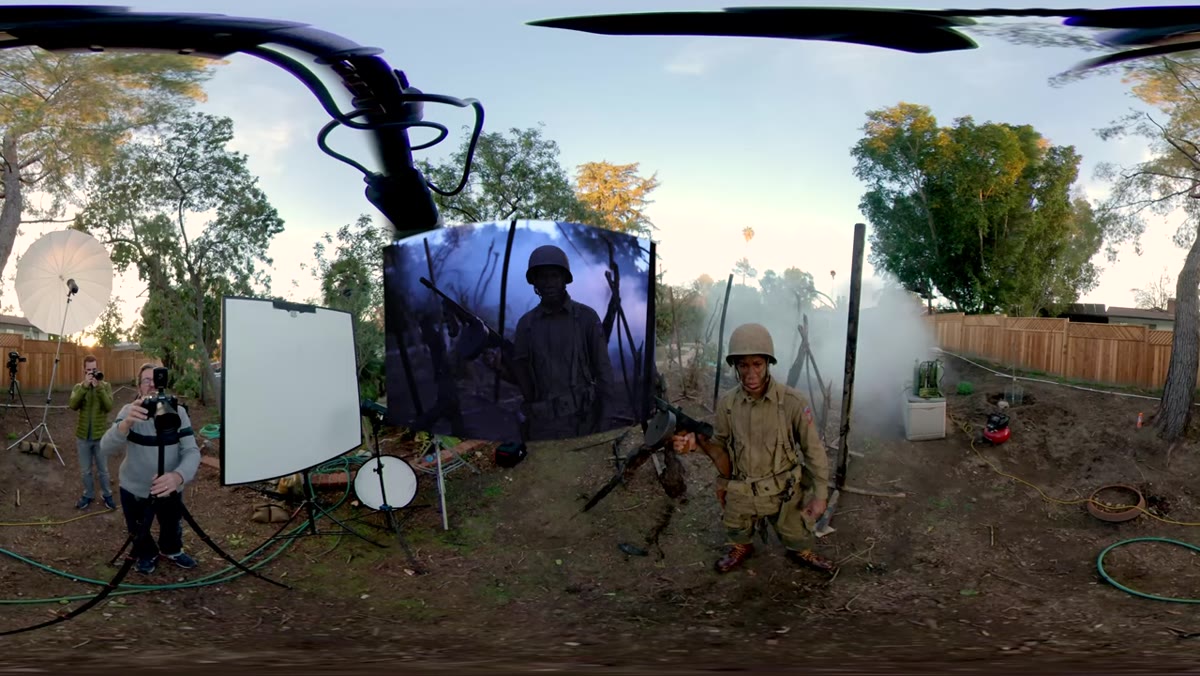 Adjusting rim light power, subject partially lit on camera right
Jay starts the rim at f/2.2 and bumps it one full stop to f/3.2. He’s not guessing - he looks at the result, decides the light is reading too thin on the subject’s face, and makes one deliberate adjustment. That one-stop increment is a habit worth building. Jumping two stops at a time makes it harder to understand exactly how sensitive your setup is to power changes, especially when smoke is scattering light unpredictably.
Adjusting rim light power, subject partially lit on camera right
Jay starts the rim at f/2.2 and bumps it one full stop to f/3.2. He’s not guessing - he looks at the result, decides the light is reading too thin on the subject’s face, and makes one deliberate adjustment. That one-stop increment is a habit worth building. Jumping two stops at a time makes it harder to understand exactly how sensitive your setup is to power changes, especially when smoke is scattering light unpredictably.
The CTO on the camera-right rim adds a warmth that reads as a practical fire source even before the flamethrower comes into the frame. Color temperature on rim lights is something a lot of photographers ignore because the effect feels subtle in isolation. In a finished image with a cooler key and neutral fill, that warmth becomes the detail that makes the whole thing feel grounded in a real world.
Step 5: Bring the Fill Light In and Read the Face
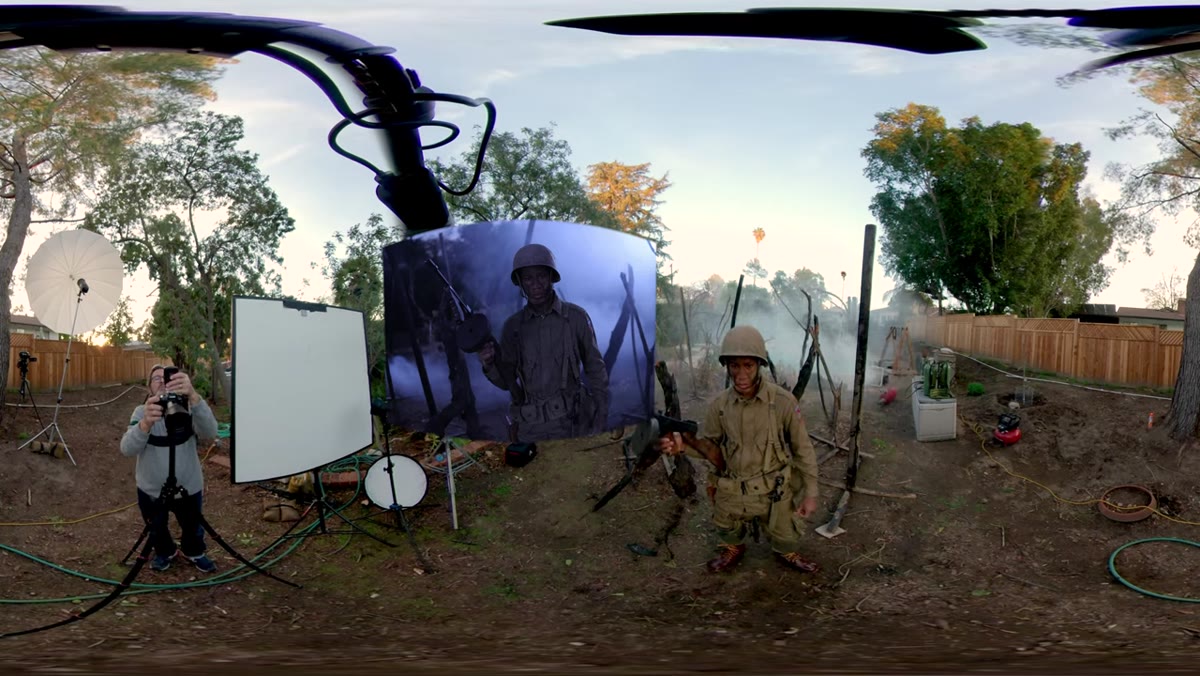 Large umbrella fill light powered on, subject’s face now visible
The large umbrella fill, which is set well back from the subject to keep it soft and low, comes on after the rim is established. Jay immediately bumps it up one stop because the face is reading too dark for his taste. The fill’s job here is not to flatten the light - it’s to open the shadows just enough to hold detail without erasing the drama the rim and bounce have already created.
Large umbrella fill light powered on, subject’s face now visible
The large umbrella fill, which is set well back from the subject to keep it soft and low, comes on after the rim is established. Jay immediately bumps it up one stop because the face is reading too dark for his taste. The fill’s job here is not to flatten the light - it’s to open the shadows just enough to hold detail without erasing the drama the rim and bounce have already created.
This is the step where most photographers either under-commit and leave the face muddy, or over-correct and lose the whole moody quality they were building toward. The test I use: if you can see the catchlight in the eye and still read the shadow side of the nose, your fill is in the right range.
Step 6: Control Ambient and Practical Sources with Shutter Speed
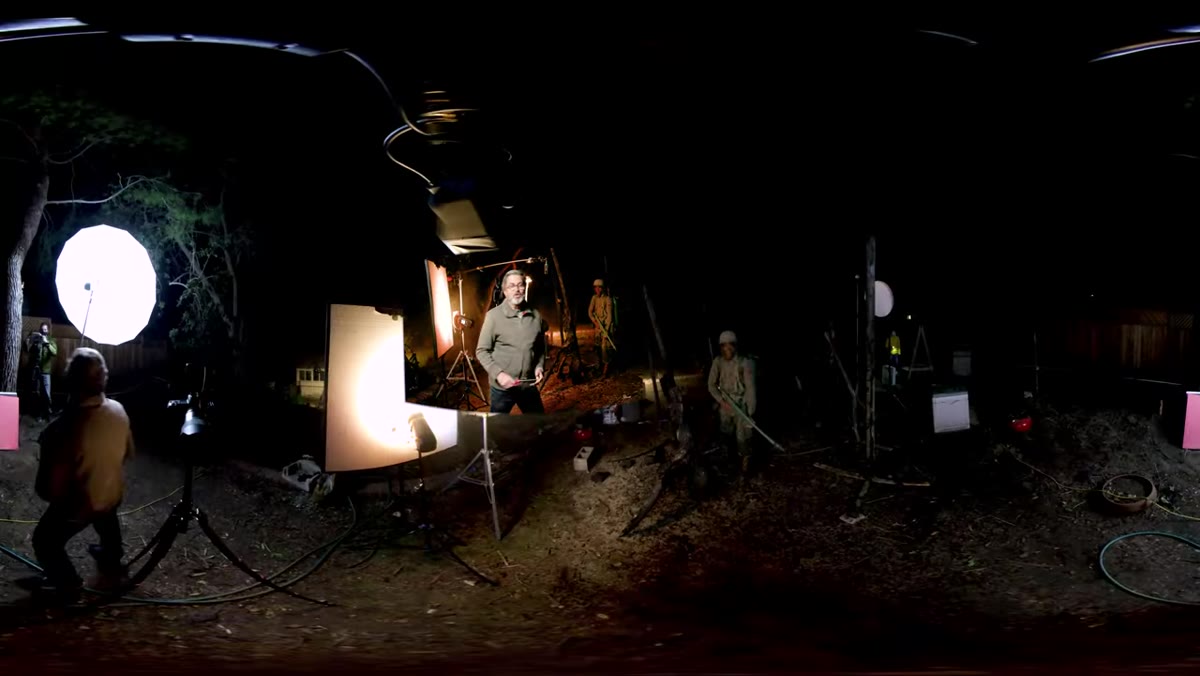 Flamethrower firing, photographer adjusting shutter speed settings
When the flamethrower enters the frame, it becomes an uncontrolled practical light source hitting the subject’s face directly. Jay’s tool for managing it is shutter speed. At 1/60th of a second, the flame was overexposing the face. At 1/250th, the flame compressed to a controllable level. The strobes, of course, are not affected by shutter speed changes the way continuous or practical sources are.
Flamethrower firing, photographer adjusting shutter speed settings
When the flamethrower enters the frame, it becomes an uncontrolled practical light source hitting the subject’s face directly. Jay’s tool for managing it is shutter speed. At 1/60th of a second, the flame was overexposing the face. At 1/250th, the flame compressed to a controllable level. The strobes, of course, are not affected by shutter speed changes the way continuous or practical sources are.
This same logic applies any time you’re mixing strobes with fire, neon, window light, or any other continuous source. Aperture controls your strobe exposure. Shutter speed controls your ambient and practical exposure. Keeping those two levers clearly separated in your head is one of the most useful things you can internalize from this entire tutorial.
What I’d Add from My Own Experience
The 360-degree camera format Jay uses here is genuinely useful, but I want to flag something it can make you overlook: the distance between the rim lights and the subject matters enormously for smoke behavior. Move a backlight in by even two feet and the smoke starts to glow in a way that can wash out your subject’s edges. I learned this the hard way on an editorial shoot where I was so focused on the face that I stopped paying attention to what the background lights were doing to the haze I’d introduced. In my lighting journal, I now note the distance from every backlight to the nearest smoke or fog element as a specific data point. It sounds obsessive. It has saved me from repeating that mistake on three separate shoots.
The single most important thing Jay P. Morgan demonstrates here is that a complex, cinematic lighting setup is just a series of simple decisions made in the right order. Start with one light. Know what it does. Add the next one. Adjust in single stops. Use your shutter speed to manage what your aperture can’t. Every dramatic portrait I’ve been proud of came from following that sequence, not from turning everything on and hoping.
Watch the full tutorial on YouTube and use the 360-degree view to check the positions of lights you wouldn’t normally see from the camera angle. That overhead and behind perspective is worth the watch on its own.
Comments
Leave a Comment