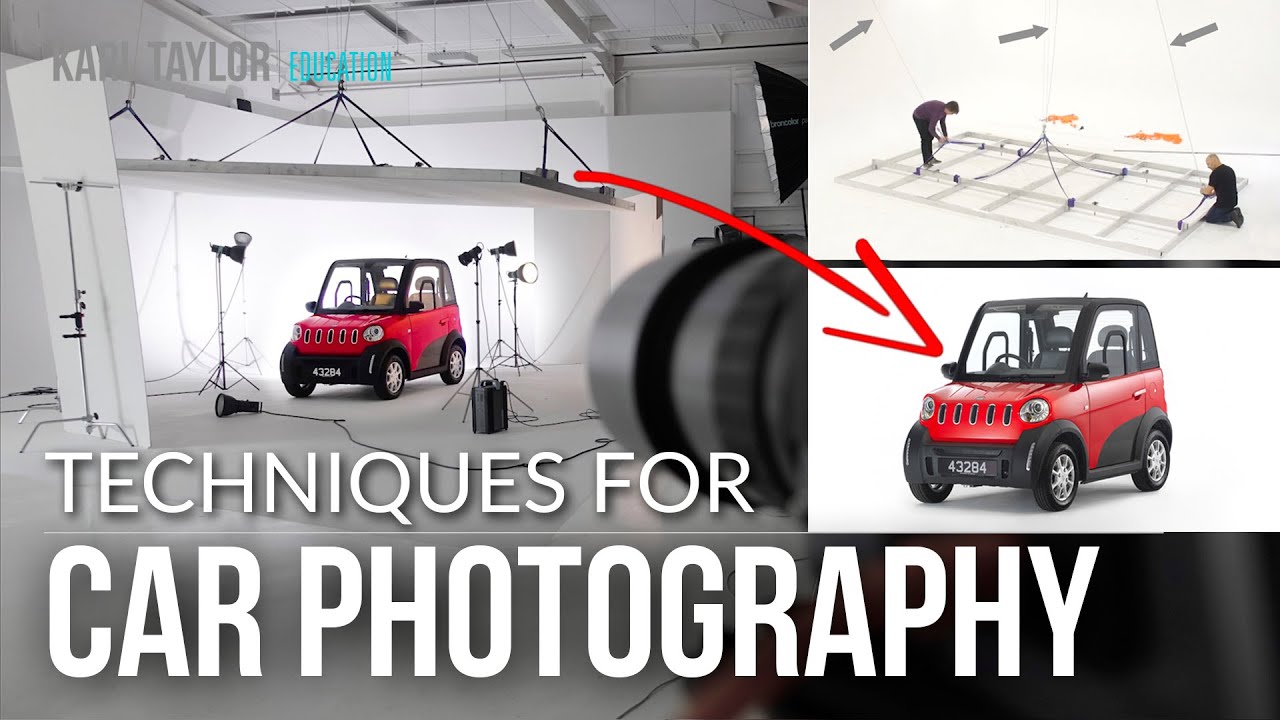
Car photography has always been the discipline that humbles studio photographers. I’ve lit faces, fabric, glass, and food, and none of them prepared me for the first time I tried to light a vehicle. Every surface is a mirror. Every light source you place shows up twice, once where you want it and once where you absolutely don’t. When a client brought me a vintage Porsche two years ago, I spent three hours chasing a reflection across the hood before I got a single frame worth keeping. I labeled that session in my lighting journal as “the car incident” and promised myself I’d study the problem properly before it happened again.
That’s what sent me deep into this Visual Education tutorial on car photography by Karl Taylor. Watch the full tutorial on YouTube – it documents a real commercial shoot for an electric vehicle brand and walks through both the custom rig Karl had fabricated and the actual lighting decisions made on the day. What makes it worth your time is that Karl isn’t explaining theory. He’s mid-shoot, walking around the car, pointing at lights, explaining why each one is where it is. That’s a different kind of education than a controlled demo.
Here’s what I pulled out of it, reframed for photographers who want to build toward this kind of setup systematically.
Step 1: Decide Between Reflected Light and Scrim Lighting Before You Build Anything
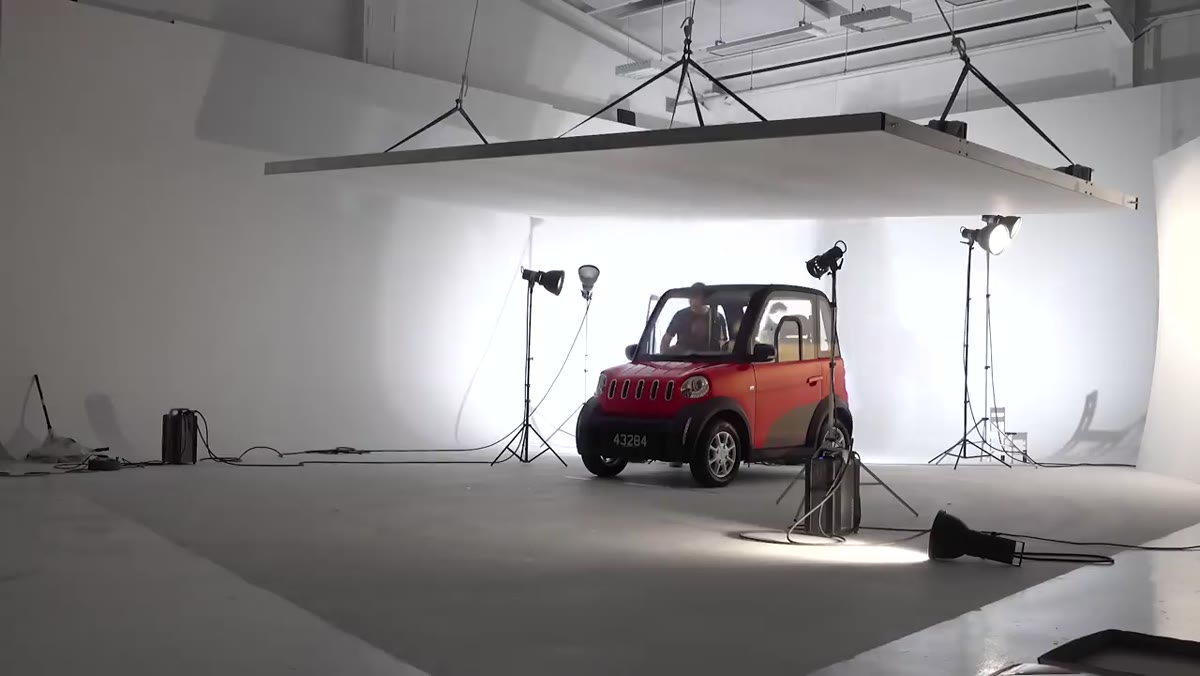
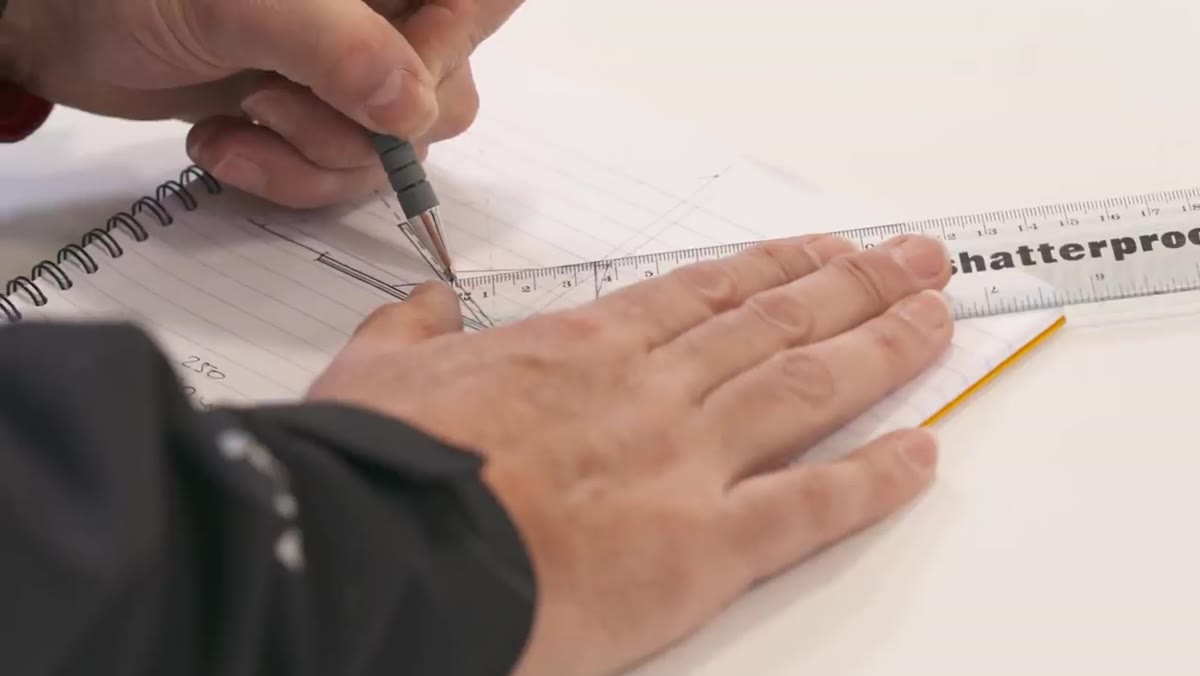 Floating white panel suspended above car in studio
The fundamental choice in car lighting is whether you push light through a translucent scrim or bounce it off a white panel. Karl’s rig uses bounced light, and his reasoning is practical: when your light source is suspended eight to twelve feet overhead, it’s far easier to control a reflected surface from ground level than to adjust a scrim. With a white panel, you angle the reflector, not the light head. You get clean, even illumination across large horizontal surfaces like hoods and roofs without needing to climb a ladder mid-shoot to tweak a flag.
Floating white panel suspended above car in studio
The fundamental choice in car lighting is whether you push light through a translucent scrim or bounce it off a white panel. Karl’s rig uses bounced light, and his reasoning is practical: when your light source is suspended eight to twelve feet overhead, it’s far easier to control a reflected surface from ground level than to adjust a scrim. With a white panel, you angle the reflector, not the light head. You get clean, even illumination across large horizontal surfaces like hoods and roofs without needing to climb a ladder mid-shoot to tweak a flag.
If you’re designing a studio from scratch or modifying an existing space, this decision drives everything downstream. Scrim systems require the light to be directly behind the panel and positioned precisely. Reflected panel systems give you more freedom to place heads at different heights and distances, then let the bounce surface do the softening work.
Step 2: Engineer the Rig for Adjustability, Not Just Size
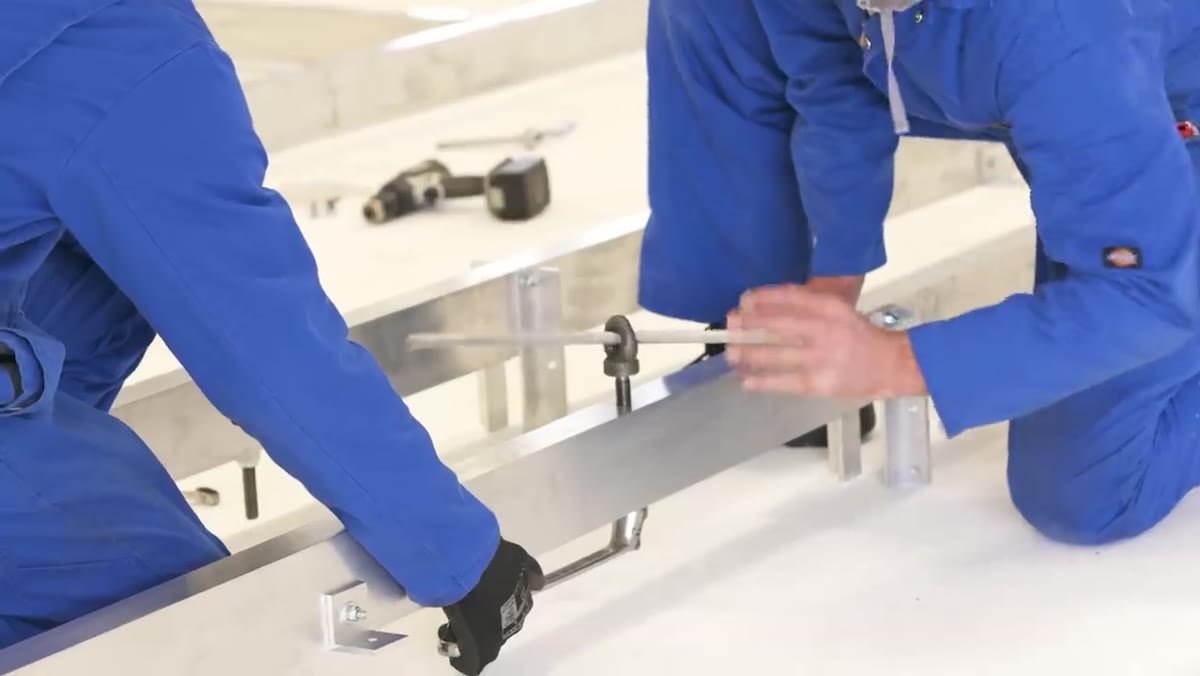 Aluminum frame with adjustable straps and connection points
Karl worked with a local metalworker to build his floating panel from aluminum box section. The key design feature wasn’t size, it was the connection points that allow adjustable straps to change the panel’s angle. This matters enormously in practice. The reflection you see in a car’s hood shifts dramatically with even a five-degree change in the panel’s pitch. A fixed panel is a compromise. An adjustable one lets you dial in exactly where that bright zone falls on the vehicle’s surface.
Aluminum frame with adjustable straps and connection points
Karl worked with a local metalworker to build his floating panel from aluminum box section. The key design feature wasn’t size, it was the connection points that allow adjustable straps to change the panel’s angle. This matters enormously in practice. The reflection you see in a car’s hood shifts dramatically with even a five-degree change in the panel’s pitch. A fixed panel is a compromise. An adjustable one lets you dial in exactly where that bright zone falls on the vehicle’s surface.
The rig is suspended from an electric winch on an I-beam, with a pulley system that allows horizontal movement as well as vertical. All load-bearing components exceeded the weight rating of the frame, and three additional safety lines were added on top of that. I want to be direct here: if you’re building something overhead in a working studio, the safety engineering is not optional. Get it certified. The panel itself uses high-quality plastic sheeting, sanded and finished with an ultra-matte white paint, then attached to the frame with industrial-strength hook-and-loop fastener along every cross-section.
Step 3: Layer Your Lights by Zone, Not by Overall Exposure
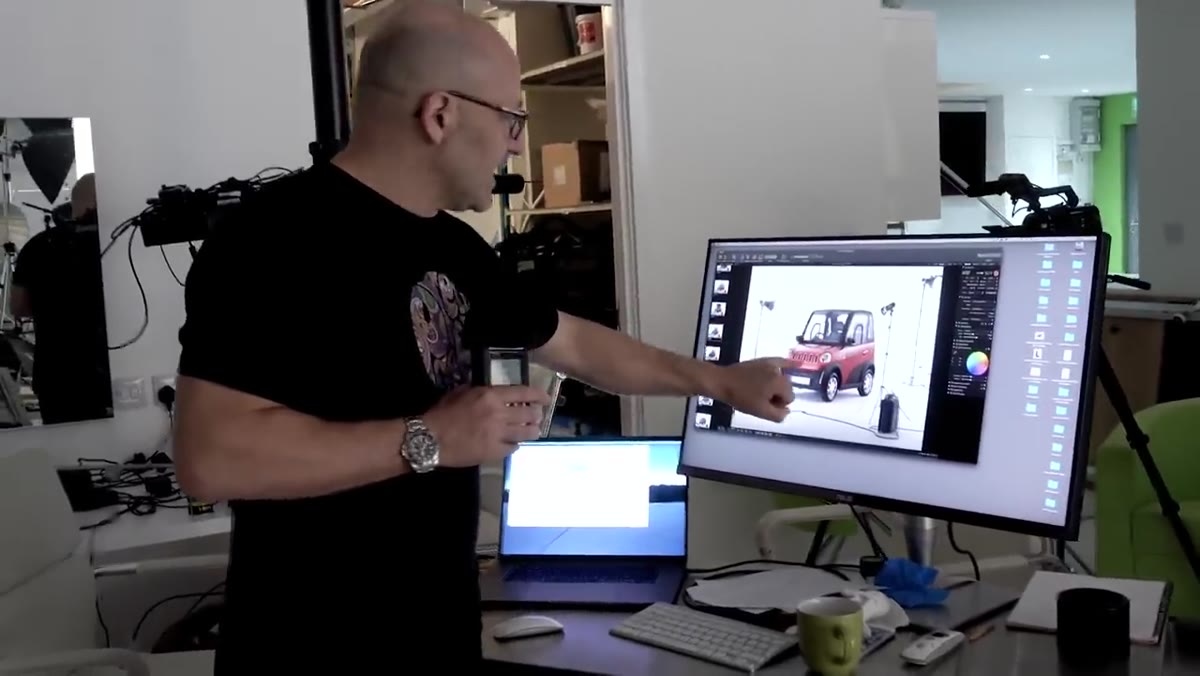 Multiple light heads positioned around car at different angles
The lighting setup Karl walks through on the actual shoot involves several light sources, each assigned to a specific zone of the car. One head lights the hood. A second illuminates the car’s interior through the windshield. A third bounces into a large mobile white wall to cover the front fascia. A small Fresnel is aimed specifically at one headlight, just to give it a spark of life.
Multiple light heads positioned around car at different angles
The lighting setup Karl walks through on the actual shoot involves several light sources, each assigned to a specific zone of the car. One head lights the hood. A second illuminates the car’s interior through the windshield. A third bounces into a large mobile white wall to cover the front fascia. A small Fresnel is aimed specifically at one headlight, just to give it a spark of life.
This is the approach I now sketch in my lighting journal before every complex shoot: identify each surface zone separately and decide what quality of light it needs. Broad reflective surfaces like hoods want large, soft sources with controlled spill. Transparent surfaces like glass want a light angled to reveal depth without blowing out the reflection. Accent elements like headlights want a small, punchy source. Treating them as one unified lighting problem is where most photographers go wrong.
Step 4: Use Polarization to Tame Side Panel Glare
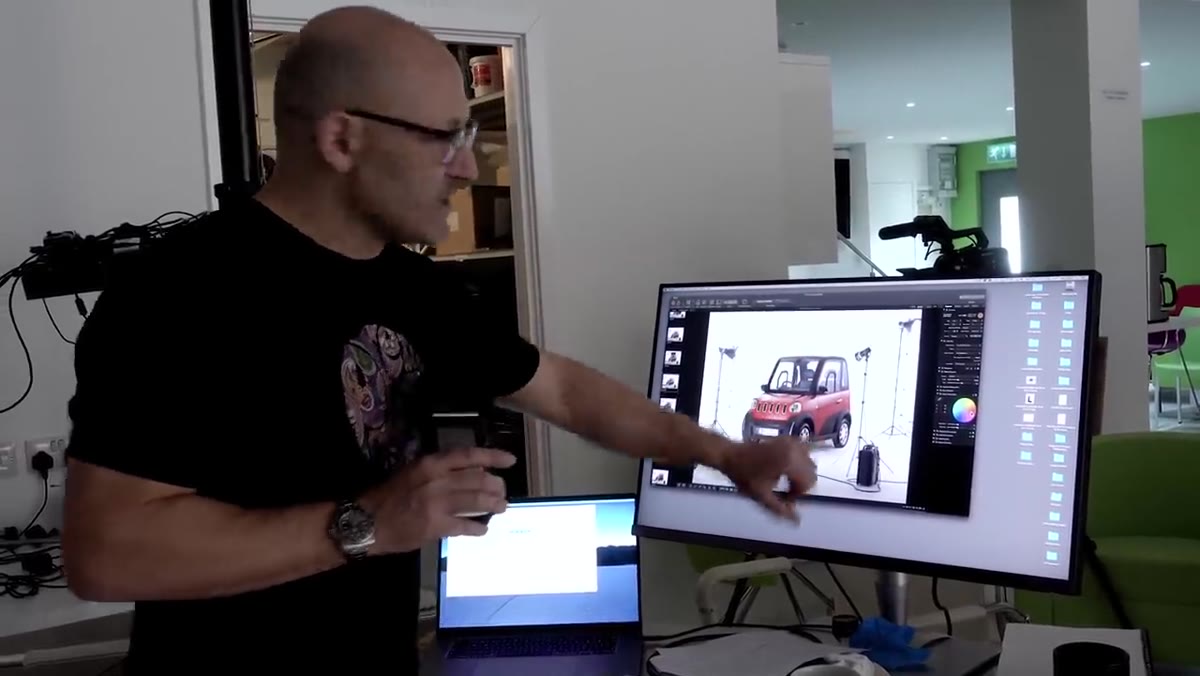 Polarizing filter attached to light source near car’s side panel
This was the technique I immediately noted down and flagged. The side panels of a car are essentially curved mirrors, and when they’re picking up too much glare from your studio sources, polarization is your cleanest solution. Karl polarizes the light hitting the side panels, then uses a polarizing filter on the lens as well. This combination lets him control the intensity of reflections on the paint and, critically, vary how much he can see through the side windows into the car’s interior.
Polarizing filter attached to light source near car’s side panel
This was the technique I immediately noted down and flagged. The side panels of a car are essentially curved mirrors, and when they’re picking up too much glare from your studio sources, polarization is your cleanest solution. Karl polarizes the light hitting the side panels, then uses a polarizing filter on the lens as well. This combination lets him control the intensity of reflections on the paint and, critically, vary how much he can see through the side windows into the car’s interior.
The mechanics: a polarizing gel or filter on the light source restricts the angle of the light waves. A matching polarizing filter on the lens then blocks reflected light that’s out of alignment with it. Rotating the lens filter changes the cutoff point. In practice, this means you can shoot a position and then dial in exactly how “glassy” or “solid” the panel looks in the frame. For complex curves, this replaces hours of flagging.
Step 5: Mix Flash and Continuous Light Intentionally for Stills vs. Video
 HMI continuous light positioned alongside studio flash heads
For the stills portion of the shoot, Karl used studio flash alongside HMI daylight-balanced continuous lights. These are not interchangeable choices. Flash gives you power, color accuracy, and the ability to freeze motion – important when a car needs to look perfectly sharp with no ambient contamination. HMI continuous light lets you see exactly how the light falls in real time and is essential when the same setup needs to cross over into video capture.
HMI continuous light positioned alongside studio flash heads
For the stills portion of the shoot, Karl used studio flash alongside HMI daylight-balanced continuous lights. These are not interchangeable choices. Flash gives you power, color accuracy, and the ability to freeze motion – important when a car needs to look perfectly sharp with no ambient contamination. HMI continuous light lets you see exactly how the light falls in real time and is essential when the same setup needs to cross over into video capture.
If you’re shooting a mixed-deliverable job (stills plus video, as Karl was), plan your lighting around the continuous sources first, then add flash where you need extra output for the still frames. Working backward from the video requirements simplifies the whole build.
What I’d Add From My Own Studio Work
The one thing I’d layer onto Karl’s approach is a strict pre-shoot polarization test on any car with dark paint. I keep a set of polarizing gels and a handheld polarizer in my kit specifically for this. Before any light head gets its final position, I stand at the camera position and physically check what the gel does to that surface’s reflection. Dark metallics and deep blues are the worst offenders – they can look controlled under modeling lights and then explode with flash output. Testing with a small, portable continuous source before committing to flash placement has saved me from rebuilding setups mid-job more than once.
The single biggest takeaway from this tutorial is one that applies far beyond car photography: light quality is a product of surface design, not just output. Karl’s entire rig exists to shape a reflection, not to throw more power at the subject. The next time you’re fighting a reflection on any surface, whether it’s a car, a watch, or a piece of lacquered furniture, the answer is almost never a bigger light. It’s a better-angled one, a polarized one, or a more precisely bounced one.
Watch the full tutorial on YouTube and pay particular attention to how Karl narrates his decisions in real time. Watching someone troubleshoot an active shoot is worth more than any diagram.
Comments
Leave a Comment