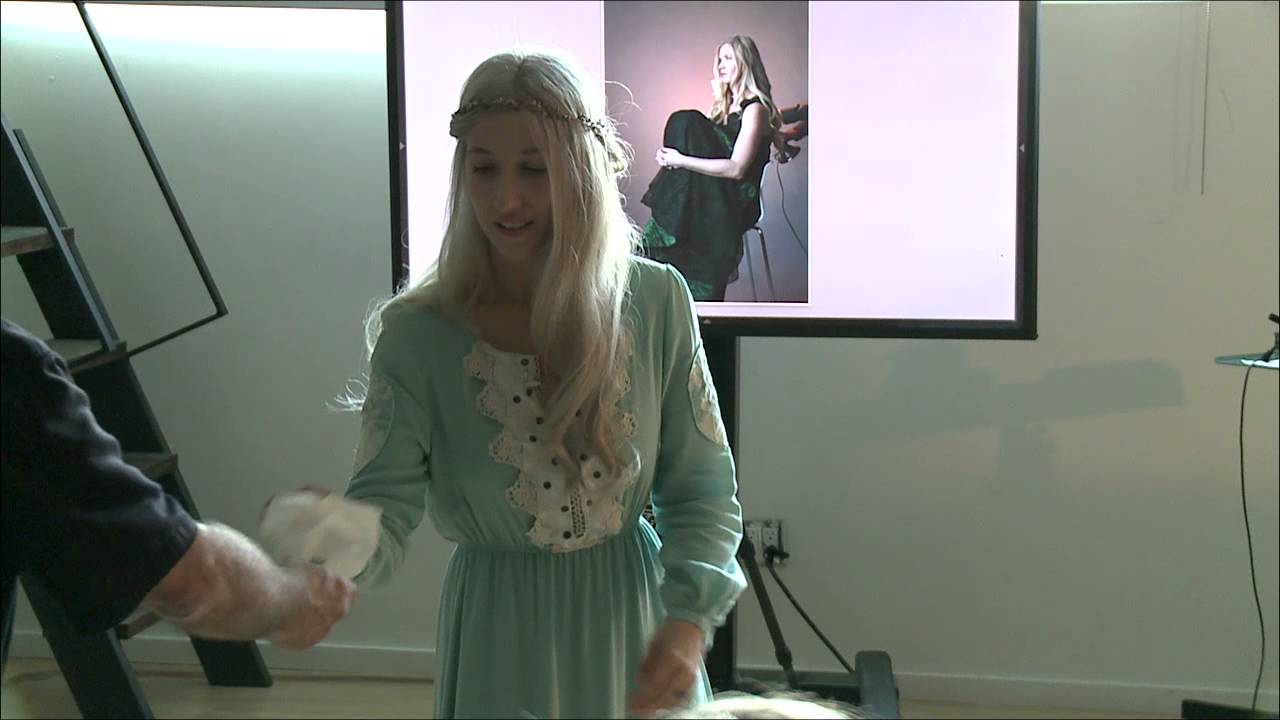
There’s a kind of arrogance that creeps into studio photography over time. You accumulate gear, you build preferences, and eventually you start to believe that the quality of your light is a direct function of how much money you spent on it. I’ve been guilty of this. My studio in Los Angeles has a wall of modifiers, and I’ve labeled every one of them with masking tape because I’m that person. So when I sat down with this CreativeLive tutorial featuring Brooke Shaden working through a low-tech studio lighting exercise, I expected to watch it once and move on. Instead, I sketched three pages in my lighting journal.
Watch the full tutorial on YouTube
What Shaden demonstrates is something I think about more than I admit: the gap between what you need and what you think you need. She’s building a working portrait setup using bare-bulb lamps, paper, tissues, and instinct. No power packs, no modeling lights calibrated to 5600K. What makes it worth studying isn’t the budget constraint itself, but the decision-making process underneath it. She’s solving actual lighting problems in real time, which is more instructive than any polished demo with pre-rigged gear.
The practical application for commercial shooters is real. I’ve had clients ask me to photograph on location in spaces where I couldn’t set up my usual kit. I’ve had assistants not show up. I’ve had modifiers fail mid-shoot. Understanding how to read light and shape it with whatever’s nearby isn’t a hobbyist skill. It’s a survival skill.
Step 1: Start With a Single Light Source and Move It
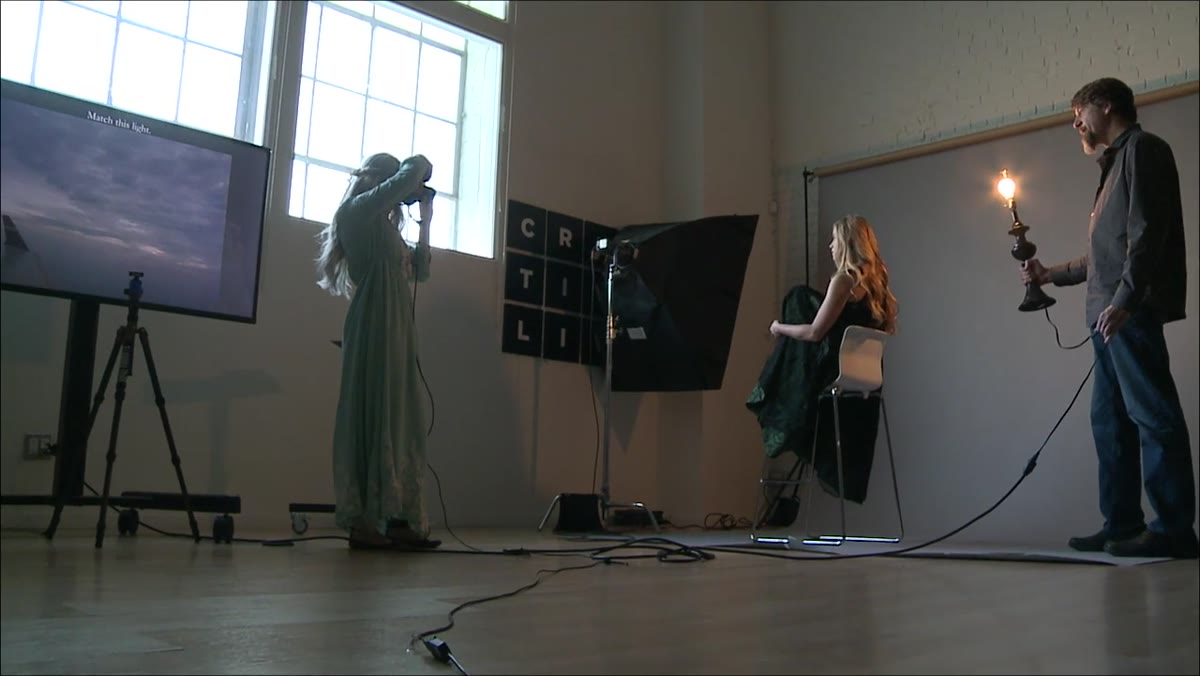 Photographer directing light position adjustments around subject
Before anything else, Shaden’s approach is to get coverage first. She moves the light to multiple positions around the subject, shooting from each, rather than committing to one angle and optimizing it. The logic is simple: you build options before you build refinements. If you’re working with a single lamp, especially one you can’t remotely adjust, physically repositioning it is your primary tool for changing the quality and character of the light. Don’t lock in until you’ve walked the light around the subject at least three times.
In practice, this means shooting test frames at roughly 45 degrees front-left, 45 degrees front-right, and directly to the side. At each position, evaluate where the shadows fall on the face and whether the fall-off on the far side is something you can work with or need to correct.
Step 2: Move the Light to the Opposite Side and Evaluate the Problems It Creates
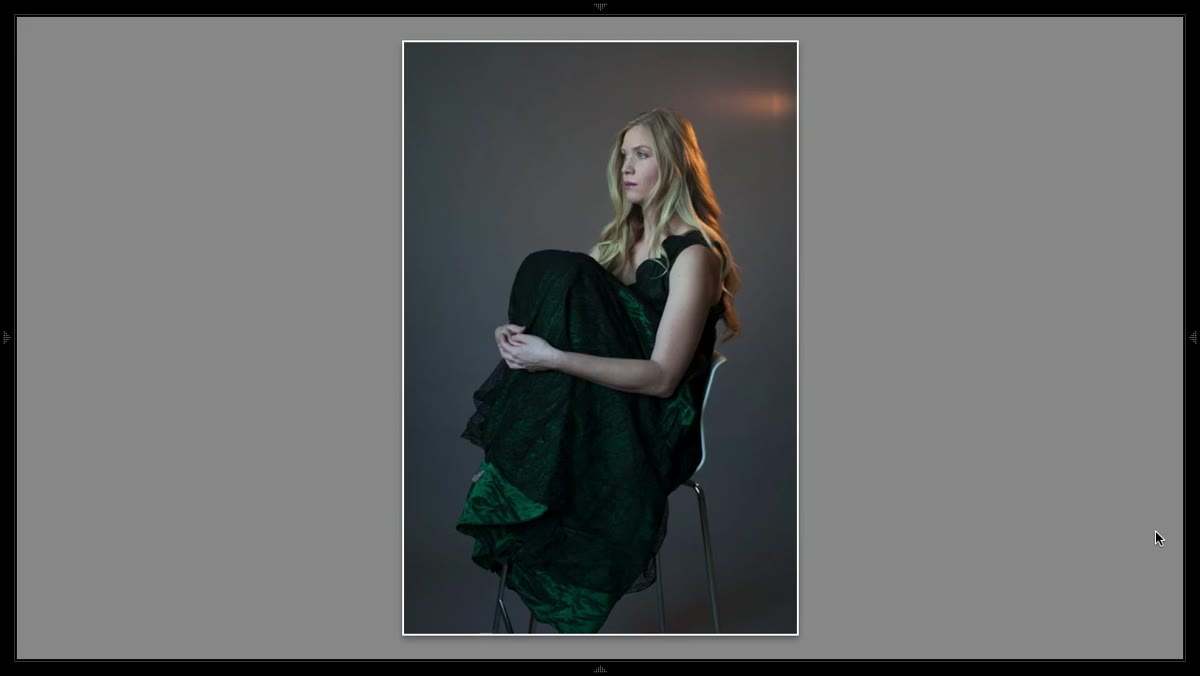 Light repositioned to opposite side of subject, assessing brightness
When Shaden swings the light to the other side of the subject, she immediately identifies the issue: the bare bulb is too hot, too visible, and too bright in that position. This is the right workflow. Place the light where you think it should go, then look at what’s wrong with that choice before reaching for a solution. Naming the problem precisely, in this case an overpowering, unmodified light source, tells you exactly what kind of fix you need.
For a bare bulb positioned to the rear or side of a subject, the two primary issues are hotspots in the background and harsh, uncontrolled spill. Both require diffusion. The question is how much.
Step 3: Diffuse the Bulb Using Whatever You Have
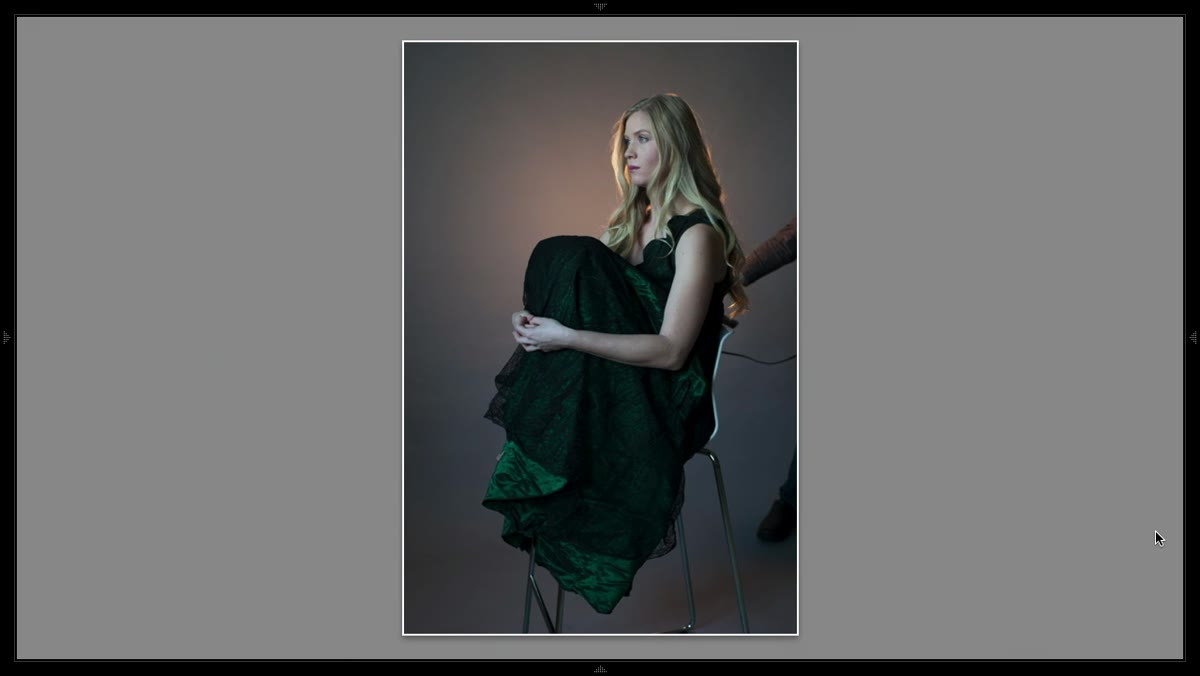 Paper held in front of bare bulb to test diffusion effect
This is where the tutorial earns its title. Shaden tests diffusion using paper, then doubled paper, then a tissue. She’s not being cavalier. She’s demonstrating that the principle behind a professional diffusion panel, putting translucent material between the light source and the subject, works whether that material costs $200 or nothing. A sheet of white printer paper held 6 to 10 inches from a bare bulb will cut the intensity and soften the edge of the light. Two sheets cut it further.
The key variable she’s watching is whether she can still see the glow of the light source through the material. That visible glow indicates you haven’t killed the character of the light, you’ve just tamed it. If the material goes fully opaque from camera view, you’ve lost the quality you were chasing in the first place. Start with one layer and only add a second if the first isn’t enough.
Step 4: Recognize When You’ve Over-Diffused
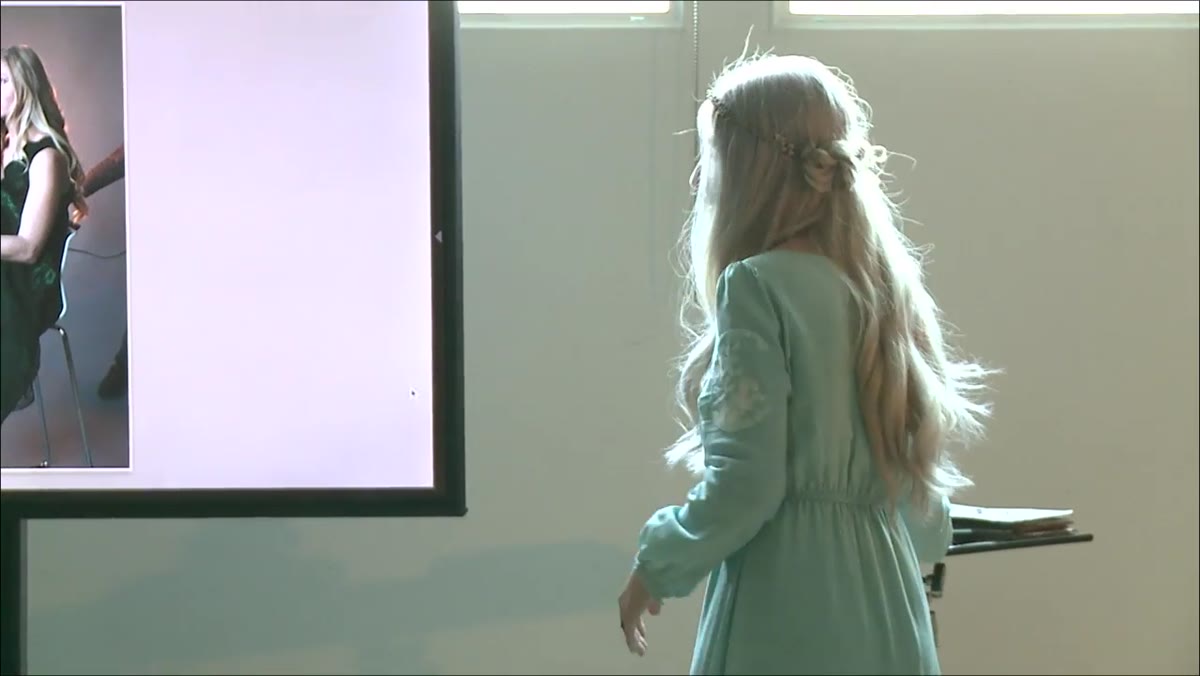 Assessing excessive diffusion effect on light quality with paper
Shaden lands on an important moment of restraint: she tries a heavier diffusion material and recognizes it’s too much for the output of a small lamp. The light gets swallowed. This is a calibration instinct that takes time to develop, and it’s worth naming explicitly. Small light sources, low-wattage lamps especially, don’t have enough output to push through heavy diffusion and still produce workable exposure without compromising your shutter speed or ISO settings.
If you’re working with a lamp rather than a strobe, keep your diffusion lightweight. A single sheet of copy paper, a thin piece of white fabric, or a dampened tissue will give you enough scatter to soften the edge without cutting your light by two-plus stops. Thicker materials are for strobes with enough power to compensate.
Step 5: Add a Second Light to Control Shadow Fall-Off
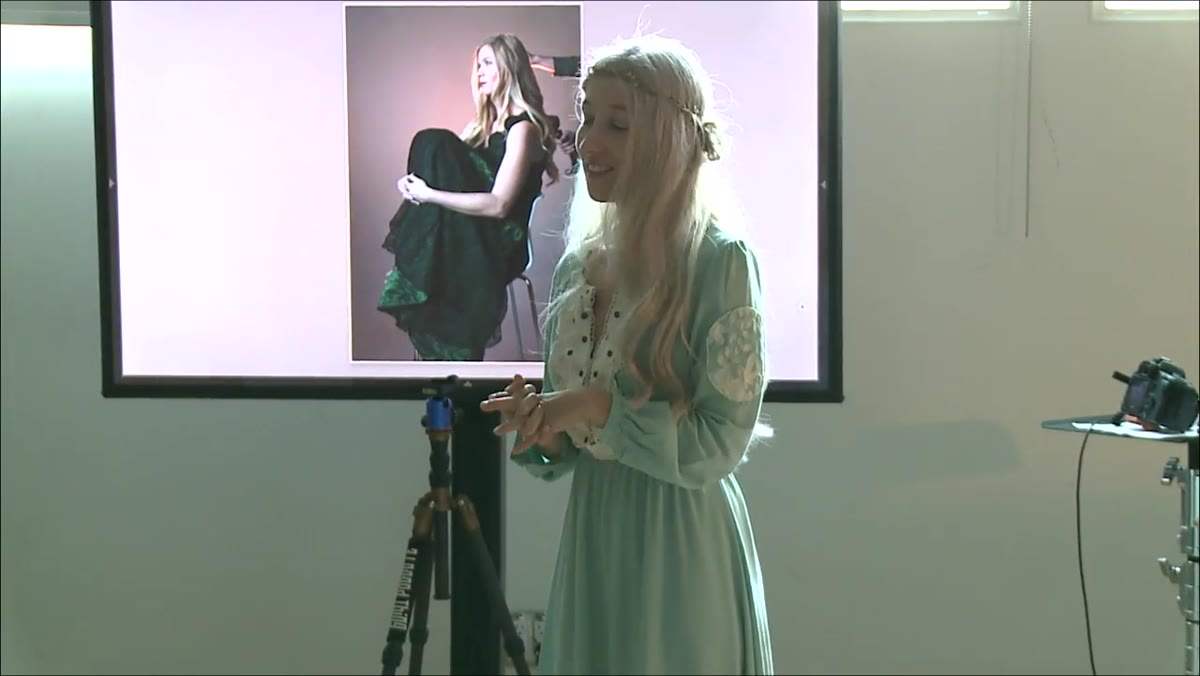 Second lamp introduced to fill shadow side of subject
Once Shaden has the primary lamp diffused, she addresses the other problem: the shadow side of the subject is too dark. Her fix is direct. She brings in a second lamp, a basic floor lamp, and positions it on the dark side. No overthinking. She’s not trying to match color temperature precisely or feather the light perfectly. She’s filling a hole.
This is the fastest way to learn fill light logic. Look at your subject, identify the darkest area that’s bothering you, and put a light there. Adjust the distance until the shadow detail is visible without the fill becoming its own primary source. In a low-tech setup, the distance between the fill and the subject is your only power control, so use it deliberately.
What I’d Do Differently on a Commercial Job
I wouldn’t reach for the tissue. Not because it doesn’t work technically, but because on a job with a client in the room, improvising with a tissue creates a confidence problem that isn’t worth solving. What I keep in my kit for exactly this kind of situation is a roll of Lee 216 diffusion gel, which is roughly $12 a sheet and folds down to nothing. It gives me the same result Shaden was chasing with the paper, and I can tape it to anything. I’ve clipped it to a fluorescent shop light before. I’ve taped it over a hotel room lamp for a travel editorial that had no budget for equipment. It’s the lowest-cost insurance policy in lighting.
The deeper lesson from Shaden’s process is one I try to apply every time I set up: understand what the light is doing before you try to control it. She doesn’t immediately reach for a modifier. She looks. She moves. She makes decisions based on what she sees, not on a diagram she decided on before walking into the room. My lighting journal is full of setups that started as one thing and became something else entirely because I paid attention to what the light was actually doing.
The single most important thing this tutorial reinforces is that diffusion is a spectrum, not a switch. A little material softens. More material kills. Your job is to find the point in between that serves the image, and you can only find it by testing incrementally rather than committing to the heaviest option first.
Watch the full tutorial on YouTube to see Shaden’s complete process, including how she evaluates each adjustment through the viewfinder in real time.
Comments
Leave a Comment