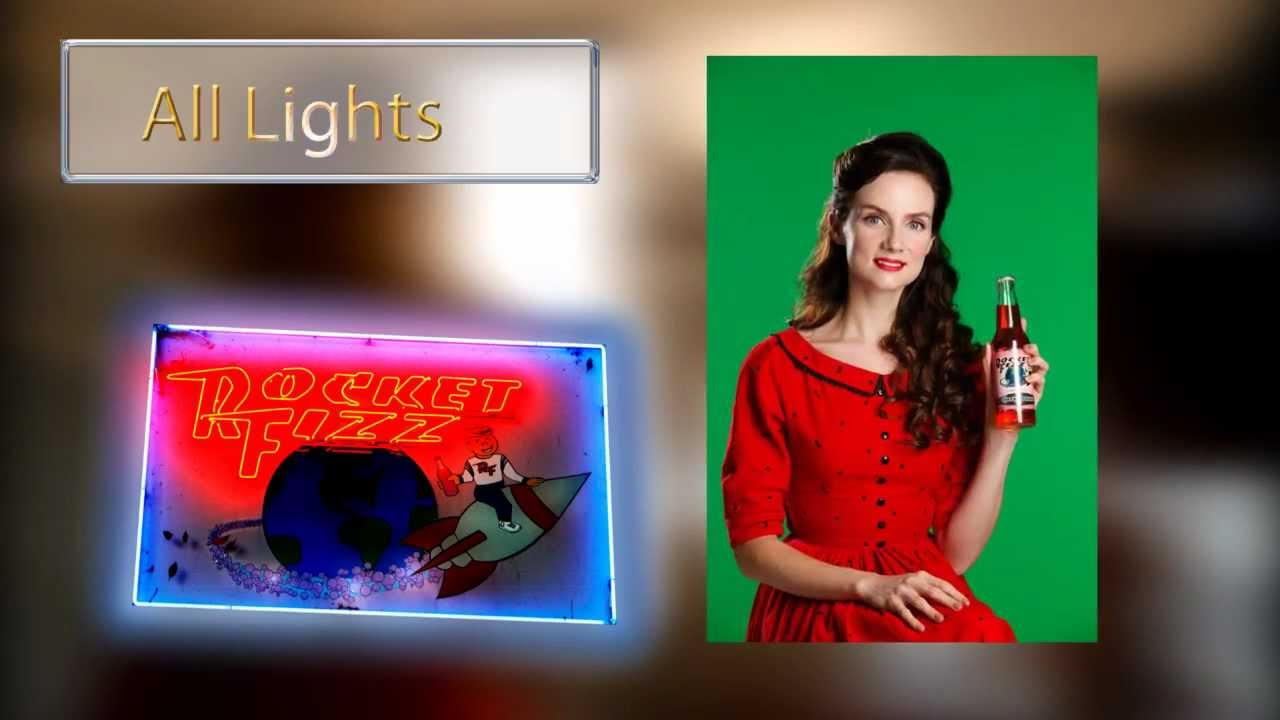
Every softbox decision I make on a commercial shoot comes down to one question: what do I want the shadows to do? Not where do I want the light to come from, but what should happen on the dark side of the face, the shoulder, the background. That single reframe changed how I shop for modifiers, how I label them on my studio shelves, and how I plan setups before a single strobe fires.
Watch the full tutorial on YouTube
In this Slanted Lens tutorial, JP Morgan walks through a real four-light studio setup, using a model in a red dress against a green background to demonstrate exactly how softbox size affects shadow quality across three distinct lighting roles: key, rim, and background. It is part two of a series, but it stands completely on its own as a practical guide. What I appreciate most is that JP does not just describe the lights, he swaps between sizes so you can see the difference directly on the same subject. That kind of side-by-side comparison is worth more than a hundred diagrams, and I say that as someone who has filled multiple lighting journals with exactly those diagrams.
Step 1: Understand What Softbox Size Actually Controls
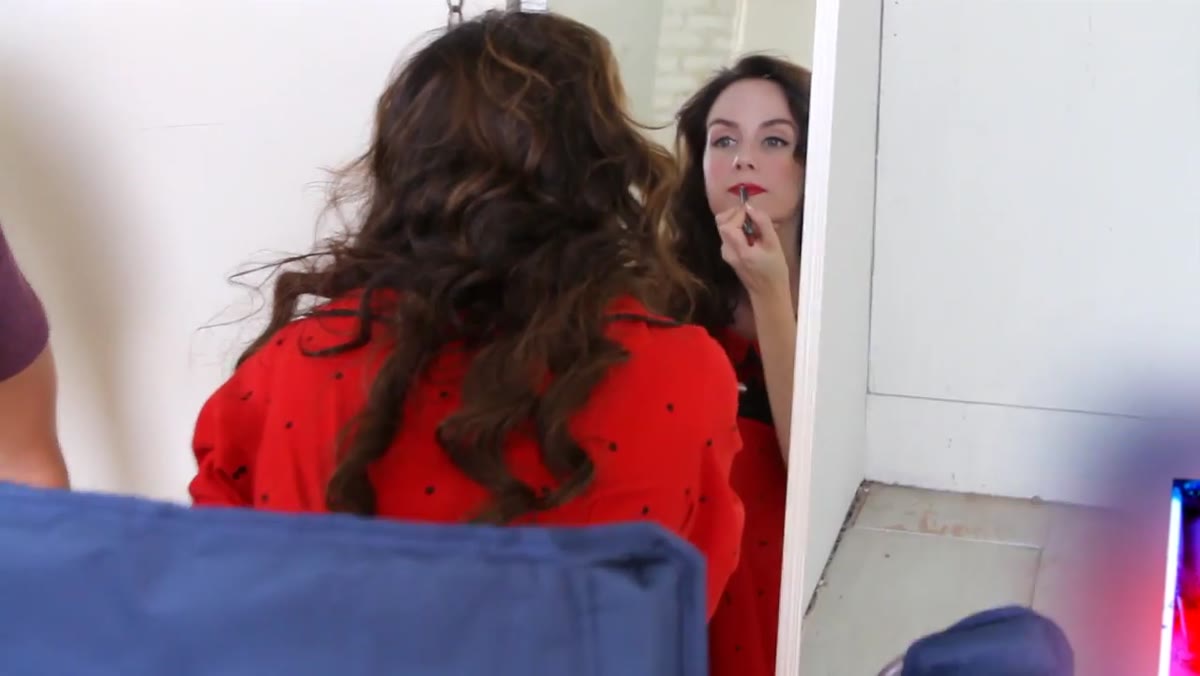 JP Morgan explaining softbox language and shadow behavior
Before placing a single light, JP establishes the foundational rule that the rest of the setup depends on: large softboxes produce wide, shadow-filling light, while small softboxes produce narrow, shadow-creating light. Both can cover a face. The difference is what happens on the unlit side. A large source wraps around the subject because the light is coming from a wider angle of coverage, meaning the shadow side receives spill from the edges of the box. A small source sees only one side of the face and leaves the other to go dark.
JP Morgan explaining softbox language and shadow behavior
Before placing a single light, JP establishes the foundational rule that the rest of the setup depends on: large softboxes produce wide, shadow-filling light, while small softboxes produce narrow, shadow-creating light. Both can cover a face. The difference is what happens on the unlit side. A large source wraps around the subject because the light is coming from a wider angle of coverage, meaning the shadow side receives spill from the edges of the box. A small source sees only one side of the face and leaves the other to go dark.
Think of it as the difference between lighting a subject with a window versus lighting them with a bare bulb. Size is not just about intensity, it is about coverage angle and falloff behavior. Once that clicks, every modifier decision becomes intentional rather than habitual.
Step 2: Choose a Key Light That Flatters Without Flattening
 Medium strip box positioned as key light on model’s face
JP started with a small strip box as the key light and found it too harsh. The highlight was sharp but the falloff into shadow was abrupt, which read as unflattering contrast on the model’s face. He moved to a medium strip box, which gave him the directional quality he wanted while wrapping just enough to soften the transition into shadow.
Medium strip box positioned as key light on model’s face
JP started with a small strip box as the key light and found it too harsh. The highlight was sharp but the falloff into shadow was abrupt, which read as unflattering contrast on the model’s face. He moved to a medium strip box, which gave him the directional quality he wanted while wrapping just enough to soften the transition into shadow.
This is a decision I have made on nearly every beauty shoot I have done. A small strip box gives you that crisp, editorial highlight, but unless your subject has very even skin and you want a high-fashion edge, the hard falloff tends to look punishing. The medium strip box is a reliable middle ground for commercial and fashion work because it preserves directionality while keeping the shadow side livable. Position it at roughly 45 degrees to the face and slightly above eye level, angled down toward the subject.
Step 3: Select a Rim Light That Defines Without Bleeding
 Small strip box creating hard rim light on model’s shoulder
For the rim light, JP reversed his logic and chose a small strip box deliberately. A large softbox used from behind wraps light around the shoulders and into the shadow areas, softening the separation between subject and background. That can look beautiful in some contexts, but here he needed a clean, defined outline that would separate the red dress from the green background without spilling into the shadow fill on the front of the body.
Small strip box creating hard rim light on model’s shoulder
For the rim light, JP reversed his logic and chose a small strip box deliberately. A large softbox used from behind wraps light around the shoulders and into the shadow areas, softening the separation between subject and background. That can look beautiful in some contexts, but here he needed a clean, defined outline that would separate the red dress from the green background without spilling into the shadow fill on the front of the body.
The small strip box gives a specular, tight rim that reads as a hard line of light. It does not wrap, and it does not interfere with what the key light is doing. Placement matters here: keep it close to 90 degrees from the camera axis, just behind the plane of the subject’s shoulder. Too far back and it becomes a backlight. Too far forward and it starts reading as a second key.
Step 4: Light the Background With Large Sources for Even Coverage
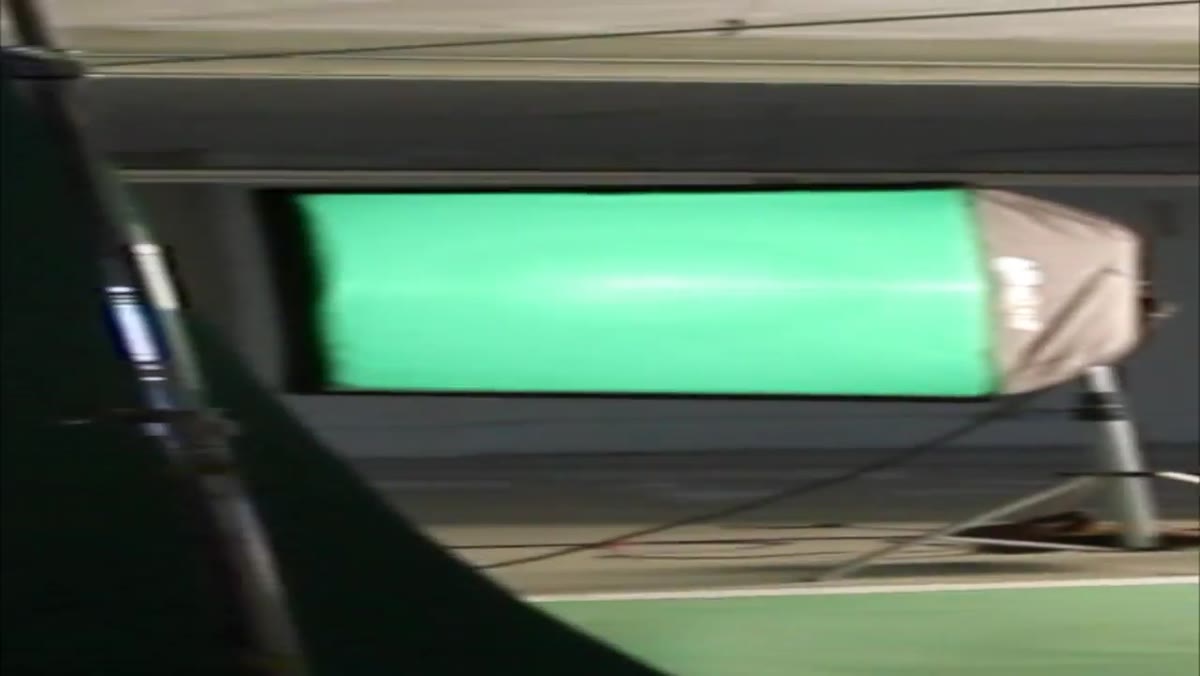 Two large softboxes with green gels lighting the backdrop
JP used two large softboxes fitted with green gels to light the background. The choice of large boxes is important here, not just for intensity but for evenness. Large sources produce a smooth, gradual wash of light across a surface. Small sources tend to create hot spots with visible falloff toward the edges, which gives you uneven background color even if you dial in the right exposure.
Two large softboxes with green gels lighting the backdrop
JP used two large softboxes fitted with green gels to light the background. The choice of large boxes is important here, not just for intensity but for evenness. Large sources produce a smooth, gradual wash of light across a surface. Small sources tend to create hot spots with visible falloff toward the edges, which gives you uneven background color even if you dial in the right exposure.
With two large boxes angled toward the background from either side, he gets a consistent green wash that can be powered up or down without introducing gradient problems. If you only have one background light, a large box placed centrally will serve you better than a small one placed anywhere.
Step 5: Evaluate the Full Setup as a System
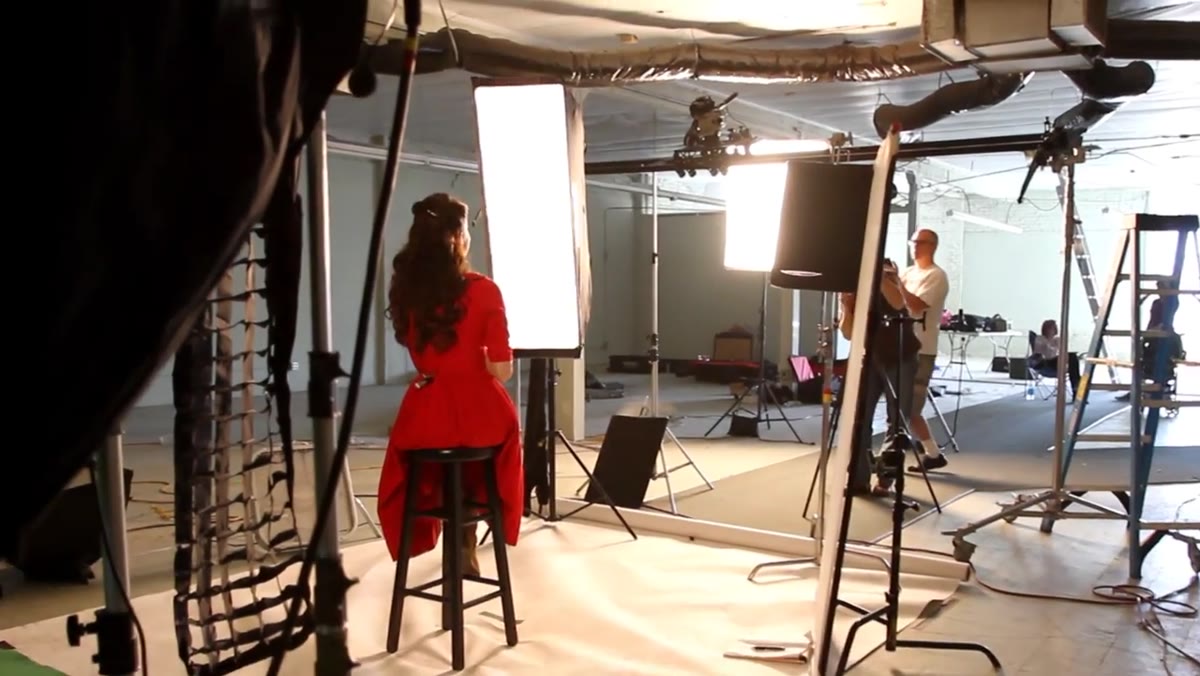
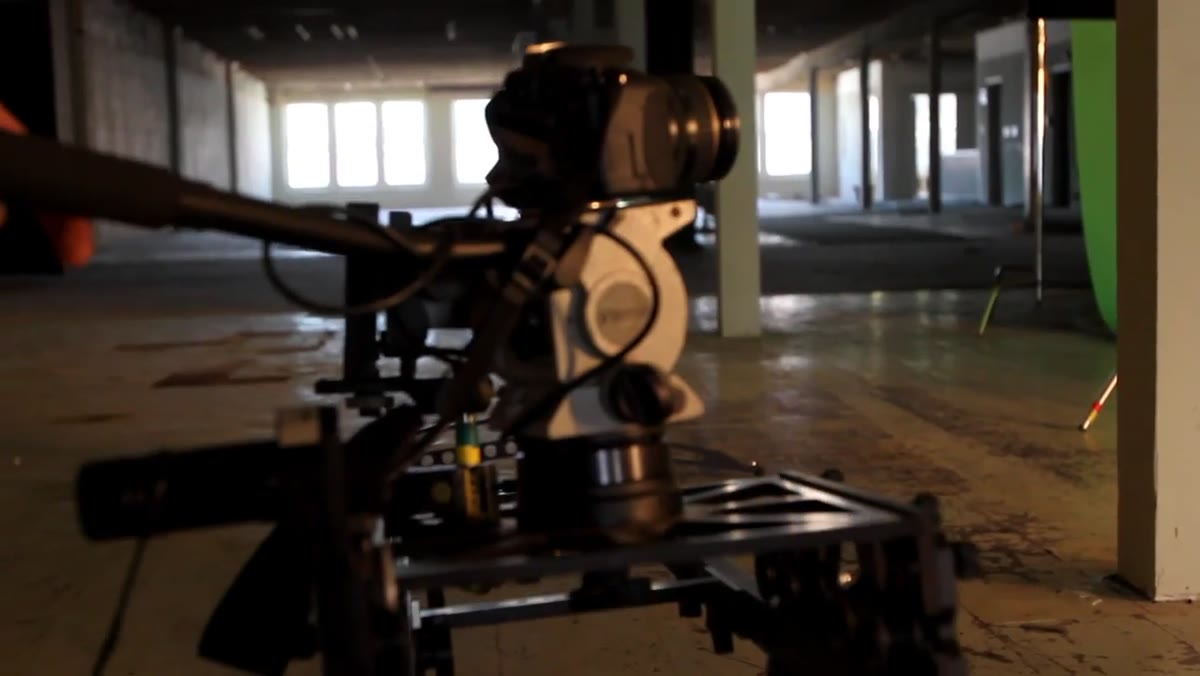 Final four-light setup overview with model and full scene
JP closes the setup review by walking through each light and naming the decision behind it. This is the step most tutorials skip, and it is the one I think matters most. A key light, a rim light, and background lights are not independent choices. They interact. The rim light you choose has to work with the amount of fill your key is producing. The background exposure has to separate cleanly from the subject without competing with the rim.
Final four-light setup overview with model and full scene
JP closes the setup review by walking through each light and naming the decision behind it. This is the step most tutorials skip, and it is the one I think matters most. A key light, a rim light, and background lights are not independent choices. They interact. The rim light you choose has to work with the amount of fill your key is producing. The background exposure has to separate cleanly from the subject without competing with the rim.
In my own practice, I sketch each setup in my lighting journal after the shoot, not before. I find that working it out on paper retroactively forces me to understand why something worked rather than just that it worked. But whether you plan ahead or reconstruct after, the habit of evaluating each light in relation to the others is what separates a coherent lighting design from a collection of modifiers pointed at a person.
One Thing I Would Add From My Own Experience
The tutorial does not address modifier distance, and in a studio session that is often where the setup lives or dies. A medium strip box at four feet is a dramatically different light source than the same box at eight feet. Move it closer and the light wraps more and the falloff is faster. Move it further and it behaves more like a small source regardless of its actual size.
I keep a piece of masking tape on every modifier in my studio with its recommended starting distance for portraits. It is a small habit, but it has saved me from spending the first twenty minutes of a shoot chasing a look I had on a previous job. JP’s setup here is well-chosen, and if you replicate it, start with your key light at about three to four feet from the subject and adjust from there.
The single most useful idea in this tutorial is that softbox size is a language, not just a technical spec. Choose the softbox size based on what you want the shadows to say, and the rest of the decisions start to make sense on their own.
Watch the full tutorial on YouTube
Comments
Leave a Comment