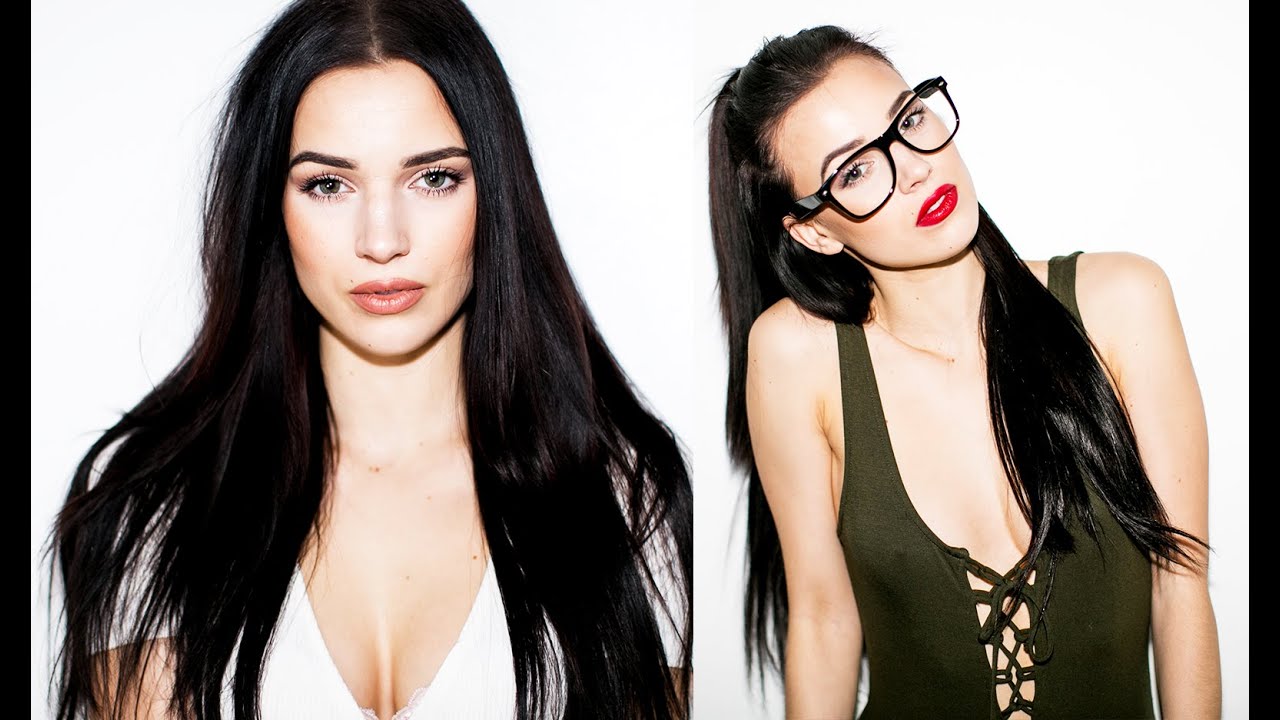
There’s a particular kind of shoot that humbles you fast: the one where you’ve over-complicated everything. I’ve shown up to simple portrait sessions with four lights, two modifiers, and a diagram I drew at midnight, only to spend the first hour troubleshooting instead of shooting. The clients wait. The energy drops. The photos suffer. Direct flash is the antidote to that spiral. It’s one light, on-camera or near it, pointed straight at your subject. No diffusion. No bounce. No apology. In this Jessica Kobeissi tutorial, she demonstrates the technique with a clarity that I think a lot of working photographers could benefit from, especially those of us who’ve convinced ourselves that complexity equals quality.
What strikes me about Kobeissi’s approach is that she’s not hiding from the harshness of direct flash. She’s using it deliberately. That flat, bright, slightly blown quality is the aesthetic. It reads editorial. It reads confident. And once you understand the few variables that actually matter in this setup, you can execute it in almost any location with almost no setup time. That’s worth a lot on a real shoot.
Step 1: Choose Your Gear and Keep It Minimal
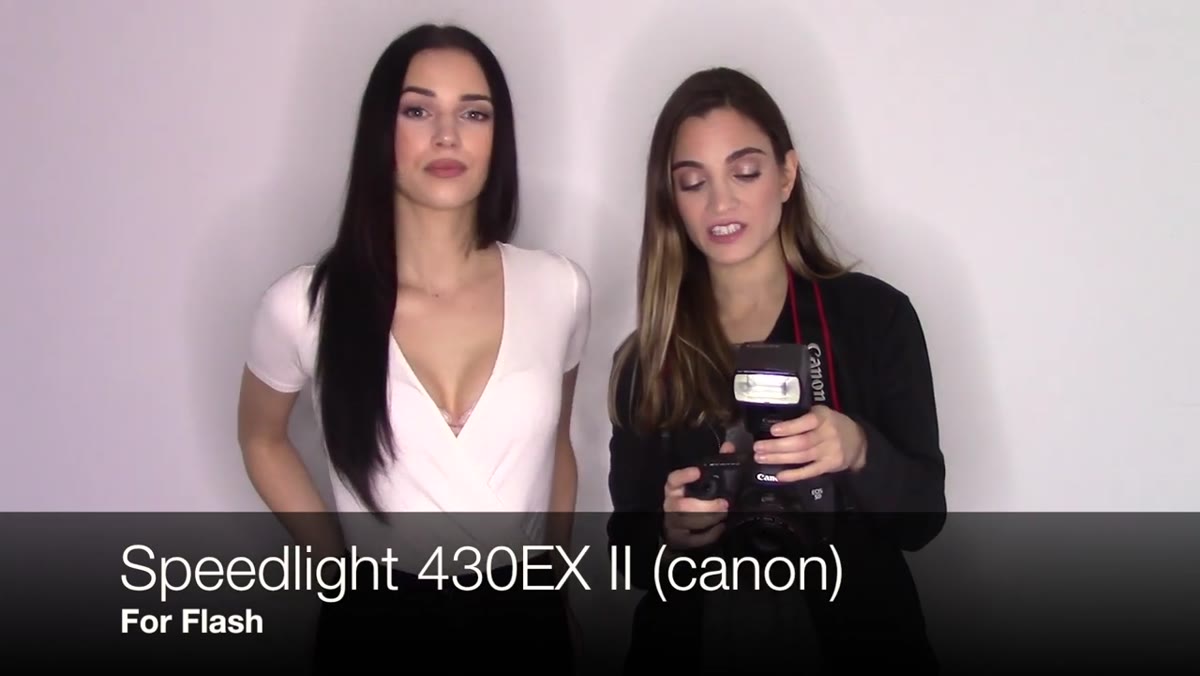 Jessica showing Canon speedlight 430EX II and camera body
Kobeissi shoots this with a Canon 430EX II speedlight mounted on a Canon 5D Mark II, paired with a 50mm f/1.2 lens. The lens choice matters less than the focal length range: a 50mm gives you natural compression without the distortion you’d get from a wider lens. She mentions a wider lens is an option, but her preference stays at 50mm, and I’d echo that for most portrait work. The 430EX II is a mid-range speedlight, not a top-of-the-line unit, and that’s the point. You don’t need a flagship strobe for this. What you need is a flash that can communicate with your camera’s metering system.
Jessica showing Canon speedlight 430EX II and camera body
Kobeissi shoots this with a Canon 430EX II speedlight mounted on a Canon 5D Mark II, paired with a 50mm f/1.2 lens. The lens choice matters less than the focal length range: a 50mm gives you natural compression without the distortion you’d get from a wider lens. She mentions a wider lens is an option, but her preference stays at 50mm, and I’d echo that for most portrait work. The 430EX II is a mid-range speedlight, not a top-of-the-line unit, and that’s the point. You don’t need a flagship strobe for this. What you need is a flash that can communicate with your camera’s metering system.
For the background, she uses a plain white wall. I keep a roll of seamless white paper in the studio for exactly this reason, but honestly a painted wall does the same job. The direct flash will slightly overexpose the wall behind your subject, which adds to the clean, blown-out look that defines this style.
Step 2: Set the Flash to ETL (Automatic) Mode
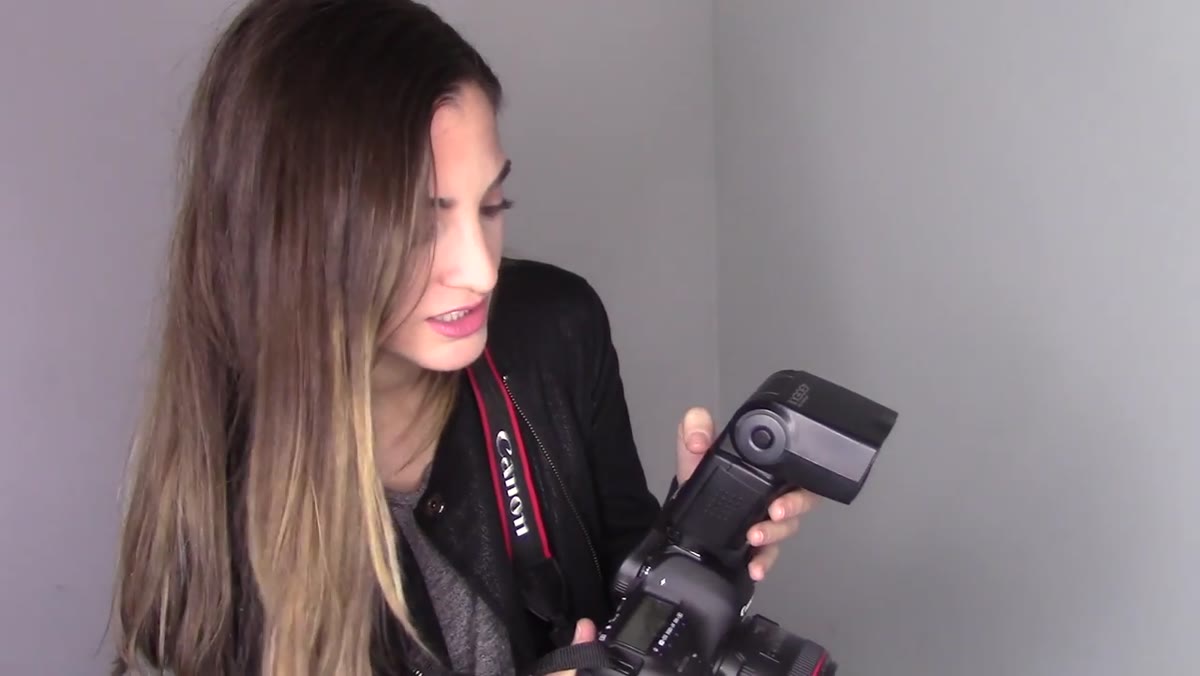 Flash unit showing ETL mode setting
Kobeissi runs the flash in ETL mode, which is Canon’s through-the-lens evaluative metering for flash. The camera reads the scene, communicates with the flash, and the flash adjusts its output accordingly. She’s explicit that she doesn’t recommend switching to full manual flash output for this technique. At close distances, a manual flash set to even a moderate power level will over-illuminate the subject aggressively. ETL gives you a working relationship between your camera and flash that keeps things controllable.
Flash unit showing ETL mode setting
Kobeissi runs the flash in ETL mode, which is Canon’s through-the-lens evaluative metering for flash. The camera reads the scene, communicates with the flash, and the flash adjusts its output accordingly. She’s explicit that she doesn’t recommend switching to full manual flash output for this technique. At close distances, a manual flash set to even a moderate power level will over-illuminate the subject aggressively. ETL gives you a working relationship between your camera and flash that keeps things controllable.
If you’re shooting Nikon, this is your i-TTL mode. Sony calls it TTL. The label changes, the principle doesn’t. Let the system handle flash output, and use your camera settings to shape the overall exposure.
Step 3: Dial in Your Camera Settings
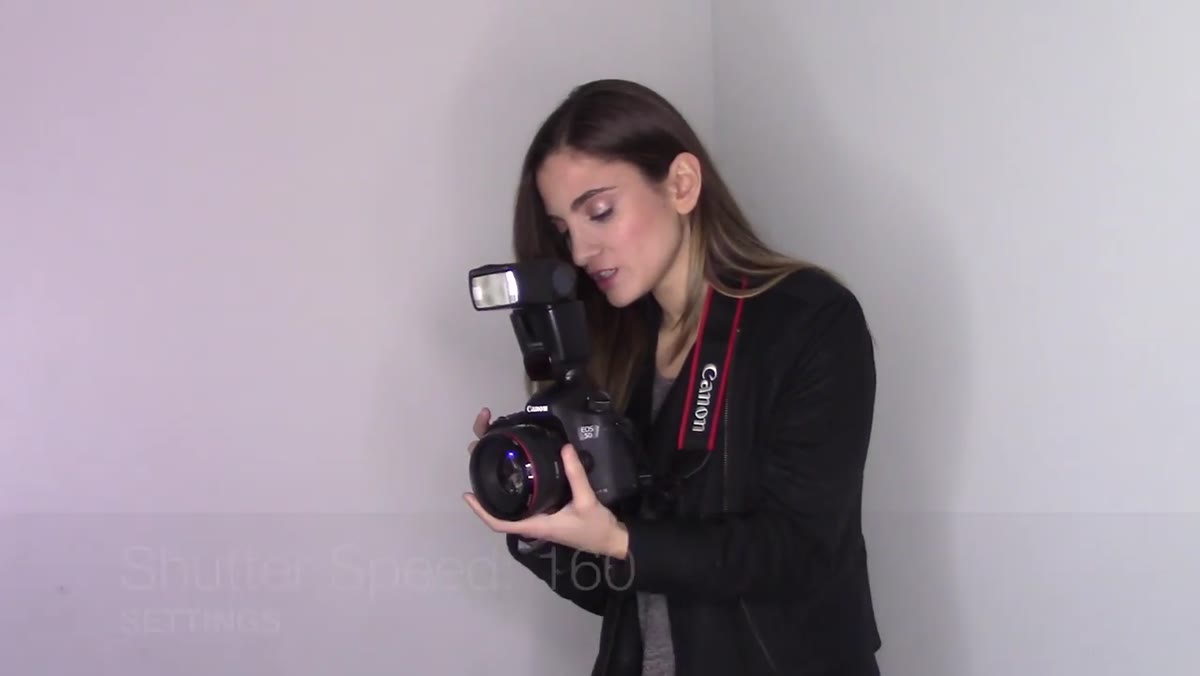 Camera settings display showing shutter speed and aperture
Her camera settings are 1/160s shutter speed, f/1.8 aperture, and ISO 320. The shutter speed at 1/160s keeps you below the sync speed threshold, which is typically 1/200s on most camera bodies. Go above that and you’ll get a black bar across the bottom of your frame. Staying at 1/160s is a safe, standard choice.
Camera settings display showing shutter speed and aperture
Her camera settings are 1/160s shutter speed, f/1.8 aperture, and ISO 320. The shutter speed at 1/160s keeps you below the sync speed threshold, which is typically 1/200s on most camera bodies. Go above that and you’ll get a black bar across the bottom of your frame. Staying at 1/160s is a safe, standard choice.
The f/1.8 aperture and ISO 320 combination is intentionally on the brighter side. The direct flash look already trends toward high key, and she’s leaning into that rather than fighting it. She notes she might push the ISO higher as the shoot progresses. This is the right instinct: treat your baseline settings as a starting point, not a locked formula.
Step 4: Position the Flash Level With Your Subject
 Jessica adjusting flash angle downward on hot shoe
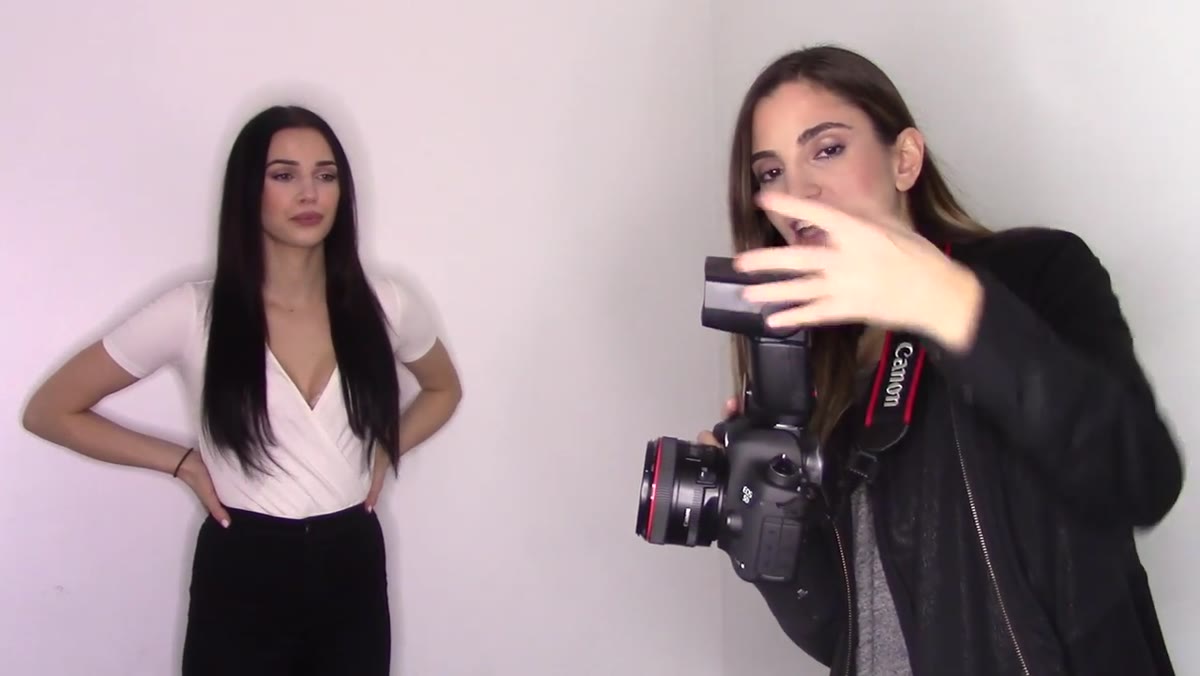
She angles the speedlight down to its lowest position on the hot shoe head, so the flash fires roughly level with the subject’s face rather than angled upward. Standard on-camera flash pointed straight ahead from a hot shoe tends to fire slightly upward, which shifts shadows. By angling it down, the light hits the face more directly and evenly.
Jessica adjusting flash angle downward on hot shoe
She angles the speedlight down to its lowest position on the hot shoe head, so the flash fires roughly level with the subject’s face rather than angled upward. Standard on-camera flash pointed straight ahead from a hot shoe tends to fire slightly upward, which shifts shadows. By angling it down, the light hits the face more directly and evenly.
This positioning decision is subtle but it changes the shadow fall under the chin, nose, and brow. Level flash produces shadows that fall almost straight back behind the subject, which suits the flat, clean aesthetic you’re after with this style.
Step 5: Control Your Distance From the Subject
 Jessica stepping back from model to adjust flash intensity
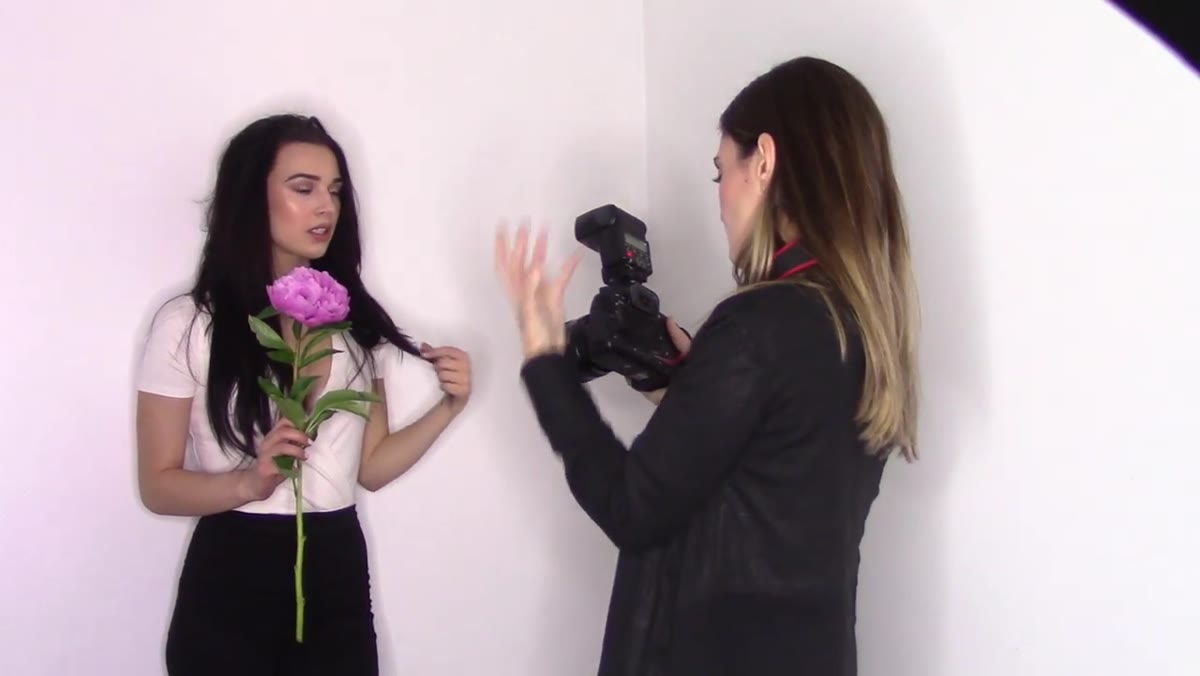
This is the step most people skip thinking about. Kobeissi notices mid-shoot that when she moves too close to the subject, the flash output reads as too intense. The face gets blown out and the subject’s eyes catch too much direct light. Her solution is simple: step back. Distance controls apparent flash intensity even when you’re in auto mode.
Jessica stepping back from model to adjust flash intensity
This is the step most people skip thinking about. Kobeissi notices mid-shoot that when she moves too close to the subject, the flash output reads as too intense. The face gets blown out and the subject’s eyes catch too much direct light. Her solution is simple: step back. Distance controls apparent flash intensity even when you’re in auto mode.
The inverse square law is doing the work here: flash intensity drops significantly as distance increases. Moving from two feet to four feet isn’t just doubling the distance, it’s cutting the light reaching the subject to roughly a quarter of what it was. Use your feet as a dimmer. If the image looks too hot, back up. If it’s too flat, step in slightly.
Step 6: Direct Your Model and Shoot
 Model posing with flower prop against white wall
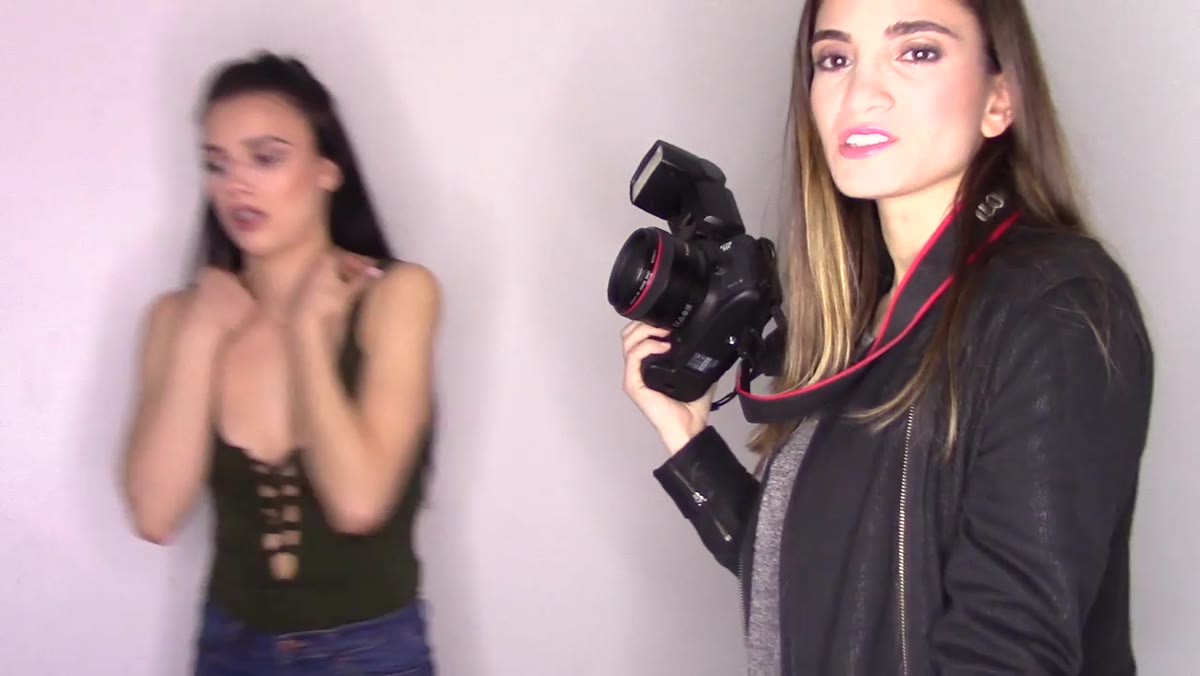
Kobeissi works with a prop, a peony, to give her model something to interact with. This is a practical directing choice. When subjects have something physical to hold or respond to, their expressions and body language relax. The shot becomes less about holding a pose and more about a moment. She also switches outfits mid-shoot, which resets the energy and gives her a second visual chapter within the same simple setup.
Model posing with flower prop against white wall
Kobeissi works with a prop, a peony, to give her model something to interact with. This is a practical directing choice. When subjects have something physical to hold or respond to, their expressions and body language relax. The shot becomes less about holding a pose and more about a moment. She also switches outfits mid-shoot, which resets the energy and gives her a second visual chapter within the same simple setup.
Her camera position shifts slightly higher at one point because of her own height, which changes the angle of the flash relative to the subject. Keep this in mind: if you’re significantly taller or shorter than your subject, the flash angle will change even if you haven’t touched the flash itself.
What I’d Add From My Own Experience
I’d recommend having a secondary light on standby, even for a setup this simple. Kobeissi mentions a ring light briefly, and it’s a useful fill option if your subject has deep-set eyes that collect shadow even with direct flash. I’ve started keeping a small LED panel just off to the side on these kinds of shoots. It stays off unless I need it, but when I do need it, I’m not scrambling.
I’d also suggest shooting a test frame at the start and reviewing the histogram, not just the LCD preview. LCD brightness varies by screen, and what looks correctly exposed on camera can be half a stop off when you open the file. On a direct flash shoot where highlights are already riding high, that half stop matters.
Direct flash photography works because it stops pretending. The light is where it is, the wall is what it is, and the subject is who they are. Strip out the gear anxiety and the setup complexity, and you’re left with a technique that delivers strong, consistent results in almost any space. That’s the takeaway. Watch the full tutorial on YouTube to see Kobeissi work through the shoot in real time. Seeing the distance adjustments and the model direction together gives you context that no written breakdown fully replaces.
Comments (1)
Solid advice. Especially the part about taking your time with it.
Leave a Comment