
Every few years, a technique crosses your desk that makes you feel like you’ve been overcomplicating things. Tracing paper was that technique for me. I’d been stacking softboxes, fighting ceiling height in my smaller studio space, and still chasing that seamless, scalable highlight on reflective surfaces — shoes, bottles, jewelry. The kind of highlight that wraps around an edge cleanly and doesn’t blow out. Then I watched this tutorial from Jay P. Morgan of The Slanted Lens, and I had one of those quiet, slightly embarrassing realizations. Watch the full tutorial on YouTube
What Morgan demonstrates isn’t a workaround. It’s what experienced product photographers have been using for decades because it actually works better than a softbox for certain shots. His friend and colleague Kathryn Russell, a career product shooter, has built her entire highlight workflow around tracing paper. That’s not a compromise. That’s a professional making a deliberate tool choice. The core advantage is control: you can size the paper to match your subject, position it in spaces too tight for a modifier, and dial in a highlight that’s brighter at center and falls off naturally toward the edges.
The tutorial pairs that lighting approach with a surprisingly thoughtful Mondrian-inspired background concept, using color-matched painted boards to tie the set to Nike shoes being photographed. It’s the kind of pre-visualization that separates a polished product image from a snapshot with good lighting. Here’s how the setup breaks down, step by step.
Step 1: Assess Your Space and Identify the Overhead Problem
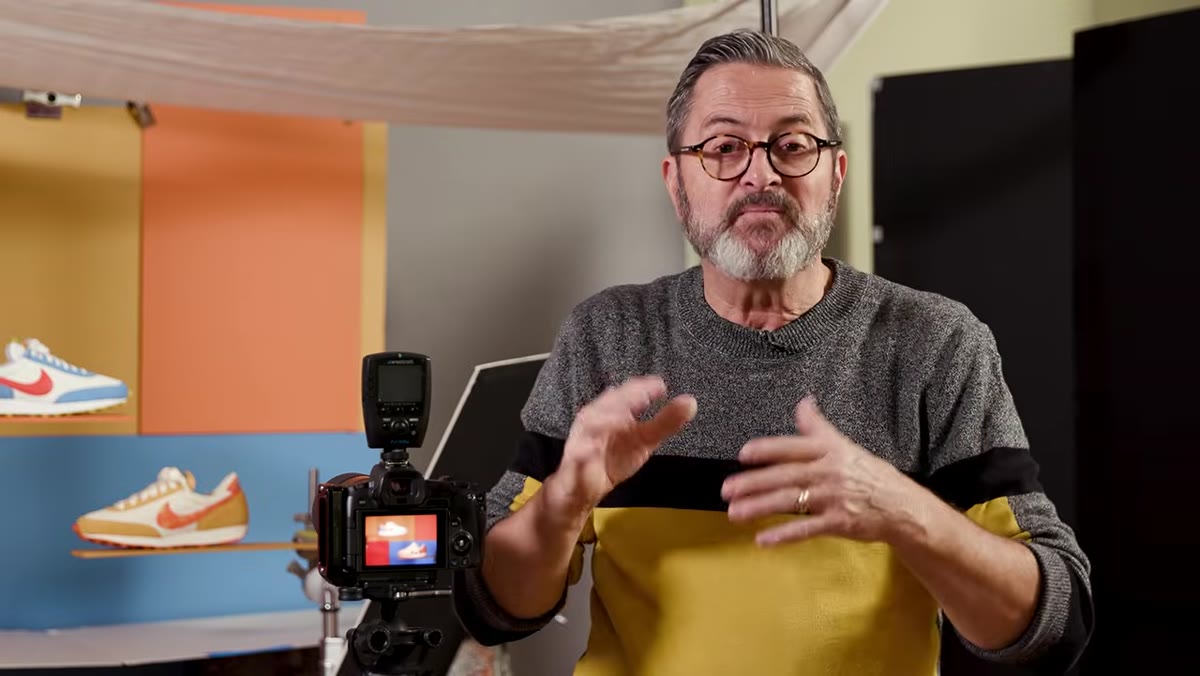 Jay pointing up toward low studio ceiling
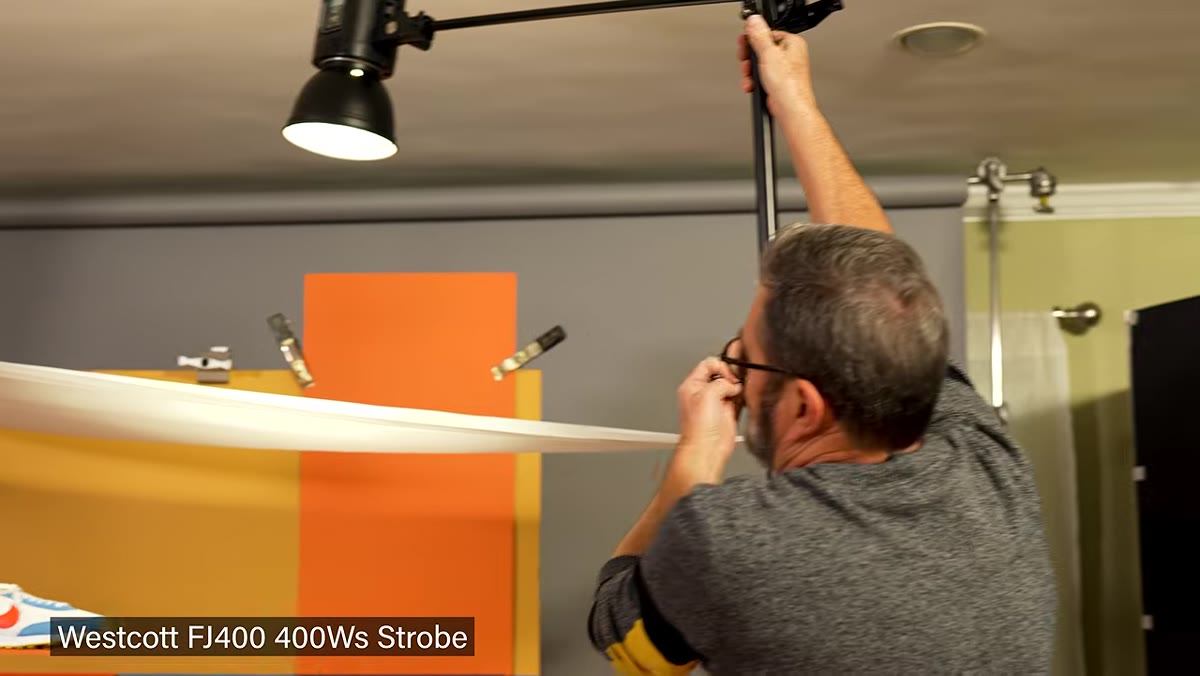
Before you reach for a modifier, look up. If you’re working in a room with a low ceiling, a large overhead softbox simply won’t fit. Morgan’s studio in this shoot has exactly that problem. The fix isn’t to compromise with side lighting when you need overhead coverage. It’s to use a sheet of tracing paper horizontally above the set instead. The paper sits much closer to the ceiling than any boxed modifier could, and the strobe head sits just above it, firing straight down through the paper.
Jay pointing up toward low studio ceiling
Before you reach for a modifier, look up. If you’re working in a room with a low ceiling, a large overhead softbox simply won’t fit. Morgan’s studio in this shoot has exactly that problem. The fix isn’t to compromise with side lighting when you need overhead coverage. It’s to use a sheet of tracing paper horizontally above the set instead. The paper sits much closer to the ceiling than any boxed modifier could, and the strobe head sits just above it, firing straight down through the paper.
This is the fundamental geometry of the technique: the tracing paper acts as a large, flat diffusion panel that you can size and reposition freely. Cut it wider and you get a softer, more spread light. Keep it narrow and the highlight gets tighter and more specular. A softbox is fixed. Tracing paper is not.
Step 2: Mount the Tracing Paper Above the Set
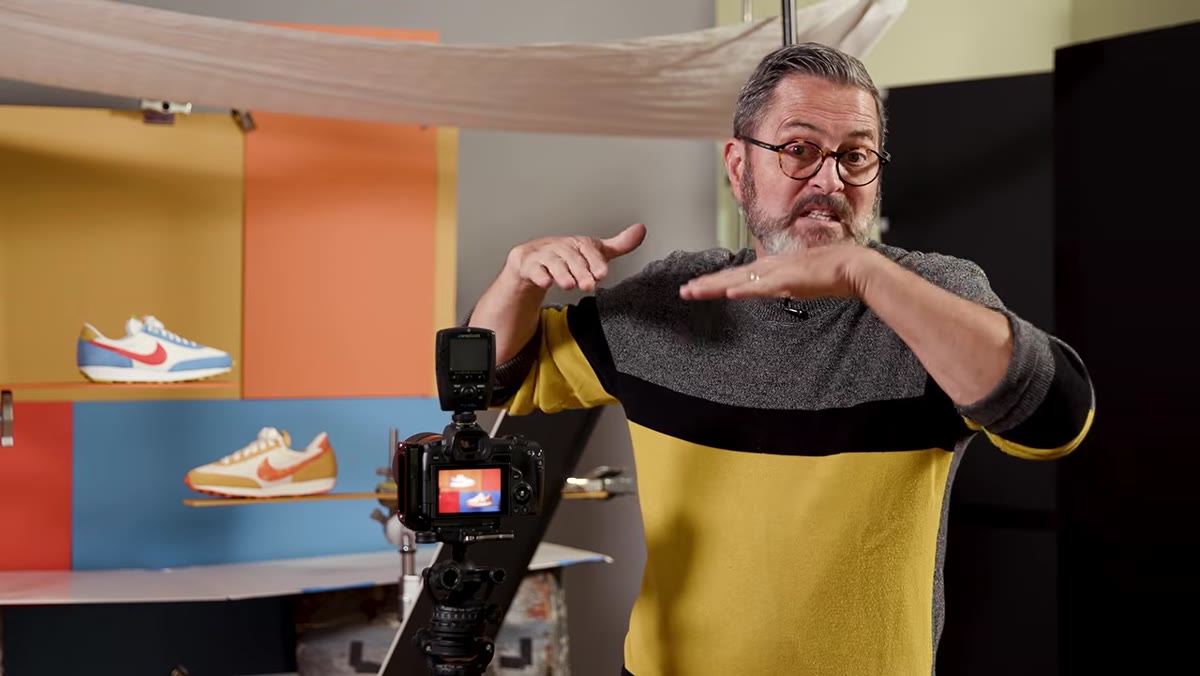 Tracing paper sheet suspended horizontally above product arrangement
Suspend the tracing paper horizontally over your subject. You can tape it to light stands, use clamps to a crossbar, or improvise a simple frame. The exact method matters less than keeping it flat and stable. Wrinkles and sags will show up in any reflective surface in the shot.
Tracing paper sheet suspended horizontally above product arrangement
Suspend the tracing paper horizontally over your subject. You can tape it to light stands, use clamps to a crossbar, or improvise a simple frame. The exact method matters less than keeping it flat and stable. Wrinkles and sags will show up in any reflective surface in the shot.
Morgan uses a single strobe head above the paper, fitted with a seven-inch reflector rather than any additional modifier. The reflector concentrates the light so it fires through the paper rather than spilling over the edges and hitting the background. That spill control is critical. You want the light to go through the diffusion surface, not around it.
Step 3: Position the Strobe Head and Control Spill
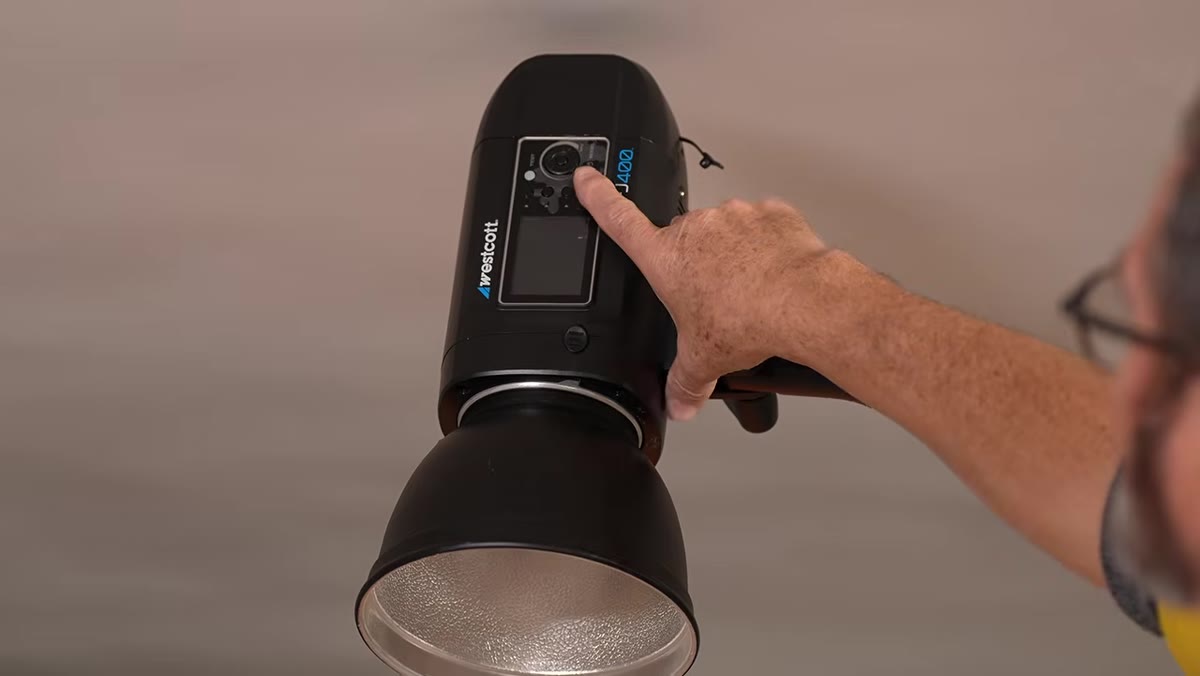 Seven-inch reflector attached to FJ400 head aimed down through paper
Attach a standard seven-inch reflector to your strobe. Morgan uses the FJ400 head here, but the specific unit is less important than the reflector choice. The seven-inch focuses the output. Angle the head so it’s pointing directly down through the center of the tracing paper. If the head is too close to one edge, you’ll get a hot spot that doesn’t center on your subject.
Seven-inch reflector attached to FJ400 head aimed down through paper
Attach a standard seven-inch reflector to your strobe. Morgan uses the FJ400 head here, but the specific unit is less important than the reflector choice. The seven-inch focuses the output. Angle the head so it’s pointing directly down through the center of the tracing paper. If the head is too close to one edge, you’ll get a hot spot that doesn’t center on your subject.
Once positioned, feather the head slightly toward camera to keep light off the background. This is a small adjustment with a significant payoff. Background bleed muddies the separation between subject and set, and in a tight studio space it’s easy to let that happen accidentally. A few test shots at this stage will tell you immediately whether the background is getting contaminated.
Step 4: Use a Color Reader to Match Your Background to the Product
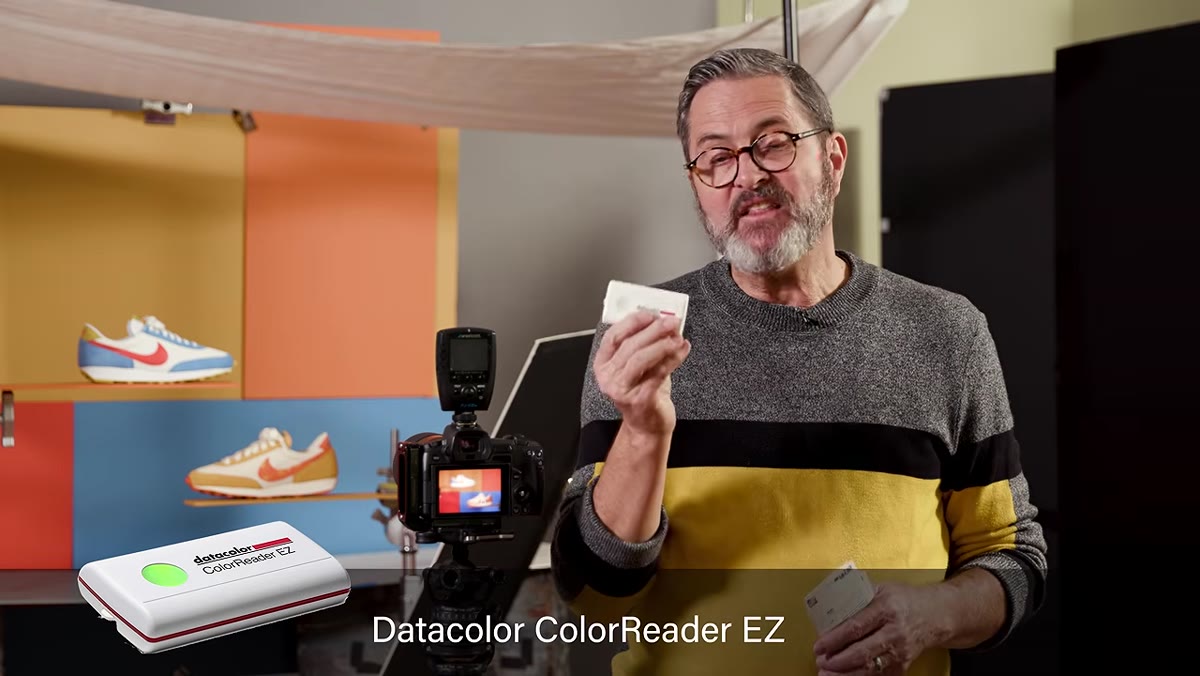 Datacolor ColorReader EZ pressed against Nike shoe surface
This step applies specifically to sets where you want the background to reinforce the product’s color story, but the workflow is worth adopting broadly. Morgan uses the Datacolor ColorReader EZ to sample actual colors directly from the shoes. The device connects to an app on your phone and returns an exact paint match from major hardware stores.
Datacolor ColorReader EZ pressed against Nike shoe surface
This step applies specifically to sets where you want the background to reinforce the product’s color story, but the workflow is worth adopting broadly. Morgan uses the Datacolor ColorReader EZ to sample actual colors directly from the shoes. The device connects to an app on your phone and returns an exact paint match from major hardware stores.
Trying to eyeball a color match by holding a paint chip next to a shoe under studio lighting is unreliable. Surfaces change under different light temperatures. The ColorReader removes the guesswork by measuring the actual spectral value of the material. Sample several points on the product, because most products aren’t a single flat color, and build a palette from those readings.
Step 5: Build and Arrange the Mondrian-Style Background Boards
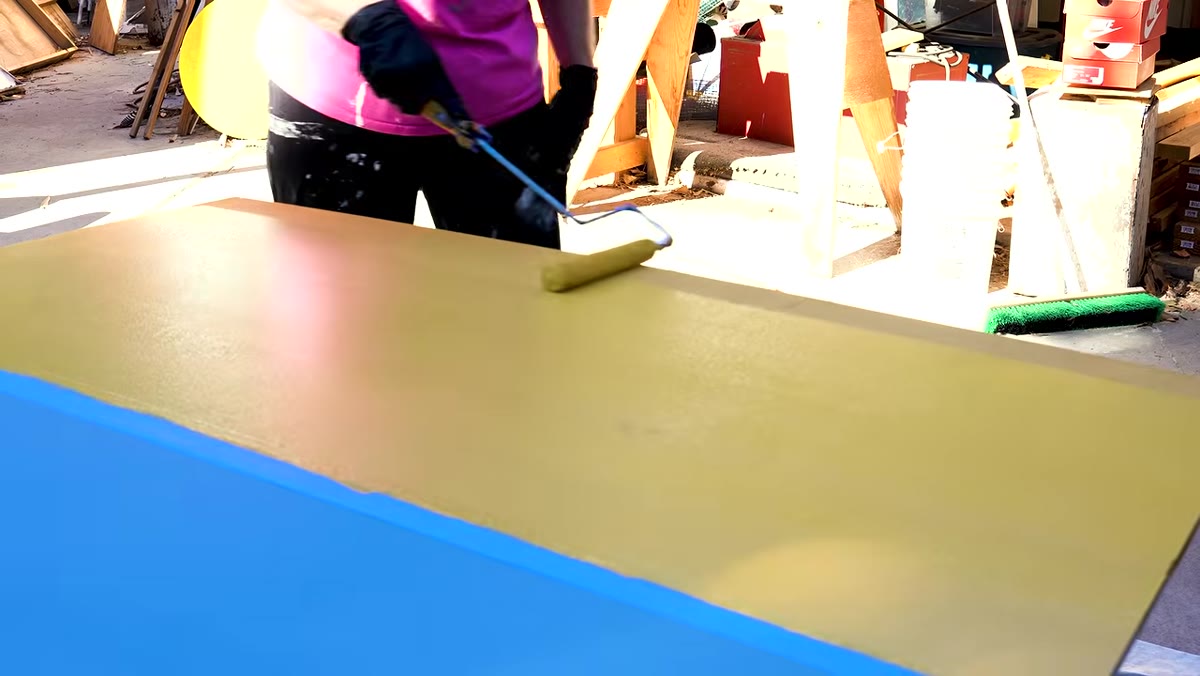 Painted color blocks arranged in Mondrian grid behind shoes
Once you have your paint colors, apply them to boards small enough to move and rearrange on set. Morgan paints separate panels and assembles them into the geometric pattern behind the shoes. This modular approach means you can shift the composition, swap a color, or adjust proportions without repainting an entire sweep.
Painted color blocks arranged in Mondrian grid behind shoes
Once you have your paint colors, apply them to boards small enough to move and rearrange on set. Morgan paints separate panels and assembles them into the geometric pattern behind the shoes. This modular approach means you can shift the composition, swap a color, or adjust proportions without repainting an entire sweep.
Sketch the layout before you paint anything. Morgan is direct about this: most photographers show up hoping the background will figure itself out. It won’t. Pre-visualization on paper takes twenty minutes and saves you two hours of trial and error on set. Treat the background as a deliberate design decision, not an afterthought.
Step 6: Test the Full Setup and Confirm Highlight Shape
 Final overhead tracing paper light illuminating Nike shoes from above
Once lighting and set are assembled, shoot a test frame and examine the highlight on your most reflective surface. In a shoe like the Nike examples Morgan uses, the highlight from overhead tracing paper should be a clean, elongated stripe that follows the shape of the upper. It should be brightest at center and fade gradually. If it’s clipping to pure white across too wide an area, raise the head or reduce power. If it’s too dim or the falloff is too abrupt, lower the head or increase the paper size.
Final overhead tracing paper light illuminating Nike shoes from above
Once lighting and set are assembled, shoot a test frame and examine the highlight on your most reflective surface. In a shoe like the Nike examples Morgan uses, the highlight from overhead tracing paper should be a clean, elongated stripe that follows the shape of the upper. It should be brightest at center and fade gradually. If it’s clipping to pure white across too wide an area, raise the head or reduce power. If it’s too dim or the falloff is too abrupt, lower the head or increase the paper size.
This is the diagnostic step that locks in the look. Don’t skip it in the rush to start shooting selects.
What I’d Add From My Own Work
Tracing paper performs differently depending on weight. The standard roll you find at art supply stores is typically around 25 lb. and gives a moderately soft result. If you go heavier, you get more diffusion but you’ll need more power to compensate. I’ve started keeping a few different weights on hand and labeling each roll with masking tape noting the weight and the last modifier behavior I observed with it. Old habit, useful result.
I’d also strongly suggest using this technique any time you’re photographing anything with a curved reflective surface: bottles, watches, chrome hardware. The tracing paper produces a highlight that reads as a natural environment reflection rather than the faceted hotspot you often get from a softbox edge. That subtlety is what keeps product shots from looking like product shots.
The single most transferable insight from this tutorial is that the best modifier is often the one that fits the space and gives you precise control over highlight shape, not the most expensive or the most complicated. A roll of tracing paper is almost nothing, and in the right hands it outperforms gear that costs twenty times as much.
Watch the full tutorial on YouTube and see the finished shots. The Mondrian background alone is worth the watch.
Comments
Leave a Comment