There is a specific failure mode I see constantly in studio work where photographers create technically correct light that still feels wrong. The exposure is clean, the modifiers are appropriate, the histogram is fine. But the image has no sense of place. It could have been shot anywhere, at any time, under any conditions. That placelessness kills the mood before the viewer even registers it consciously. The ability to fake a real-world light source, something with narrative weight like a streetlight, a hotel window, a passing car, is one of the most useful skills a working photographer can develop, and it is one I keep returning to in my own commercial work.
Watch the full tutorial on YouTube
In this Daniel Norton Photographer tutorial, Norton breaks down a portrait setup he built in his Manhattan studio to simulate the feeling of a subject standing at a window, possibly lit from the street below at night. He is working on the 12th floor of a building, so streetlight is not an option. What he builds instead is a two-light solution that reads as completely believable. I have sketched this one into my lighting journal because the thinking behind the setup is as instructive as the technical execution.
Step 1: Define the Narrative Before You Place a Single Light
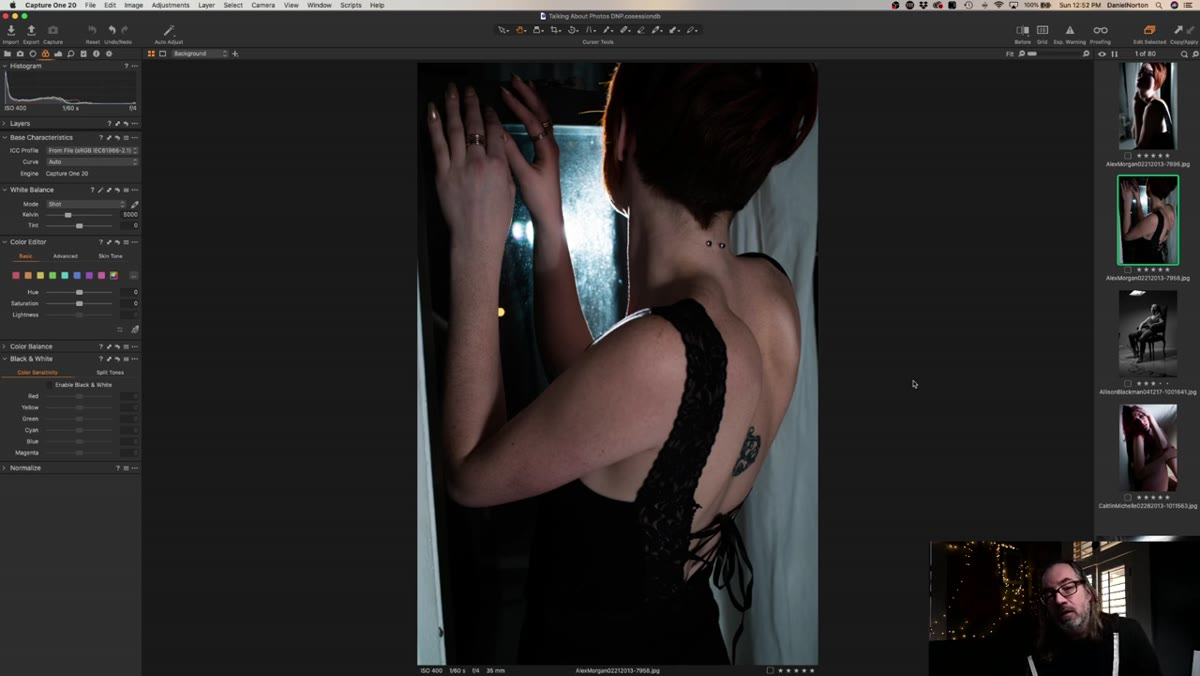 Daniel describing the hotel room window concept
Before touching gear, Norton establishes what the image is supposed to feel like: a person in a hotel room, near a window, lit from outside at night. That context determines every technical decision that follows. The light source needs to feel like it comes from outside the room, below the subject or roughly level with her, and it needs to carry the color temperature of artificial outdoor lighting rather than daylight. If you skip this step and just start placing lights, you will make a technically competent image with no soul. I label my lights with masking tape for exactly this reason. Knowing a light is playing the role of “streetlight through glass” changes how I position it, diffuse it, and expose for it.
Daniel describing the hotel room window concept
Before touching gear, Norton establishes what the image is supposed to feel like: a person in a hotel room, near a window, lit from outside at night. That context determines every technical decision that follows. The light source needs to feel like it comes from outside the room, below the subject or roughly level with her, and it needs to carry the color temperature of artificial outdoor lighting rather than daylight. If you skip this step and just start placing lights, you will make a technically competent image with no soul. I label my lights with masking tape for exactly this reason. Knowing a light is playing the role of “streetlight through glass” changes how I position it, diffuse it, and expose for it.
Step 2: Choose a Tungsten-Balanced Hard Light as Your Key
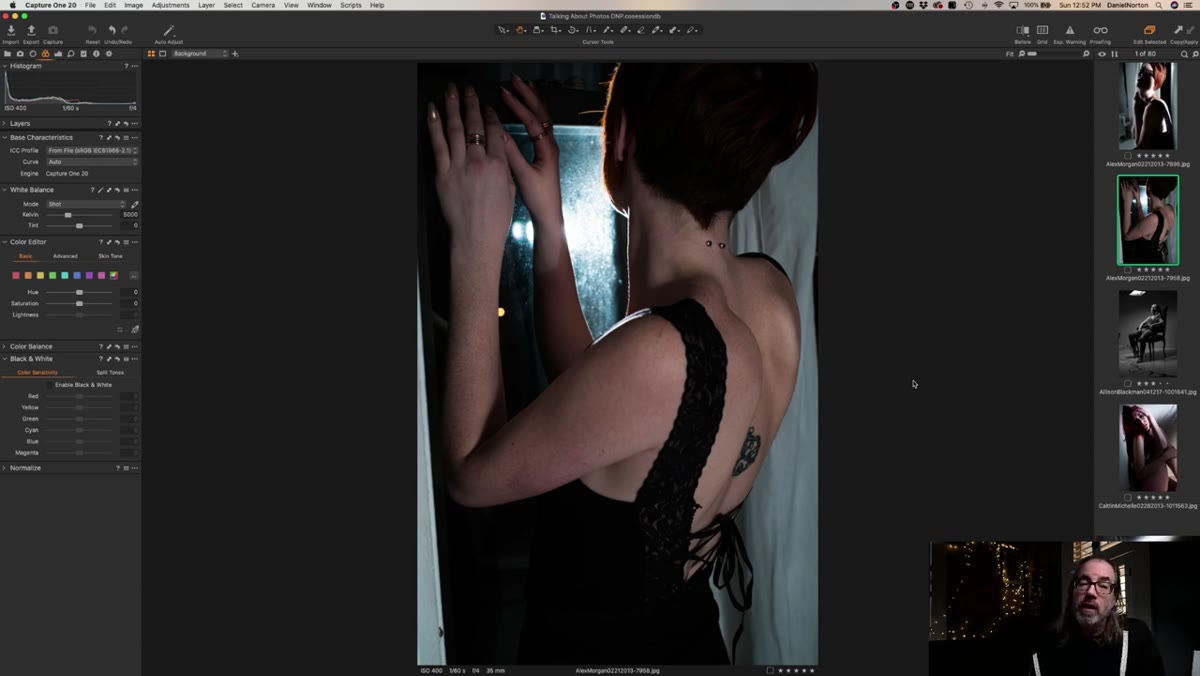 Norton referencing the bare tungsten head used as key light
Norton’s key light is a bare tungsten head from Dedo, pushed through the window. No modifier, no diffusion. He then sets his camera’s white balance to tungsten to match. This is the critical move: because the camera is balanced to tungsten, any daylight or daylight-balanced light in the frame will go slightly cool and blue, reinforcing the night-exterior feeling. The bare head throws a hard, directional beam that mimics the quality of a distant artificial source, something that has traveled through glass and air before hitting the subject. I learned years ago, the hard way on an editorial job, that mismatched color temperature is the fastest way to break the illusion of a real light source. Calibrate your balance to your key, and let everything else shift accordingly.
Norton referencing the bare tungsten head used as key light
Norton’s key light is a bare tungsten head from Dedo, pushed through the window. No modifier, no diffusion. He then sets his camera’s white balance to tungsten to match. This is the critical move: because the camera is balanced to tungsten, any daylight or daylight-balanced light in the frame will go slightly cool and blue, reinforcing the night-exterior feeling. The bare head throws a hard, directional beam that mimics the quality of a distant artificial source, something that has traveled through glass and air before hitting the subject. I learned years ago, the hard way on an editorial job, that mismatched color temperature is the fastest way to break the illusion of a real light source. Calibrate your balance to your key, and let everything else shift accordingly.
Step 3: Position the Key to Clear Architectural Obstructions
 Norton explaining the crossbar shadow problem at the window
Norton runs into a practical problem: there is a crossbar between the two window panels, and raising the light higher to simulate an elevated streetlight would cast a hard horizontal shadow across the subject’s body. So he keeps the light at roughly the same level as the window itself. This is a real-world constraint that most tutorials ignore, and his solution is exactly right. Rather than fighting the architecture, he adjusts the narrative slightly. Maybe it is a ground-floor window. Maybe it is a second-floor hotel room. It does not matter, because no viewer is interrogating the physics. They are reading the mood. Position your light to avoid destructive artifacts first, then rationalize the story second.
Norton explaining the crossbar shadow problem at the window
Norton runs into a practical problem: there is a crossbar between the two window panels, and raising the light higher to simulate an elevated streetlight would cast a hard horizontal shadow across the subject’s body. So he keeps the light at roughly the same level as the window itself. This is a real-world constraint that most tutorials ignore, and his solution is exactly right. Rather than fighting the architecture, he adjusts the narrative slightly. Maybe it is a ground-floor window. Maybe it is a second-floor hotel room. It does not matter, because no viewer is interrogating the physics. They are reading the mood. Position your light to avoid destructive artifacts first, then rationalize the story second.
Step 4: Add a Small Softbox as Your Ambient Fill
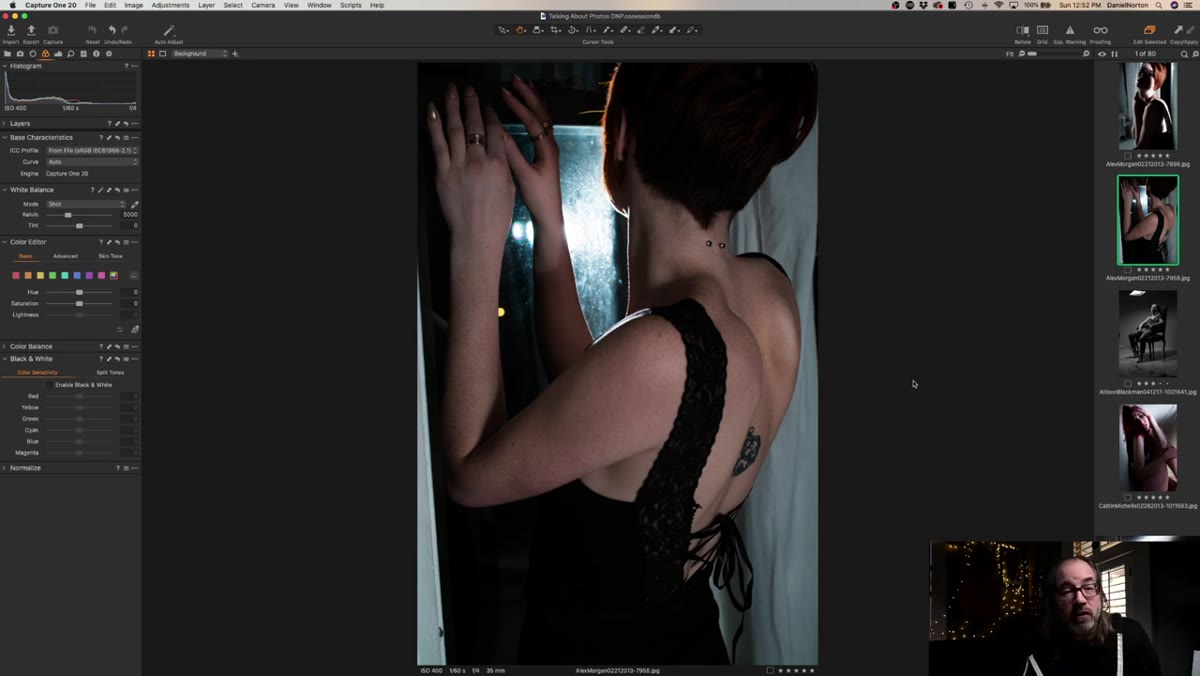 Norton identifying the small softbox as the secondary light
The second light is a small Dedo softbox, placed on the interior side of the frame. Its job is not to be a light source you notice. Its job is to be the ambient light of the room: the faint, soft illumination that keeps the shadow side of the face from going completely black. Norton keeps this light subtle. If you overpower it, the image loses its intimacy and starts to look like a lit portrait. You want just enough fill that the shadow side of the face reads detail without competing with the key. Think of the softbox as the light bouncing off the walls and ceiling of a real room, rather than as a deliberate placement.
Norton identifying the small softbox as the secondary light
The second light is a small Dedo softbox, placed on the interior side of the frame. Its job is not to be a light source you notice. Its job is to be the ambient light of the room: the faint, soft illumination that keeps the shadow side of the face from going completely black. Norton keeps this light subtle. If you overpower it, the image loses its intimacy and starts to look like a lit portrait. You want just enough fill that the shadow side of the face reads detail without competing with the key. Think of the softbox as the light bouncing off the walls and ceiling of a real room, rather than as a deliberate placement.
Step 5: Let the Window Itself Become a Fill Source
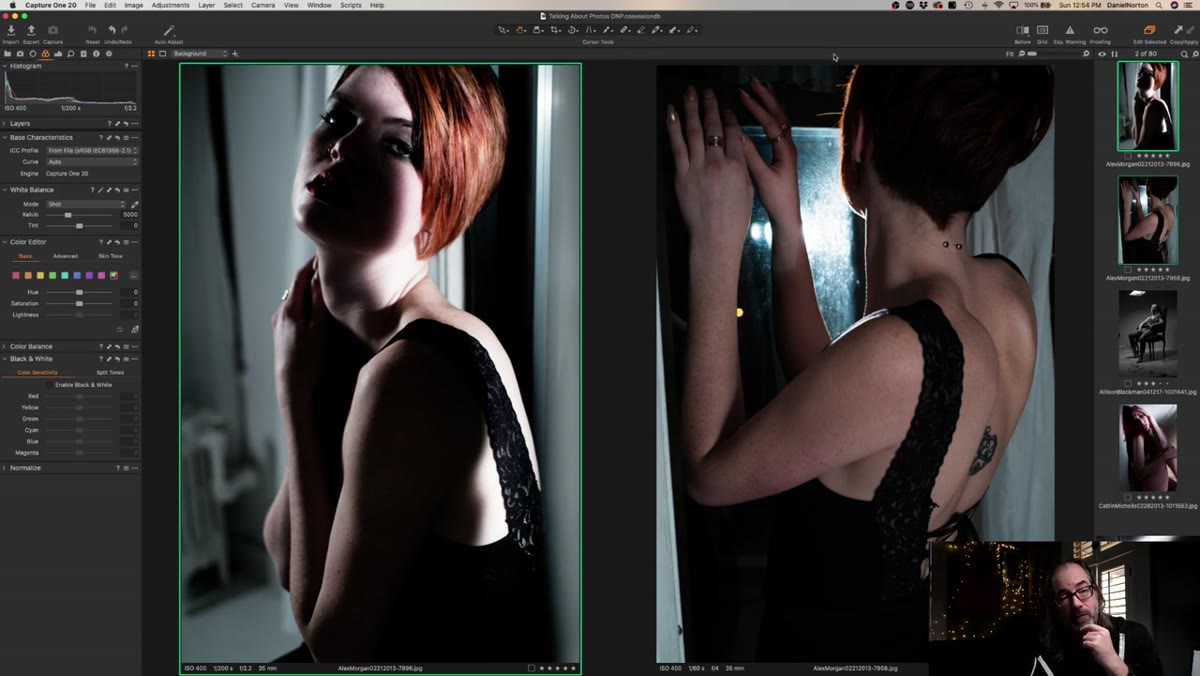
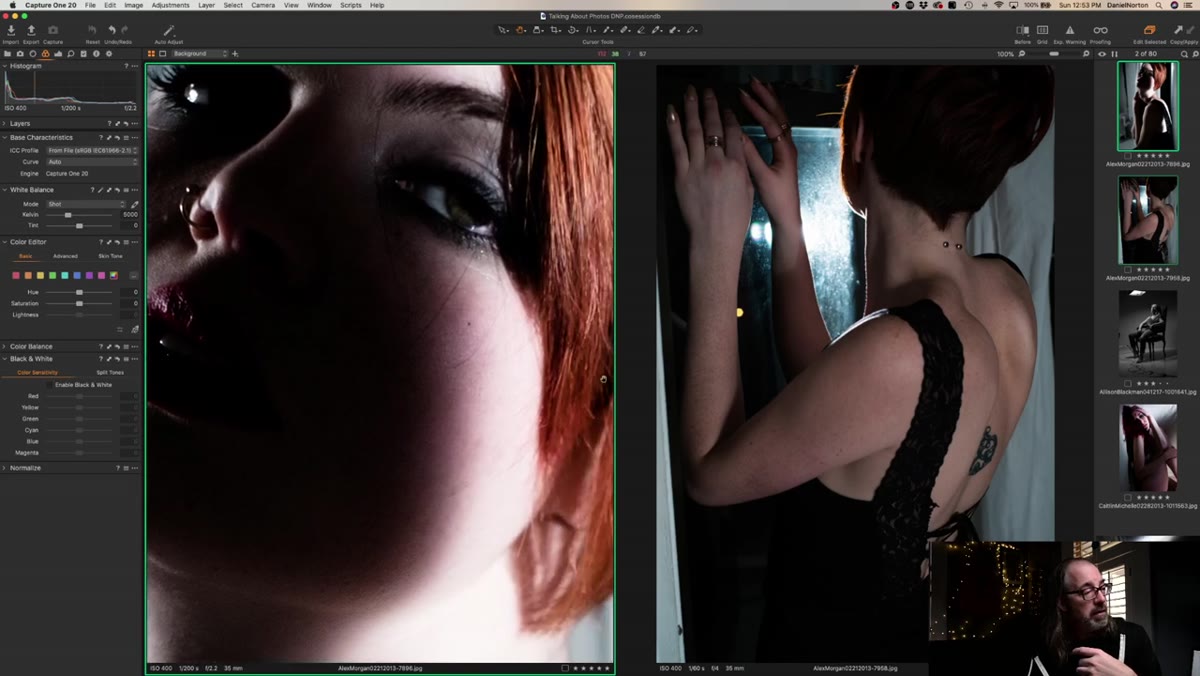 Norton pointing out the window reflection visible in the subject’s eye
Here is the detail that separates this setup from a simple two-light portrait: the key light blasting through the window also bounces off the window glass and back onto the subject’s shadow side. Norton catches this in the catchlight, where you can see a faint reflection of the window itself in the eye. That bounce is doing quiet fill work, tying the subject physically to the environment. You can encourage this by keeping the subject relatively close to the glass. The window becomes a third light source you did not have to pay for. This is the kind of secondary reflection I look for when I am testing a new setup, it tells me the light is behaving like light in a real space rather than like a controlled studio instrument.
Norton pointing out the window reflection visible in the subject’s eye
Here is the detail that separates this setup from a simple two-light portrait: the key light blasting through the window also bounces off the window glass and back onto the subject’s shadow side. Norton catches this in the catchlight, where you can see a faint reflection of the window itself in the eye. That bounce is doing quiet fill work, tying the subject physically to the environment. You can encourage this by keeping the subject relatively close to the glass. The window becomes a third light source you did not have to pay for. This is the kind of secondary reflection I look for when I am testing a new setup, it tells me the light is behaving like light in a real space rather than like a controlled studio instrument.
Step 6: Shoot Tight to Reinforce the Sense of Place
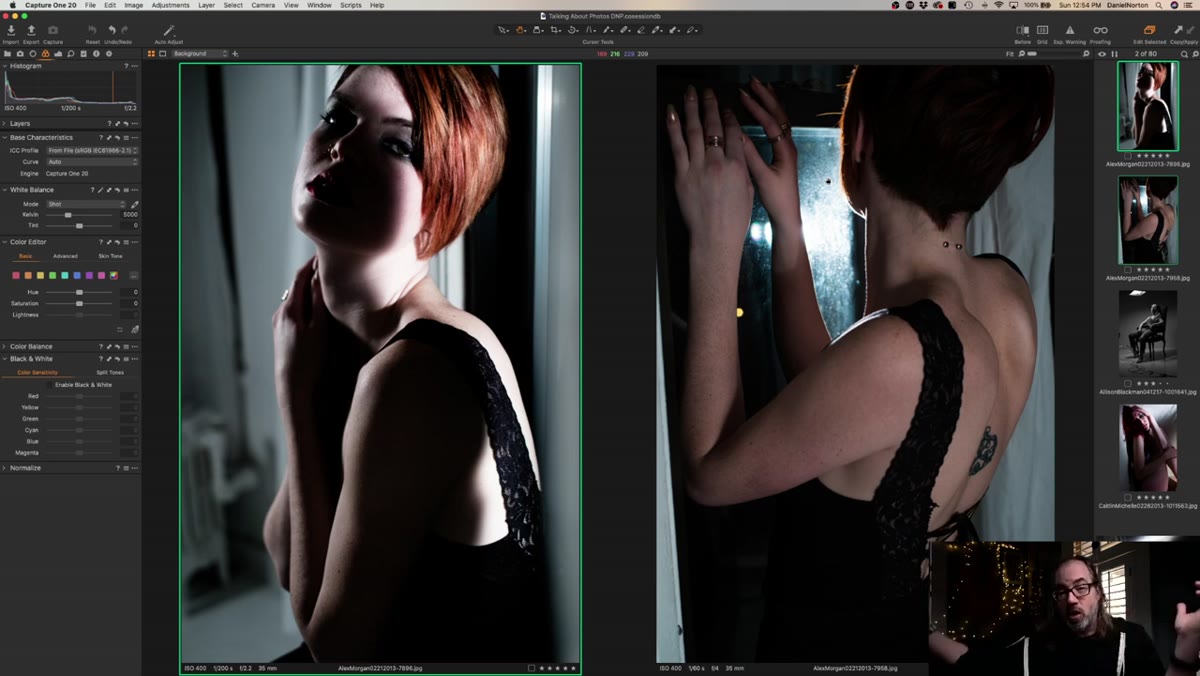 Norton discussing the tight framing and isolation feeling
Norton is deliberate about his framing: he wants the shot to feel intimate, like the viewer is in the room with the subject. A wide frame showing generous negative space would undercut that. Compression and closeness make the window feel like it is the only light source in the world right now. He notes that you could isolate a subject in a wide frame for a different emotional effect, but that is a different image. Here, the tight crop makes the light feel more specific and more believable. I apply this same logic in beauty work. The closer you frame, the more the lighting has to make sense as a real source.
Norton discussing the tight framing and isolation feeling
Norton is deliberate about his framing: he wants the shot to feel intimate, like the viewer is in the room with the subject. A wide frame showing generous negative space would undercut that. Compression and closeness make the window feel like it is the only light source in the world right now. He notes that you could isolate a subject in a wide frame for a different emotional effect, but that is a different image. Here, the tight crop makes the light feel more specific and more believable. I apply this same logic in beauty work. The closer you frame, the more the lighting has to make sense as a real source.
A Note on Controlling the Color Ratio Between Sources
One thing Norton does not spend time on, but which matters a great deal in practice, is the color ratio between the two lights. If your fill softbox is also tungsten-balanced, both lights will read the same temperature under your tungsten camera setting, and you lose the contrast that makes the key feel like it is coming from outside. I often run my fill source slightly warmer than the key, or I will gel the key with a light frost to separate the two. The goal is for the key to read as “exterior artificial” and the fill to read as “interior ambient.” Even a half-CTO gel difference is enough to create that separation and sell the story.
The single most important thing Norton demonstrates here is that believable light is first a storytelling decision and second a technical one. The moment you decide what your light source is supposed to be, the placement, quality, and color temperature practically decide themselves. Get the narrative right and the physics will follow.
Watch the full tutorial on YouTube
Comments (1)
Finally someone explains this in a way that actually makes sense.
Leave a Comment