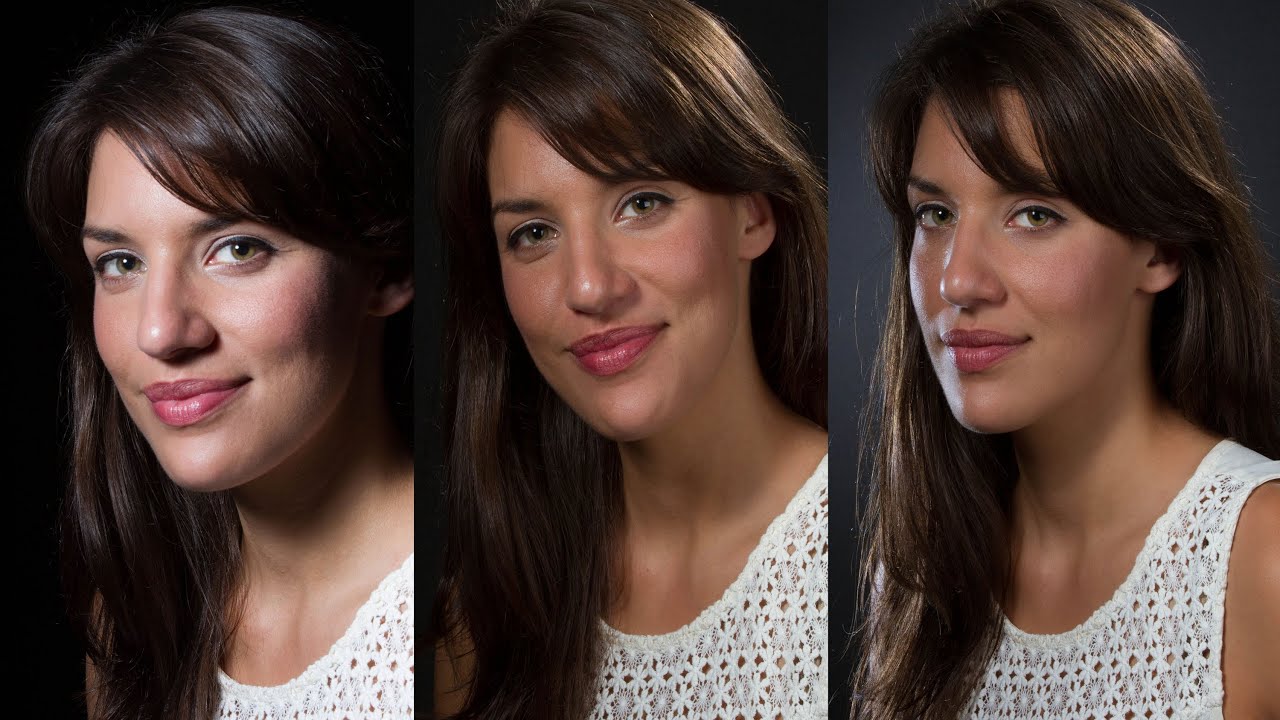
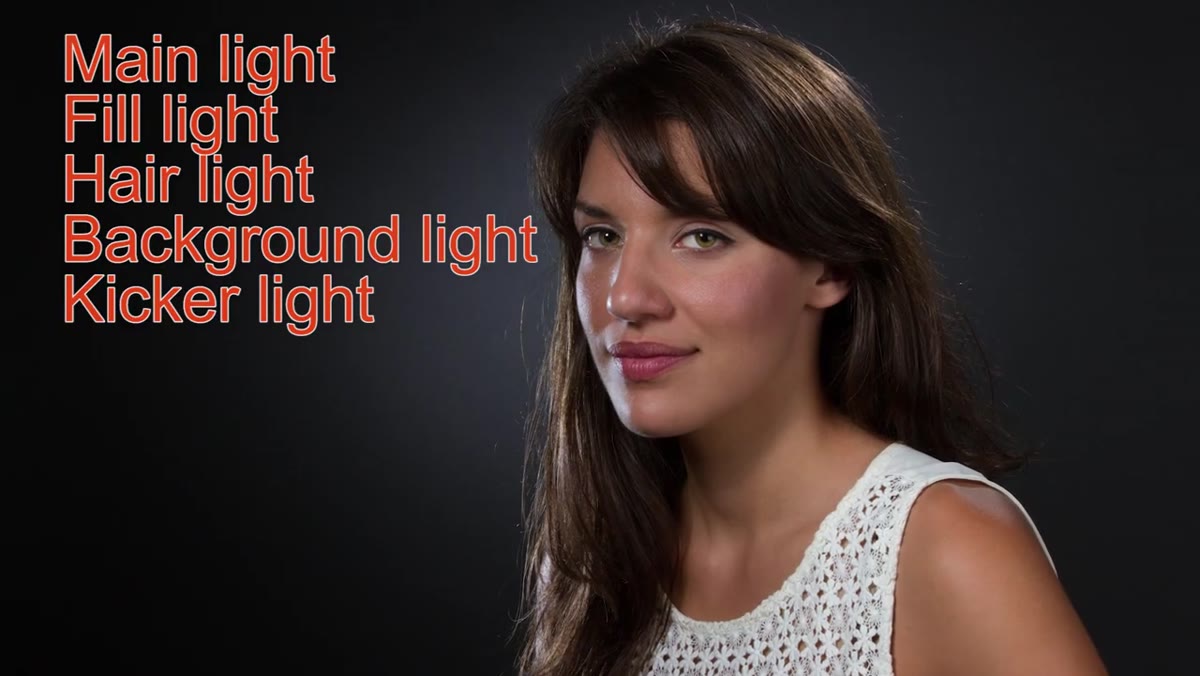
Every few years I’ll be prepping for a straightforward editorial portrait and a newer assistant will ask me why I’m setting up five lights for a single-subject shot. The honest answer is that each light is doing a specific, non-negotiable job. Remove any one of them and the image degrades in a way that’s immediately visible to anyone who shoots professionally. The problem is that most photographers learn these lights in isolation, so they understand what a fill light is in theory without ever feeling the actual difference it makes when you dial it up or pull it back.
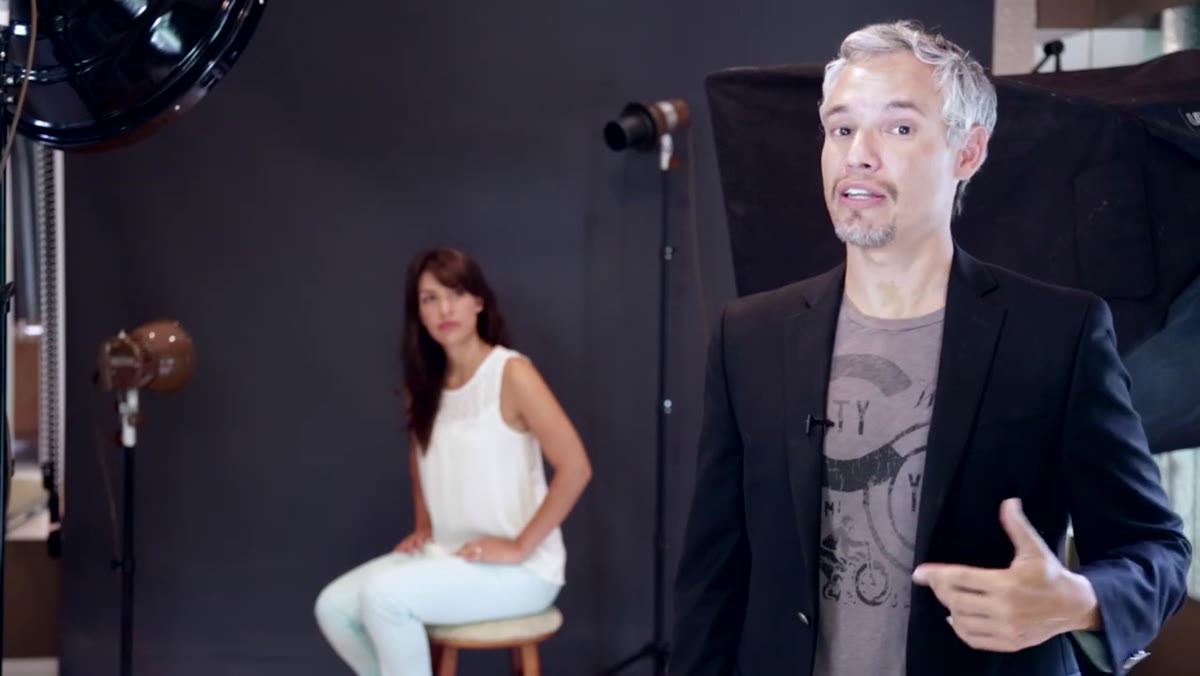
In this Tony & Chelsea Northrup tutorial, Watch the full tutorial on YouTube, Tony walks through the classic five-light portrait setup in a way that’s unusually practical. He introduces each light one at a time against a real subject, so you can see the cumulative effect rather than just a before-and-after. I’ve sketched variations of this exact setup in my lighting journal more times than I can count, and I still think building it light-by-light is the right way to learn it.
What follows is my breakdown of each step, with notes on how I apply this in actual commercial and editorial work.
Step 1: Start With the Main Light Only
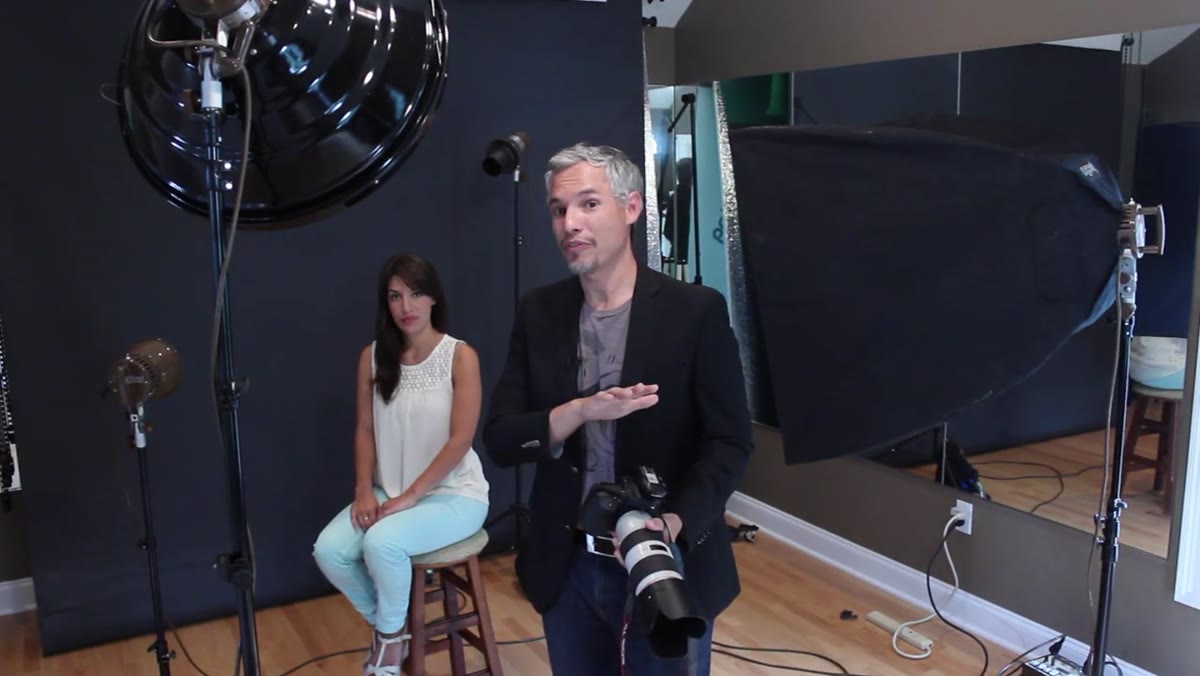 Single main light illuminating subject from camera left
The main light is the one doing the dramatic heavy lifting. It front-lights your subject, defines the shadows, and sets the overall mood of the image. Tony positions his main light off to camera left, which is the most common starting position in traditional portrait setups. It creates a clear shadow fall-off across the face that immediately reads as intentional.
Single main light illuminating subject from camera left
The main light is the one doing the dramatic heavy lifting. It front-lights your subject, defines the shadows, and sets the overall mood of the image. Tony positions his main light off to camera left, which is the most common starting position in traditional portrait setups. It creates a clear shadow fall-off across the face that immediately reads as intentional.
Shoot with the main light alone first, always. This is not optional. You need to see exactly what your primary source is doing before you start adding anything else. I use a 90cm octabox as my main light for most commercial beauty work, set somewhere between f/8 and f/11 depending on the look I want. The key thing to notice at this stage is how hard or soft the shadow transitions are. That’s your baseline, and everything else you add is a response to it.
Step 2: Add the Fill Light to Control Shadow Depth
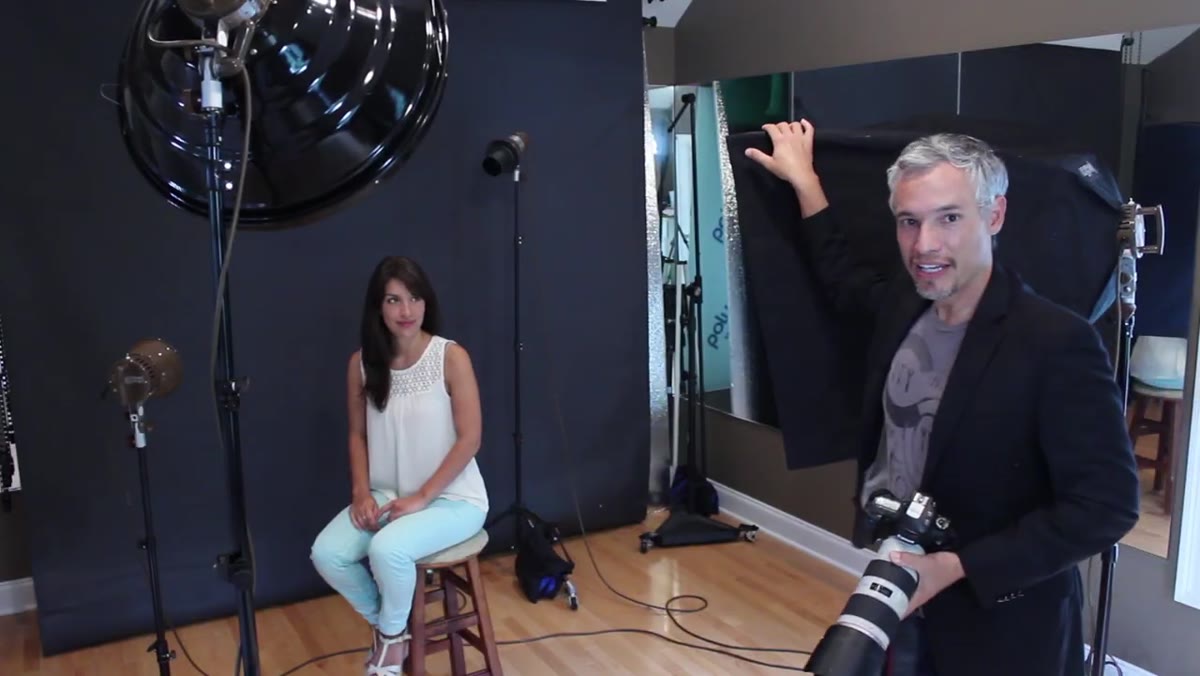 Second shot taken after fill light added on camera right
The fill light lives on the opposite side of the main, typically behind the camera on the right. Its only job is to reduce the contrast ratio between the lit and shadow sides of the face. It doesn’t replace the main light’s character. It just decides how dark the shadows get.
Second shot taken after fill light added on camera right
The fill light lives on the opposite side of the main, typically behind the camera on the right. Its only job is to reduce the contrast ratio between the lit and shadow sides of the face. It doesn’t replace the main light’s character. It just decides how dark the shadows get.
Tony makes a point I agree with completely: the amount of fill is a creative decision, not a technical one. A high fill ratio gives you something closer to a commercial headshot or a fashion editorial. A low fill ratio pushes you toward something more editorial and dramatic. I typically set my fill one to two stops below my main, meaning if the main is at f/8, the fill is somewhere around f/4 to f/5.6. Start there and adjust based on what the subject’s skin tone and the intended use of the image actually need.
Step 3: Add the Hair Light for Separation
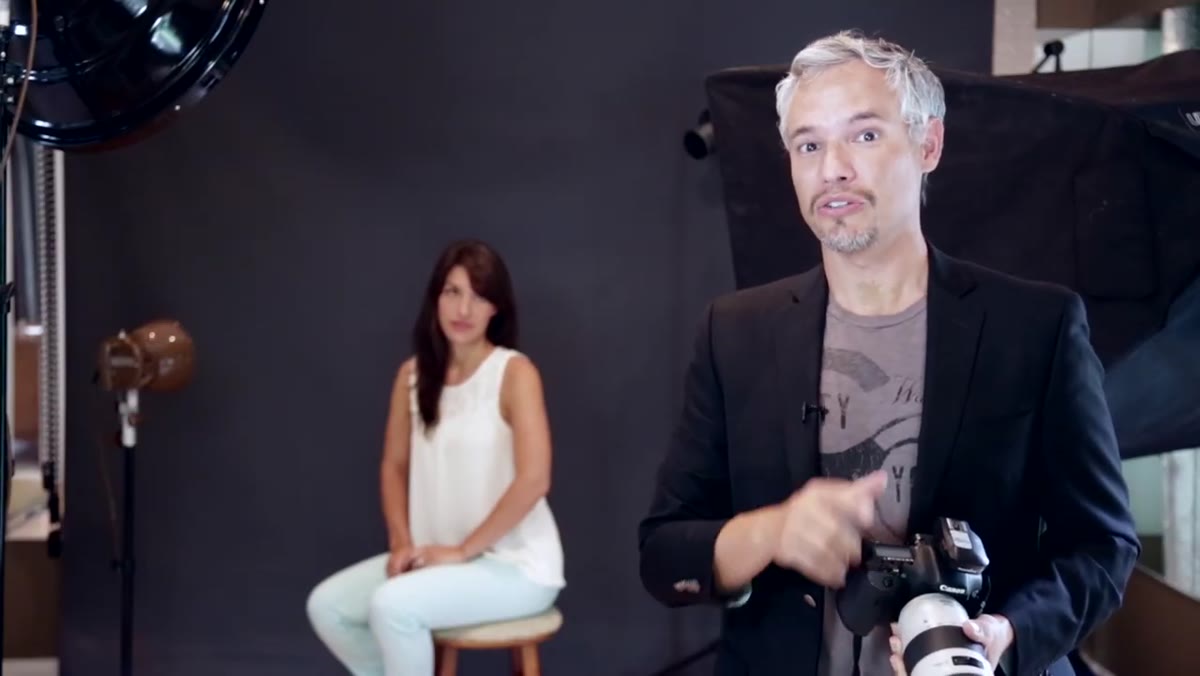 Hair light positioned above and behind subject with snoot attached
The hair light sits behind and above the subject, angled downward. Tony uses a snoot on his, which is worth paying attention to. A snoot collapses the beam into a controlled cone so the light lands specifically on the hair and shoulders without blowing across the background or clipping the subject’s cheek.
Hair light positioned above and behind subject with snoot attached
The hair light sits behind and above the subject, angled downward. Tony uses a snoot on his, which is worth paying attention to. A snoot collapses the beam into a controlled cone so the light lands specifically on the hair and shoulders without blowing across the background or clipping the subject’s cheek.
For subjects with dark hair against a dark background, this light is doing critical separation work. Without it, the hair can simply disappear into the backdrop. For lighter hair, use this light carefully. I’ve blown out blonde hair on more than one test shot by not pulling the power back far enough. Set it lower than you think you need to and check your histogram before you commit. A snoot or a grid on your hair light is not optional gear. It’s standard.
Step 4: Illuminate the Background
 Background light creating spotlight glow behind subject’s head
Without a dedicated background light, a white seamless goes gray. A black backdrop stays flat black with no dimension. Tony demonstrates both outcomes clearly. For most of my editorial work I want the background to feel intentional rather than just default.
Background light creating spotlight glow behind subject’s head
Without a dedicated background light, a white seamless goes gray. A black backdrop stays flat black with no dimension. Tony demonstrates both outcomes clearly. For most of my editorial work I want the background to feel intentional rather than just default.
He positions the background light to create a spotlight effect directly behind the subject’s head, and he uses a grid on the strobe to keep that circle of light tight and controlled. The grid density determines how quickly the light falls off at the edges. A tighter grid gives you a harder, more defined circle. A looser grid spreads more. I carry three grid densities for every background light I own, and I swap them based on whether the overall mood of the shoot is clean and graphic or softer and editorial.
Step 5: Add a Kicker for Edge Definition
 Kicker light separating subject’s hair on camera left side
The kicker is the fifth light, and it’s the one that separates a competent studio setup from a really polished one. Tony positions it behind the subject on the opposite side from the hair light, and it does two things: it rims the hair with a line of light, and it kicks a small amount of light onto the side of the face, adding dimension to the features.
Kicker light separating subject’s hair on camera left side
The kicker is the fifth light, and it’s the one that separates a competent studio setup from a really polished one. Tony positions it behind the subject on the opposite side from the hair light, and it does two things: it rims the hair with a line of light, and it kicks a small amount of light onto the side of the face, adding dimension to the features.
The kicker is subtle by design. If you can see it working obviously, it’s too bright. Pull the power down until the edge light reads as natural, not as a spotlight. I often use a small speedlight here rather than a full strobe because the lower power ceiling is actually useful. It keeps me from accidentally overdoing it.
What I Do Differently in Commercial Work
One thing Tony doesn’t address, which matters a lot in fashion and beauty work, is color temperature consistency across all five lights. Early in my career I mixed a strobe kit with a speedlight on the kicker position without checking the color temperature of each unit. The speedlight ran warmer than the strobes, and I didn’t catch it until I was in post looking at color casts across the subject’s shoulder. The client noticed. That was the last time I didn’t gel and measure every light in the setup.
I now run a quick custom white balance off a gray card after the full setup is lit and before I shoot a single frame. It takes three minutes and it has saved me from color problems on more shoots than I’d like to admit.
The single most important thing this tutorial demonstrates is the value of building a lighting setup incrementally. If you add all five lights at once and something looks wrong, you won’t know which light is causing the problem. If you build from main light outward, you always know what each element is contributing, and you can adjust or remove anything without guessing.
Watch the full tutorial on YouTube to see the actual frame-by-frame difference each light makes on a real subject. It’s one of the clearest visual demonstrations of this setup I’ve come across, and it’s worth watching even if you’ve been shooting studio portraits for years.
Comments
Leave a Comment