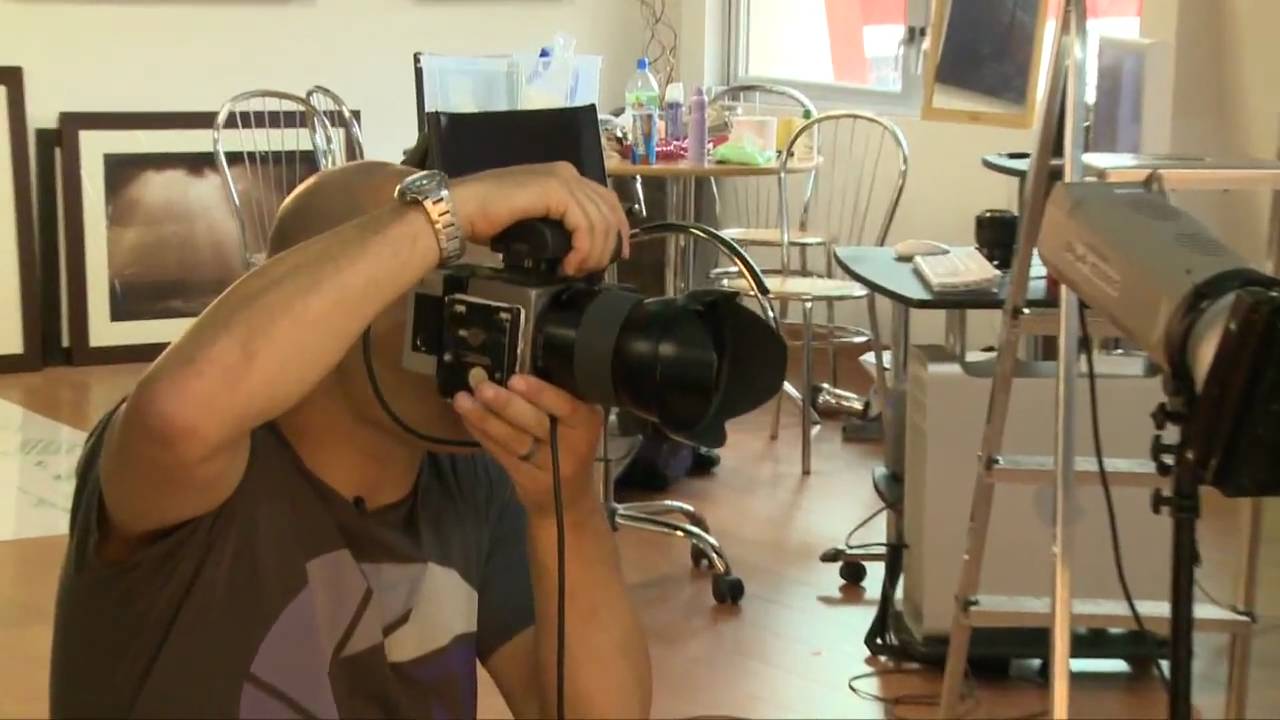
Client budgets have a way of demanding that you look like you had three times the crew you actually did. That pressure is where real lighting craft gets built. Over the years I’ve leaned hard on tutorials from photographers who think in systems rather than happy accidents, which is why I keep coming back to Visual Education’s work. Their approach to breaking down professional setups into repeatable steps is exactly how I think about lighting myself. I have a lighting journal I’ve kept for years, every setup sketched by hand, annotated with what worked and what needed fixing. This tutorial gave me two new pages worth of notes.
Watch the full tutorial on YouTube
In this Visual Education tutorial, the instructor works through several distinct scenarios: outdoor daylight fill, a constructed interior set, beauty dish portraiture, and a high-energy motion shot. What ties them together is a single discipline — knowing exactly where your light is landing and why, before you fire a single frame. Here is how each technique actually works.
Step 1: Read the Catchlight Before You Touch a Modifier
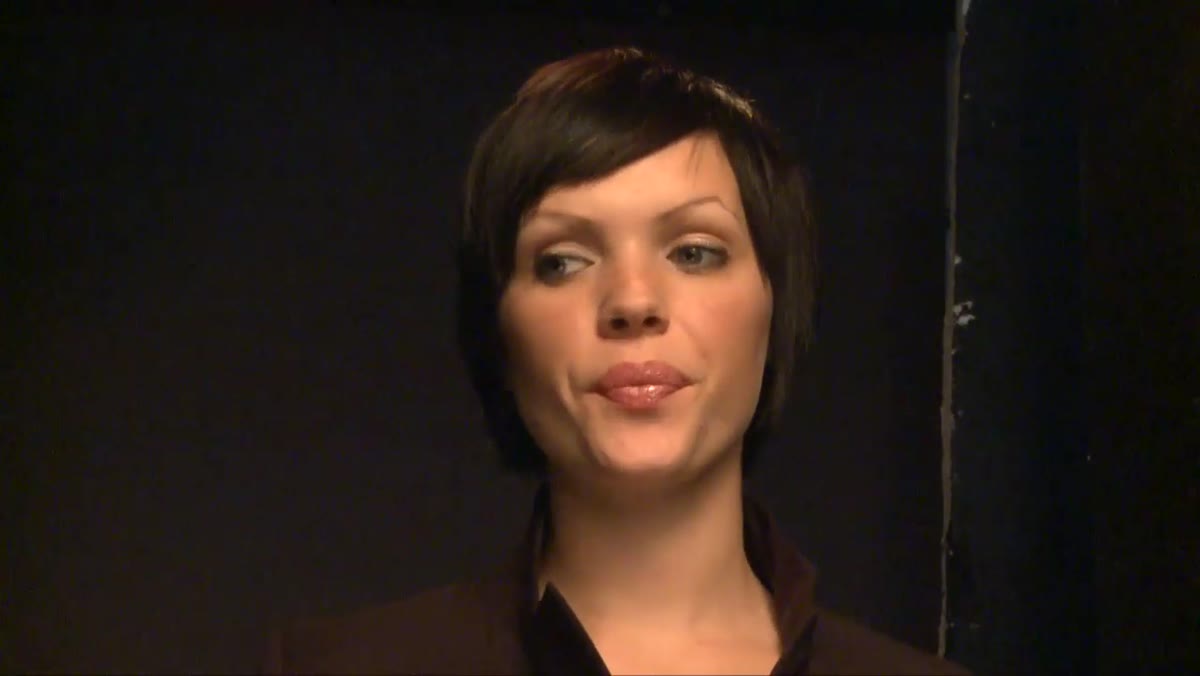
 Catchlight visible in model’s eye, neck light comparison
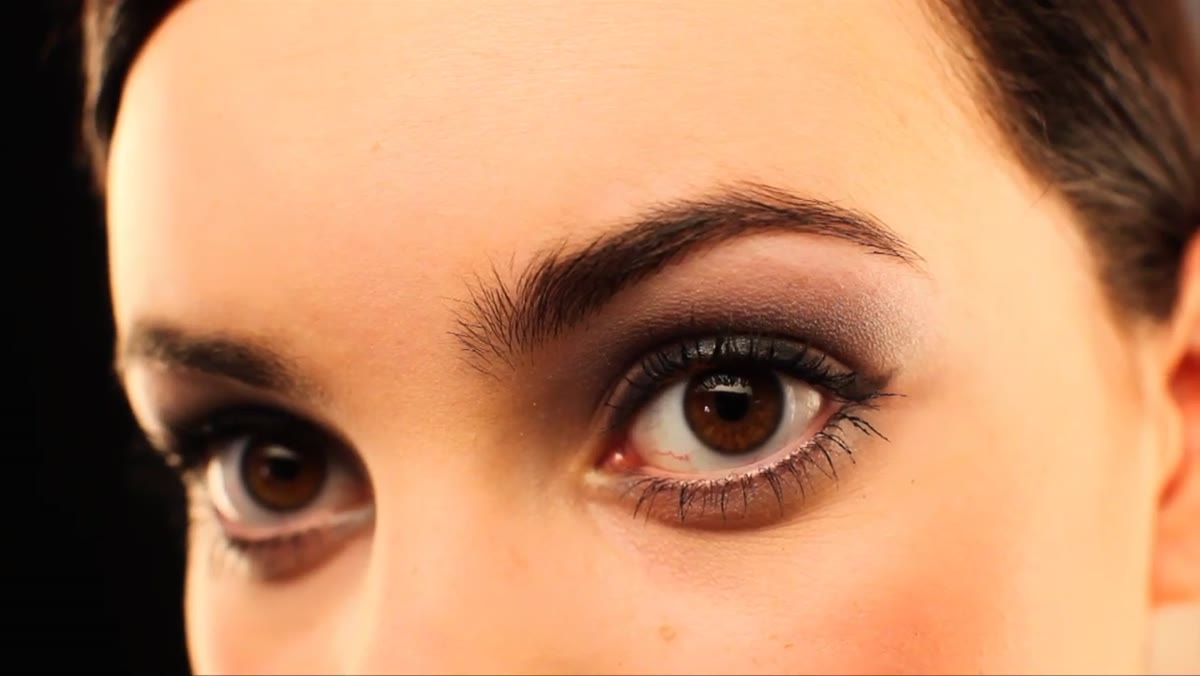
The tutorial opens with a close comparison that most photographers rush past: the catchlight in the eye and the presence or absence of light on the side of the neck. These two details tell you almost everything about where your key light is positioned and how well it is wrapping around your subject. Before adjusting any modifier, study the eye. If the catchlight is sitting at roughly 10 o’clock or 2 o’clock and the neck has even, gradual falloff into shadow, your key is in a workable position. If the neck goes dark too fast, the light source is either too small or too far off axis. This is the diagnostic step, and it takes about five seconds once it becomes habit.
Catchlight visible in model’s eye, neck light comparison
The tutorial opens with a close comparison that most photographers rush past: the catchlight in the eye and the presence or absence of light on the side of the neck. These two details tell you almost everything about where your key light is positioned and how well it is wrapping around your subject. Before adjusting any modifier, study the eye. If the catchlight is sitting at roughly 10 o’clock or 2 o’clock and the neck has even, gradual falloff into shadow, your key is in a workable position. If the neck goes dark too fast, the light source is either too small or too far off axis. This is the diagnostic step, and it takes about five seconds once it becomes habit.
Step 2: Use Flash Outdoors in Full Daylight, Not Just Open Shade
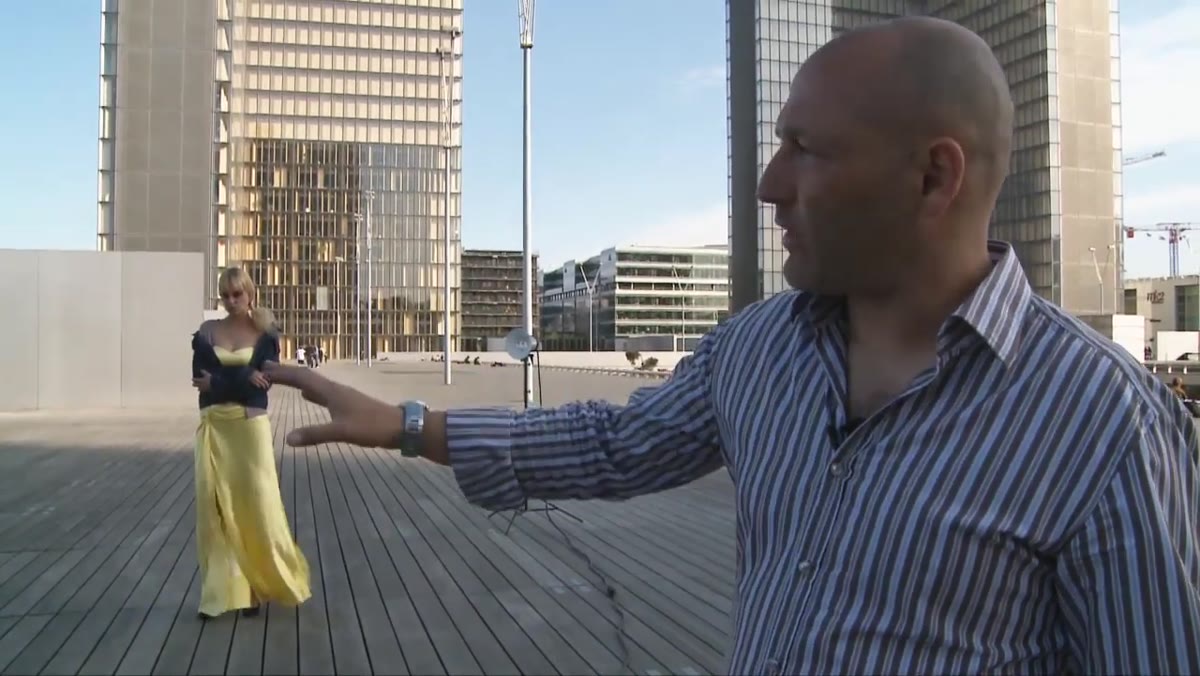
 Flash setup being used outdoors with trees in background
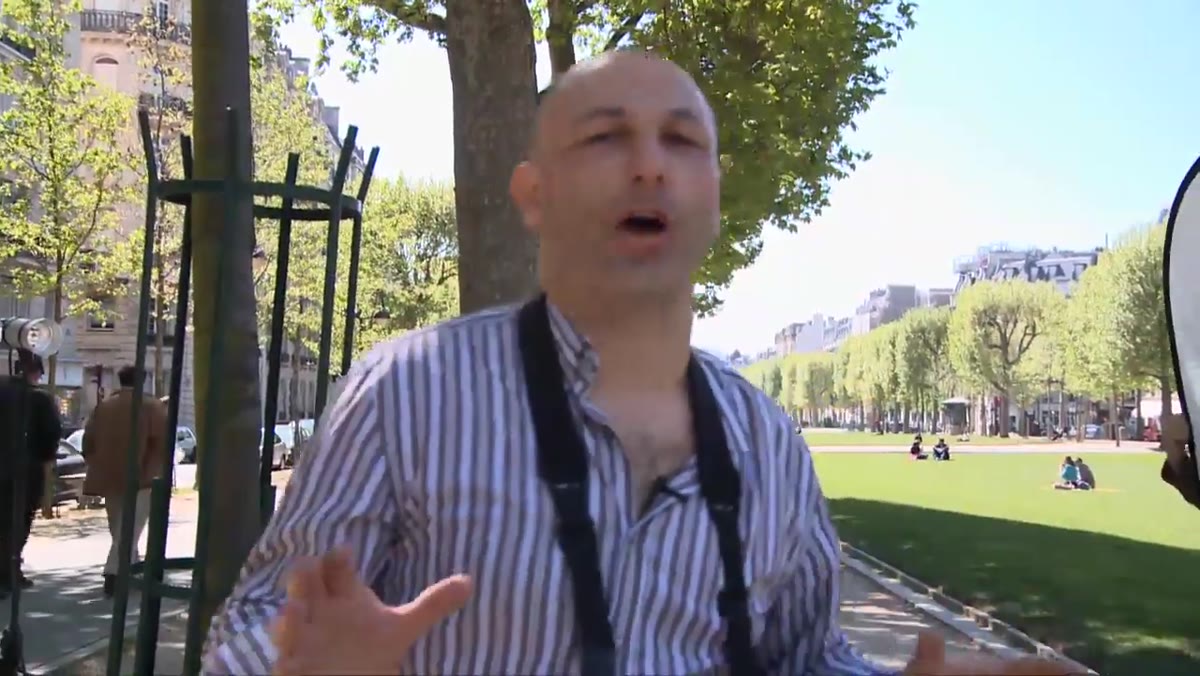
This is the technique that separates editorial-looking outdoor work from snapshots, and it is counterintuitive until you understand the exposure logic. When you shoot with the sun behind your subject, the background exposes beautifully but the shadow side of the face goes flat and muddy. The instructor makes the point clearly: expose for the background first, then use flash to bring the shadow side of the face up to match. You are not fighting the sun. You are using it as a rim or hair light and letting flash do the heavy lifting on skin. Set your ambient exposure so the background is where you want it, then dial your flash output until the face matches in tone. A bare or lightly modified flash head at moderate power is usually enough. This is the move that makes fashion work look like it was lit in a studio even when you are standing in a parking lot.
Flash setup being used outdoors with trees in background
This is the technique that separates editorial-looking outdoor work from snapshots, and it is counterintuitive until you understand the exposure logic. When you shoot with the sun behind your subject, the background exposes beautifully but the shadow side of the face goes flat and muddy. The instructor makes the point clearly: expose for the background first, then use flash to bring the shadow side of the face up to match. You are not fighting the sun. You are using it as a rim or hair light and letting flash do the heavy lifting on skin. Set your ambient exposure so the background is where you want it, then dial your flash output until the face matches in tone. A bare or lightly modified flash head at moderate power is usually enough. This is the move that makes fashion work look like it was lit in a studio even when you are standing in a parking lot.
Step 3: Build the Set First, Light It Second
 Small room corner set being constructed in studio
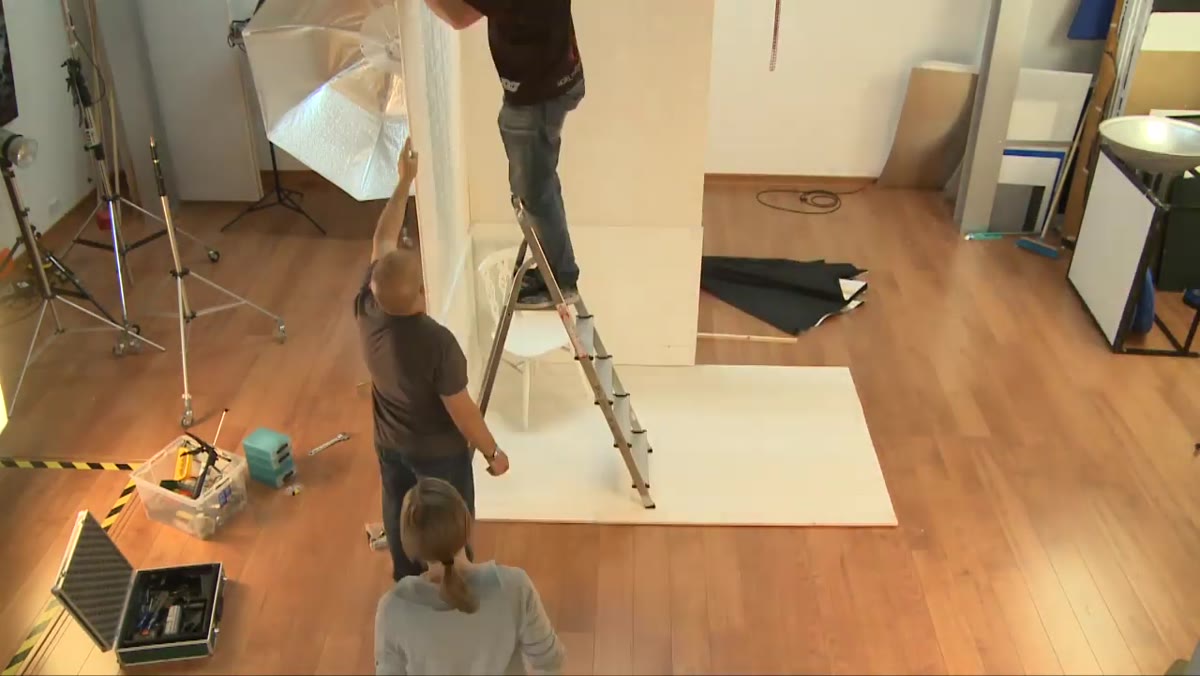
The tutorial walks through constructing a simple corner-of-a-room environment rather than shooting against a flat background. The principle here matters more than the specific set pieces: when you build a physical space, even a minimal one, the light behaves like it would in a real room. Walls bounce. Corners create natural fall-off. The subject has something to interact with physically, and that changes posture in ways that no amount of direction can fake. Keep the set small and controllable. A corner made from two flats or even foam core panels gives you bounce surfaces you can modify with black cards to kill unwanted fill. Build it, then decide where your light goes.
Small room corner set being constructed in studio
The tutorial walks through constructing a simple corner-of-a-room environment rather than shooting against a flat background. The principle here matters more than the specific set pieces: when you build a physical space, even a minimal one, the light behaves like it would in a real room. Walls bounce. Corners create natural fall-off. The subject has something to interact with physically, and that changes posture in ways that no amount of direction can fake. Keep the set small and controllable. A corner made from two flats or even foam core panels gives you bounce surfaces you can modify with black cards to kill unwanted fill. Build it, then decide where your light goes.
Step 4: Use Barn Doors and a Honeycomb Grid to Control Spill
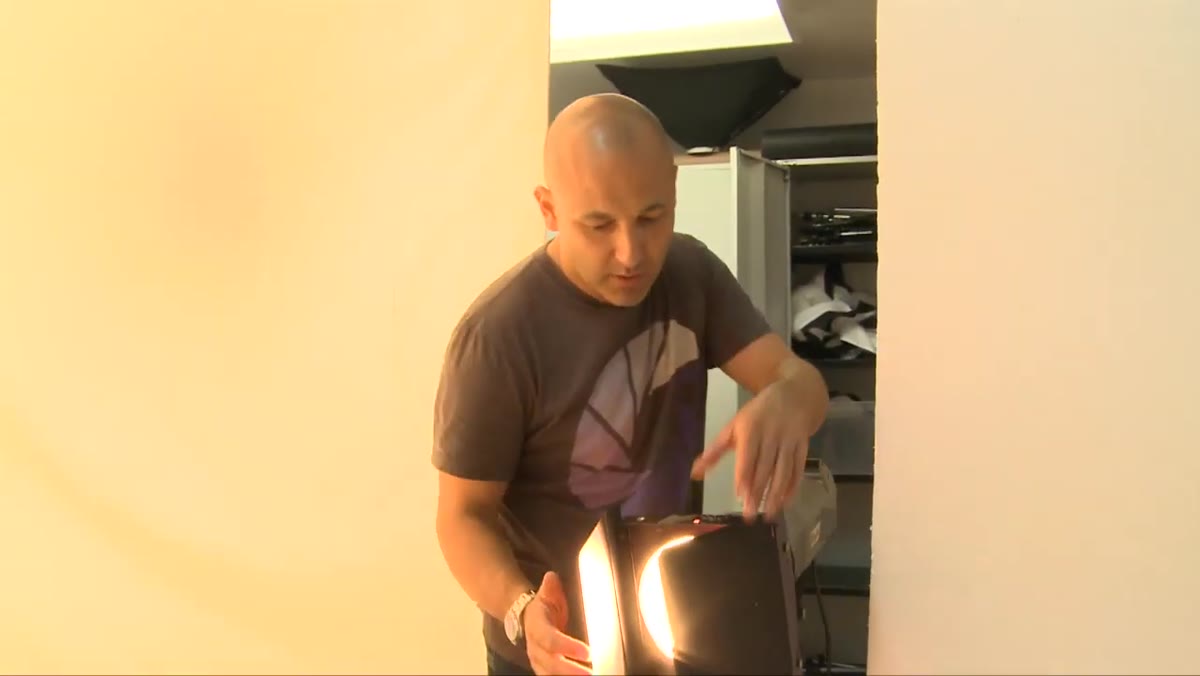 Barn doors and medium honeycomb grid on flash head
Once the set is up, the instructor uses barn doors combined with a medium-thickness honeycomb grid to concentrate the beam without making it harsh. Barn doors cut the light in a rectangular shape, controlling which surfaces get hit. The honeycomb grid narrows the spread angle, which means light stays where you point it rather than bouncing all over the set and flattening everything out. Medium grids are the most versatile starting point: tight grids get dramatic very fast, and open grids are not much different from a bare reflector. On set builds especially, uncontrolled spill will kill the depth in your image before you even pose the subject. Grid first, then barn doors to fine-tune the edges.
Barn doors and medium honeycomb grid on flash head
Once the set is up, the instructor uses barn doors combined with a medium-thickness honeycomb grid to concentrate the beam without making it harsh. Barn doors cut the light in a rectangular shape, controlling which surfaces get hit. The honeycomb grid narrows the spread angle, which means light stays where you point it rather than bouncing all over the set and flattening everything out. Medium grids are the most versatile starting point: tight grids get dramatic very fast, and open grids are not much different from a bare reflector. On set builds especially, uncontrolled spill will kill the depth in your image before you even pose the subject. Grid first, then barn doors to fine-tune the edges.
Step 5: Replace Softboxes with Scrims for Larger, More Natural Diffusion
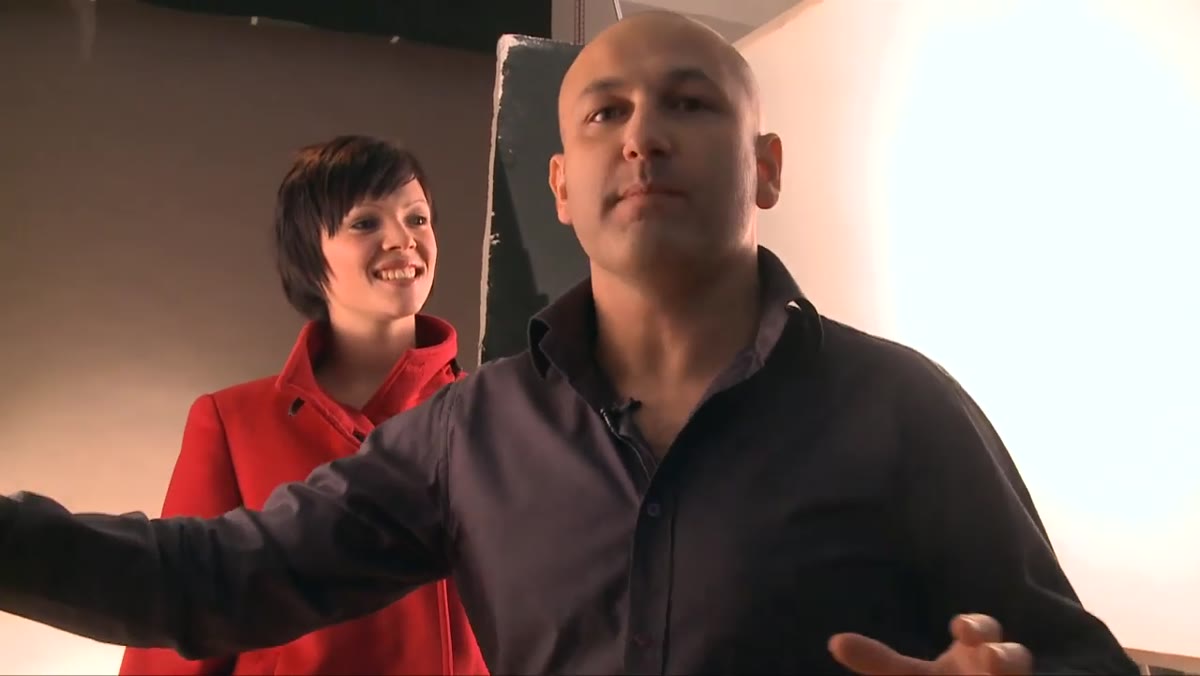 Scrims positioned as light sources replacing softboxes
The instructor makes a deliberate choice here that I found worth stopping on: scrims instead of softboxes as the primary diffusion tool. Scrims are translucent fabric frames, and when you position a light behind one, the entire scrim face becomes the light source. The result is softer and more gradual than most softboxes at comparable sizes because the light has more room to spread before it reaches the fabric. The catch is control. Scrims spill in all directions unless you flag them. Use black wrap or flags on the sides and top to keep the light directional. For beauty and fashion work where you want that large, wrapping quality without the telltale octabox catchlight shape, this is worth learning.
Scrims positioned as light sources replacing softboxes
The instructor makes a deliberate choice here that I found worth stopping on: scrims instead of softboxes as the primary diffusion tool. Scrims are translucent fabric frames, and when you position a light behind one, the entire scrim face becomes the light source. The result is softer and more gradual than most softboxes at comparable sizes because the light has more room to spread before it reaches the fabric. The catch is control. Scrims spill in all directions unless you flag them. Use black wrap or flags on the sides and top to keep the light directional. For beauty and fashion work where you want that large, wrapping quality without the telltale octabox catchlight shape, this is worth learning.
Step 6: Separate Subject from Background with a Dedicated Background Light
 Background light added to separate jacket from backdrop
A single background light changes the entire read of a studio image. The instructor adds one to separate a dark jacket from a similarly toned background, and the effect is immediate. Without it, the subject collapses into the backdrop. With it, there is depth and dimension. Position the background light so it creates a gradient across the backdrop rather than a hot spot. Aim it slightly off-center or use a flag to shade one side. The goal is a smooth transition from lighter to darker that your subject sits against, not a circle of light directly behind the head.
Background light added to separate jacket from backdrop
A single background light changes the entire read of a studio image. The instructor adds one to separate a dark jacket from a similarly toned background, and the effect is immediate. Without it, the subject collapses into the backdrop. With it, there is depth and dimension. Position the background light so it creates a gradient across the backdrop rather than a hot spot. Aim it slightly off-center or use a flag to shade one side. The goal is a smooth transition from lighter to darker that your subject sits against, not a circle of light directly behind the head.
Step 7: Freeze High-Energy Motion with a Two-Light Setup
 Two-light setup with umbrella front and dish rear for motion shot
For the final shot, the tutorial uses two lights: a front umbrella for fill and a harder modifier behind for rim. The intention is to freeze an animated, physically dynamic pose with flash duration doing the work that shutter speed alone cannot do. When you are capturing hair movement, fabric, or a full-body leap, your flash duration matters more than your sync speed. Use a pack or monolight that gives you short duration at mid-to-high power, not just high power. The front umbrella keeps the shadow side readable while the rear light carves the subject out of the background with a bright rim edge. Set up the two-light balance first on a static subject, then bring in the motion.
Two-light setup with umbrella front and dish rear for motion shot
For the final shot, the tutorial uses two lights: a front umbrella for fill and a harder modifier behind for rim. The intention is to freeze an animated, physically dynamic pose with flash duration doing the work that shutter speed alone cannot do. When you are capturing hair movement, fabric, or a full-body leap, your flash duration matters more than your sync speed. Use a pack or monolight that gives you short duration at mid-to-high power, not just high power. The front umbrella keeps the shadow side readable while the rear light carves the subject out of the background with a bright rim edge. Set up the two-light balance first on a static subject, then bring in the motion.
What I Would Add: Test Duration, Not Just Power
Flash duration specs are buried in product manuals and almost never discussed in gear reviews, but they determine whether a motion shot looks sharp or smeared. I learned this by wrecking a sequence of water splash shots that should have been clean. Many monolights get longer in duration as you increase power, which is the opposite of what you want for motion work. Some pack systems behave the other way. Before any shoot with physical action, I pull up the spec sheet and find the t0.5 duration value at the power level I plan to use. Anything above 1/1000 second is risky for fast motion. This is not gear snobbery. It is just knowing what your equipment actually does.
The single most important idea in this tutorial is also the simplest: diagnose before you light. Check the catchlight. Check the neck shadow. Know what the light is doing to the subject before you add the next layer. Every technique in this breakdown depends on that discipline first.
Watch the full tutorial on YouTube
Comments
Leave a Comment