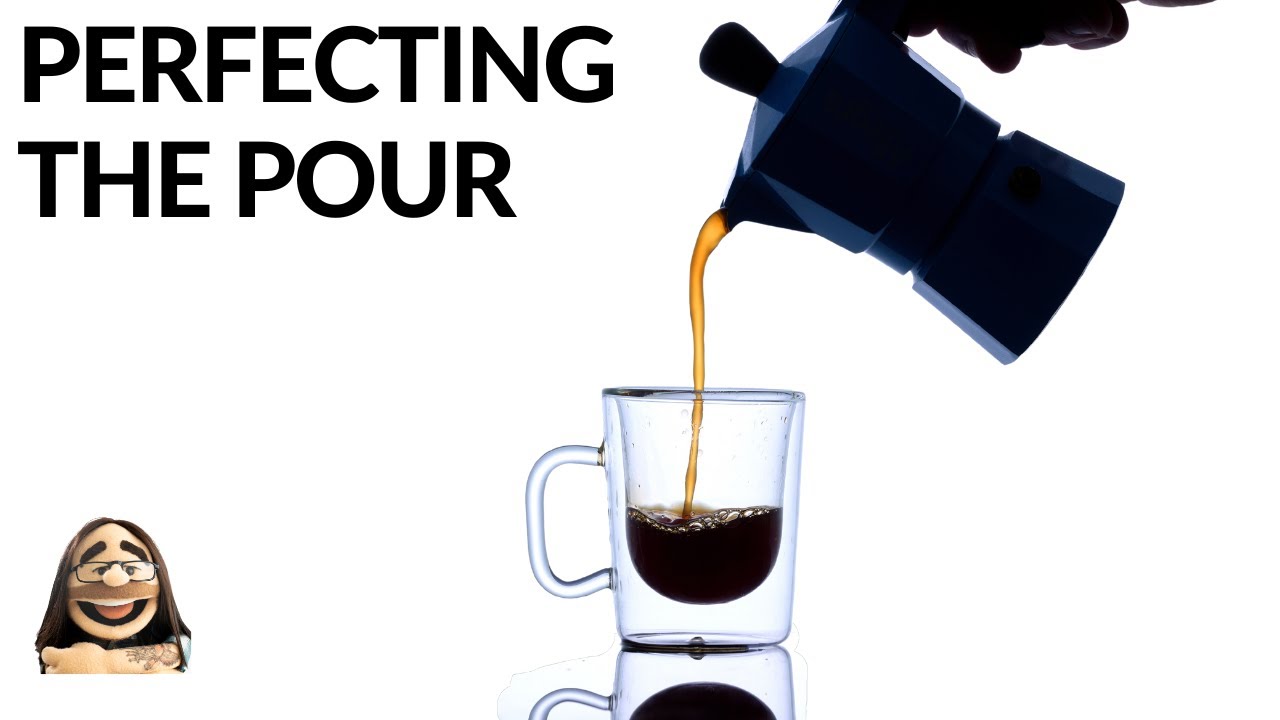
Every few months a client sends me a brief with a liquid shot in it. Coffee pouring into a cup. Whiskey splashing over ice. A serum drop hitting a surface. And every time, I watch junior photographers on set reach for the shutter speed dial as if that’s what’s going to save them. It isn’t. In studio conditions with flash, your shutter speed is nearly irrelevant to motion blur. What actually freezes the liquid is the duration of the flash itself, and if you don’t understand that distinction, you’ll keep getting soft, ghosted pours no matter how fast you shoot.
Watch the full tutorial on YouTube
In this Daniel Norton Photographer tutorial, he walks through a clean, repeatable setup for capturing a coffee pour using a single backlit light source and translucent material as a background. The technique is elegant because it removes variables. One light, one modifier, a controlled ambient environment, and the flash doing the heavy lifting. I’ve sketched a version of this setup in my lighting journal and I keep coming back to it because the principles apply to everything from beverages to beauty product splashes.
Step 1: Build Your Backlight Rig with Translum
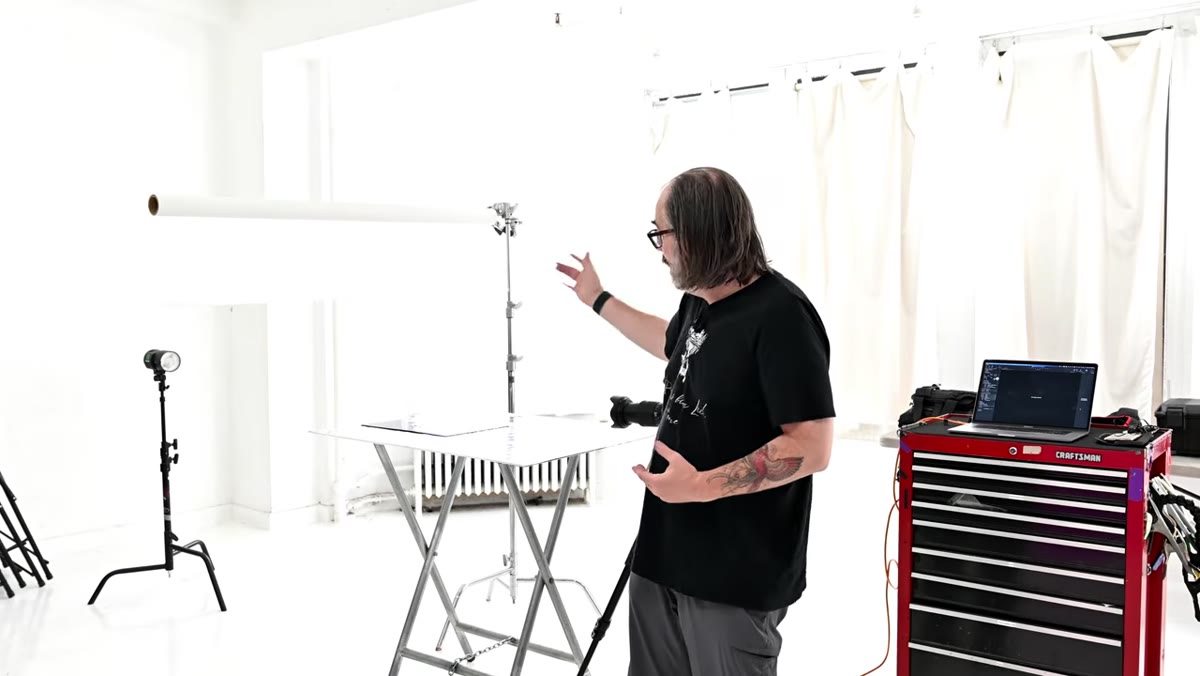 Profoto B10 positioned far behind translum material
Daniel uses a Profoto B10 positioned roughly seven to eight feet behind a sheet of translum, which is a semi-transparent, plasticky material that comes in rolls. Savage makes it and it is worth having a roll in your studio. The reason to use translum instead of a softbox here is distance. When you push your light source far back from the diffusion material, the spread becomes more even across the entire surface. A softbox traps the light too close to the diffusion panel and you end up with a hot center. With translum, you get a smooth, near-uniform field of light that reads as a clean white background behind your subject.
Profoto B10 positioned far behind translum material
Daniel uses a Profoto B10 positioned roughly seven to eight feet behind a sheet of translum, which is a semi-transparent, plasticky material that comes in rolls. Savage makes it and it is worth having a roll in your studio. The reason to use translum instead of a softbox here is distance. When you push your light source far back from the diffusion material, the spread becomes more even across the entire surface. A softbox traps the light too close to the diffusion panel and you end up with a hot center. With translum, you get a smooth, near-uniform field of light that reads as a clean white background behind your subject.
Hang or tape the translum so it covers your entire backdrop area and drapes gently onto the surface below your product. The glass or cup sits directly in front of it. The camera is shooting toward the light, meaning your subject will be beautifully rim-lit and your background will blow to white.
Step 2: Set Ambient Light to Zero
 Camera viewfinder showing completely black frame without flash
Before you touch your product, kill every ambient light source in the room and take a test frame with the flash disabled. What you want to see is a completely black frame. Not dark gray, not slightly dim, black. Daniel calls this your shadow level, and it is the most important diagnostic step in this entire process. Any ambient light that leaks into the exposure will combine with the flash exposure and give you motion blur on the liquid, because ambient light has no duration. It just sits there and exposes continuously while your shutter is open.
Camera viewfinder showing completely black frame without flash
Before you touch your product, kill every ambient light source in the room and take a test frame with the flash disabled. What you want to see is a completely black frame. Not dark gray, not slightly dim, black. Daniel calls this your shadow level, and it is the most important diagnostic step in this entire process. Any ambient light that leaks into the exposure will combine with the flash exposure and give you motion blur on the liquid, because ambient light has no duration. It just sits there and exposes continuously while your shutter is open.
In my studio I’ve got blackout curtains on the windows and I always test ambient the same way before liquid or motion work. If the frame isn’t clean black, I find the light source and deal with it before I do anything else. This is not optional.
Step 3: Dial In Your Exposure Settings
 Camera settings displayed: f/10, ISO 100, 1/200s
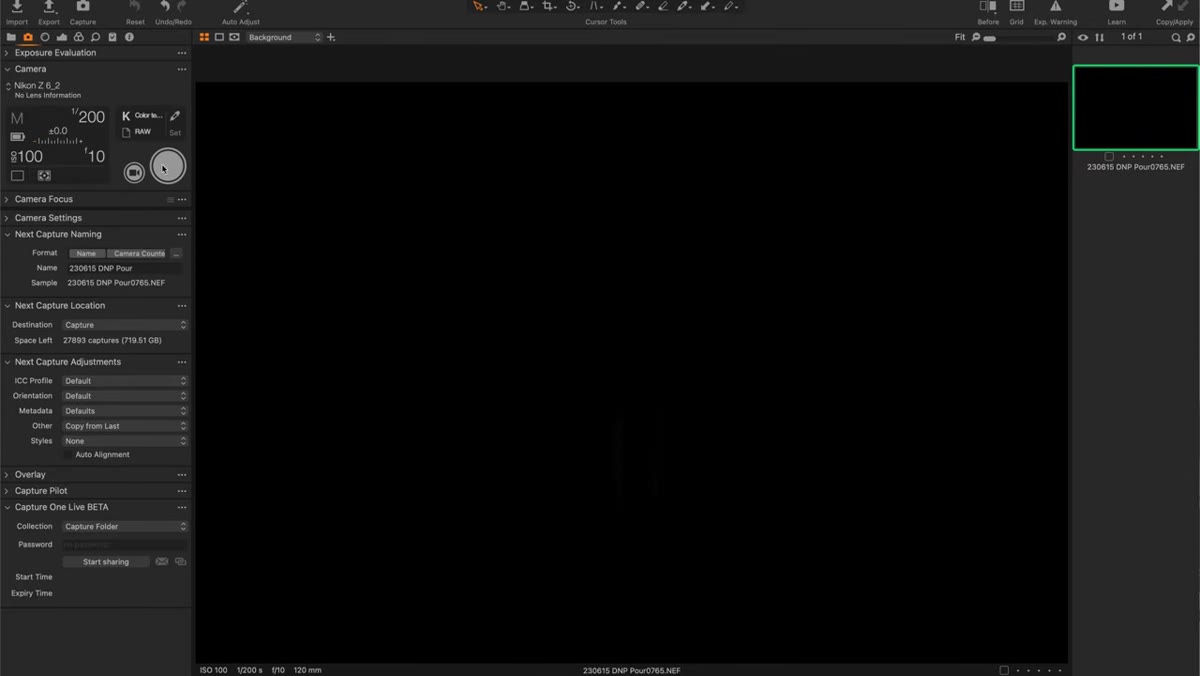
Daniel shoots at f/10, ISO 100, and 1/200th of a second for this setup. The shutter speed at 1/200th is simply staying within sync speed, nothing more. It is not what freezes the pour. The aperture at f/10 gives him depth of field across the liquid stream, which matters because a falling pour is three-dimensional and you need coverage front to back. ISO stays at 100 to keep noise out of those bright white background tones.
Camera settings displayed: f/10, ISO 100, 1/200s
Daniel shoots at f/10, ISO 100, and 1/200th of a second for this setup. The shutter speed at 1/200th is simply staying within sync speed, nothing more. It is not what freezes the pour. The aperture at f/10 gives him depth of field across the liquid stream, which matters because a falling pour is three-dimensional and you need coverage front to back. ISO stays at 100 to keep noise out of those bright white background tones.
Once you have a black ambient frame, fire the flash and adjust power or aperture until the background reads close to pure white without clipping into blown-out detail on the product itself. Daniel checks his histogram and looks for values near 255 on the background. If the edges of the translum fall slightly short, that is fine because you will likely crop in post anyway. What you cannot recover is a product that is blown out, so err on the side of protecting the subject.
Step 4: Focus and Frame Before the Action Starts
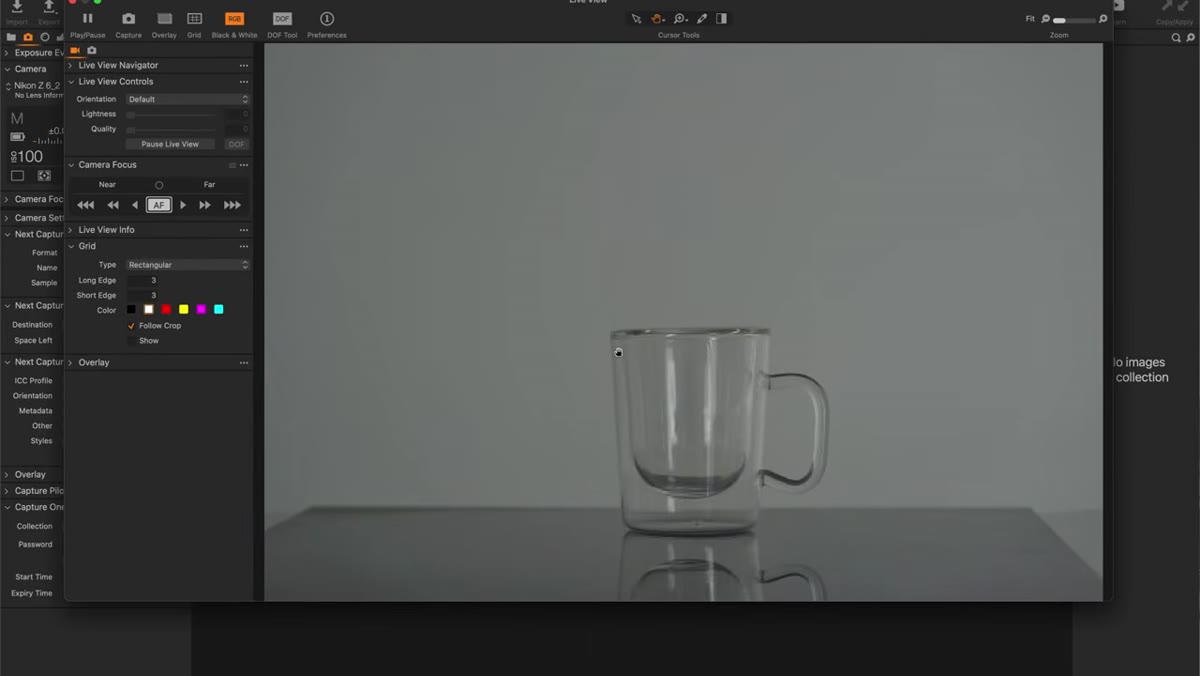
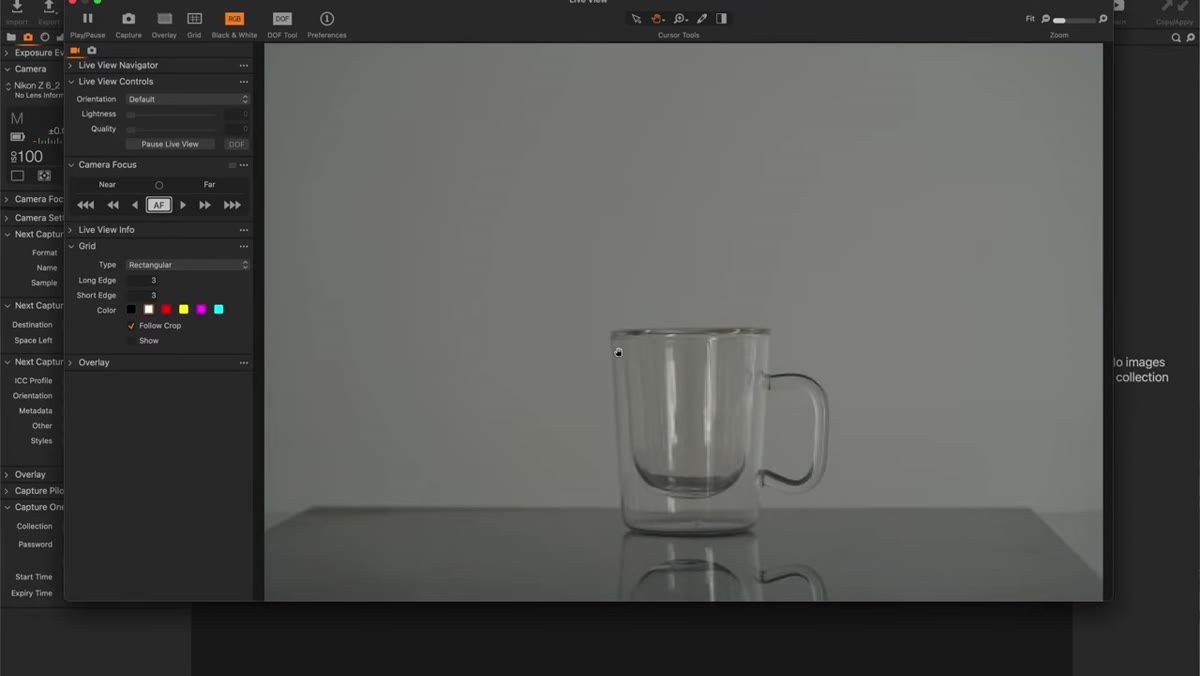 Camera focused on glass cup in final position
Set your focus on the cup or glass before you bring anyone in to pour. Lock it in, switch to manual focus, and do not touch it again. During a fast pour sequence you will not have time to let autofocus hunt, and even a brief hunting moment between frames will cost you the best shot. Frame the shot with intentional negative space above the cup for the pour to fall into. Leave more room than you think you need because liquid moves fast and unpredictably.
Camera focused on glass cup in final position
Set your focus on the cup or glass before you bring anyone in to pour. Lock it in, switch to manual focus, and do not touch it again. During a fast pour sequence you will not have time to let autofocus hunt, and even a brief hunting moment between frames will cost you the best shot. Frame the shot with intentional negative space above the cup for the pour to fall into. Leave more room than you think you need because liquid moves fast and unpredictably.
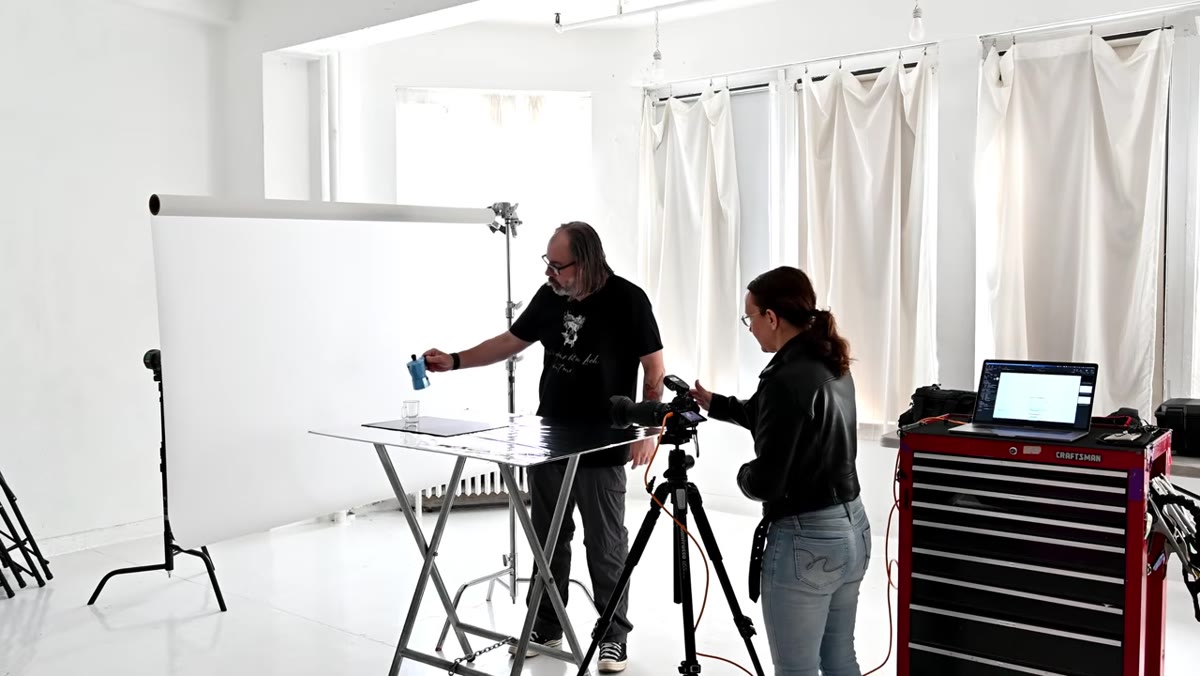
Daniel uses a black acrylic or plexi surface beneath the cup, which creates a natural reflection of the cup and the pour. It adds depth and production value to what is otherwise a very simple setup.
Step 5: Pour Aggressively and Shoot in Bursts
 Coffee being poured into cup mid-action
This is where technique meets timing. Daniel instructs his assistant to pour with real force, not a delicate trickle. Aggressive pours create turbulence, splashing, and chaotic movement that makes for far more dynamic images than a polite stream. You want the liquid to be bouncing around and catching the backlight in unpredictable ways.
Coffee being poured into cup mid-action
This is where technique meets timing. Daniel instructs his assistant to pour with real force, not a delicate trickle. Aggressive pours create turbulence, splashing, and chaotic movement that makes for far more dynamic images than a polite stream. You want the liquid to be bouncing around and catching the backlight in unpredictable ways.
Shoot in continuous burst mode through the entire pour. With studio flash you are limited by the recycle time of your unit, so faster recycle means more usable frames. The B10 is quick, but even with a slower strobe, shooting burst gives you options. You will take twenty frames and three of them will be exceptional. That is the job.
What I’d Do Differently with This Setup
I have run a version of this rig for coffee and skincare clients and the one thing I add is a second very low-powered strip light skimming the surface from the side, just enough to separate the liquid stream from the background without killing the backlit silhouette effect. It adds a rim along the pour itself and gives the liquid more three-dimensional texture in the final image. Keep it at least two stops under the background light so it doesn’t compete. It is a subtle addition but on a close-cropped product shot it reads clearly.
I also label my translum roll with a piece of masking tape on the cardboard core noting the light-to-subject distance and the power setting that gave me a clean white at f/10. Saves me the first fifteen minutes of re-testing every time this brief lands.
The single most important thing this tutorial teaches is the correct mental model. Your shutter speed controls ambient light. Your flash duration controls motion. Once that clicks, liquid photography stops being frustrating and starts being repeatable. Watch the full tutorial on YouTube and pay close attention to how Daniel frames the ambient test, because that step is where most photographers skip ahead and then wonder why their pours look soft.
Comments
Leave a Comment