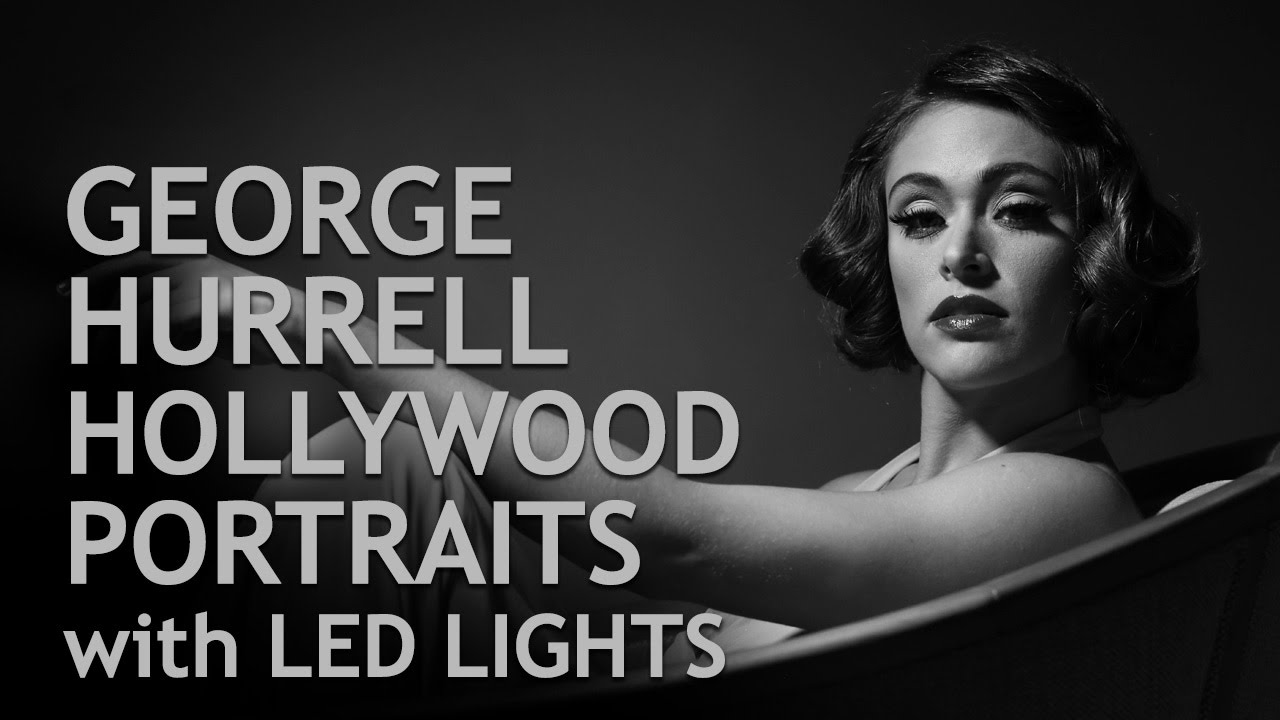
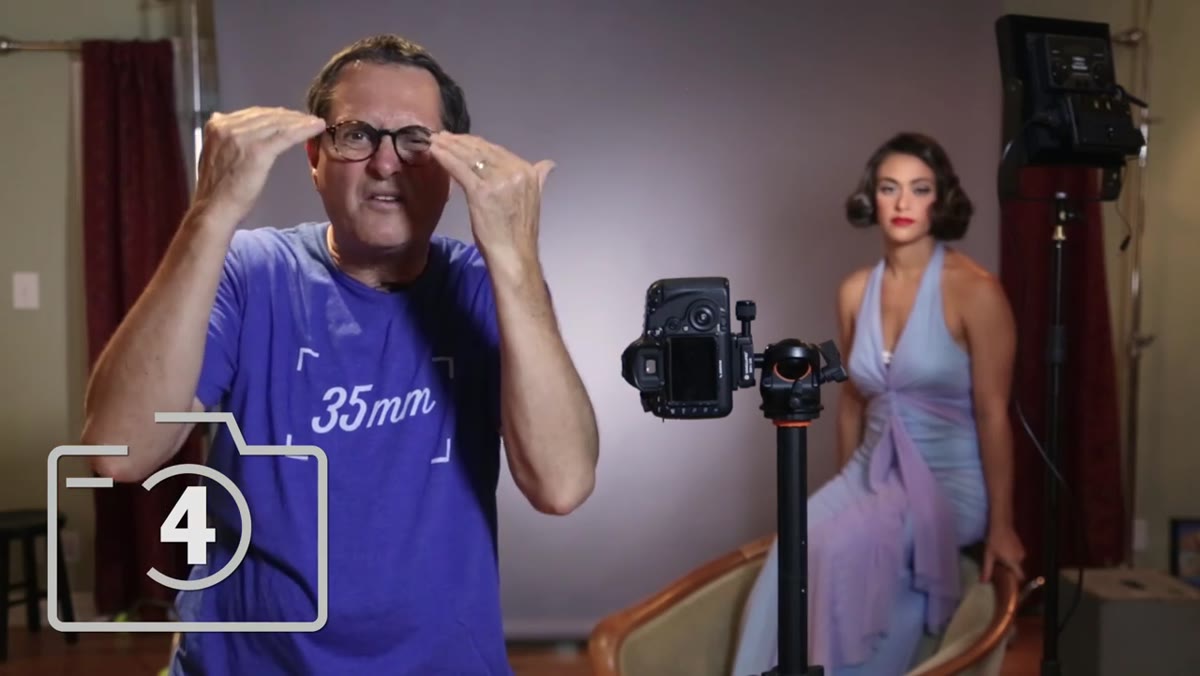
Every so often I watch a tutorial and think: I wish I’d had this five years ago. This is one of those. In this The Slanted Lens tutorial, JP Morgan walks through how to recreate the George Hurrell Hollywood portrait look using LED panel lights instead of the massive, studio-era tungsten setups Hurrell famously worked with. The result is moody, sculpted, deeply cinematic — and far more achievable than most photographers assume. Watch the full tutorial on YouTube
I’ve been shooting editorial and beauty work in Los Angeles for long enough to know that vintage Hollywood glamour gets requested constantly and executed poorly just as often. The common mistake is going too soft, too even, too flattering in the modern sense. Hurrell didn’t flatter people the way we think of flattering light today. He sculpted. He let shadows exist. Understanding that distinction is the whole ballgame, and this tutorial lays it out in four discrete, repeatable principles you can apply in your own studio.
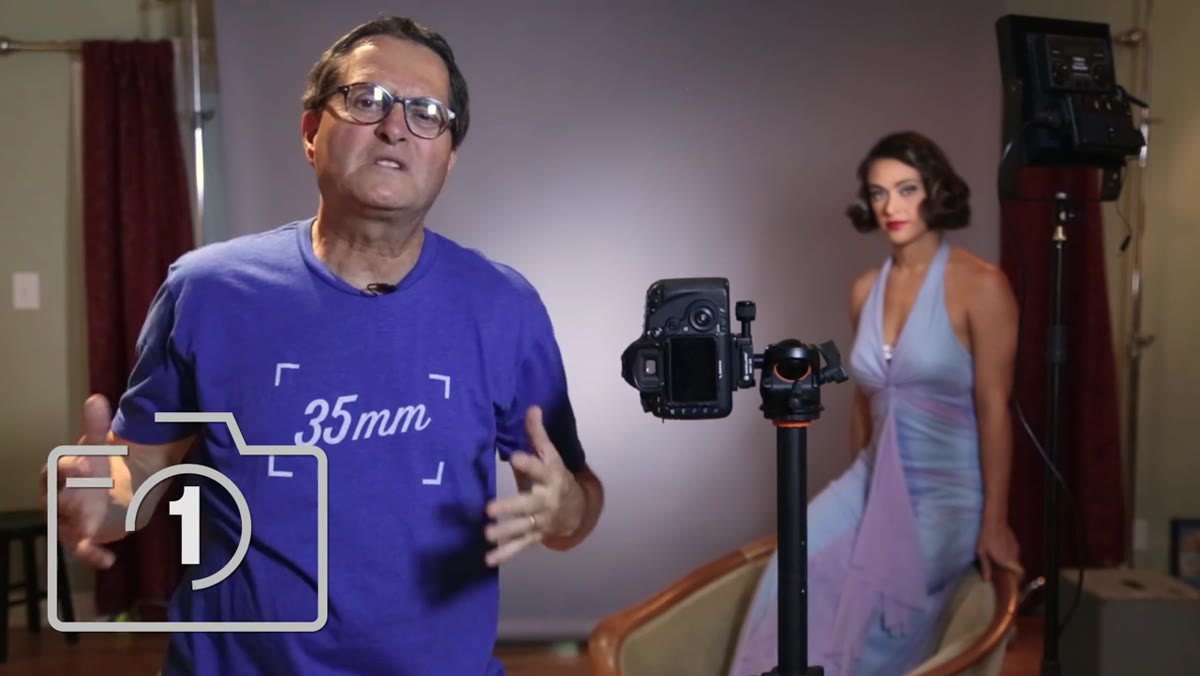
What makes JP’s breakdown valuable is that it’s organized like a checklist, not a mood board. I keep a lighting journal where I sketch setups after every shoot, and after watching this video I filled two pages. Here’s how to work through his four principles step by step.
Step 1: Position the Light Intentionally
 Light placed high and forward, butterfly shadow forming under nose
Hurrell’s lights were never just “somewhere over there.” Position was a deliberate decision made relative to the subject’s face angle, and JP breaks this down clearly. For a subject facing the camera directly, you want the key light high and slightly forward, classic butterfly position, which drops a symmetrical shadow under the nose and cheekbones. The moment your subject turns toward a three-quarter angle or full profile, the light has to follow them around. If you keep the light in front while the face turns away, you lose all the shadow structure that defines the look.
Light placed high and forward, butterfly shadow forming under nose
Hurrell’s lights were never just “somewhere over there.” Position was a deliberate decision made relative to the subject’s face angle, and JP breaks this down clearly. For a subject facing the camera directly, you want the key light high and slightly forward, classic butterfly position, which drops a symmetrical shadow under the nose and cheekbones. The moment your subject turns toward a three-quarter angle or full profile, the light has to follow them around. If you keep the light in front while the face turns away, you lose all the shadow structure that defines the look.
The rule JP offers here is clean and easy to memorize: light the side of the face that’s toward you. When your subject is full-face, light from in front. When she cuts to a profile, swing the light around to that side. A 45-degree angle from the face gives you what’s often called loop light, which works especially well for three-quarter poses and adds dimensionality to the arms and shoulders when the subject is turned.
Step 2: Use Hard, Controlled Light Quality
 Grid attached to LED panel, light narrowed and directional
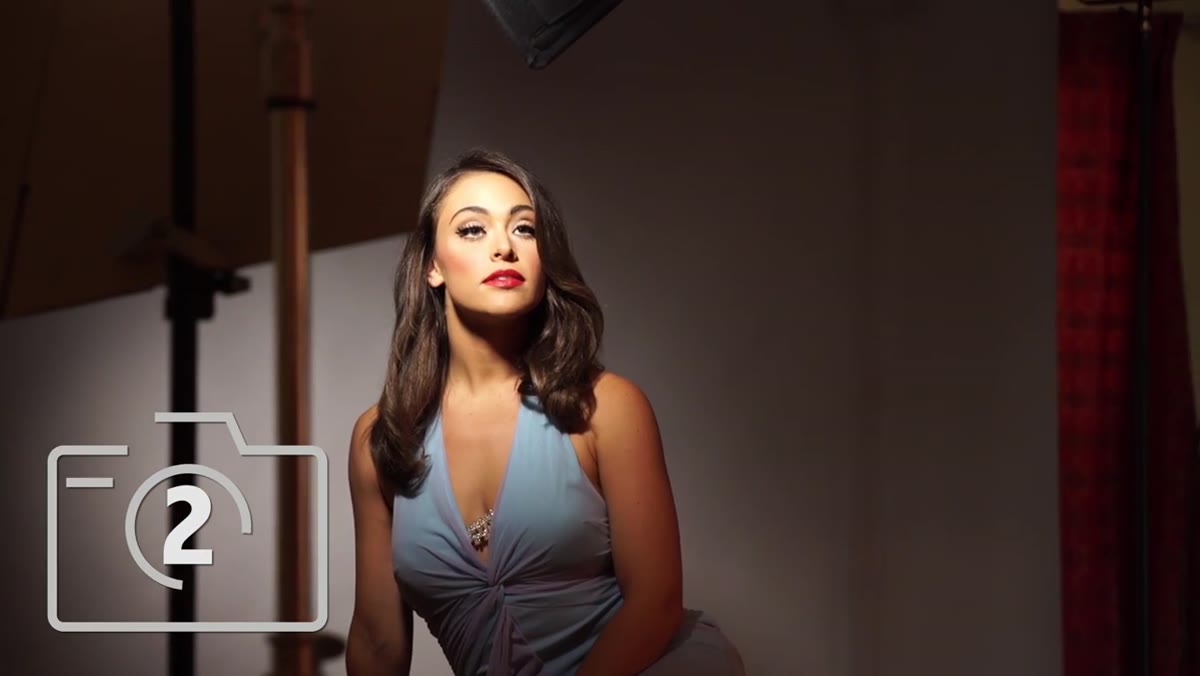
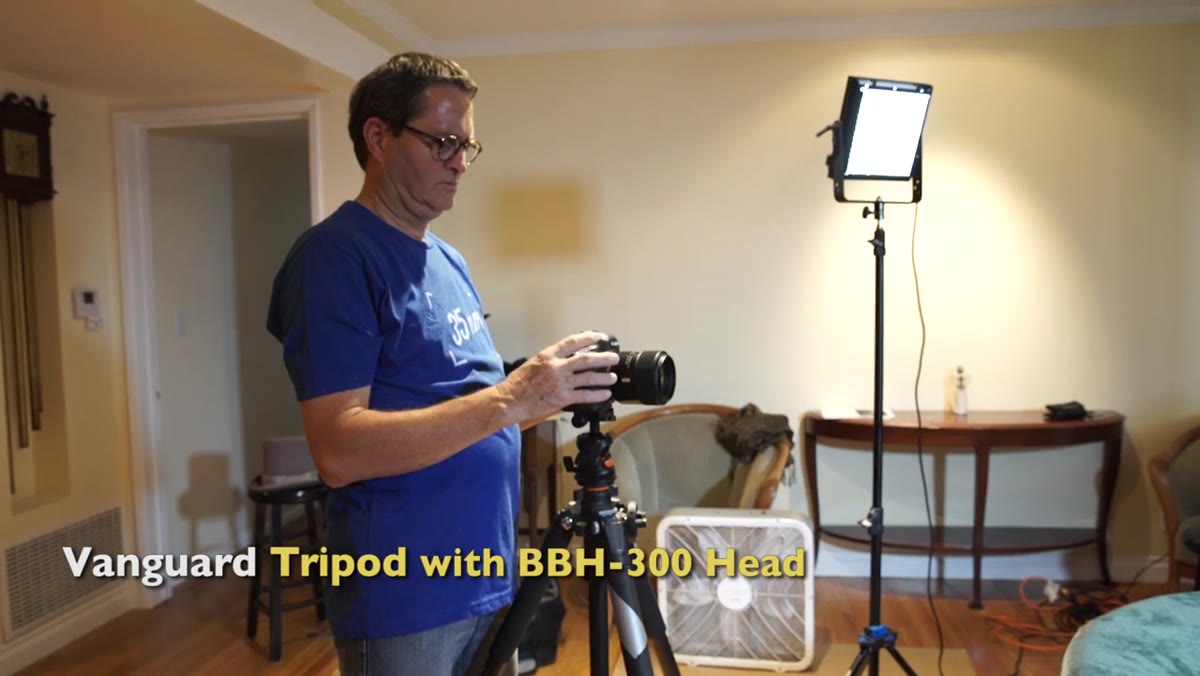
Hurrell’s signature was hard light, not the diffused, wraparound quality that dominates commercial beauty work today. JP achieves this with his Vector LED panels by attaching a grid modifier, which narrows the beam and eliminates the soft, spilling edge that bare panels produce. For the background light, he wraps black wrap around the head to control spill even further, giving the scene a tight, contained quality where light lands exactly where he aims it and nowhere else.
Grid attached to LED panel, light narrowed and directional
Hurrell’s signature was hard light, not the diffused, wraparound quality that dominates commercial beauty work today. JP achieves this with his Vector LED panels by attaching a grid modifier, which narrows the beam and eliminates the soft, spilling edge that bare panels produce. For the background light, he wraps black wrap around the head to control spill even further, giving the scene a tight, contained quality where light lands exactly where he aims it and nowhere else.
If you’re working with LED panels and don’t have a grid, a honeycomb grid from a speedlight kit will sometimes work in a pinch, or you can flag aggressively with black foam core. The point isn’t the specific modifier. The point is intentional hardness. Soft light is forgiving and it’s also slightly anonymous. Hard light has a signature.
Step 3: Dial In Exposure for the Highlight, Not the Fill
 Camera settings shown: ISO 1240, f/4.0, controlled highlight on face
With a grid on the light, your effective output drops, which means your exposure settings need to compensate. JP sets his ISO at 1240 and shoots at f/4.0 to get a clean, bright highlight while keeping the shadow areas genuinely dark. That balance is the key. You’re not trying to bring up the shadows in post. You’re exposing so the highlight is rich and everything else earns its darkness.
Camera settings shown: ISO 1240, f/4.0, controlled highlight on face
With a grid on the light, your effective output drops, which means your exposure settings need to compensate. JP sets his ISO at 1240 and shoots at f/4.0 to get a clean, bright highlight while keeping the shadow areas genuinely dark. That balance is the key. You’re not trying to bring up the shadows in post. You’re exposing so the highlight is rich and everything else earns its darkness.
Don’t make the mistake of shooting tight on aperture here because you want sharpness everywhere. Hurrell’s images have depth. f/4.0 gives you enough sharpness on the face while letting the background fall off naturally, which reduces the amount of work your background light has to do and keeps the overall scene from feeling cluttered.
Step 4: Flag Close to the Subject, Not Close to the Light
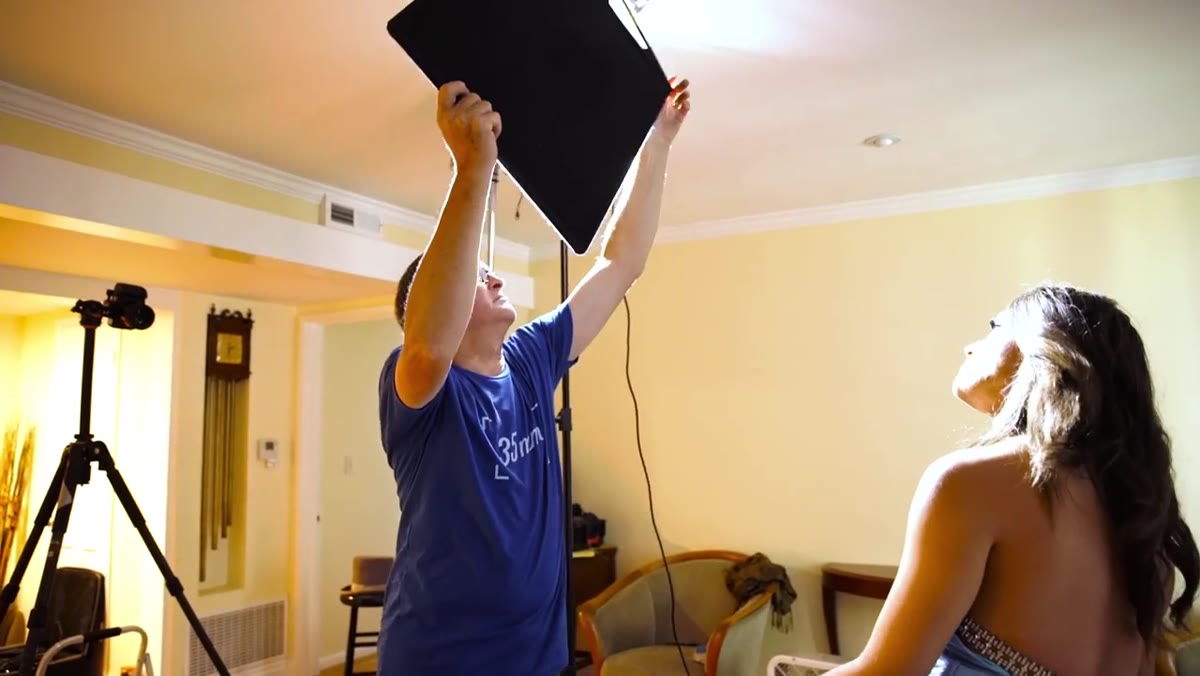 Cardboard flag positioned near subject’s arm, not near light source
This is the tip in the tutorial that I immediately added to my own practice. When you need to knock down a hot spot, say a highlight that’s burning out on your subject’s shoulder or arm, most people instinctively reach for the light and try to flag it at the source. JP makes the opposite argument: get your flag as far from the light as possible and as close to the subject as you can without it entering the frame.
Cardboard flag positioned near subject’s arm, not near light source
This is the tip in the tutorial that I immediately added to my own practice. When you need to knock down a hot spot, say a highlight that’s burning out on your subject’s shoulder or arm, most people instinctively reach for the light and try to flag it at the source. JP makes the opposite argument: get your flag as far from the light as possible and as close to the subject as you can without it entering the frame.
A piece of cardboard or black foam core eased in near the subject gives you fine, gradual control. You can inch it in slowly until you’ve taken just enough edge off the highlight without creating a hard shadow line. At the source, you’re fighting the entire beam. Near the subject, you’re making a precise surgical adjustment. I now keep a few pieces of cut cardboard in a bin next to my lighting cart specifically for this purpose.
Step 5: Embrace the Shadow
 Deep shadow visible in eye socket, Hurrell-style portrait quality
This is the principle most photographers resist. Hurrell didn’t fight shadows in the eyes. He welcomed them. A shadow falling across one eye, or the lashes casting onto the cheekbone, wasn’t a problem to be corrected. It was part of the architecture of the image. JP’s instruction here is simple: once your light is positioned and your exposure is set, stop looking at the dark areas as mistakes. Assess whether they’re serving the image. More often than not, they are.
Deep shadow visible in eye socket, Hurrell-style portrait quality
This is the principle most photographers resist. Hurrell didn’t fight shadows in the eyes. He welcomed them. A shadow falling across one eye, or the lashes casting onto the cheekbone, wasn’t a problem to be corrected. It was part of the architecture of the image. JP’s instruction here is simple: once your light is positioned and your exposure is set, stop looking at the dark areas as mistakes. Assess whether they’re serving the image. More often than not, they are.
The instinct to fill every shadow comes from a fear of the image reading as “wrong.” But Hurrell’s work is celebrated precisely because it reads as bold. The light tells you where to look. The shadow tells you what’s dramatic.
What I’d Add from My Own Studio
I’ve replicated vintage Hollywood setups before, and one thing this tutorial doesn’t explicitly address is background relationship. Hurrell’s backgrounds were often deep gray or near-black, and the way he separated subjects from them was through rim light or careful subject positioning, not background lighting. If you’re trying this technique, start with your background light off entirely. See how the image reads with just your key. You may find you don’t need to add anything. A background that goes naturally dark because your key is controlled and your grid is doing its job is often more convincing than one you light separately to a target tone.
Also: label your modifiers. I put masking tape on every grid, every softbox, every reflector panel in my studio with the light it’s matched to and the approximate output I use it at for different setups. Sounds excessive. It saves twenty minutes every time I rebuild a setup from my journal.
The single most transferable idea from this tutorial is that Hurrell’s Hollywood look isn’t primarily about equipment or era. It’s about deliberate light placement, acceptance of shadow, and exposure choices that prioritize the highlight. The rest is refinement. Start with those four principles JP lays out and you’ll get somewhere worth refining.
Watch the full tutorial on YouTube to see JP demonstrate each principle with live shooting and real-time adjustments on set.
Comments
Leave a Comment