Every modifier conversation I have with other photographers eventually circles back to the same question: why does my light feel flat and directionless? For years I watched photographers drop money on softboxes and parabolic reflectors before they understood what the bare bulb underneath was even doing. That gap in foundational knowledge costs you real money and real shoots. I still sketch every new setup in my lighting journal before I fire a single test frame, and the thing I write first, every time, is what the light is doing before any modifier touches it.
K.L. Taylor over at Visual Education put together a tutorial that addresses exactly this foundational layer. Watch the full tutorial on YouTube before or after reading this breakdown. The video moves through bare bulb behavior, standard reflectors, and the numbered parabolic designations (P45, P65, P70) in a clean, logical order. What follows is my own walkthrough of those concepts, with the kind of practical detail I wish someone had handed me when I was starting out in studio work.
Step 1: Understand What an Open, Unmodified Bulb Actually Does
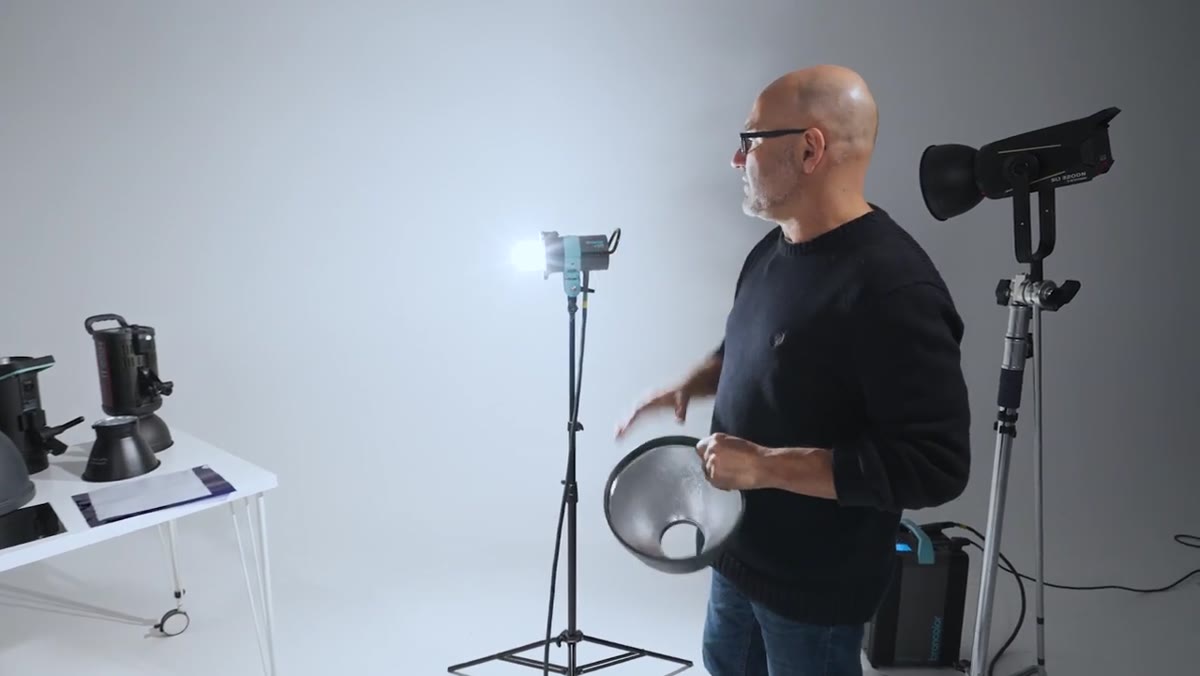 Open lamp firing with no modifier attached, light scattering in all directions
Before you touch a single reflector, you need to spend real time watching an unmodified strobe fire. Remove every modifier from your studio light and fire it against a white wall. The light radiates outward in every direction simultaneously - forward, sideways, upward, and partially backward. In a studio with four walls, this means you are bouncing light off every surface in the room before it ever reaches your subject. Outdoors, that energy simply disappears into open air.
Open lamp firing with no modifier attached, light scattering in all directions
Before you touch a single reflector, you need to spend real time watching an unmodified strobe fire. Remove every modifier from your studio light and fire it against a white wall. The light radiates outward in every direction simultaneously - forward, sideways, upward, and partially backward. In a studio with four walls, this means you are bouncing light off every surface in the room before it ever reaches your subject. Outdoors, that energy simply disappears into open air.
The practical result of all this scatter is twofold. First, you lose a significant portion of your light output to surfaces that have nothing to do with your shot. Second, the shadows that an open bulb produces are hard and sharp, because the effective light source relative to your subject is tiny. The fundamental rule here is not complicated: small sources create hard shadows, large sources create soft ones. Keep that sentence in your head. Everything else in modifier selection is a variation on it.
Step 2: Identify the Pilot Light and Understand the Flash Tube Relationship
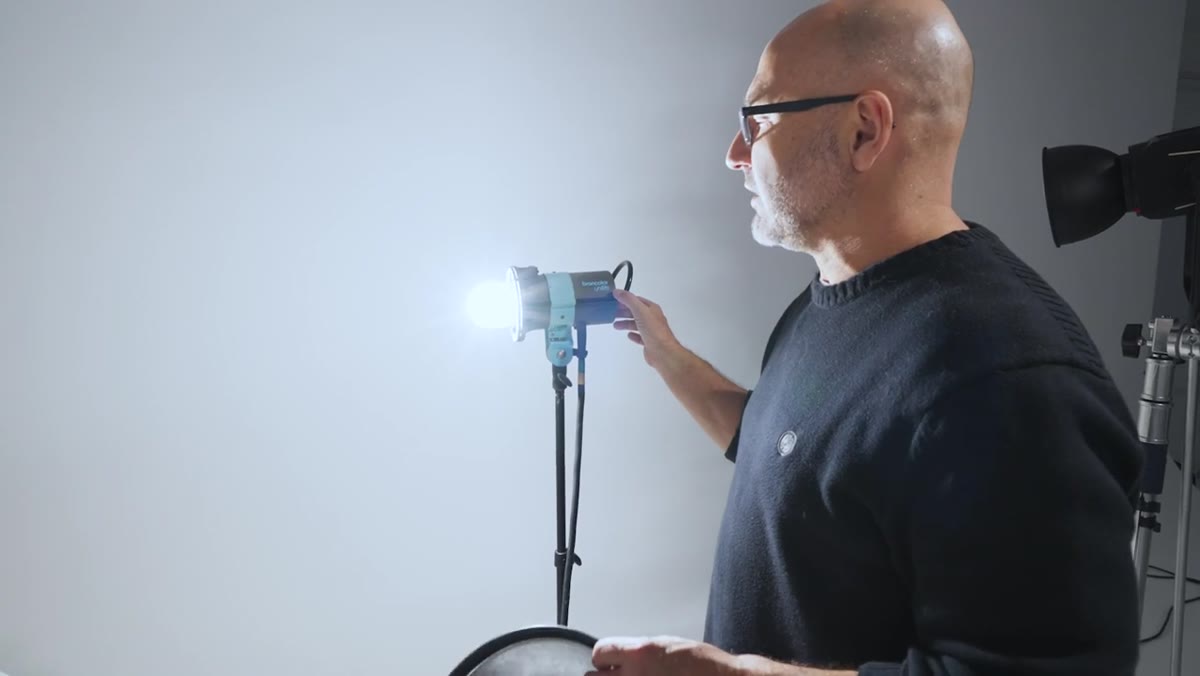 Pilot light switching on and off showing modeling light behavior
Most studio strobes have two light sources built into one head: the modeling light (sometimes called the pilot light) and the flash tube itself. The modeling light is a continuous source, typically tungsten or LED, that lets you see how your light is falling on the subject before you fire. The flash tube wraps around or sits adjacent to the modeling light and fires the actual burst of light when you trigger the shutter.
Pilot light switching on and off showing modeling light behavior
Most studio strobes have two light sources built into one head: the modeling light (sometimes called the pilot light) and the flash tube itself. The modeling light is a continuous source, typically tungsten or LED, that lets you see how your light is falling on the subject before you fire. The flash tube wraps around or sits adjacent to the modeling light and fires the actual burst of light when you trigger the shutter.
When you are placing a reflector or any modifier, both sources share the same optical axis. This matters because the behavior of your modeling light gives you a reasonably accurate preview of where your flash energy will land. It is not a perfect preview - the flash fires faster and at higher intensity - but it is close enough to use for composition and rough placement. I keep the modeling light at a consistent percentage relative to my flash power on every head so the preview stays reliable from shoot to shoot.
Step 3: Mount a Standard Reflector and Watch the Beam Consolidate
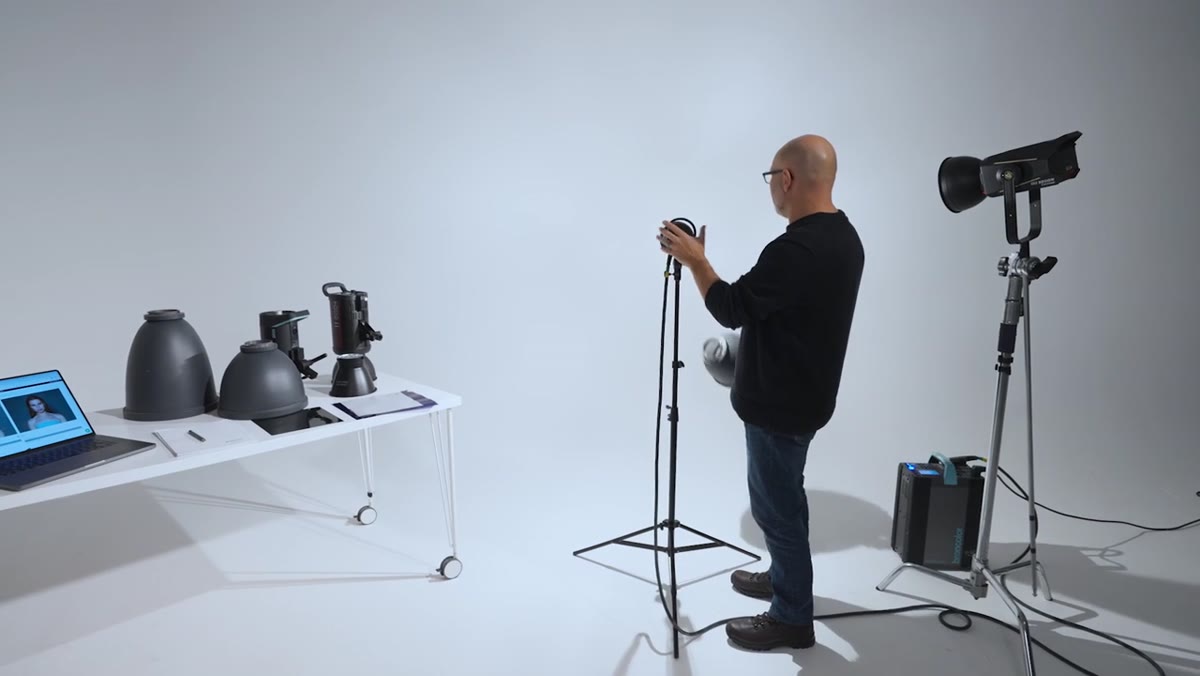 P70 reflector installed, concentrated beam of light visible on the wall
A standard reflector is a shallow bowl, usually silver or white on the interior, that mounts directly onto the flash head. Its job is to intercept the light that would otherwise fly backward and sideways and redirect it forward toward your subject. The parabolic interior shape is what does the work - light hits the curved walls and bounces forward in a consolidated beam rather than scattering.
P70 reflector installed, concentrated beam of light visible on the wall
A standard reflector is a shallow bowl, usually silver or white on the interior, that mounts directly onto the flash head. Its job is to intercept the light that would otherwise fly backward and sideways and redirect it forward toward your subject. The parabolic interior shape is what does the work - light hits the curved walls and bounces forward in a consolidated beam rather than scattering.
The immediate result is visible: mount a P70 on a head that was previously bare and the circle of light on your wall becomes noticeably tighter and brighter. You have not increased the flash power. You have simply recovered energy that was previously wasted. On a practical level, this means a strobe with a standard reflector will outperform an identically-rated bare strobe because you are directing a higher percentage of available light toward your subject.
Step 4: Decode the P-Number System - Beam Angle Tells You Everything
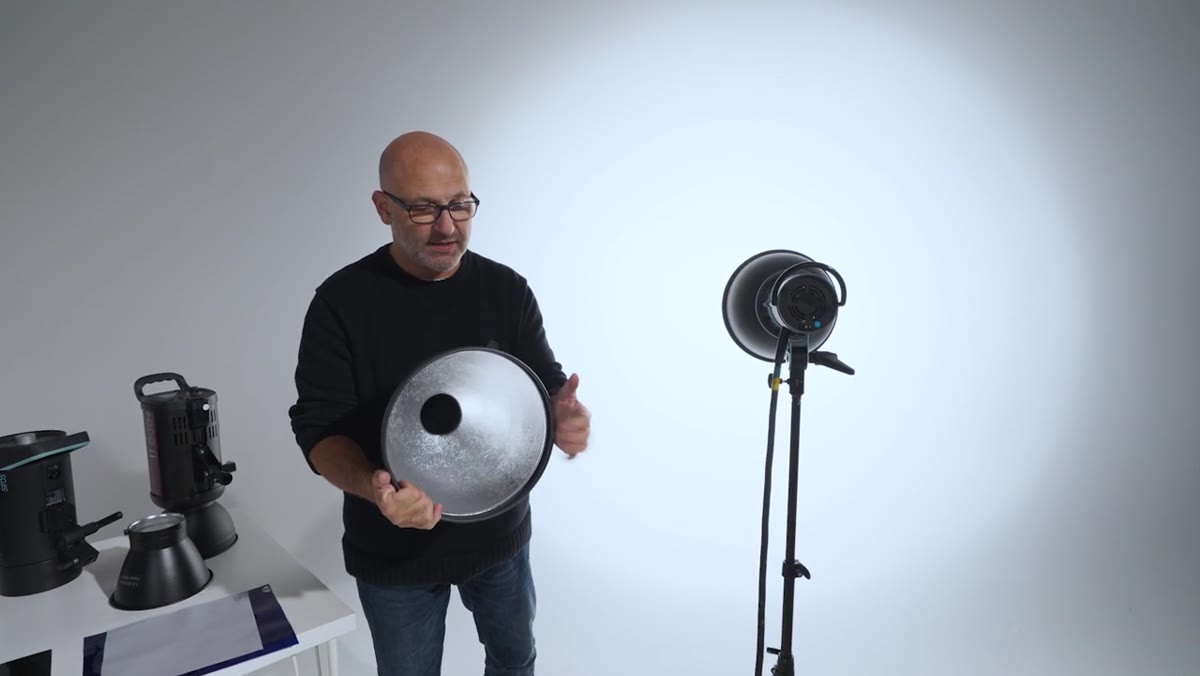 P65 reflector shown next to P70, comparing physical depth and light spread
The P-number designation on a reflector tells you the angle of the light beam it produces. A P70 emits a spread of roughly 70 degrees. A P65 narrows that slightly. A P45 narrows it further, with a visibly deeper, longer body that controls the beam more precisely and produces a smaller, tighter pool of light.
P65 reflector shown next to P70, comparing physical depth and light spread
The P-number designation on a reflector tells you the angle of the light beam it produces. A P70 emits a spread of roughly 70 degrees. A P65 narrows that slightly. A P45 narrows it further, with a visibly deeper, longer body that controls the beam more precisely and produces a smaller, tighter pool of light.
The measurement convention is based on exposure, not simple geometry. The angle is calculated from the brightest central point to where the light falls off by a defined stop. This means the numbers give you directly comparable data across different brands, as long as they use the same measurement standard. A P45 from Broncolor and a comparable deep reflector from Profoto or Godox will behave similarly in terms of beam spread, even if the interior finish or build quality differs. When I am testing a new reflector that arrives at the studio, I fire it against a measured wall at a set distance and mark where the exposure drops. That single test tells me more than any spec sheet.
Step 5: Match Reflector Depth to the Effect You Need
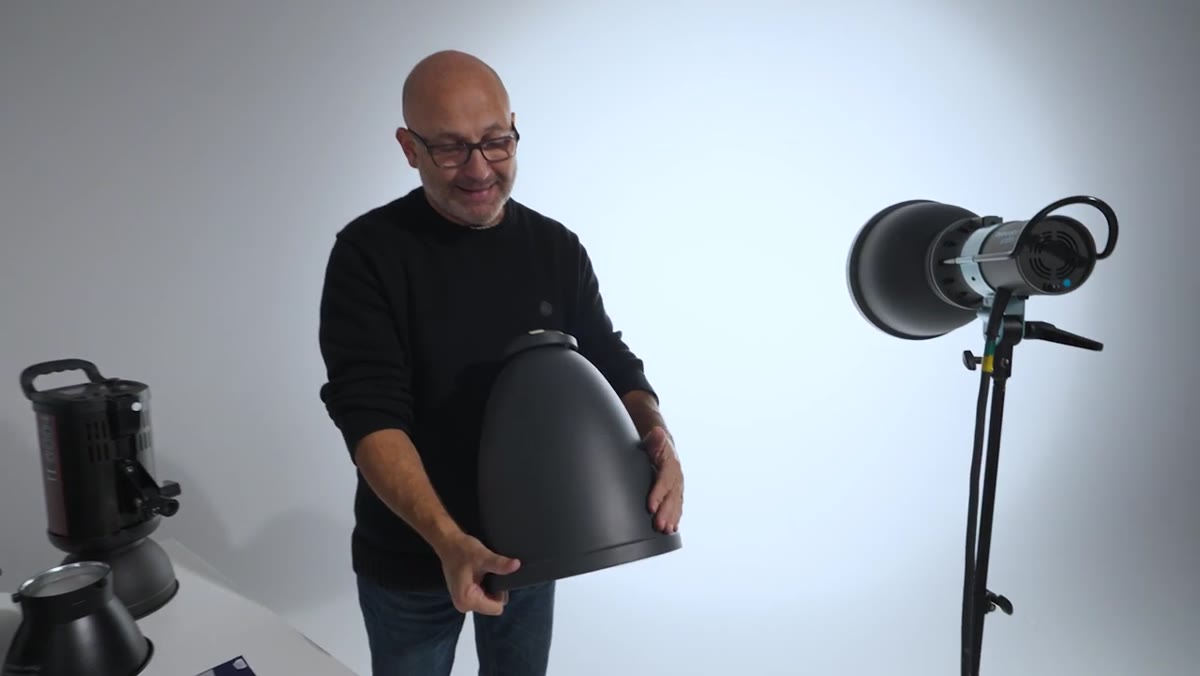 P45 reflector shown in comparison, longer and deeper than P65 and P70
Shallow reflectors like the P70 give you broad, somewhat directional light. They are workhorses for general portrait and commercial work where you want coverage without extreme control. Deep reflectors like the P45 function closer to a snoot-adjacent tool - they concentrate the beam tightly and are useful when you want to keep light off the background, illuminate a small product, or create a graphic, high-contrast look with minimal spill.
P45 reflector shown in comparison, longer and deeper than P65 and P70
Shallow reflectors like the P70 give you broad, somewhat directional light. They are workhorses for general portrait and commercial work where you want coverage without extreme control. Deep reflectors like the P45 function closer to a snoot-adjacent tool - they concentrate the beam tightly and are useful when you want to keep light off the background, illuminate a small product, or create a graphic, high-contrast look with minimal spill.
The trade-off with deeper reflectors is that the light becomes harder and the hot spot more pronounced. That is not always a problem - it depends entirely on what the image needs. For beauty and skin work, I lean toward shallower reflectors or move immediately to a softbox because the skin texture response to a tight, bare reflector is punishing. For hard-edged architectural product shots, that same tightness is an asset.
What I Add From My Own Work
Every brand handles the interior finish of their reflectors differently, and this is where the specs stop telling the full story. A highly polished silver interior produces a snappier, higher-contrast light than a matte white interior at the same beam angle. Broncolor’s reflectors tend toward the specular end. Some Godox options are more neutral. Neither is wrong - they are tools for different looks. I label every reflector in my studio with masking tape: brand, P-number, and a one-word finish description. It sounds obsessive but when I am pulling gear at 6 a.m. for a morning shoot, I do not want to think about it.
The single most important thing this tutorial clarified for me is also the simplest: start with what the bare bulb does before you add anything. If you understand the baseline behavior of unmodified light, every modifier you pick up afterward has a clear reference point. You are not guessing at what the reflector is doing - you know exactly what it is changing.
Watch the full tutorial on YouTube for the visual demonstrations of beam spread across all three reflector types. Seeing it against a real wall is worth ten diagrams.
Comments
Leave a Comment