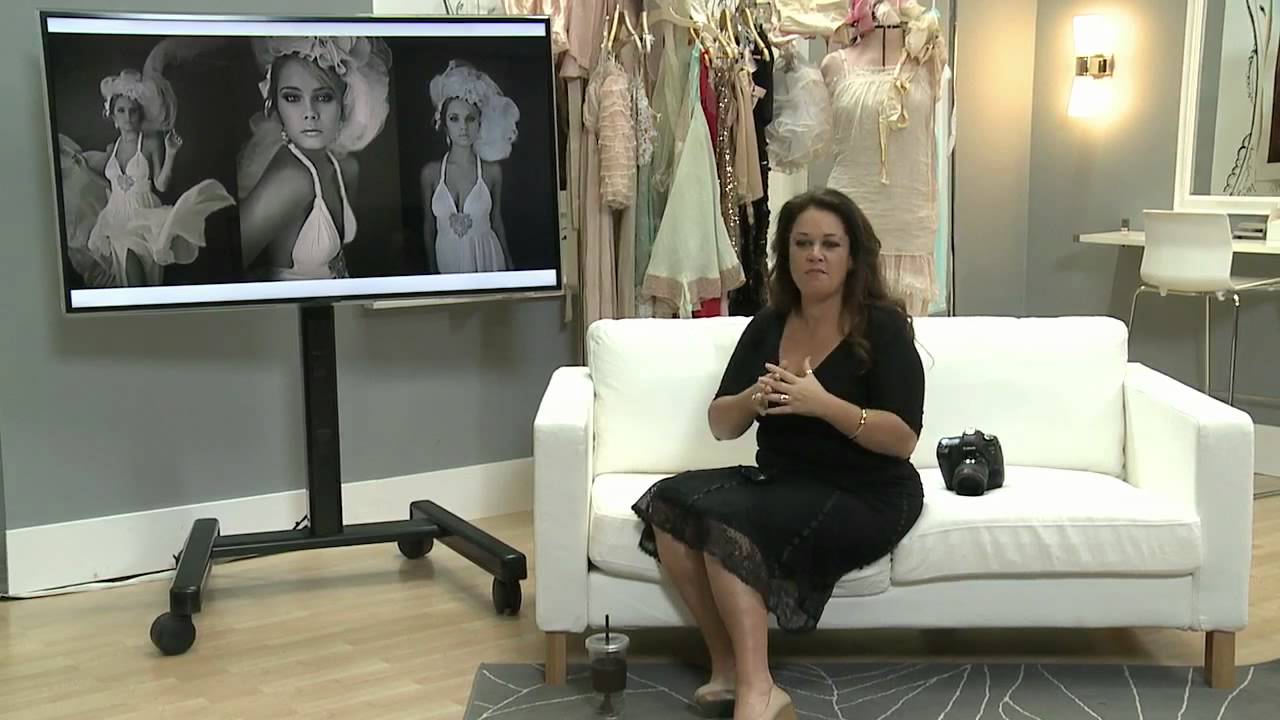
There’s a specific problem I keep running into with clients who book a “portrait session” and show up expecting something that looks more editorial than standard headshot. For years I tried to bridge that gap on the fly, adjusting in the room, improvising wardrobe choices, coaching poses I hadn’t planned. It worked sometimes. It also fell apart sometimes. What I was missing was a deliberate system for shifting the register of a shoot from documentary portrait to something more intentional and designed. That’s exactly what Sue Bryce lays out in this CreativeLive tutorial on Portrait Couture. Watch the full tutorial on YouTube
What struck me immediately watching this was that Sue isn’t talking about a different genre. She’s talking about a different level of commitment. From the photographer’s side, yes, but more importantly from the client’s side. The framing she uses, portrait couture versus portrait photography, isn’t just branding. It changes what the client shows up prepared to do, and that changes everything about what you can accomplish in the room.
The tutorial covers two hours of live shooting across four distinct looks, all built around two subjects. I’ve pulled the core steps below so you can follow her method without having to pause and rewind.
Step 1: Define the Distinction Between Portrait and Couture Before the Shoot
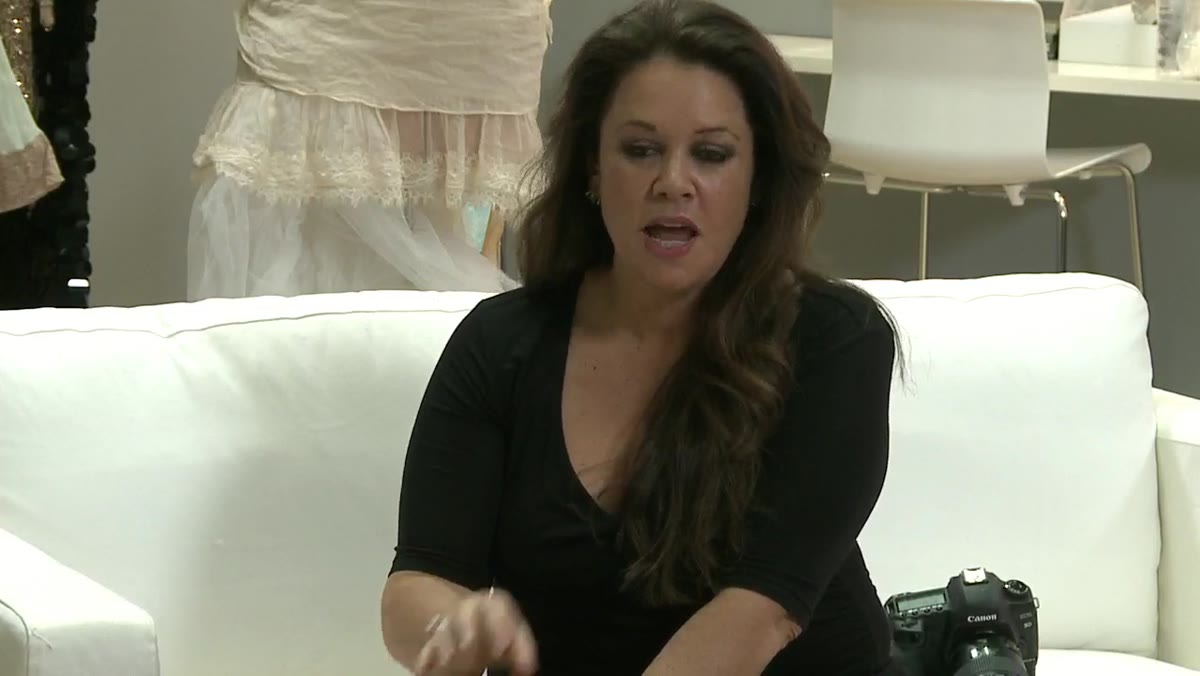 Sue explaining the difference between portrait and theme shoots
The first thing Sue establishes is conceptual, not technical: portrait couture is a theme shoot, not just a portrait shoot with a nicer outfit. If you don’t communicate that clearly to a client, you’ll get someone who shows up in what they’d normally wear to a session, and the gap between their expectation and your vision creates friction on set. Sue’s point is that clients need to understand what they’re committing to before they arrive.
Sue explaining the difference between portrait and theme shoots
The first thing Sue establishes is conceptual, not technical: portrait couture is a theme shoot, not just a portrait shoot with a nicer outfit. If you don’t communicate that clearly to a client, you’ll get someone who shows up in what they’d normally wear to a session, and the gap between their expectation and your vision creates friction on set. Sue’s point is that clients need to understand what they’re committing to before they arrive.
In practice, this means your booking materials, your consultation language, and your pricing structure should all signal that this is a different product. Consider a separate service page with different visual examples, different wardrobe guidance, and a different investment level. Ambiguity here costs you the shoot before it starts.
Step 2: Build a Wardrobe That Fits Any Body Before the Session
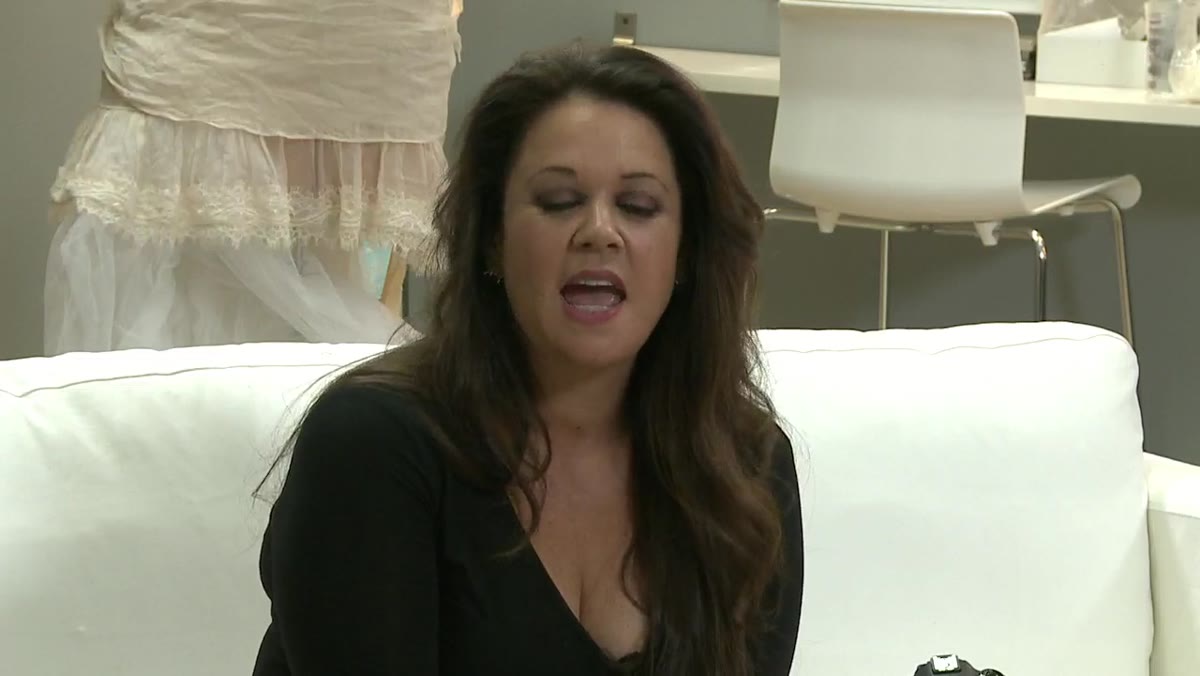 Sue describing the handmade tulle skirt and vintage corset combination
Sue built one of her four looks around a vintage corset she sourced for twenty dollars and a tulle skirt she hand-sewed for around fourteen. The construction was intentional: large gathered pleats, a ribbon waistband, and a wraparound design with no fixed waist measurement. That last detail matters more than anything else about the garment. A studio prop that fits one body type is a prop that sits unused ninety percent of the time.
Sue describing the handmade tulle skirt and vintage corset combination
Sue built one of her four looks around a vintage corset she sourced for twenty dollars and a tulle skirt she hand-sewed for around fourteen. The construction was intentional: large gathered pleats, a ribbon waistband, and a wraparound design with no fixed waist measurement. That last detail matters more than anything else about the garment. A studio prop that fits one body type is a prop that sits unused ninety percent of the time.
You don’t need to be a seamstress or a stylist. What Sue is modeling here is resourcefulness. Tulle is cheap. Corsets show up at vintage markets and costume shops regularly. The investment is time, not money. I keep a small rack in my studio with four or five pieces that work across a range of sizes: a wrap skirt, a structured blazer, two different drape fabrics, a simple bodysuit. That rack has saved more shoots than any piece of gear I own.
Step 3: Design Your Posing Flow Before Subjects Arrive
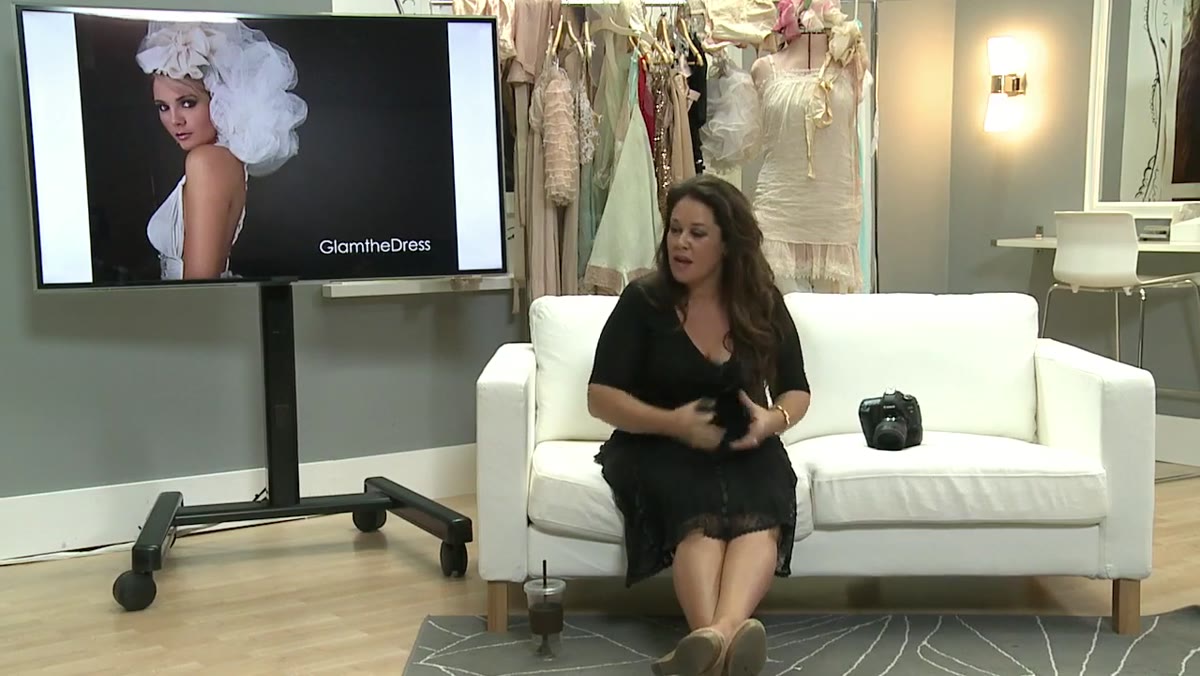 Sue recapping the posing flow from the previous day’s session
Sue references the posing system she built the day before: wall, floor, box, ottoman, freestanding. That structure isn’t just a sequence of positions. It’s a method for moving a subject through a session without them having to think about where to be next. The photographer leads, the subject responds, and the momentum of the shoot doesn’t stall while everyone figures out what to do next.
Sue recapping the posing flow from the previous day’s session
Sue references the posing system she built the day before: wall, floor, box, ottoman, freestanding. That structure isn’t just a sequence of positions. It’s a method for moving a subject through a session without them having to think about where to be next. The photographer leads, the subject responds, and the momentum of the shoot doesn’t stall while everyone figures out what to do next.
Freestanding poses are the hardest for clients who aren’t comfortable in front of a camera. Sue notes this directly: without something to lean against or sit on, most people lose the body awareness that gives them shape in the frame. Building props into your posing sequence, not as afterthoughts but as structural anchors, solves this problem before it starts. Sketch your flow before the session. Know which prop comes next. I do this in the lighting journal I keep from every shoot, and having a posing diagram next to the lighting diagram has cut my on-set thinking time in half.
Step 4: Shoot Four Looks in Two Hours by Treating Speed as a Creative Constraint
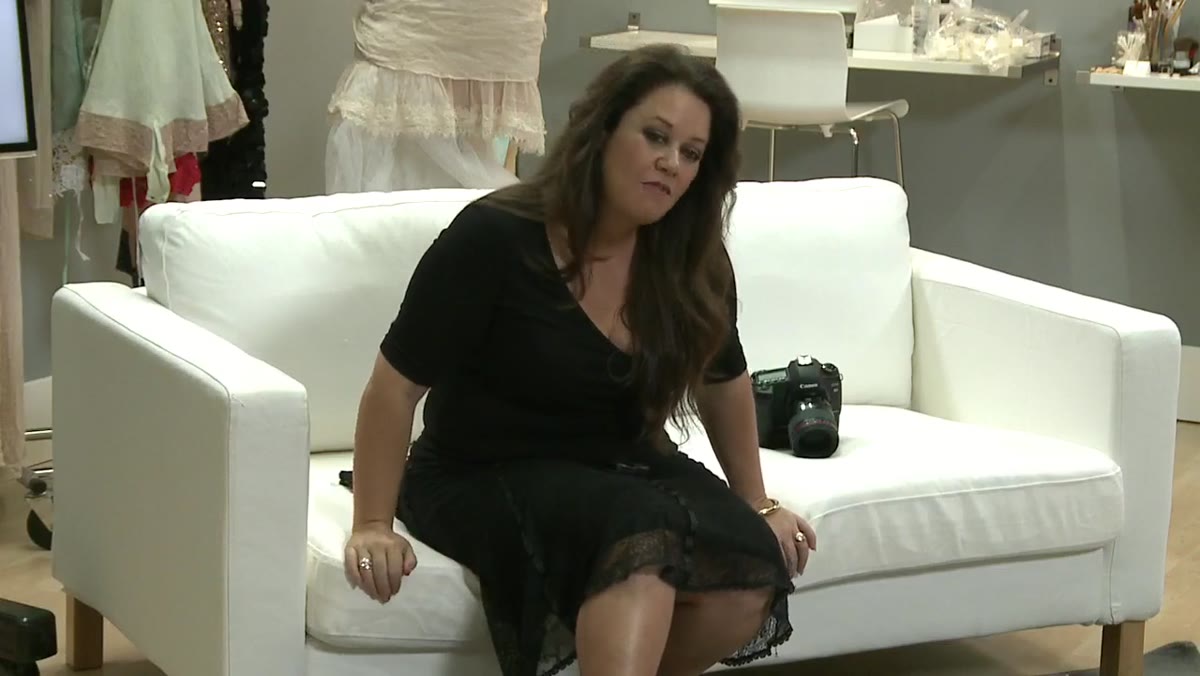 Sue outlining the two-hour, four-look shooting structure
Sue’s goal for the morning segment is explicit: four complete couture looks in two hours, shot fast enough to produce a usable style manual. The speed isn’t about rushing. It’s about eliminating hesitation. When you’ve pre-built your wardrobe, pre-planned your posing flow, and pre-decided your lighting setup, the session becomes execution rather than problem-solving.
Sue outlining the two-hour, four-look shooting structure
Sue’s goal for the morning segment is explicit: four complete couture looks in two hours, shot fast enough to produce a usable style manual. The speed isn’t about rushing. It’s about eliminating hesitation. When you’ve pre-built your wardrobe, pre-planned your posing flow, and pre-decided your lighting setup, the session becomes execution rather than problem-solving.
This is a mindset shift that took me a long time to fully adopt. I used to treat a long booking window as room to experiment. Now I treat it as room to go deeper into a concept I’ve already committed to. Twenty minutes per look, with intentional transitions, produces more usable images than ninety minutes of figuring it out as you go.
Step 5: Create a Visual Reference Manual from Every Session
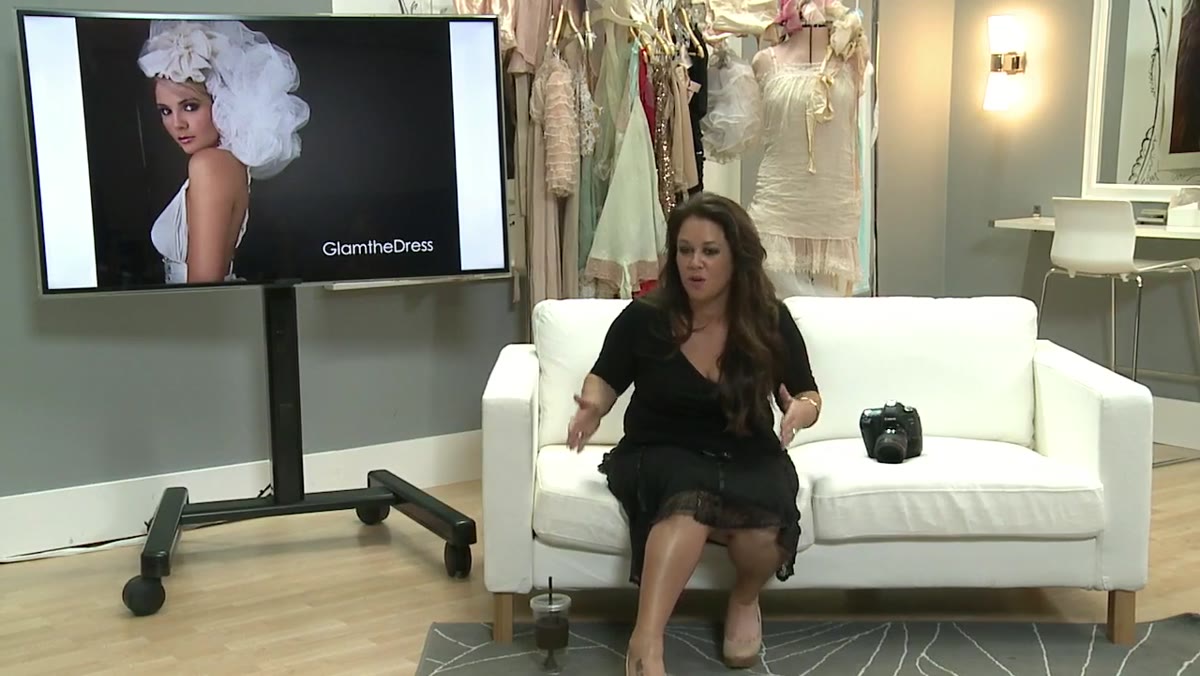 Sue describing the downloadable fashion pose manual she’s building
One of the most practical things Sue does is treat the shoot itself as content for a posing reference document. While she’s shooting, she’s building a manual that clients and photographers can download as a PDF guide to the fashion couture poses she’s demonstrating. That’s not a secondary project. It’s built into how she structures the shoot from the start.
Sue describing the downloadable fashion pose manual she’s building
One of the most practical things Sue does is treat the shoot itself as content for a posing reference document. While she’s shooting, she’s building a manual that clients and photographers can download as a PDF guide to the fashion couture poses she’s demonstrating. That’s not a secondary project. It’s built into how she structures the shoot from the start.
For working photographers, this has a direct business application. Every styled session you shoot is also raw material for client education, for consultation tools, for your website. If you shoot four wardrobe looks and document the pose progression for each, you have a reference that makes your next consultation faster and more persuasive.
Step 6: Price and Market Portrait Couture as a Separate Offering
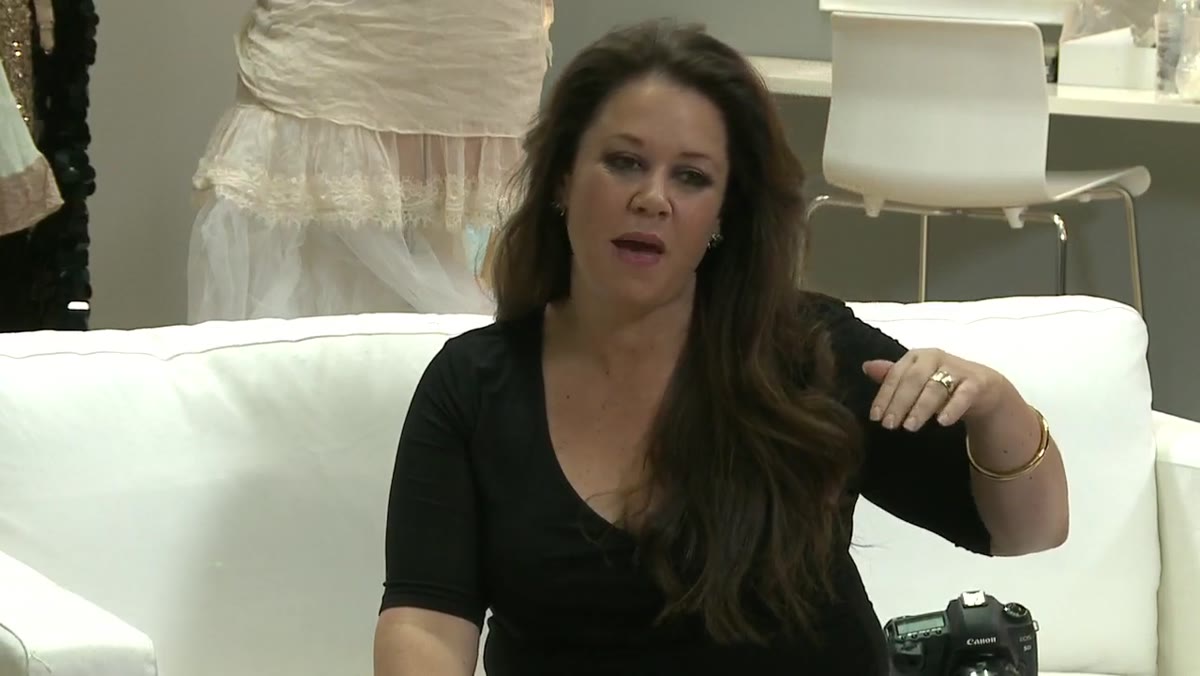 Sue discussing business and marketing applications for portrait couture
Sue is clear that this kind of work needs its own pricing structure. Not because the photography itself is necessarily more complex, but because the client experience is more involved, the preparation is more intensive, and the deliverables are more distinctive. Positioning it at the same price point as a standard portrait session undersells both the work and the outcome.
Sue discussing business and marketing applications for portrait couture
Sue is clear that this kind of work needs its own pricing structure. Not because the photography itself is necessarily more complex, but because the client experience is more involved, the preparation is more intensive, and the deliverables are more distinctive. Positioning it at the same price point as a standard portrait session undersells both the work and the outcome.
She mentions having around ten specific marketing and business strategies for building revenue from this kind of offering, which she covers in the afternoon portion of the tutorial. The short version: educate first, price accordingly, and let the visual examples in your marketing do the convincing.
What I’d Add from My Own Studio
The posing flow Sue describes works because it gives the subject physical orientation. What I’ve found adds another layer is giving subjects a reference image before they arrive, something pulled from fashion editorial rather than portrait photography. When a client has seen the aesthetic they’re working toward, they move differently on set. They commit to the poses more fully because they have a mental model of what “good” looks like in this context. Pair that with Sue’s structured prop sequence and you’ve removed almost every source of uncertainty from the room.
The single most transferable idea in this entire tutorial is the one that sounds the least technical: if your client doesn’t understand that portrait couture is a different product than a portrait session, you cannot deliver portrait couture. Everything else, the wardrobe, the posing, the lighting, follows from that. Get the framing right first.
Watch the full tutorial on YouTube and follow along with the live shoot segments. The way Sue moves through the four looks in real time teaches you things about pacing and subject management that no amount of description fully captures.
Comments
Leave a Comment