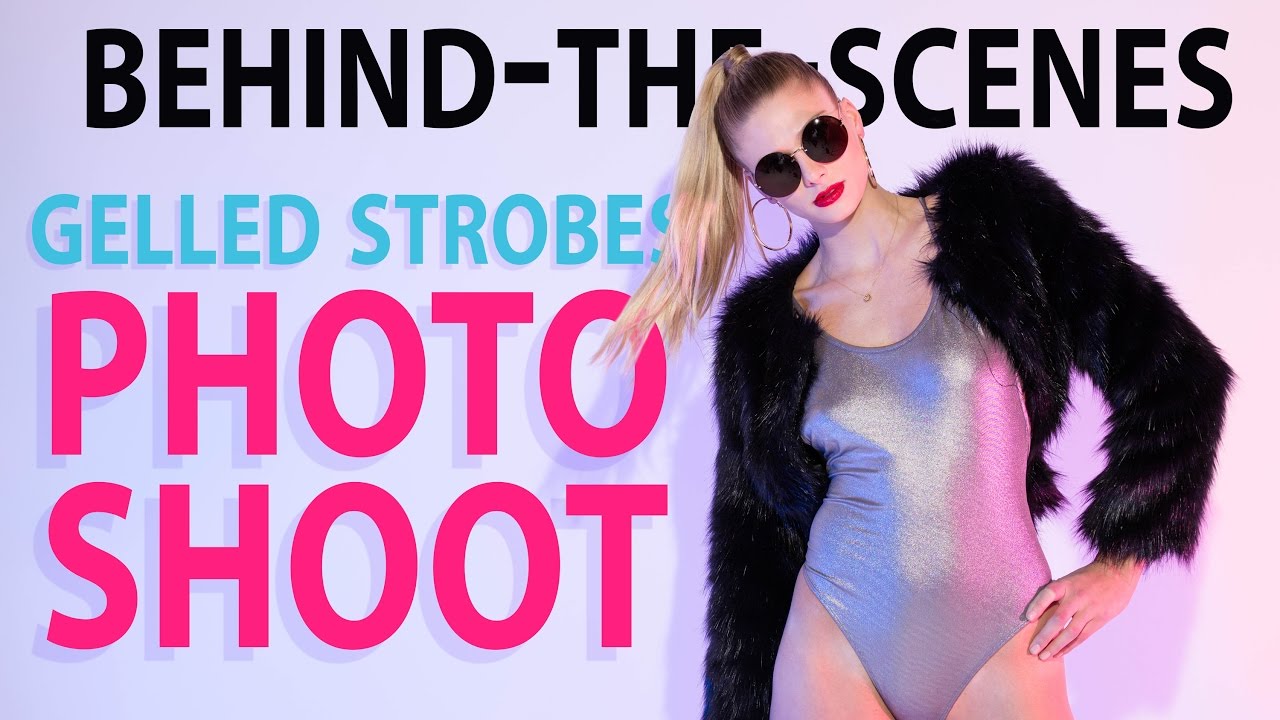
There’s a particular kind of studio day that haunts you. You’ve booked the space, hired the model, paid the makeup artist, and somewhere around hour two you’re still fumbling with modifiers because you walked in without a plan. I’ve had that day. The cure isn’t more gear or more experience. It’s pre-production that’s so thorough the actual shoot becomes almost mechanical. That’s what made me stop and rewatch this tutorial twice. Watch the full tutorial on YouTube
In this Tony and Chelsea Northrup tutorial, the approach is deceptively simple on the surface: gelled strobes hitting a cyclorama backdrop, a bare main light on the subject, and a strong sense of direction before anyone walks through the studio door. But what I kept pulling out wasn’t the gel colors or the strobe count. It was the process underneath it. The way they treat pre-production as the actual creative work, and the studio time as execution. That’s a commercial mindset, and it’s the reason the results look like editorial work rather than a workshop experiment.
I sketch every setup I do in a small lighting journal I’ve kept for years. When I watched this, I had my pen out before the first strobe was fired. Here’s what I took from it, broken down into the steps you can actually replicate.
Step 1: Build Your Mood Board Before You Book Anything
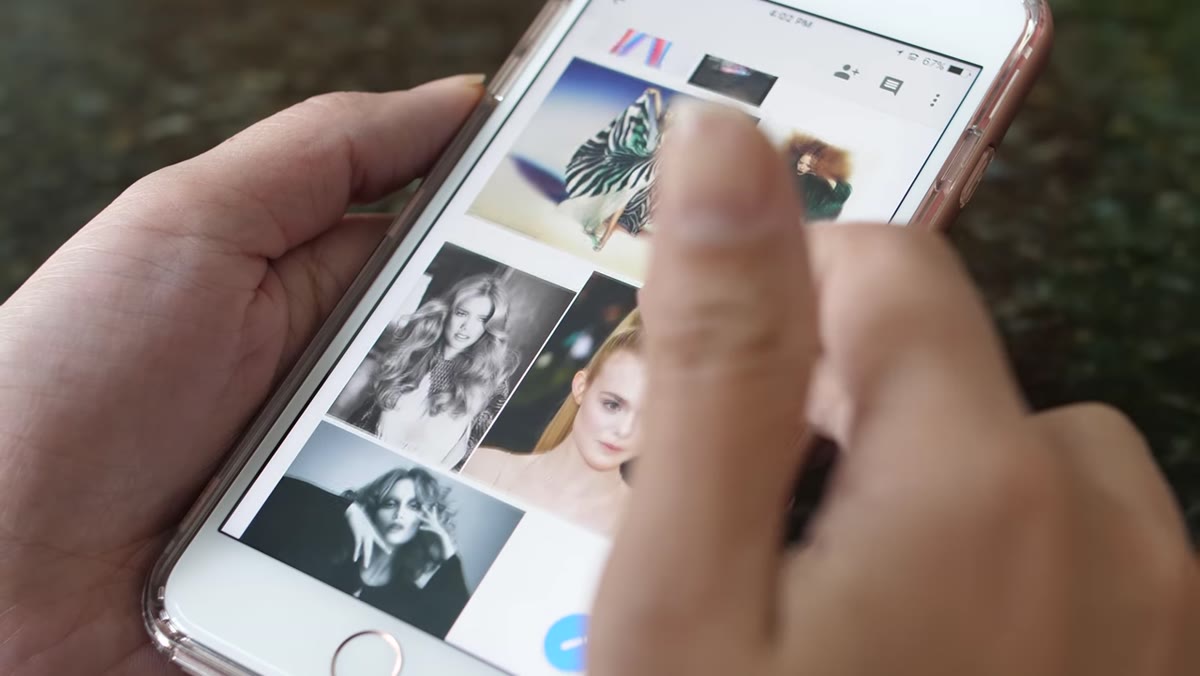 Compilation of reference images in a Google Doc
The first move in this shoot wasn’t picking up a camera. It was opening a document and filling it with reference images. The key detail here is that no single reference was the final vision. Each image contributed one element: a pose from one photo, a lighting quality from another, a makeup direction from a third. That layered approach stops you from copying someone else’s shot and forces you to synthesize something original.
Export that document as a shareable link and send it to every collaborator before the shoot day. Your hair and makeup artist shouldn’t be guessing your references at 8am while your model is in the chair.
Step 2: Cast and Brief Your Team Using the Same Visual Language
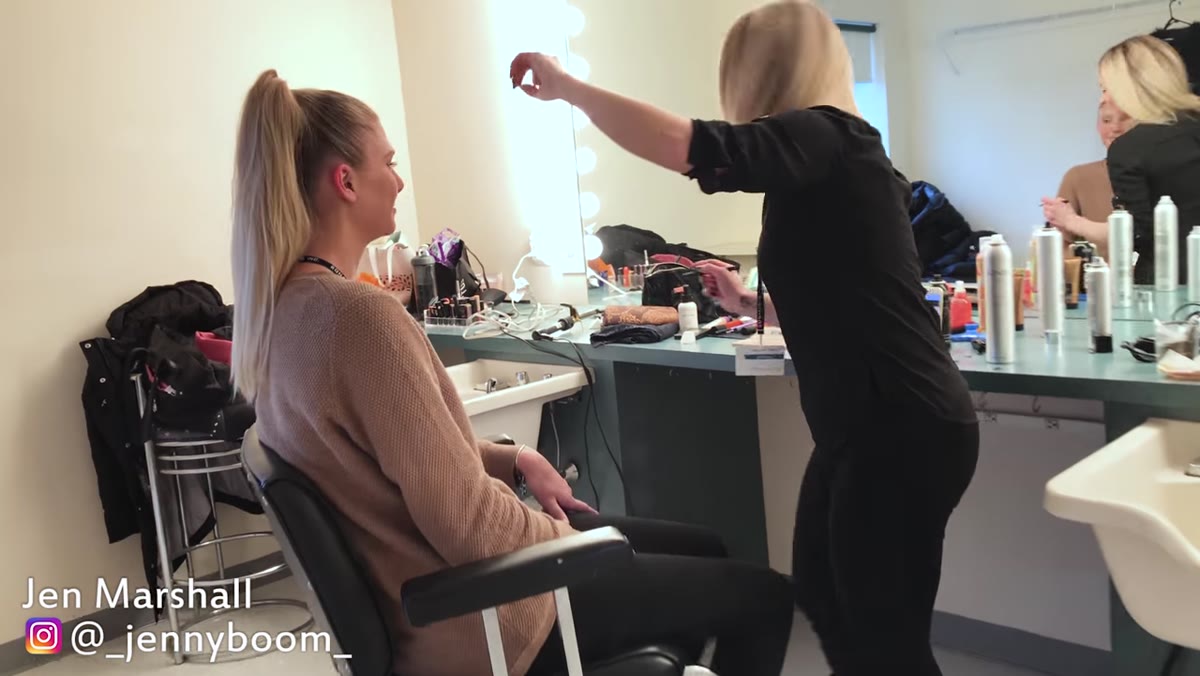 Discussion about hair, makeup, and conveying the look
Once the mood board exists, it becomes your communication tool. In this shoot, the brief to the hair and makeup artist was specific enough to be actionable: a modern take on 1970s glamour, a winged cat eye, strong color in the makeup, but a clean sleek ponytail to keep the overall silhouette high-fashion and controlled. That’s not vague creative direction. That’s a recipe.
One technique I’ve borrowed from my own commercial work: dress a mannequin in the wardrobe you’ve already pulled, photograph it, and send that image to the team. It eliminates ambiguity about what “the look” actually means and gives your makeup artist something concrete to match against. The whole crew arrives knowing what they’re building toward.
Step 3: Diagram Your Lighting Setup Before You Enter the Studio
 Lighting charts laid out before the shoot
Studio time is expensive. Every minute you spend figuring out where a light goes is money leaving your pocket. The solution demonstrated here is to build your lighting charts at home, review them with a collaborator, and walk into the studio with a plan already agreed on. I have a lighting diagram app on my phone that I use for exactly this. Rough it out at your kitchen table. Mark the positions, the modifiers, the approximate power ratios. You don’t need perfection. You need a starting point that isn’t zero.
Having a second set of eyes on your diagram before the shoot also surfaces problems early. Someone might point out that your key light position will throw a shadow directly onto the backdrop you’re trying to keep clean. Better to catch that at home than on the clock.
Step 4: Use an Assistant to Test Light Positions Before the Model Arrives
 Assistant posing for test shots during setup
While the model was in the makeup chair, the team was already firing strobes and adjusting positions using an assistant as a stand-in. This is non-negotiable on a professional shoot and completely free to implement if you have a second person in the room. Get your exposure dialed, check your shadows, confirm your backdrop is reading the way you want it, before your subject ever steps in front of the lens.
For this setup, the goal was to confirm that the gelled strobes were hitting the backdrop without contaminating the main subject too heavily. That separation takes adjustment. You want to see it on the stand-in, not on your model’s face in the first real frame.
Step 5: Set the Three-Light Gel Configuration for Dramatic Separation
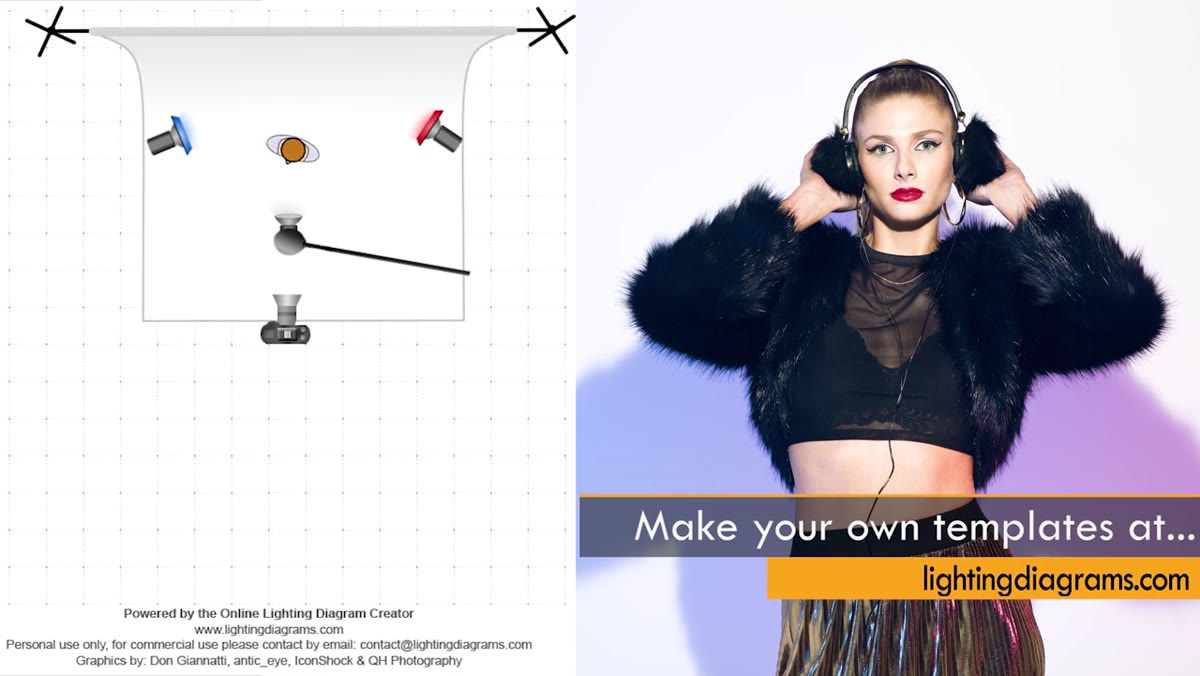 Lighting setup visible with gelled strobes and bare main light
The core lighting recipe here: one strobe gelled blue pointing at the left side of the backdrop, one strobe gelled pink pointing at the right side of the backdrop, and a single bare strobe as the main light on the subject. No softbox on the key light. The bare strobe is intentional. It produces a harder shadow on the wall behind the model, which adds depth and keeps the image from going flat.
The two background strobes should be aimed to blend toward the center of the cyclorama so the colors grade into each other rather than creating two distinct pools. Power is relative to your space, but start by metering each background strobe independently and matching them, then dial the main light to roughly one stop over the background exposure. That separation keeps the subject from disappearing into the color.
Step 6: Control Color Spill With Grids and Experiment With Gel Combinations
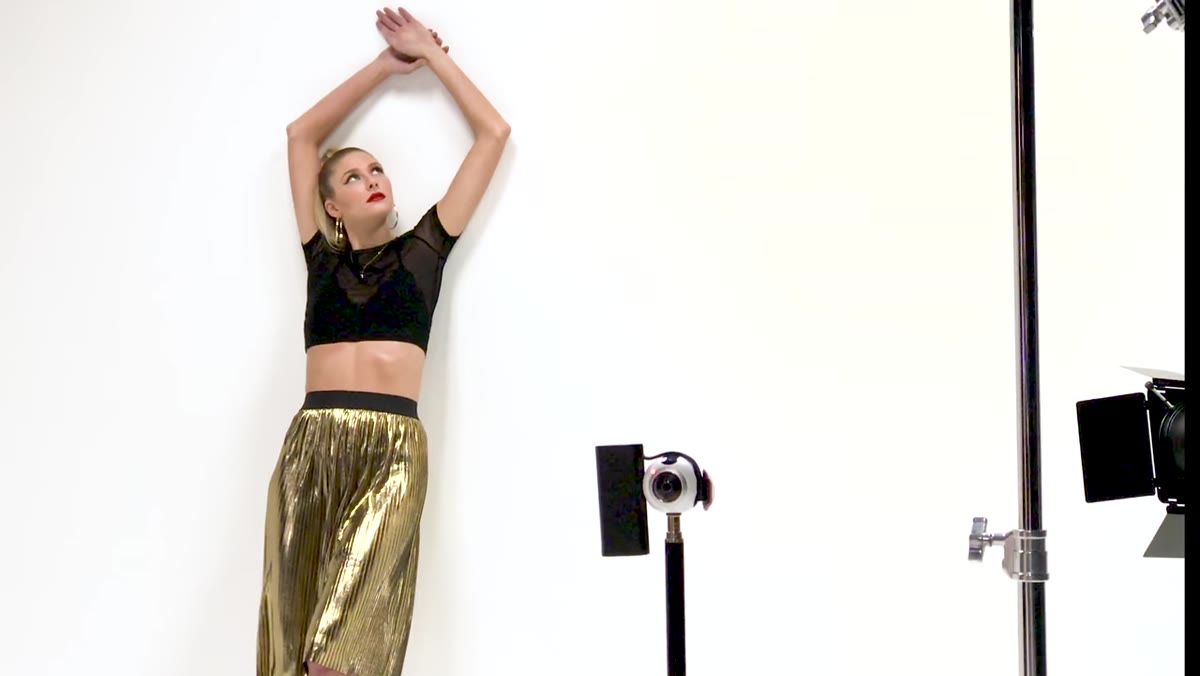 Discussion of grid and modifier variations on the gelled strobes
Grids are the tool that gives you precision. Without a grid on each gelled strobe, the colored light will spill onto your subject and shift their skin tone in ways you may not want. Add a grid to each background strobe and you contain the color to the backdrop. If you want to go further, add a grid to the main light too, keeping the white light isolated entirely on the model and off the cyclorama.
A third direction worth trying: gel the main light itself with a third color, creating a tri-color look. That takes more power balancing but it’s a different image entirely. These are the kinds of variations I’d test with gels already cut and clipped before the model arrives, so the experimentation doesn’t eat shoot time.
From My Experience: The Grid Is Worth It Every Time
I’ve shot this configuration without grids because I was running short on time and thought I could manage the spill in post. I couldn’t. The color contamination on the subject’s shoulder reads as a mistake on a fashion edit, not a creative choice. Now I have a strip of masking tape on every modifier in my studio with its measurements written in marker, so I grab the right grid in under a minute. Prep is not glamorous but it’s what separates a usable image from a great one.
The single most important thing this tutorial demonstrates isn’t a gel color or a strobe position. It’s that every hour of preparation buys you confidence in the studio, and confidence is what lets you actually direct. When you’re not thinking about the lights, you’re thinking about your model. That’s when the shots happen.
Watch the full tutorial on YouTube
Comments (3)
I've been looking for exactly this kind of tutorial. Perfect timing.
This saved me so much time on my last edit. Wish I'd found this sooner.
Excellent tutorial. I'd add that from a landscape standpoint, this technique is incredibly versatile.
Leave a Comment