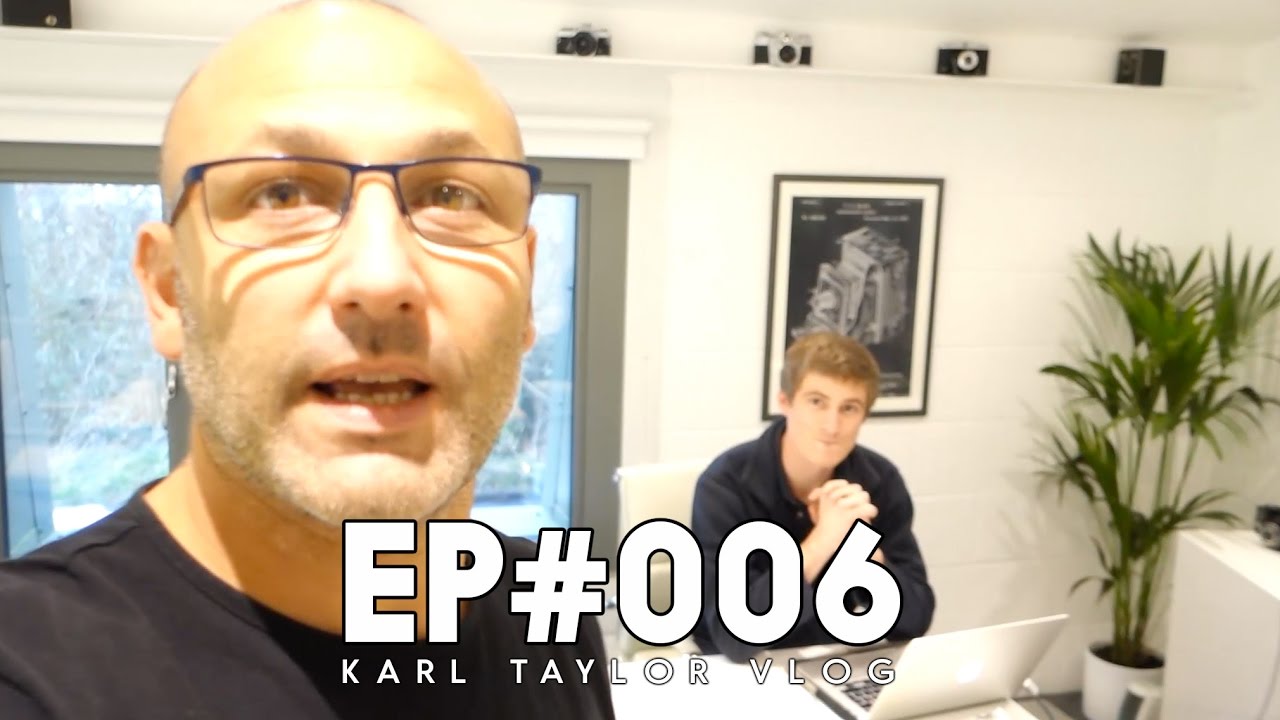
Every location shoot I’ve done in the last decade has started the same way: a mental list that I’m convinced is complete, and a bag that proves otherwise. I’ve arrived at industrial facilities without a trigger, shown up to editorial jobs with dead batteries, and once spent twenty minutes hunting for a support plate while a client watched. The checklist isn’t glamorous, but it’s the difference between a shoot that flows and one that hemorrhages time and money. In this Visual Education tutorial, the team walks through the unglamorous, essential business of preparing for a road job photographing industrial equipment, and buried inside that walkthrough is a methodology for location work that I wish someone had handed me fifteen years ago. Watch the full tutorial on YouTube
What strikes me watching this is how much professional photography is infrastructure. The lighting choices, the posing, the creative decisions – those get all the attention. But the reason experienced shooters can make those creative calls quickly on set is because everything else is already locked. The gear is inventoried. The power is sorted. The connection is tested before anyone’s standing under hot lights waiting. This episode is really about building that foundation.
Step 1: Protect Your Intellectual Property Before You Leave the Studio
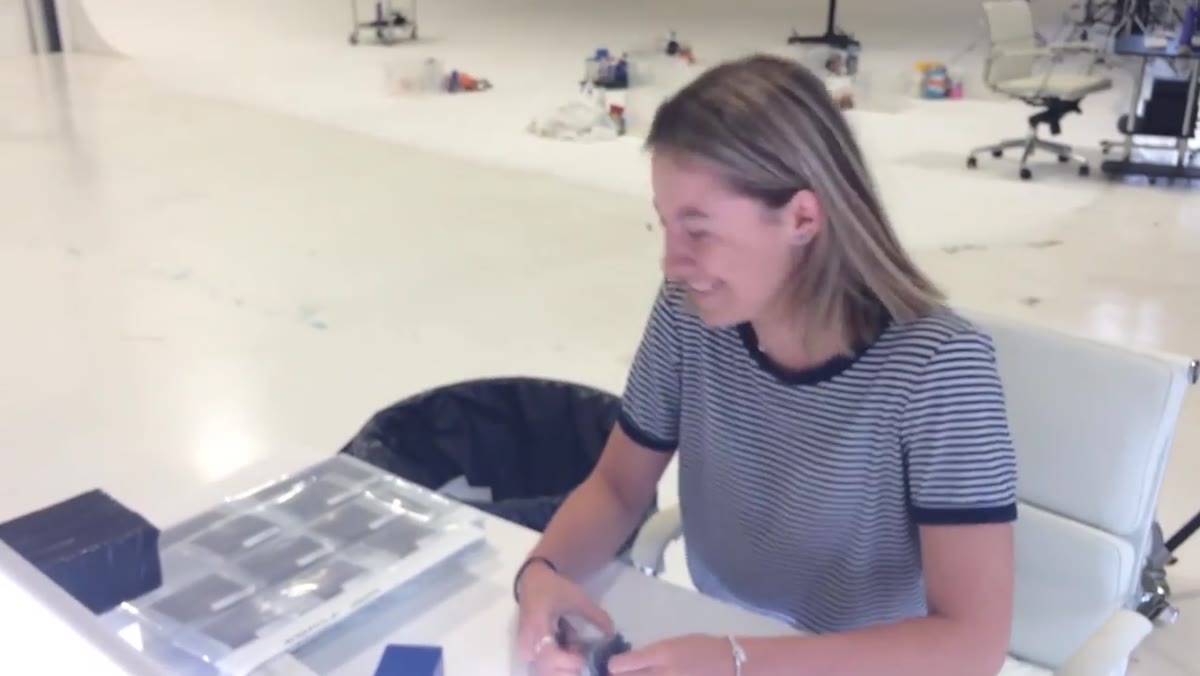 Clarice running a scalpel over old printed slides
One detail early in the video that I don’t think gets enough attention: before any job materials leave the studio, sensitive slides and printed references get destroyed with a scalpel. This isn’t paranoia – it’s professional hygiene. If you’re shooting for a brand that hasn’t announced a product, or a client who shares a market with competitors, printed references sitting in a recycling bin are a liability. The practice here is simple: run a blade across anything printed that contains client work before it goes into the trash. I use a cross-cut shredder for digital prints and tear slides across the corner. It takes ten seconds and it signals to clients, even if they never see it, that you run a tight operation.
Clarice running a scalpel over old printed slides
One detail early in the video that I don’t think gets enough attention: before any job materials leave the studio, sensitive slides and printed references get destroyed with a scalpel. This isn’t paranoia – it’s professional hygiene. If you’re shooting for a brand that hasn’t announced a product, or a client who shares a market with competitors, printed references sitting in a recycling bin are a liability. The practice here is simple: run a blade across anything printed that contains client work before it goes into the trash. I use a cross-cut shredder for digital prints and tear slides across the corner. It takes ten seconds and it signals to clients, even if they never see it, that you run a tight operation.
Step 2: Upgrade Your Data Infrastructure for Tethered Work
 Fiber optic cable being installed by a telecoms technician
The studio in this video is having a fiber optic line installed, with the goal of reaching gigabyte-level upload and download speeds. For location work where you’re tethering to a laptop and potentially transmitting files to a client or art director remotely, connection speed is a direct factor in how fast a shoot moves. On slower connections, the delay between capture and the image appearing on the client’s screen creates dead air. People start second-guessing setups they should be approving.
Fiber optic cable being installed by a telecoms technician
The studio in this video is having a fiber optic line installed, with the goal of reaching gigabyte-level upload and download speeds. For location work where you’re tethering to a laptop and potentially transmitting files to a client or art director remotely, connection speed is a direct factor in how fast a shoot moves. On slower connections, the delay between capture and the image appearing on the client’s screen creates dead air. People start second-guessing setups they should be approving.
If you’re doing regular tethered commercial work, treat your internet connection as a piece of equipment. For studio work, wire directly where possible rather than relying on WiFi. For location jobs, I carry a 4G mobile hotspot as backup. The cost of a dedicated fast connection pays for itself the first time you don’t have to apologize to a client for a laggy preview.
Step 3: Build Your Packing Checklist Around the Camera, Then Work Outward
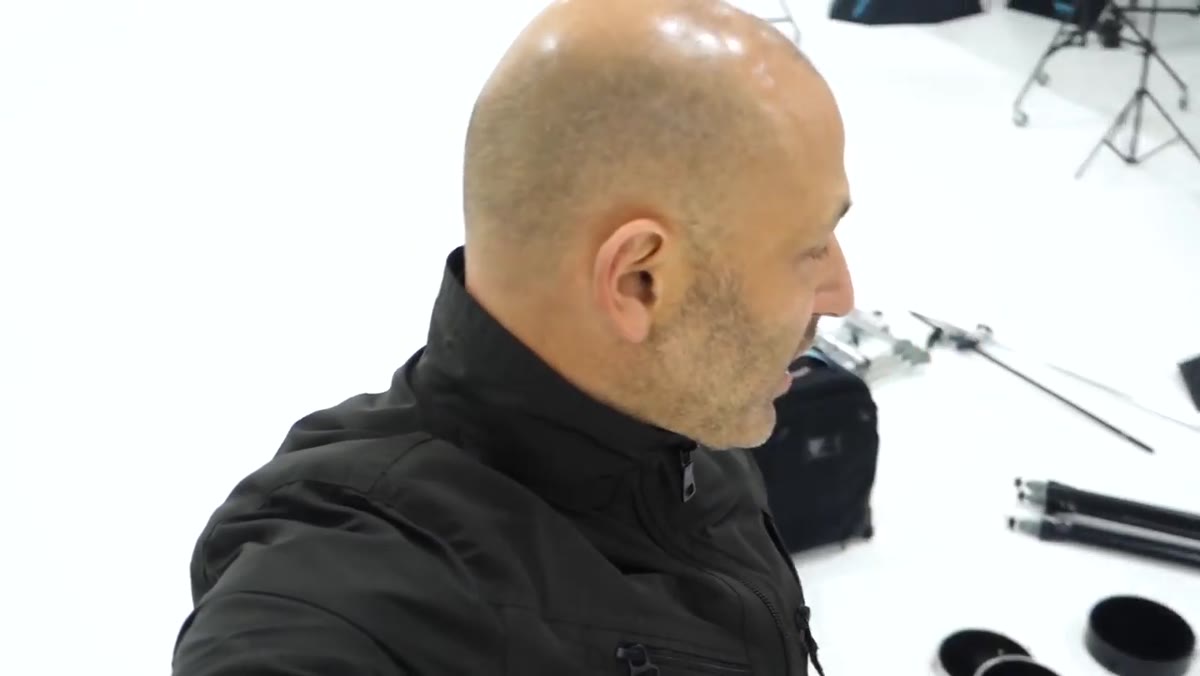 Photographer checking tripod and camera body against a mental checklist
The packing sequence in this tutorial follows a specific logic that I’ve independently arrived at myself: start with the camera on the tripod and confirm everything attached to it before moving to anything else. Is the support plate mounted? Is the tethering cable at hand? Does the trigger have fresh batteries? Only once the capture device is confirmed do you move outward to lenses, memory cards, and laptop.
Photographer checking tripod and camera body against a mental checklist
The packing sequence in this tutorial follows a specific logic that I’ve independently arrived at myself: start with the camera on the tripod and confirm everything attached to it before moving to anything else. Is the support plate mounted? Is the tethering cable at hand? Does the trigger have fresh batteries? Only once the capture device is confirmed do you move outward to lenses, memory cards, and laptop.
This camera-first approach prevents the most common packing failure, which is assuming a component is present because it’s usually present. The video runs through lenses, batteries, memory cards, a laptop and tethering cable, an RFS trigger, and a color passport – each confirmed individually. For industrial and product work especially, missing the color passport means your client’s product colors are being corrected by eye rather than by data, which creates problems in post that take longer to fix than the shoot itself took.
Step 4: Scale Your Lighting Kit to the Job, Not to Your Comfort Zone
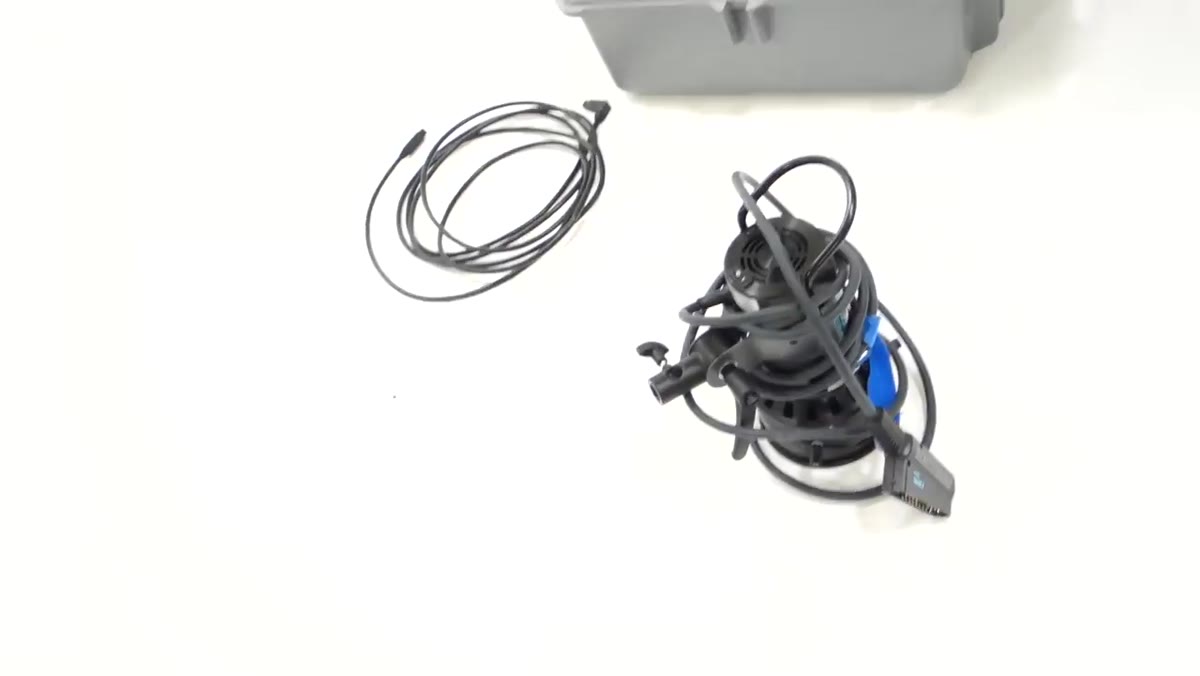 Six Uni lamps and one Pico lamp laid out for packing
The lighting inventory here is substantial and deliberate: six Uni lamps, one Pico lamp, more than six light stands, clamps, reflectors, rolls of net with dedicated stands and brackets, and two extra stands for constructing a background. For an industrial equipment shoot, this kit makes sense. Large subjects need multiple sources to manage shadow and separation. The nets control specular highlights on metal surfaces. The extra stands mean you can build a background without borrowing a light stand from your key setup.
Six Uni lamps and one Pico lamp laid out for packing
The lighting inventory here is substantial and deliberate: six Uni lamps, one Pico lamp, more than six light stands, clamps, reflectors, rolls of net with dedicated stands and brackets, and two extra stands for constructing a background. For an industrial equipment shoot, this kit makes sense. Large subjects need multiple sources to manage shadow and separation. The nets control specular highlights on metal surfaces. The extra stands mean you can build a background without borrowing a light stand from your key setup.
The principle is to pack one more light than you think you need and one more stand than you have lights. On location you rarely have access to the gear room down the hall. Every modifier you might want – nets, reflectors, flags – gets loaded, because the cost of carrying something you don’t use is lower than the cost of needing something you left behind. I keep a running kit list in my lighting journal, broken out by job type, so I’m not rebuilding this logic from scratch before every shoot.
Step 5: Confirm Power Distribution Before Loading the Van
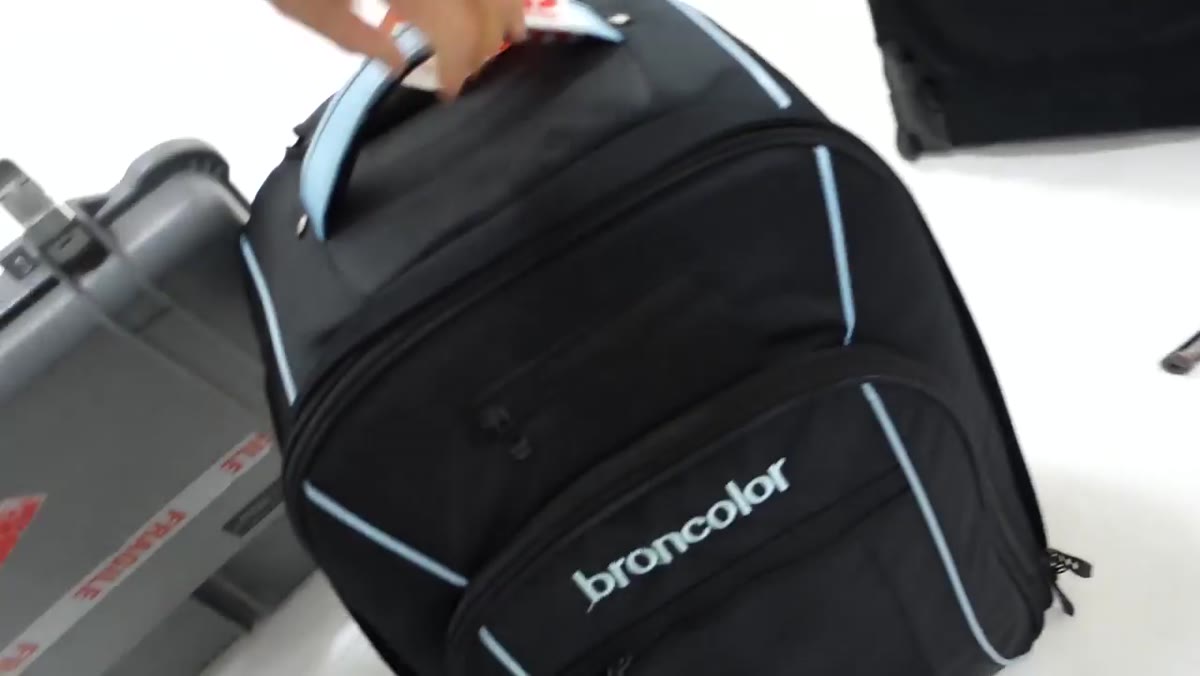 Power supplies and extension cables confirmed in the equipment area
Two power supplies and a set of extension cables are confirmed before the packing sequence closes. This step is easy to skip because power feels like a site problem rather than a studio problem – you’ll figure it out when you get there. You won’t. Or rather, you will, but you’ll spend the first hour of a shoot doing it, which is the hour when the client is freshest and most likely to be watching you closely.
Power supplies and extension cables confirmed in the equipment area
Two power supplies and a set of extension cables are confirmed before the packing sequence closes. This step is easy to skip because power feels like a site problem rather than a studio problem – you’ll figure it out when you get there. You won’t. Or rather, you will, but you’ll spend the first hour of a shoot doing it, which is the hour when the client is freshest and most likely to be watching you closely.
Know how many circuits your kit draws, carry your own extension cables long enough to reach from wherever access is available, and confirm your power supplies are matched to the voltage at your destination. For international work, this step expands considerably. For domestic commercial shoots, the baseline is: two power supplies, labeled, tested, packed last so they’re accessible first.
From My Kit: What I Add That the Tutorial Doesn’t Cover
The one thing I’d layer on top of this system is a dedicated spot for a color temperature meter. I learned this the hard way on an editorial shoot early in my career, where mixed ambient and strobe created a cast across skin tones that I didn’t catch until delivery. The client caught it. That conversation is one I haven’t had to have since I started metering color temperature at every new location, not just setting my white balance by eye or by preset.
I also label every light with masking tape and a marker before it leaves the studio – not just the lights themselves but the stands they’re assigned to. On a six-light setup with multiple modifiers, knowing at a glance which unit is your fill and which is your rim saves setup time and prevents the particular frustration of troubleshooting a power output issue on the wrong head.
The single most transferable idea from this Visual Education episode is that preparation is a creative act. The photographers who make strong images on location are usually the ones who gave themselves no logistical problems to solve once they got there. Watch the full tutorial on YouTube to see the full packing sequence and the studio setup that surrounds it.
Comments (2)
Would love to see a follow-up going deeper into this topic.
Would love to see a follow-up going deeper into this topic.
Leave a Comment