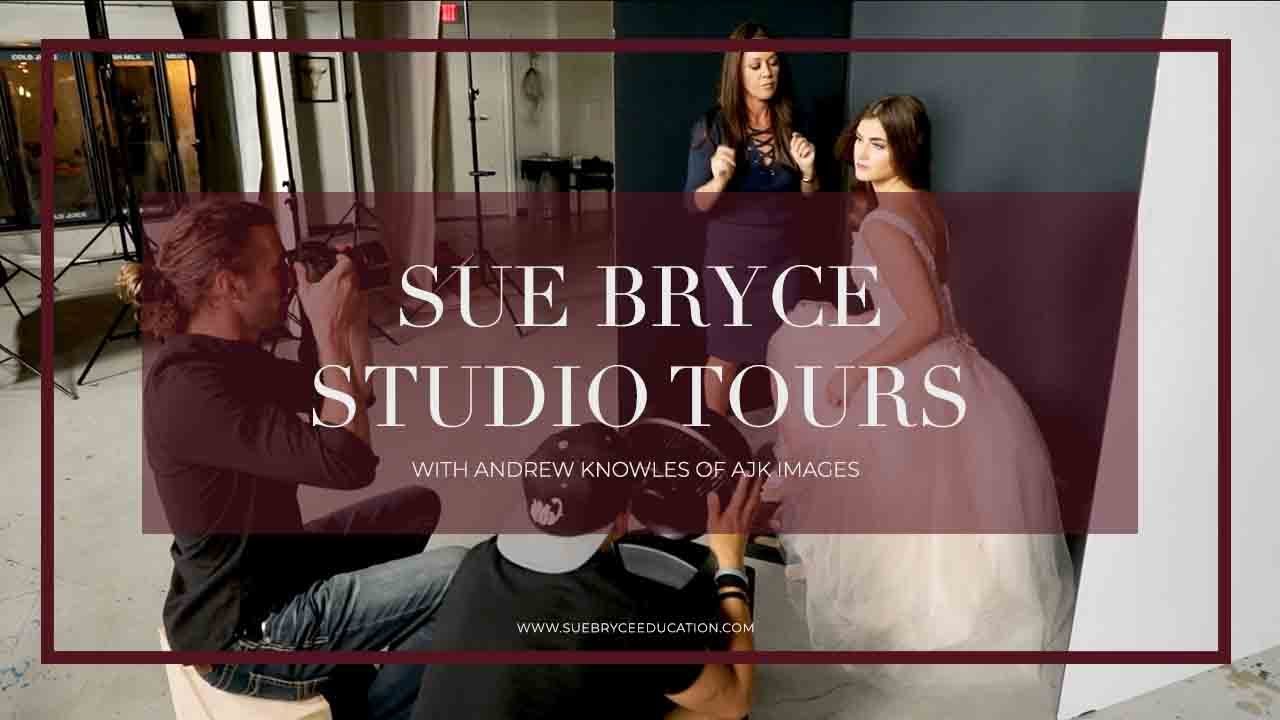
There’s a version of studio envy that’s unproductive. You scroll through someone’s setup, feel bad about your own, and move on. Then there’s the kind that makes you pull out a notebook. Andrew Knowles’ Dallas studio is firmly the second kind. In this Watch the full tutorial on YouTube studio tour from The Portrait System, Sue Bryce walks through the space Knowles built over roughly 18 months after transitioning from a pure outdoor location shooter to a full studio practice. What struck me watching it wasn’t the scale. It was the resourcefulness.
I’ve been shooting in a fixed studio space in Los Angeles for years, and the problems Knowles solved here are the same ones I watched younger photographers on my team wrestle with: how do you build a wardrobe without a costume budget, how do you make a commercial-zone building feel like a destination for clients, and how do you stop leaning on technical polish as a substitute for actual connection in your images. This tour addresses all three, practically and honestly.
Step 1: Choose a Location That Works Against Expectations
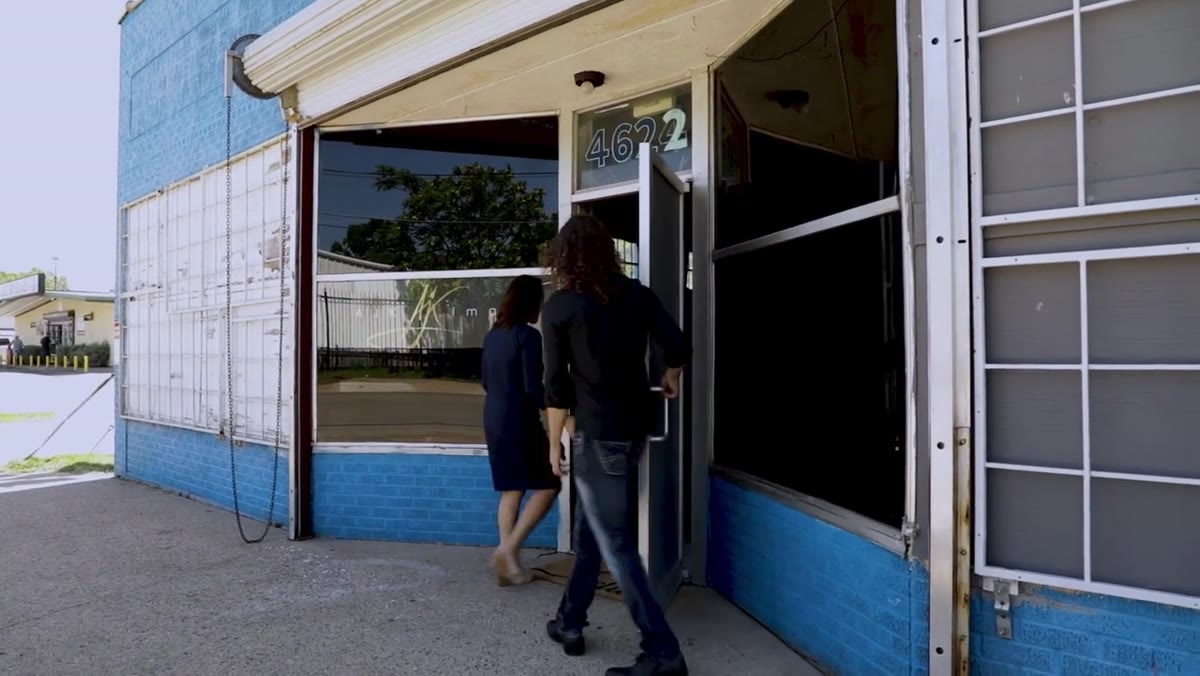 Exterior of Andrew’s commercial-zone Dallas studio building
Knowles’ studio sits in a commercial industrial area of Dallas. That’s not a compromise. It’s a deliberate choice. The contrast between a raw exterior and a beautifully designed interior creates an arrival experience. Clients feel like they’ve discovered something. Sue Bryce calls this out directly because it’s a real sales asset: the location sets low expectations, and the interior immediately exceeds them. If you’re scouting studio space and dismissing warehouse districts or commercial strips, reconsider. The rent is lower, the square footage is higher, and the before-and-after effect of walking through the door is something you can’t fake in a polished suburban strip mall.
Exterior of Andrew’s commercial-zone Dallas studio building
Knowles’ studio sits in a commercial industrial area of Dallas. That’s not a compromise. It’s a deliberate choice. The contrast between a raw exterior and a beautifully designed interior creates an arrival experience. Clients feel like they’ve discovered something. Sue Bryce calls this out directly because it’s a real sales asset: the location sets low expectations, and the interior immediately exceeds them. If you’re scouting studio space and dismissing warehouse districts or commercial strips, reconsider. The rent is lower, the square footage is higher, and the before-and-after effect of walking through the door is something you can’t fake in a polished suburban strip mall.
Step 2: Build Your Wardrobe Through Community, Not Credit Cards
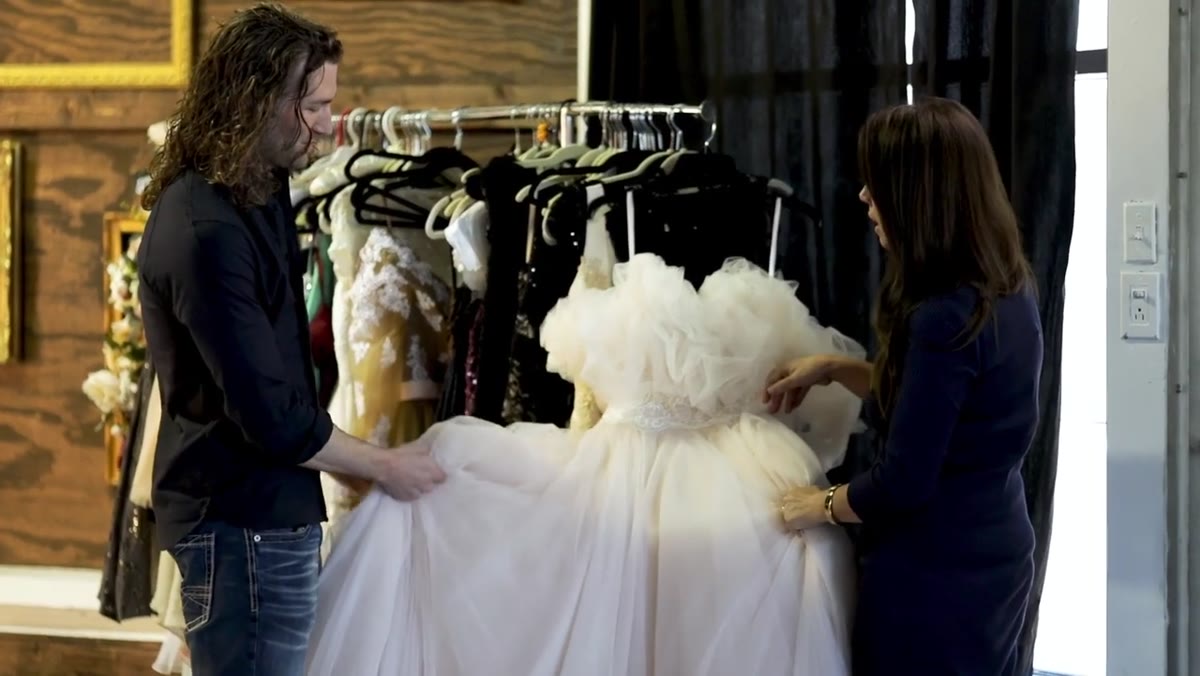 Row of donated gowns hanging in Andrew’s studio wardrobe area
This is the section I rewound twice. Knowles put out a simple Facebook post letting his local community know he was building a studio wardrobe and was interested in vintage gowns and formal wear. The response was enough to fill a rack. People donated pieces they no longer wanted, and a significant number of those donors converted into paying clients. They came in to drop off a dress and ended up booking a session. The wardrobe call-out became a client acquisition channel he didn’t plan for.
Row of donated gowns hanging in Andrew’s studio wardrobe area
This is the section I rewound twice. Knowles put out a simple Facebook post letting his local community know he was building a studio wardrobe and was interested in vintage gowns and formal wear. The response was enough to fill a rack. People donated pieces they no longer wanted, and a significant number of those donors converted into paying clients. They came in to drop off a dress and ended up booking a session. The wardrobe call-out became a client acquisition channel he didn’t plan for.
The specific detail that stuck with me: one client’s grandmother had worked as a seamstress for Chanel and went in and altered several of the donated pieces, adding embellishments that made them shoot-ready in ways a thrift store find never would be. You cannot manufacture that kind of story. You can only create the conditions for it by being open about what you’re building and asking your community to participate.
Step 3: Modify What You Have Before You Buy Something New
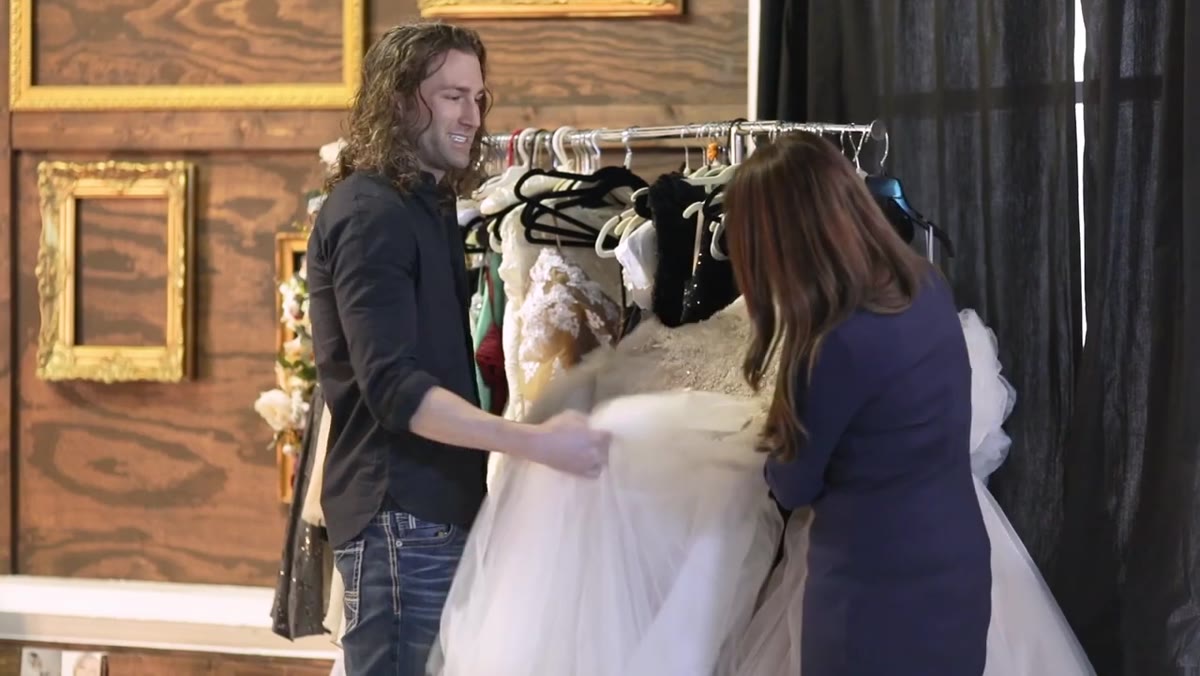 Tea-dyed wedding gown showing transformed color and texture detail
One of the gowns in Knowles’ collection started as a standard white wedding dress. He submerged it in a large bucket of tea, let it soak, and the fabric came out with a warm ivory tone that brought out embroidered detail that had been invisible against the bright white. The result looks like a vintage couture piece. The process cost almost nothing.
Tea-dyed wedding gown showing transformed color and texture detail
One of the gowns in Knowles’ collection started as a standard white wedding dress. He submerged it in a large bucket of tea, let it soak, and the fabric came out with a warm ivory tone that brought out embroidered detail that had been invisible against the bright white. The result looks like a vintage couture piece. The process cost almost nothing.
I keep a lighting journal where I sketch every setup from every shoot, and I’ve started adding a column for wardrobe modifications after watching this. The principle is the same one I apply to modifiers: before you spend money on something new, exhaust what the thing you already own can do. A tea dye, a fabric dye bath, some strategic distressing with sandpaper on a denim piece. These aren’t hacks. They’re craft.
Step 4: Source Props Through the Same Community Logic
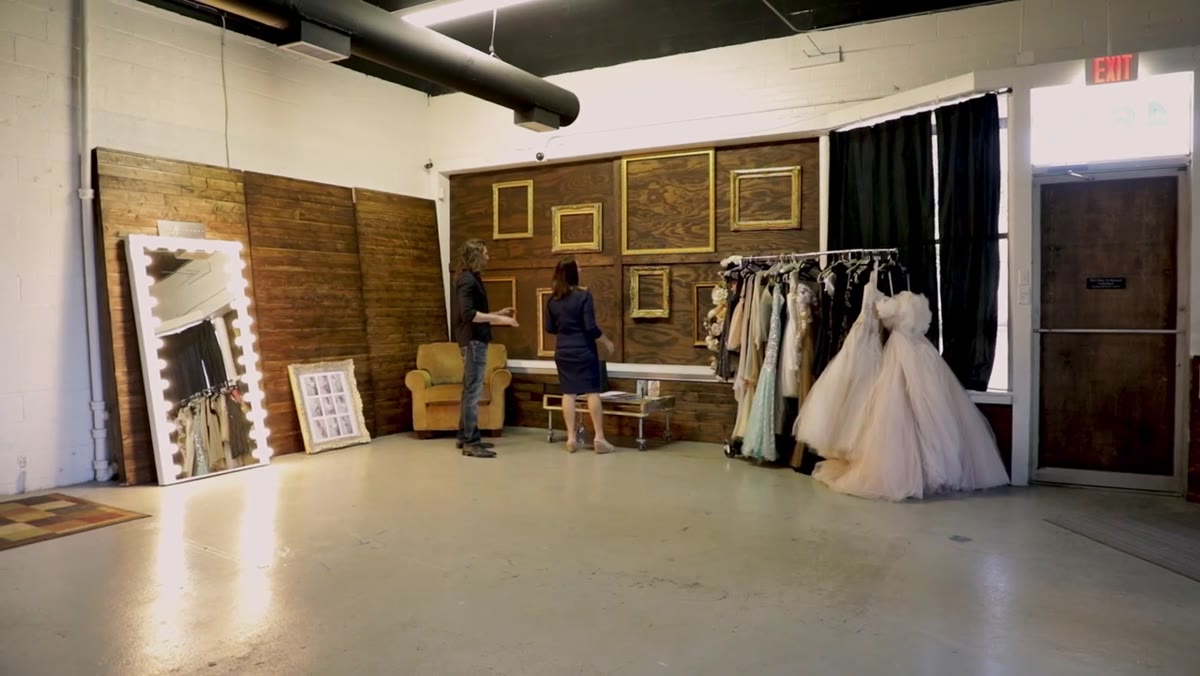 Collection of ornate vintage gold frames displayed in studio
The vintage gold frames covering one wall of Knowles’ studio came from his framer, who regularly accumulated frames that clients left behind after modernizing their collections. Rather than discarding them, she offered them to Knowles. He now has a wall of ornate, heavy frames that function as both decor and as in-camera props. The framer got to clear her inventory; he got props that would cost hundreds each at an antique dealer.
Collection of ornate vintage gold frames displayed in studio
The vintage gold frames covering one wall of Knowles’ studio came from his framer, who regularly accumulated frames that clients left behind after modernizing their collections. Rather than discarding them, she offered them to Knowles. He now has a wall of ornate, heavy frames that function as both decor and as in-camera props. The framer got to clear her inventory; he got props that would cost hundreds each at an antique dealer.
The pattern here is worth naming clearly. Knowles is not finding great deals. He is building relationships with people adjacent to his industry and letting them know what he’s looking for. A framer, a seamstress, a community Facebook group. Each connection produces something the budget alone couldn’t. If you’re setting up or expanding a studio, write a list of the prop and wardrobe categories you need and then write a second list of who in your city might have those things sitting unused. Start there before you open a browser.
Step 5: Recognize the Difference Between Technical Skill and Emotional Connection
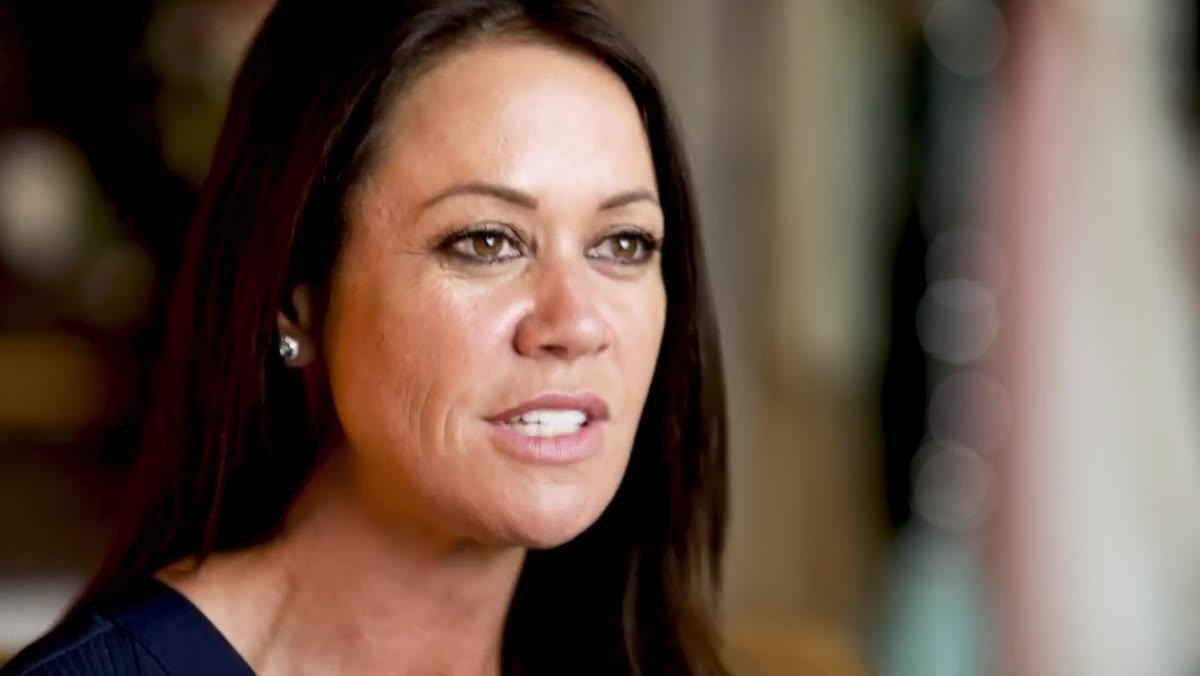 Sue Bryce reviewing Andrew’s early portfolio images during mentoring session
Bryce describes her first meeting with Knowles as a mentoring session that was supposed to run 15 minutes and ran an hour. She saw technically accomplished work. Clean lighting, sharp focus, well-exposed. But she also saw a gap: the images were beautiful without being felt. Every subject looked correct rather than connected.
Sue Bryce reviewing Andrew’s early portfolio images during mentoring session
Bryce describes her first meeting with Knowles as a mentoring session that was supposed to run 15 minutes and ran an hour. She saw technically accomplished work. Clean lighting, sharp focus, well-exposed. But she also saw a gap: the images were beautiful without being felt. Every subject looked correct rather than connected.
Knowles is honest about this. The technical side came easily to him. Lighting ratios, equipment selection, exposure consistency. What he had to develop intentionally was the ability to bring genuine emotion out of a subject during a session. That’s a harder skill to acquire because it doesn’t respond to gear purchases or diagram study. Bryce gave him a year of access to her education platform, and watching his Instagram output over the following year, she describes seeing the shift shot by shot. If your portfolio looks technically flawless but feels a little cold, you already know which problem you’re actually solving for.
What I’d Add From My Own Experience
The community sourcing strategy Knowles uses for wardrobe is something I’d apply even more aggressively to lighting and grip equipment at the studio-building stage. When I was putting together my first real studio, I posted a similar call-out among commercial photographers I knew who were upgrading their kits. I ended up acquiring two older Profoto heads, a full set of sandbags, and a 12-foot seamless paper stand for a fraction of retail. The people selling or donating didn’t need the gear anymore, and I got equipment I could label and test immediately.
The label system matters more than it sounds. Every modifier, every stand, every cable in my studio has a piece of masking tape on it with its name and output rating. New people can work in the space without a briefing. That discipline starts at the acquisition phase: when you know what you have, you use it fully before buying more. Knowles demonstrates this without ever stating it directly. The tea-dyed gown is the clearest example in the video, but the whole studio operates on that logic.
The single most transferable idea in this tour is that the studio you can build is larger than the budget you have for it, if you’re willing to ask your community directly for what you need. Wardrobe, props, frames, even clients came to Knowles through a Facebook post. The room he built is the result of specificity: he knew what he wanted and said so out loud.
Watch the full tutorial on YouTube to see the complete studio walkthrough and hear Bryce and Knowles discuss the mentoring relationship that shaped his development over two years.
Comments
Leave a Comment