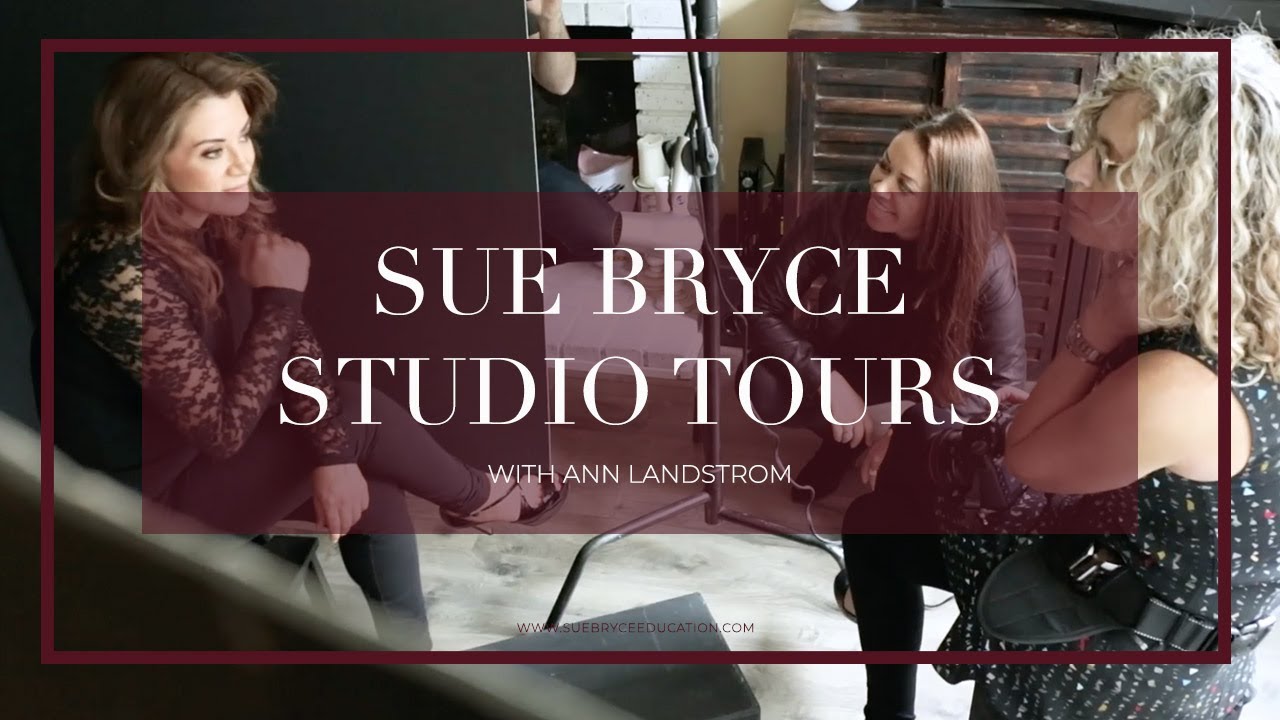
Most photographers I know are waiting. Waiting for the right lease, the right neighborhood, the right square footage. I spent two years telling myself I couldn’t shoot proper editorial work without a dedicated commercial space. Then I started paying closer attention to what some of the more entrepreneurial portrait photographers were actually doing with the space they already had, and the excuse started to fall apart.
In this The Portrait System tutorial, Sue Bryce visits San Diego-based portrait photographer Ann Landstrom, who built a legitimate, profitable studio inside her home. Ann went from averaging around $700 per sale as a shoot-and-burn photographer to hitting a $2,200 average sale after rethinking both her pricing and her space. The tour of her home is the kind of thing you want to pause and rewind repeatedly, not because it’s flashy, but because every decision she made is practical and repeatable. Watch the full tutorial on YouTube
What follows is my breakdown of the key setup decisions Ann makes, and how you can apply each one in your own space.
Step 1: Identify Which Room Has the Best Natural Light First
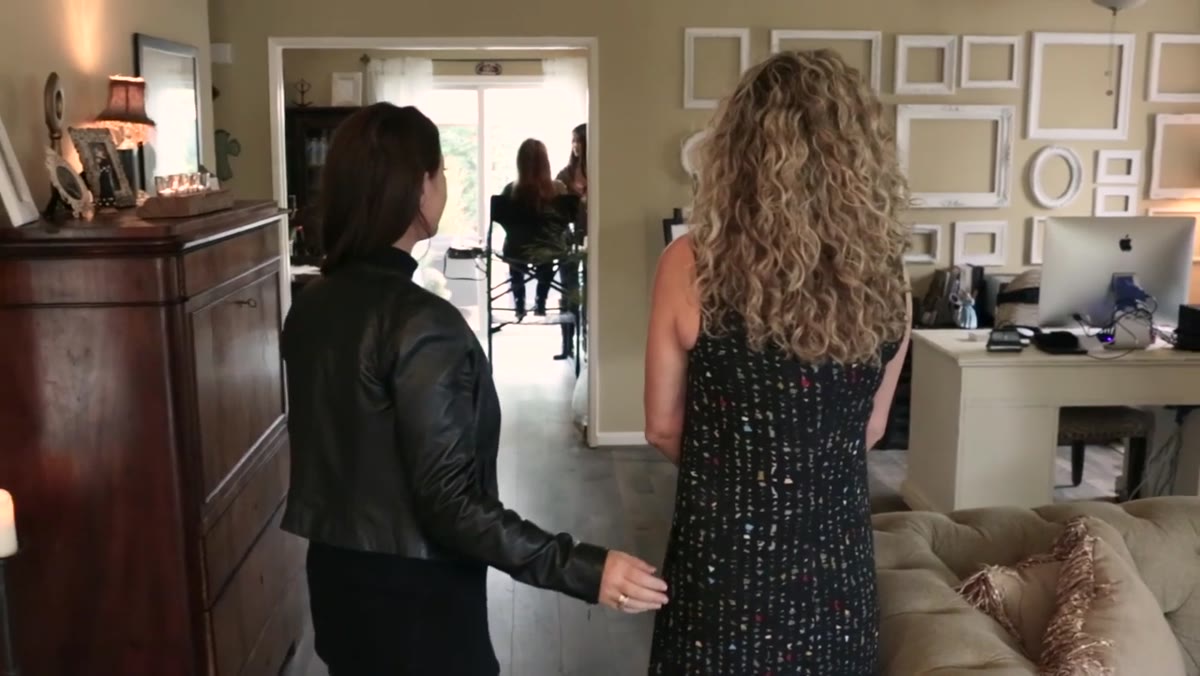 Ann and Sue standing in natural light living room
Before you buy a single piece of gear or move a single piece of furniture, walk through your home at different times of day and watch where the light falls. Ann shoots her natural light portraits in her living room, which has the kind of diffused, coastal San Diego light that most photographers would pay serious money to rent by the hour. The room becomes her primary shooting space not because it was designed that way, but because she looked at it with a photographer’s eye first.
Ann and Sue standing in natural light living room
Before you buy a single piece of gear or move a single piece of furniture, walk through your home at different times of day and watch where the light falls. Ann shoots her natural light portraits in her living room, which has the kind of diffused, coastal San Diego light that most photographers would pay serious money to rent by the hour. The room becomes her primary shooting space not because it was designed that way, but because she looked at it with a photographer’s eye first.
The practical move here is to do a light audit. Note when direct sun hits each window, when it diffuses, and when the room goes flat. Natural light portraits need consistency, and a room that looks gorgeous at 10am can become unusable by 2pm if you haven’t mapped it.
Step 2: Put Everything on Wheels or Sliders
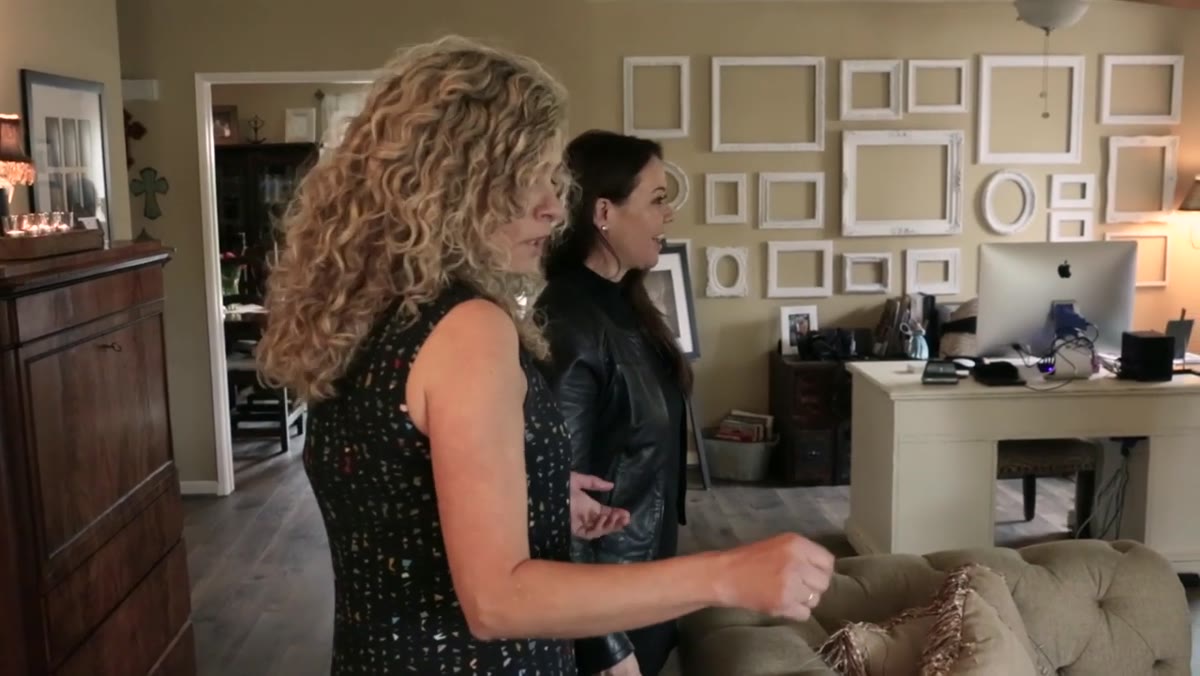 Ann explaining furniture sliders under large couch
Ann’s living room doubles as a shooting space because almost every piece of furniture in it moves. She uses furniture sliders under her larger pieces so she can reconfigure the room quickly for a shoot, then return it to a livable state afterward. The one exception is an anchor piece she keeps fixed, and she designs her shooting angles around it rather than fighting it.
Ann explaining furniture sliders under large couch
Ann’s living room doubles as a shooting space because almost every piece of furniture in it moves. She uses furniture sliders under her larger pieces so she can reconfigure the room quickly for a shoot, then return it to a livable state afterward. The one exception is an anchor piece she keeps fixed, and she designs her shooting angles around it rather than fighting it.
If you’re working from home, this is the mindset shift that makes everything else possible. You are not building a permanent studio. You are building a flexible system. Buy sliders in bulk, they are cheap and they will save you the back strain of moving a sofa 40 times a year.
Step 3: Separate Your Controlled-Light Work Into a Dedicated Dark Room
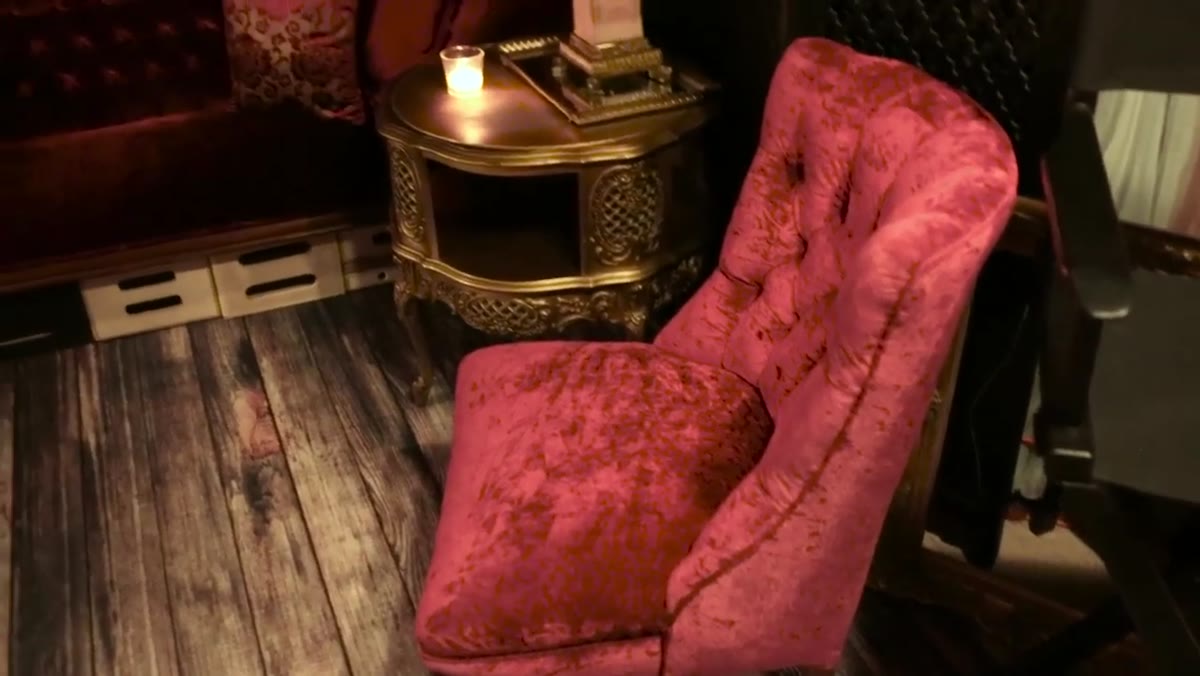 Ann showing garage studio with no natural light
Ann’s garage serves as her controlled-light studio, completely separated from the natural light work she does in the living room. This separation is important. When you try to mix natural and artificial light in the same room without careful management, you get color temperature chaos. I learned this the hard way on an editorial job early in my career and spent an afternoon in post trying to fix something I should have caught on set.
Ann showing garage studio with no natural light
Ann’s garage serves as her controlled-light studio, completely separated from the natural light work she does in the living room. This separation is important. When you try to mix natural and artificial light in the same room without careful management, you get color temperature chaos. I learned this the hard way on an editorial job early in my career and spent an afternoon in post trying to fix something I should have caught on set.
The garage has no windows in play during a shoot, which means Ann has full control over every light source. She can build a mood from scratch rather than compensating for whatever the sun decides to do.
Step 4: Use Strobe Bounced Off a V-Flat to Simulate Window Light
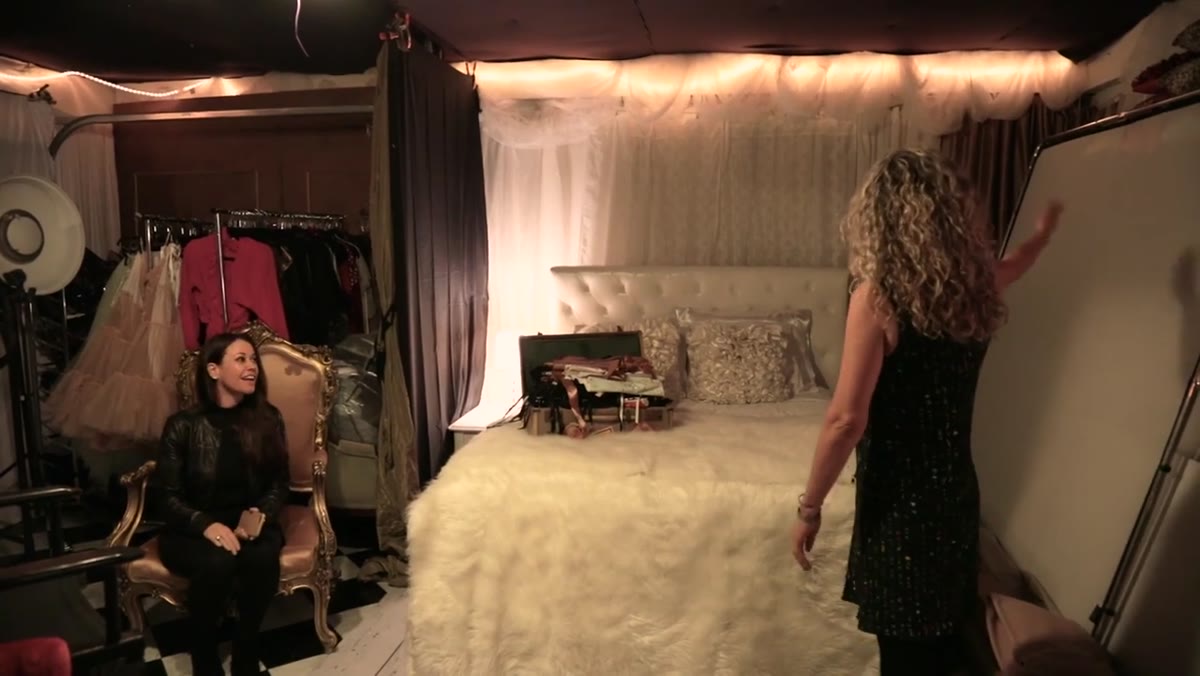 Ann describing strobe bounced to V-flat behind bed setup
Inside the garage setup, Ann bounces a strobe off a V-flat rather than pointing it directly at her subject. The result reads on camera as something close to soft window light, which is exactly what you want for boudoir and intimate portrait work. A V-flat used as a bounce surface gives you a large, soft light source with very gentle falloff. It fills shadows without flattening the image entirely.
Ann describing strobe bounced to V-flat behind bed setup
Inside the garage setup, Ann bounces a strobe off a V-flat rather than pointing it directly at her subject. The result reads on camera as something close to soft window light, which is exactly what you want for boudoir and intimate portrait work. A V-flat used as a bounce surface gives you a large, soft light source with very gentle falloff. It fills shadows without flattening the image entirely.
The key variable to dial in is the angle of the V-flat relative to the strobe and the subject. Experiment in small increments. A 10-degree shift in the flat’s angle can change the shadow shape on a face significantly. I keep a sketch in my lighting journal every time I land on a bounce configuration that works, because it is nearly impossible to eyeball the same setup twice without a reference.
Step 5: Keep a Constant Light Source for Low-Light Conditions
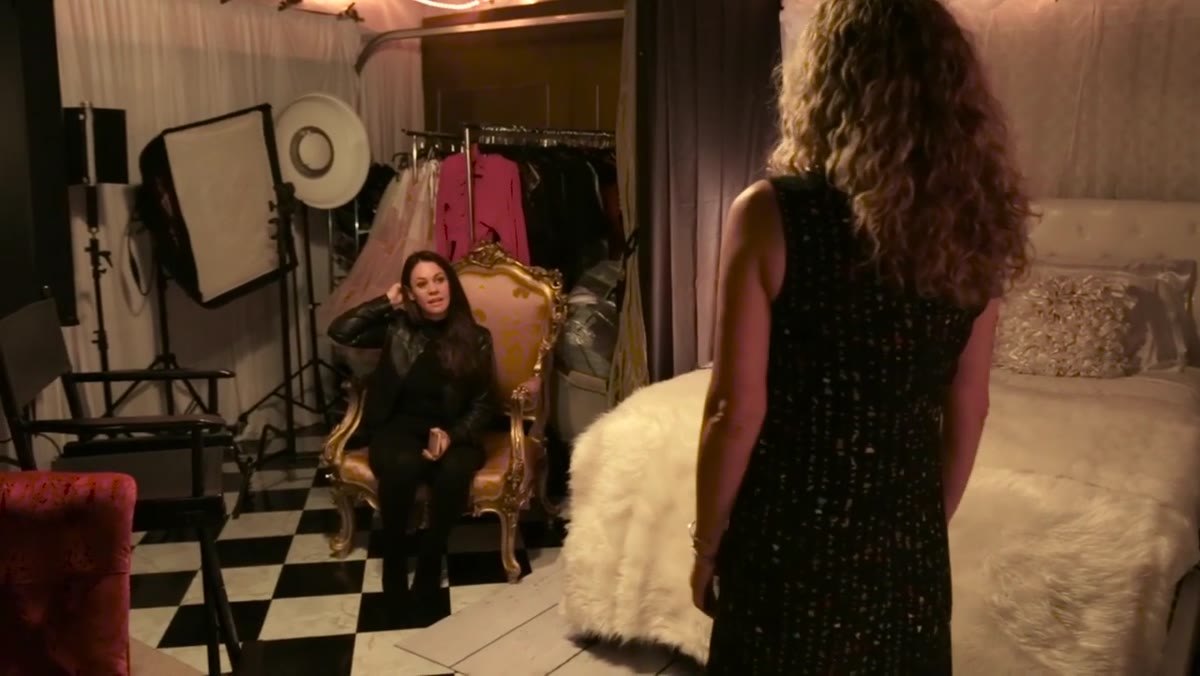 Ann pointing out constant light head near beauty setup
Ann keeps a constant light source, specifically a beauty dish style setup, in her living room for situations when the natural light goes too dim to work with. This is a smart redundancy. Natural light is unreliable, and telling a client you need to reschedule because it’s overcast is not a system.
Ann pointing out constant light head near beauty setup
Ann keeps a constant light source, specifically a beauty dish style setup, in her living room for situations when the natural light goes too dim to work with. This is a smart redundancy. Natural light is unreliable, and telling a client you need to reschedule because it’s overcast is not a system.
A constant light head in a beauty dish gives you a controllable, repeatable source that you can drop into a natural light scenario without announcing itself. The falloff is clean, the quality is flattering, and you can mix it with ambient daylight if you color-match your bulb temperature to the window light. That last part matters more than most tutorials will tell you.
Step 6: Build a Dedicated Sales and Reveal Area
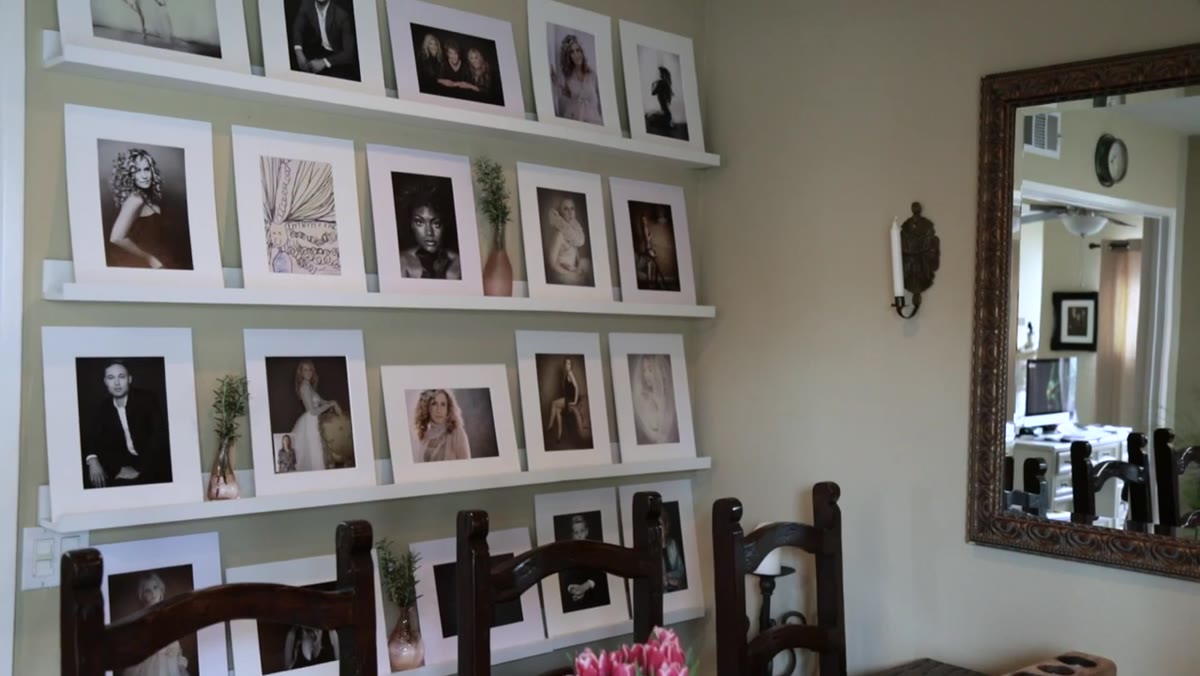 Reveal wall and table setup with candles and print boxes
Ann designates a specific corner of her living room as her client reveal space. She pulls the table forward, lights candles, and lays out print samples and pricing materials in a specific arrangement before the client arrives. The physical staging of that moment is deliberate, and it directly supports her sales numbers.
Reveal wall and table setup with candles and print boxes
Ann designates a specific corner of her living room as her client reveal space. She pulls the table forward, lights candles, and lays out print samples and pricing materials in a specific arrangement before the client arrives. The physical staging of that moment is deliberate, and it directly supports her sales numbers.
This is not decoration. It is workflow. When a client walks into a space that looks prepared and considered, they enter a buying frame of mind. A laptop balanced on your kitchen counter does the opposite. Spend as much time designing your reveal space as you spend designing your shooting space.
Step 7: Build Your Wardrobe Wall Incrementally Through Thrift and Consignment
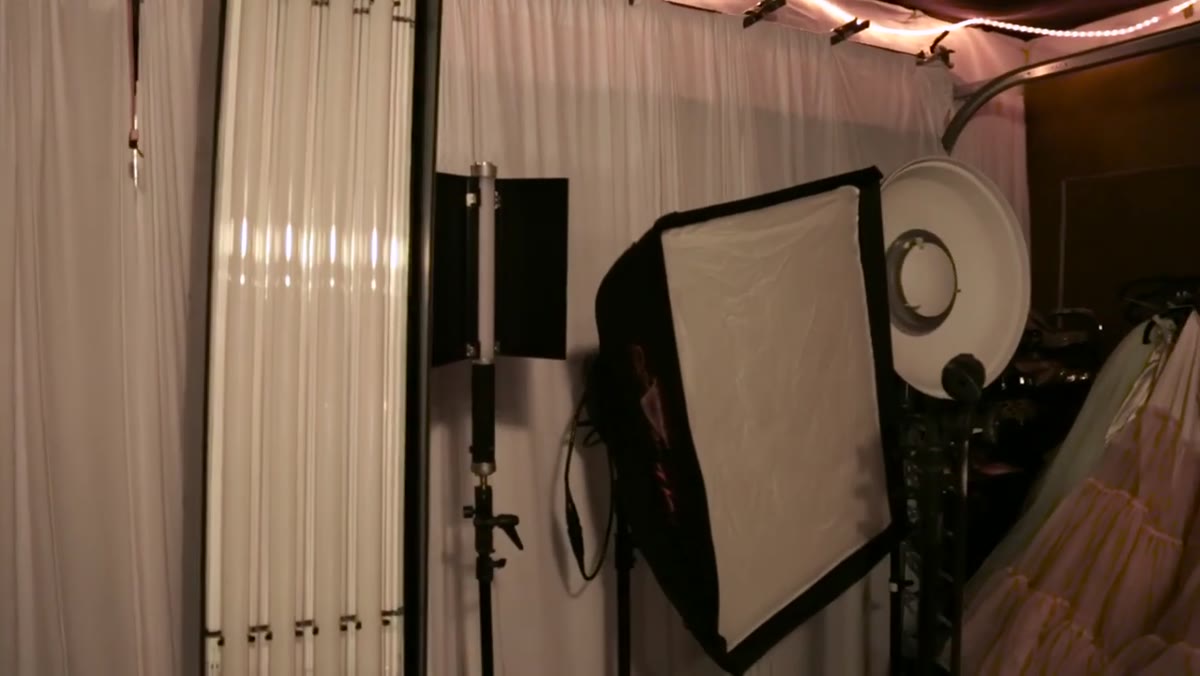 Wardrobe wall filled with gowns and styled pieces
Ann’s wardrobe collection is extensive, but she built most of it through thrift stores, consignment shops, and eBay over a couple of years, with selective investment in key statement pieces. The wall itself is organized visually, which means clients can scan it quickly and feel the range of options without being overwhelmed.
Wardrobe wall filled with gowns and styled pieces
Ann’s wardrobe collection is extensive, but she built most of it through thrift stores, consignment shops, and eBay over a couple of years, with selective investment in key statement pieces. The wall itself is organized visually, which means clients can scan it quickly and feel the range of options without being overwhelmed.
A working wardrobe wall solves a real client problem: most people do not know what to wear to a portrait session, and if you leave it entirely to them, you will spend shoot days managing insecurity instead of making images. Curate pieces in a range of sizes, with a bias toward flowing fabrics that photograph well across body types.
Where I’d Push This Further
Ann’s garage setup is functional, but it’s built around a mood that she mentioned moving away from. If I were reconfiguring that space, I would open the garage door and build a simple daylight studio using sheer diffusion hung across the opening. It turns a dark controlled space into a bright, clean shooting environment without any power draw. Combined with a reflector or a single strobe as fill, that setup can cover most of what a portrait photographer needs in a single contained room.
The broader lesson from Ann’s studio is that constraints push you toward creativity. She didn’t wait for the perfect space. She made the space she had perform, and her sales numbers reflect exactly how well that worked.
The single most transferable idea here: your home already contains the bones of a working portrait studio. The question is whether you’re willing to look at your living room like a photographer instead of like a homeowner.
Watch the full tutorial on YouTube
Comments (6)
Would love to see a follow-up going deeper into this topic.
The tip about how ann landstrom turned her s was the missing piece for me. Thank you.
Really solid breakdown. This pairs perfectly with the workflows work I've been writing about.
I tried this on a client project yesterday and the results were way better than expected.
I've been looking for exactly this kind of tutorial. Perfect timing.
This is fantastic. I've been recommending this approach to my readers too.
Leave a Comment