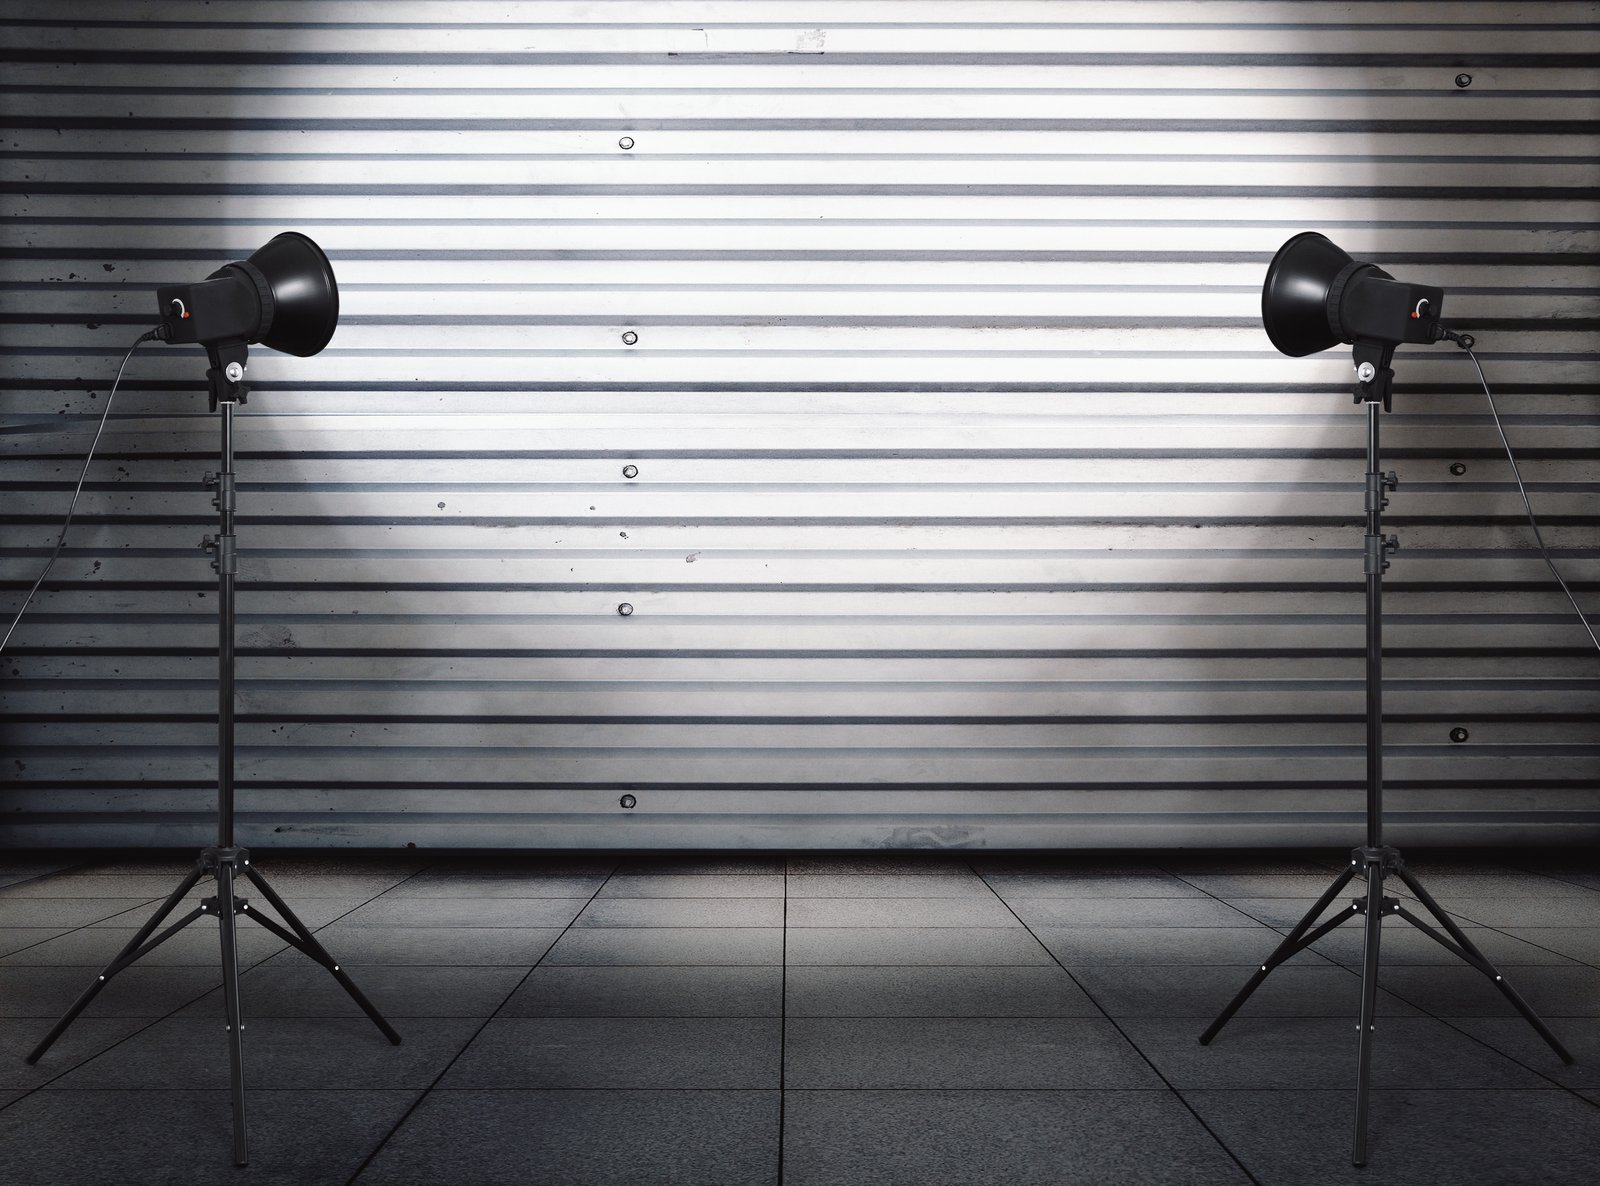
The Problem Isn’t Talent. It’s Setup Time Eating Your Day.
Last spring I had a beauty client book me for a six-look shoot. Hair and makeup were running 20 minutes behind, which is nothing unusual, but by the time the first model sat in front of my key light, I had burned 40 minutes of my buffer just re-confirming my strobe positions. Not adjusting them. Confirming them. That’s the kind of inefficiency that compounds fast when you’re billing a half-day rate and a creative director is watching the clock from the couch.
The difference between photographers who run tight, profitable studio days and those who spend half the shoot second-guessing their lighting comes down to one thing: a repeatable, documented workflow. Not creativity, not gear. Process.
Why “Eyeballing It” Breaks Down Under Real Conditions
Studio lighting looks stable, but it isn’t. A 1-stop shift in your key-to-fill ratio changes the mood of a portrait more than most color grade adjustments ever will. A key light at a 45-degree angle, 6 feet from the subject, at f/8 reads completely differently when the modifier is a 36-inch octobox versus a 24-inch beauty dish, even at identical power settings.
This matters because light doesn’t scale linearly. The inverse square law means that moving your key light 2 feet closer to a subject doesn’t just make it brighter. It changes the falloff across the entire frame, affects how your background exposure holds, and shifts the apparent softness of the source. If you rebuild your setup by eye every time, you’re introducing four or five variables simultaneously and then wondering why the results feel inconsistent shoot to shoot.
Metering every light source individually, before you ever put a person in frame, is the only way to actually know what you’re working with.
My Setup Protocol, Step by Step
I keep a strip of masking tape on every light stand and modifier in my studio. Each one is labeled: Key, Fill, Hair, Background 1, Background 2. When I walk in for a shoot, I know exactly which unit goes where before I fire a single test pop.
Here’s the actual sequence I follow:
First, I establish my ambient exposure. I want zero ambient contribution to the exposure, so I shoot at ISO 100, 1/200s, and f/8 as a starting point. Any ambient bleed at those settings means I need to address it before I add strobes.
Second, I set the key light. For a standard beauty setup, I’m starting with a 36-inch octobox (I use the Profoto RFi, which runs around $280) camera left, at a 30-degree angle to the subject’s face, positioned so the bottom edge of the modifier is roughly at chin height. I pop it at half power and meter at the subject’s cheek. I want to read f/8 at the metering point.
Third, I set the fill. My fill is almost always a 42-inch silver reflector on a stand, camera right, with no additional strobe. I meter the shadow side of the face and dial in the ratio. For fashion and beauty work, I want a 2:1 or 3:1 ratio, which means the shadow side reads f/5.6 to f/5.6+2/3. For corporate headshots, I bring it closer to 2:1 for a flatter, more commercial look.
Fourth, the hair light. I run a gridded strip box above and slightly behind the subject, powered to about 1 stop below the key. That puts it around f/5.6 on the crown of the head. No grid on a hair light is an amateur move. It will blow into your lens.
Fifth, I photograph my lighting setup on my phone, log the modifier sizes, distances, and power settings, and add a rough sketch to my lighting journal before the talent sits down. Total setup time from walking in to first test shot with a person in the frame: 55 to 75 minutes, depending on the complexity of the look.
The Shoot That Taught Me to Stop Trusting My Eye
Early in my career, I had a magazine editorial that I was deeply underprepared for. The images came back from the lab with a heavy orange cast that made the skin tones look like a bad Instagram filter from 2011. The problem wasn’t my exposure, it wasn’t my pose direction. It was that I had mixed a tungsten modeling light with daylight-balanced strobes without accounting for the color temperature spread, and I had not set a custom white balance on the camera. I did not catch it in the moment because I was shooting film and not chimping.
That mistake costs you a client. It also costs you sleep.
Since then, I set a custom white balance at the top of every single studio session, full stop. I use an ExpoDisc 2.0 (around $89) held in front of the lens at the subject position and set the white balance directly in-camera. For tethered shoots in Capture One, I also apply the white balance preset to the session before anyone sits down. It takes three minutes. It eliminates an entire category of problem.
What Consistency Actually Buys You
When you build on a documented, metered foundation, you stop making decisions under pressure. Your ratios are known quantities. Your white balance is locked. Your modifiers are labeled and positioned before the first hair pin goes in.
That consistency is what lets you give your creative attention to the actual subject: the expression, the moment, the direction that separates a good frame from a great one. The light is not a variable anymore. It’s infrastructure.
Document every setup. Meter every light. Build the same foundation every time.
Comments
Leave a Comment