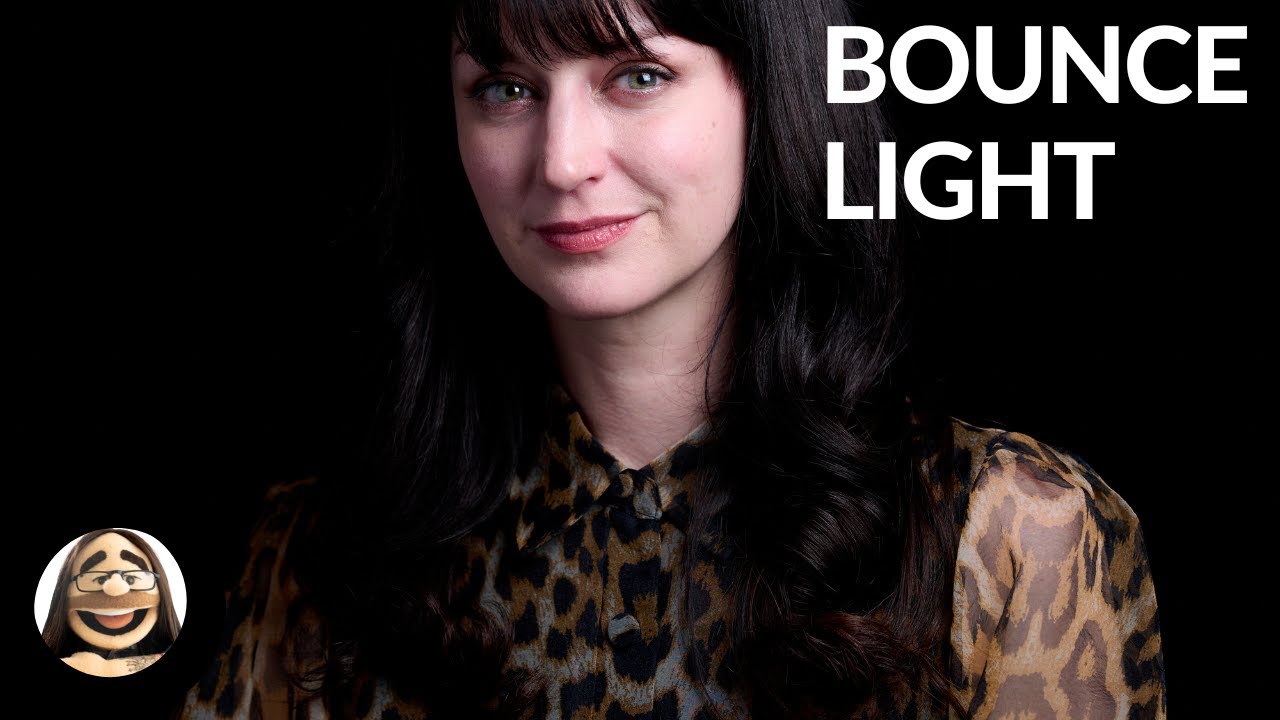
I keep a lighting journal. Every setup I shoot gets a quick sketch with notes on distances, ratios, and what I’d change next time. Flipping back through those pages, I can trace exactly when certain concepts clicked for me. Reflector placement is one that took longer than it should have. I spent years treating a reflector like a prop you hold near the subject and hope for the best. The results were inconsistent, and I couldn’t explain why. What I was missing was a physical principle so obvious I’m almost embarrassed to admit I’d glossed over it.
Watch the full tutorial on YouTube
In this Daniel Norton Photographer tutorial, Daniel walks through reflector basics in his New York studio using nothing more than a piece of foam core and a softbox at a classic 45-degree position. That intentional simplicity is the point. Strip away the fancy gear and what you’re left with is the geometry, and the geometry is everything. If you’ve ever held a reflector and wondered why it wasn’t doing much, this breakdown will fix that.
Step 1: Understand the Law Before You Touch Any Gear
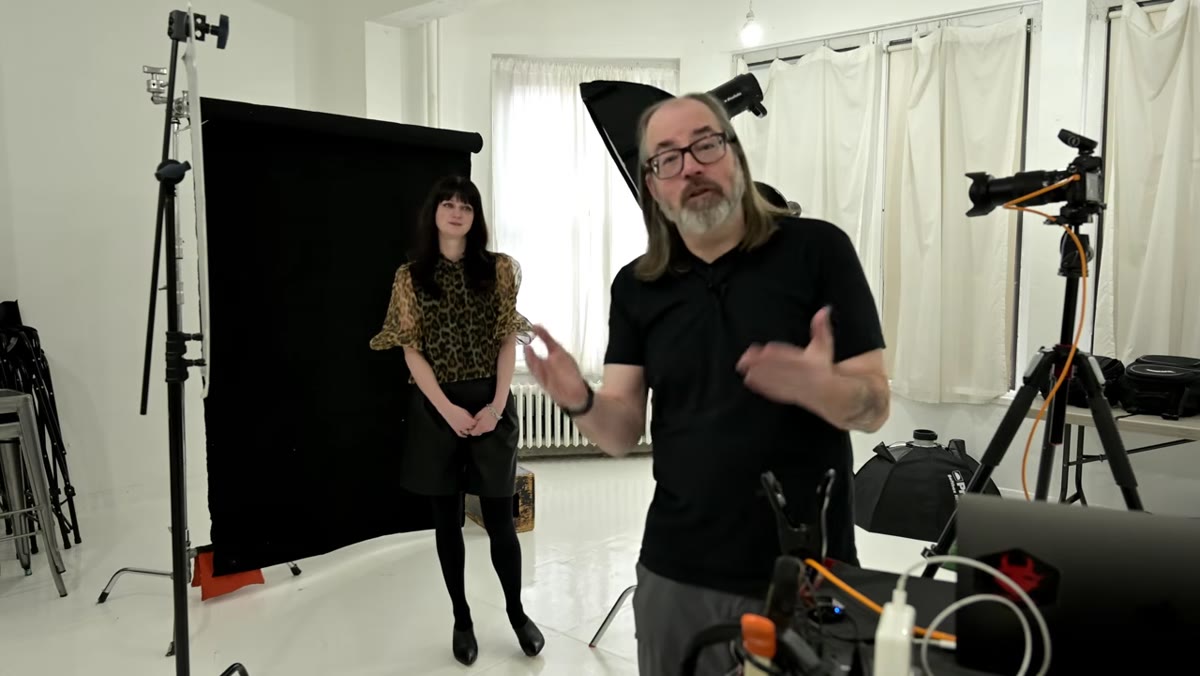 Daniel explaining angle of incidence with hands gesturing
The first thing Daniel establishes is the optical principle that governs every reflector decision you’ll ever make: the angle of incidence equals the angle of reflectance. That’s not photography jargon, it’s physics. Light hits a surface at a given angle and bounces off at the same angle on the opposite side. The practical consequence is that your reflector must be positioned to both receive light from the source and redirect it toward your subject. One condition without the other produces nothing. I’ve watched photographers at open shoots angling the reflector so it faces the camera rather than the subject’s shadow side, essentially turning it into a very awkward flag. The reflector needs to be in conversation with both the light and the face simultaneously.
Daniel explaining angle of incidence with hands gesturing
The first thing Daniel establishes is the optical principle that governs every reflector decision you’ll ever make: the angle of incidence equals the angle of reflectance. That’s not photography jargon, it’s physics. Light hits a surface at a given angle and bounces off at the same angle on the opposite side. The practical consequence is that your reflector must be positioned to both receive light from the source and redirect it toward your subject. One condition without the other produces nothing. I’ve watched photographers at open shoots angling the reflector so it faces the camera rather than the subject’s shadow side, essentially turning it into a very awkward flag. The reflector needs to be in conversation with both the light and the face simultaneously.
The second principle he lays out is just as important: a reflector will almost never overpower the original light source. It’s a passive tool. It has no power of its own. That means you cannot use it to create a new key light from scratch, and you cannot dial it up like a strobe. You work with what the main light gives it, and everything flows from there.
Step 2: Start With a Simple Setup So the Variable Is Clear
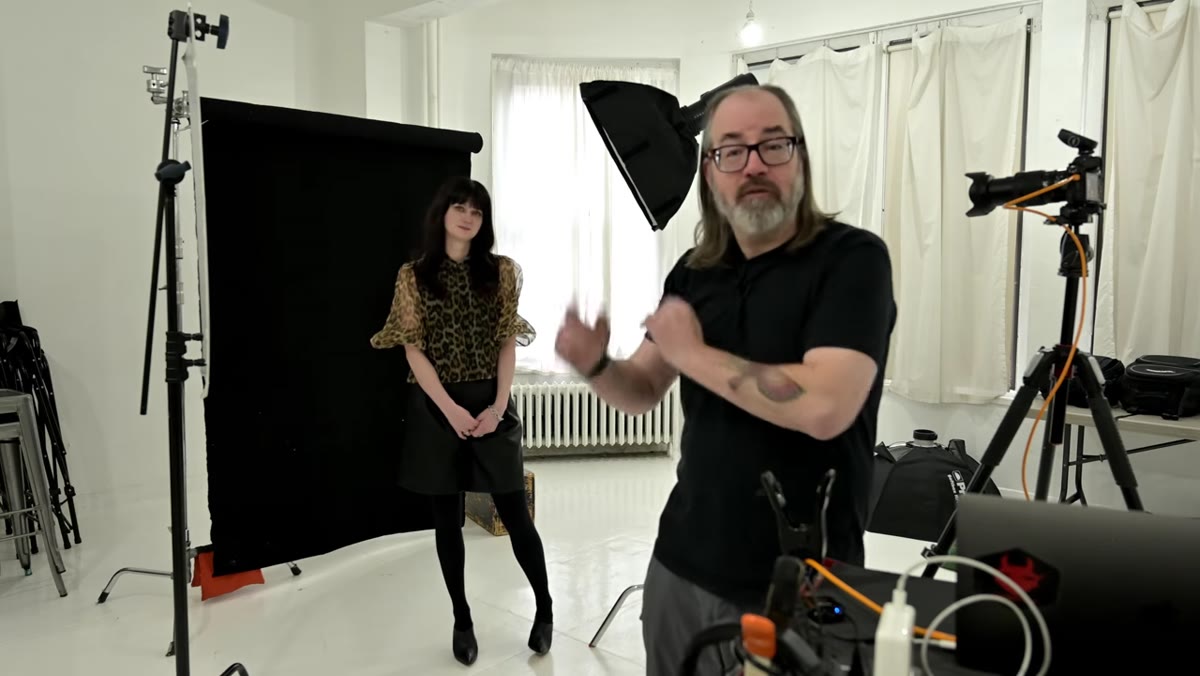 Classic 45-degree softbox setup with subject, no reflector
Before introducing the reflector, Daniel shoots his subject with a single softbox at 45 degrees with nothing on the shadow side. This is the right way to start learning any fill technique. You need a reference frame. If you skip straight to the reflector, you can’t actually see what it’s contributing. The 45-degree key light produces a shadow side with genuine depth, not a disaster, but darker than you might want for a clean portrait. That shadow is your problem to solve, and now you have a clear before image to compare against.
Classic 45-degree softbox setup with subject, no reflector
Before introducing the reflector, Daniel shoots his subject with a single softbox at 45 degrees with nothing on the shadow side. This is the right way to start learning any fill technique. You need a reference frame. If you skip straight to the reflector, you can’t actually see what it’s contributing. The 45-degree key light produces a shadow side with genuine depth, not a disaster, but darker than you might want for a clean portrait. That shadow is your problem to solve, and now you have a clear before image to compare against.
I do this every time I test a new modifier. The day it arrives, I set up a standard 45-degree key, shoot a test frame, then start adding to it. No guesswork about what changed.
Step 3: Position the Reflector Where the Light Can Actually Reach It
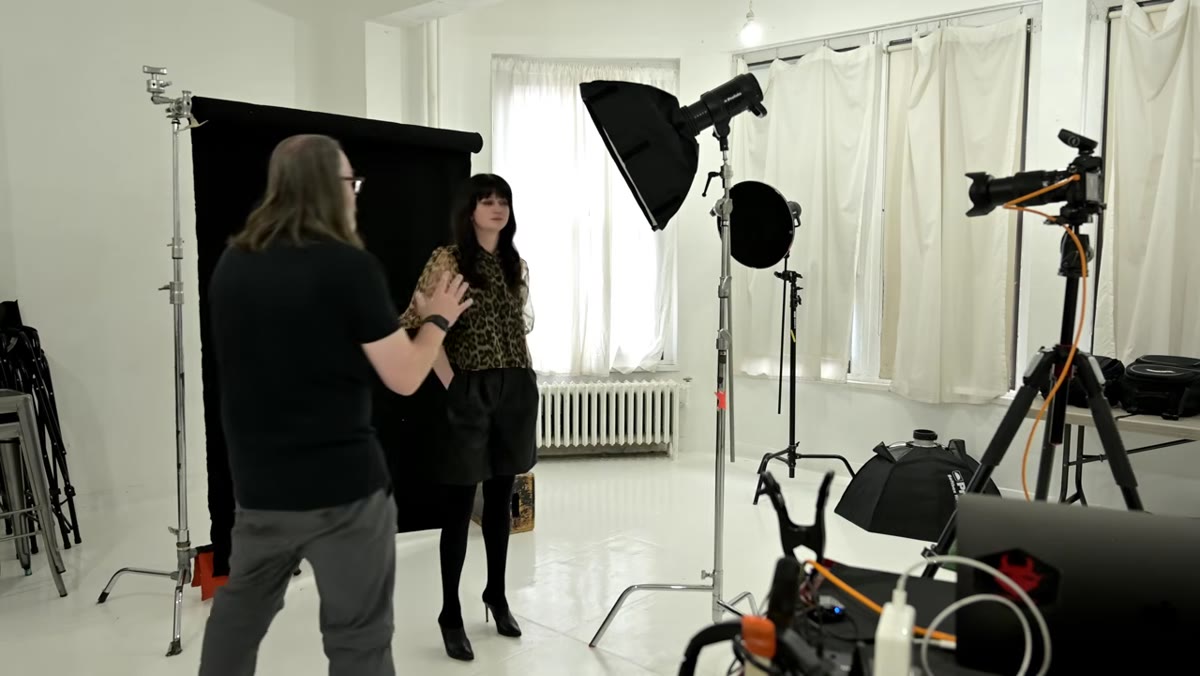 Daniel standing near softbox to feel where light originates
Here’s the move that most tutorials skip: Daniel physically walks over and stands near the softbox to get a feel for where the light is actually projecting. A softbox doesn’t throw light in a tight beam. It radiates from its face, so the usable zone extends in a cone in front of it. He uses this to identify the working range for the reflector on the opposite side of the subject.
Daniel standing near softbox to feel where light originates
Here’s the move that most tutorials skip: Daniel physically walks over and stands near the softbox to get a feel for where the light is actually projecting. A softbox doesn’t throw light in a tight beam. It radiates from its face, so the usable zone extends in a cone in front of it. He uses this to identify the working range for the reflector on the opposite side of the subject.
His starting rule is to place the reflector roughly the same distance from the subject as the softbox. That gives the reflector enough light to work with and positions it close enough to the subject for the bounced light to be meaningful. Pushed too far back, it exits the light cone entirely and becomes useless. Angled incorrectly, even if it’s in the light, it redirects that bounce somewhere other than the subject’s face. Both of those errors are invisible until you see the result.
Step 4: Control Fill Intensity With Distance, Not Willpower
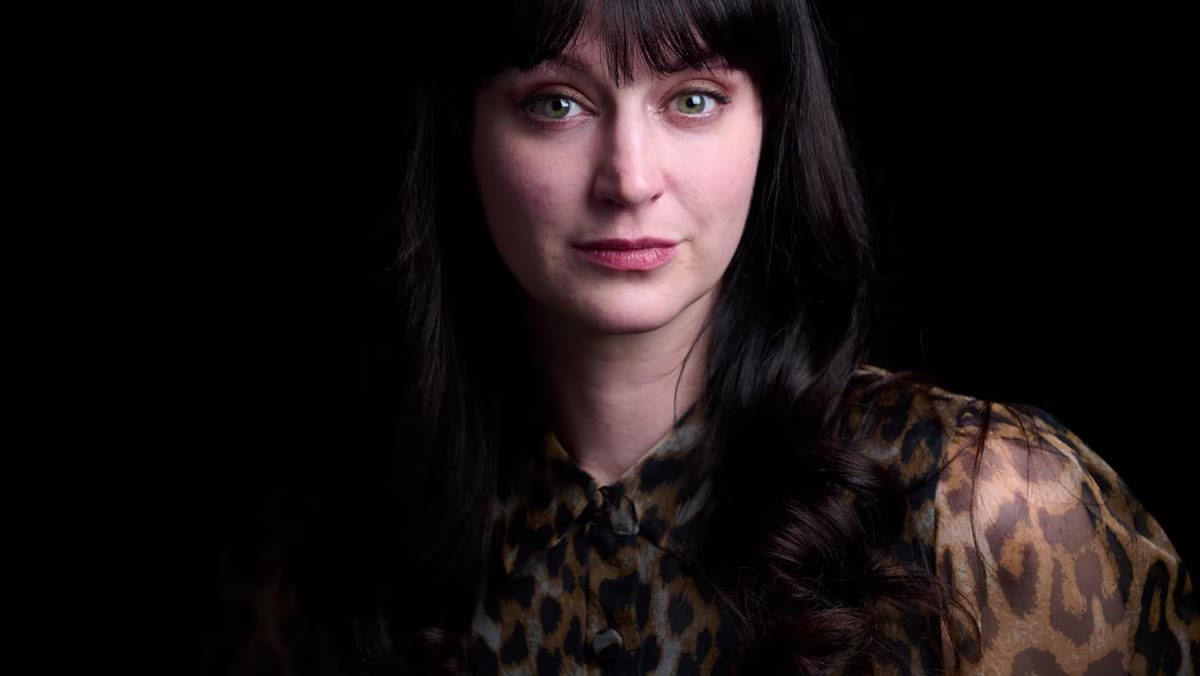 Reflector positioned at subject distance, shadow side visibly filled
Once the reflector is in position, Daniel demonstrates how moving it closer or farther from the subject changes the fill intensity directly. This is inverse square law again, the same principle that governs any light source. Halve the distance and the fill gets significantly brighter. Double it and it drops off fast.
Reflector positioned at subject distance, shadow side visibly filled
Once the reflector is in position, Daniel demonstrates how moving it closer or farther from the subject changes the fill intensity directly. This is inverse square law again, the same principle that governs any light source. Halve the distance and the fill gets significantly brighter. Double it and it drops off fast.
He moves from roughly two feet away to about three feet, and the difference is visible but subtle. At the closer position you get clean, balanced fill. At the farther position you get a hint of fill that still leaves shape and drama in the shadows. Neither is wrong. They serve different looks. The practical takeaway is that you’re not stuck with whatever the reflector happens to give you at one fixed spot. Distance is your control dial, and it costs nothing to adjust.
Step 5: Switch to Silver When White Foam Core Isn’t Enough
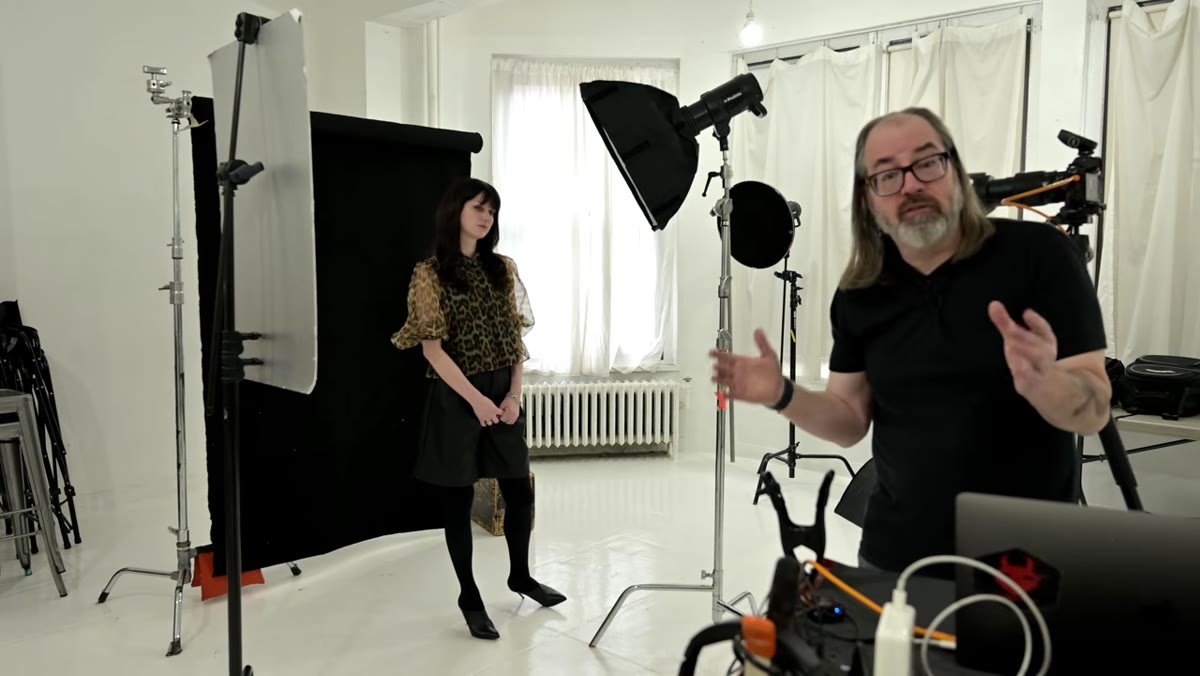 Daniel referencing silver reflector as an alternative surface
If you’ve moved the reflector as close as the shot allows and it still isn’t filling enough, the next option is to switch surfaces. Daniel mentions silver as the logical upgrade from white foam core. Silver reflects more light and gives the fill a slightly cooler, more specular quality compared to the softer, neutral bounce of white. The tradeoff is that silver can feel harder and punchier, which works well for certain commercial looks but can feel wrong on a warmer portrait.
Daniel referencing silver reflector as an alternative surface
If you’ve moved the reflector as close as the shot allows and it still isn’t filling enough, the next option is to switch surfaces. Daniel mentions silver as the logical upgrade from white foam core. Silver reflects more light and gives the fill a slightly cooler, more specular quality compared to the softer, neutral bounce of white. The tradeoff is that silver can feel harder and punchier, which works well for certain commercial looks but can feel wrong on a warmer portrait.
I keep both a 5-in-1 reflector kit and a few sheets of foam core in my studio for exactly this reason. Foam core is forgiving and neutral. Silver is powerful and has a character. Knowing which problem you’re solving determines which surface you reach for.
What I’d Add From My Own Studio Work
Daniel keeps the tutorial tightly focused on a single softbox, which is the right call for teaching the fundamentals. But in commercial work I frequently run into a variation that trips people up: using a reflector when there’s a grid on the key light. A grid tightens the light cone significantly, which shrinks the zone where the reflector can actually pick up usable light. You need to move the reflector closer to the subject’s side and angle it more deliberately toward the narrow beam. I label every grid in my studio with the degree rating using masking tape on the rim, partly for quick identification and partly to remind myself that a tighter grid means a tighter placement window for any passive fill.
The other thing worth noting is color temperature. A white foam core reflector is neutral. A gold reflector will warm the fill. If your key light is already calibrated for a specific color temperature and you introduce a gold bounce, the shadow side will read warm against a cooler key. That can be beautiful or it can be a mess, but you need to make it a deliberate choice, not a surprise in post.
The single most important thing to carry out of this tutorial is that reflector placement is geometry, not intuition. If the fill isn’t working, check two things first: is the reflector actually in the light, and is it angled so that light redirects toward the subject’s shadow side. If both answers are yes, then adjust distance. Everything else is refinement.
Watch the full tutorial on YouTube and pay attention to how Daniel physically moves around the set to diagnose the light. That habit alone is worth the twelve minutes.
Comments
Leave a Comment