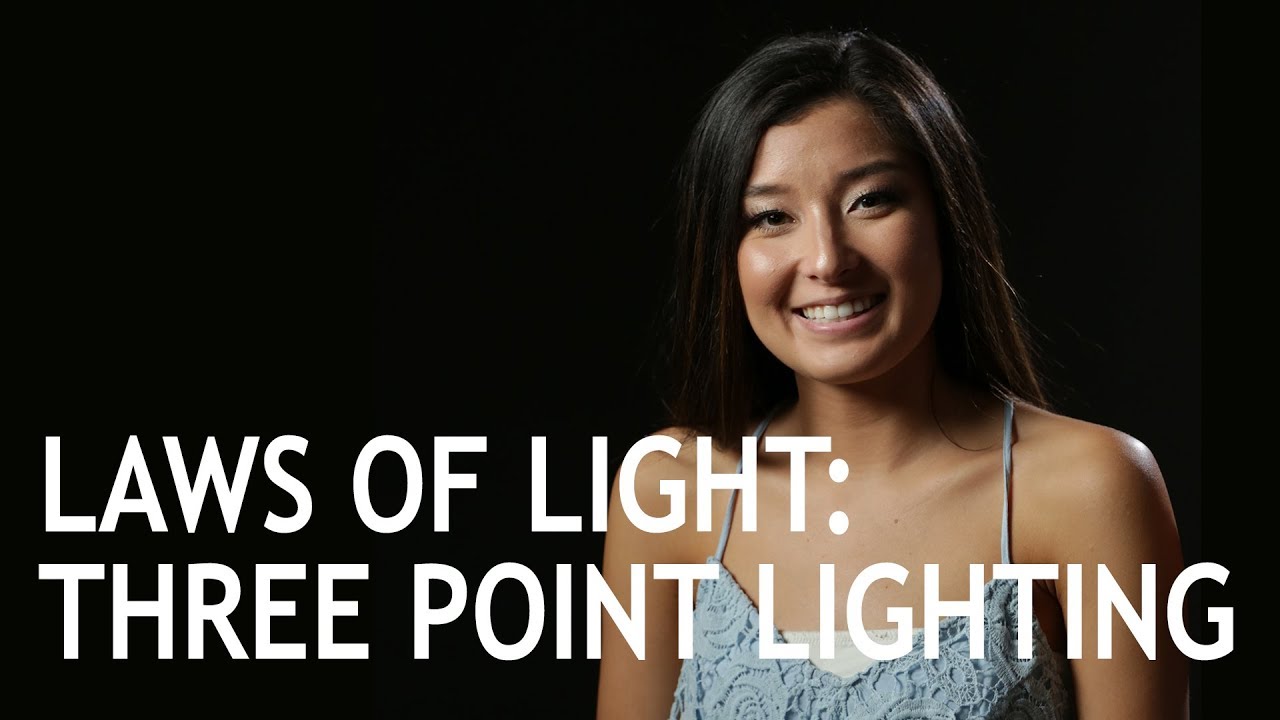
Every portrait photographer hits the same wall eventually. One light looks beautiful in isolation, but the subject disappears into the background, shadows go muddy, and the image loses the dimension that separates a professional result from a snapshot. I’ve stood in my studio at 11pm before a morning editorial call, staring at a flat, lifeless frame and wondering what was missing. The answer, almost every time, was a deliberate three-point lighting strategy rather than a single key light I was trying to coax into doing five jobs at once.
In this The Slanted Lens tutorial, Watch the full tutorial on YouTube, JP Morgan walks through the logic and execution of a three-point setup with the kind of practical clarity that translates directly to the studio floor. The video pairs nicely with their earlier episode on five portrait lighting positions, which I’d recommend watching first if you’re still building confidence with a single light. What follows is my expanded breakdown of each stage, with the settings and decisions fleshed out so you can follow along without pausing the video every thirty seconds.
Step 1: Establish Your Key Light Position
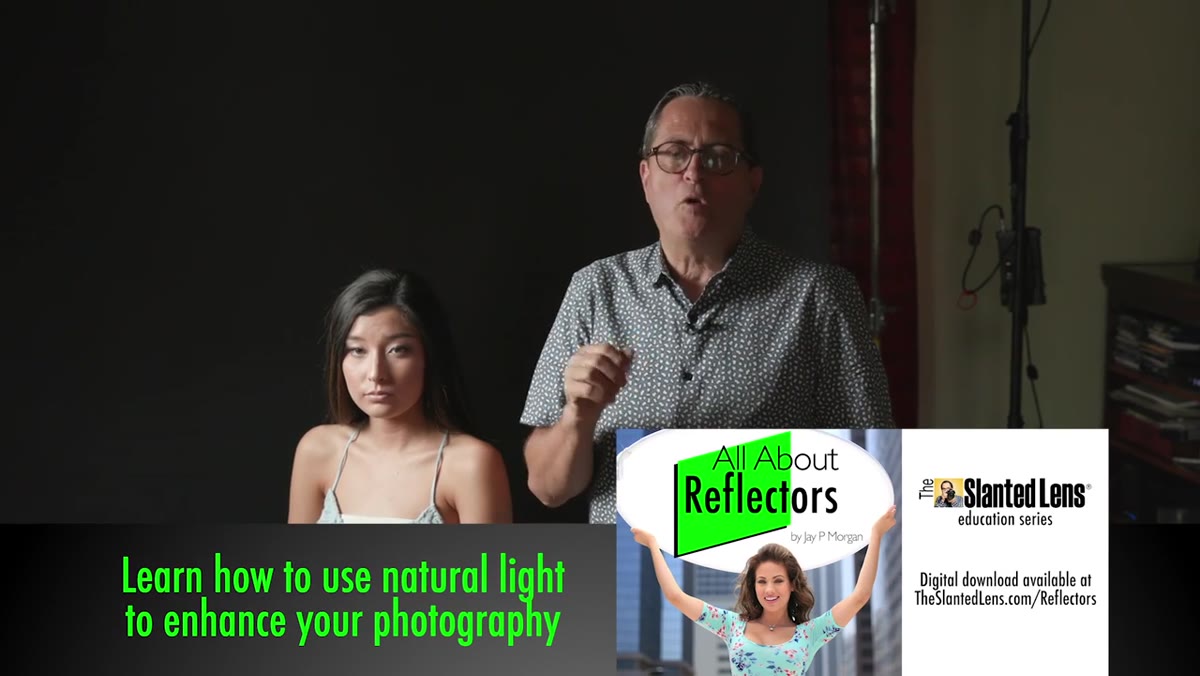 Key light placed high and angled toward subject’s face
Before you touch a second light, get your key light right. JP recommends going back to the five portrait positions as a reference, and I’d second that completely. Place the key light slightly above eye level and angle it down so the shadow from the nose breaks across the cheek rather than dropping straight down toward the lip. This angle is what creates Rembrandt-style modeling, and on a subject with defined cheekbones it becomes almost automatic. In the tutorial, a 300D continuous light is used as the key. Whatever you’re working with, make sure it’s your most powerful and most deliberate source. Everything else is built around it.
Key light placed high and angled toward subject’s face
Before you touch a second light, get your key light right. JP recommends going back to the five portrait positions as a reference, and I’d second that completely. Place the key light slightly above eye level and angle it down so the shadow from the nose breaks across the cheek rather than dropping straight down toward the lip. This angle is what creates Rembrandt-style modeling, and on a subject with defined cheekbones it becomes almost automatic. In the tutorial, a 300D continuous light is used as the key. Whatever you’re working with, make sure it’s your most powerful and most deliberate source. Everything else is built around it.
Step 2: Diagnose the Shadow Problem Before Adding Lights
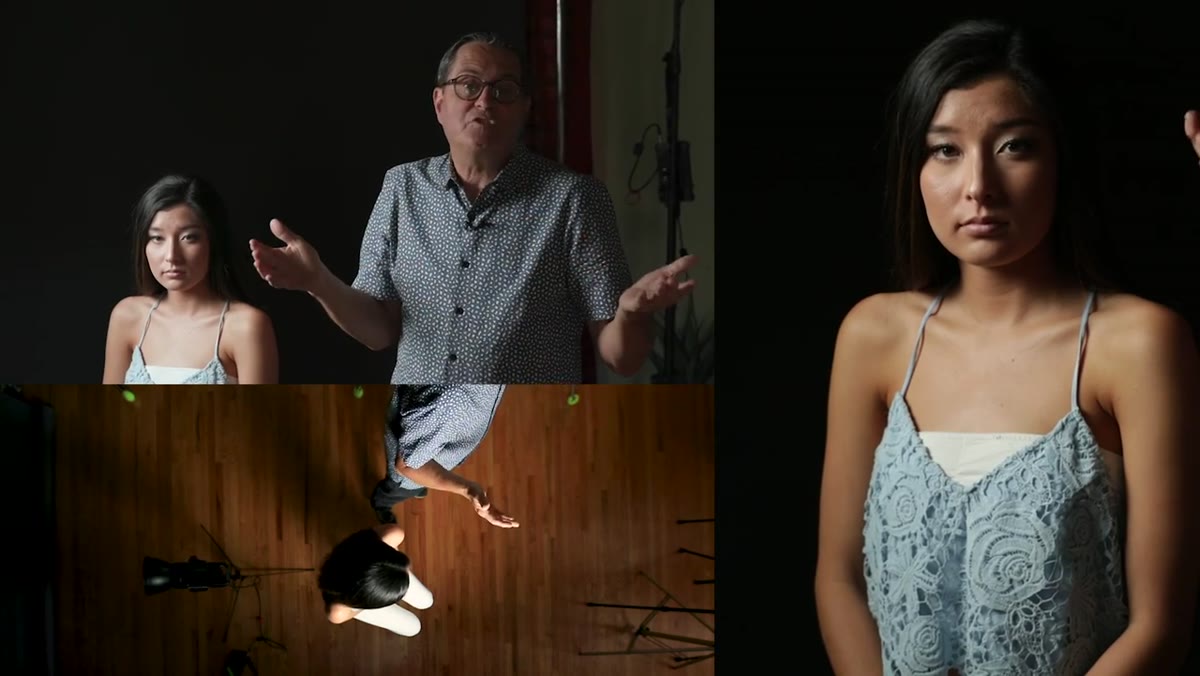 Single key light casting shadows on subject’s face
Once your key light is locked in, resist the urge to immediately flip on more gear. Look at the frame and identify exactly what’s wrong. On a single key light, you’ll typically see two issues: shadow density on the fill side of the face, and the subject blending into the background. These are separate problems that need separate solutions. The mistake I made early in my career was trying to fix both with one additional light angled awkwardly in the middle. That just creates a second key and kills the dimensionality you built in step one. Name each problem out loud if you have to. Fix them one at a time.
Single key light casting shadows on subject’s face
Once your key light is locked in, resist the urge to immediately flip on more gear. Look at the frame and identify exactly what’s wrong. On a single key light, you’ll typically see two issues: shadow density on the fill side of the face, and the subject blending into the background. These are separate problems that need separate solutions. The mistake I made early in my career was trying to fix both with one additional light angled awkwardly in the middle. That just creates a second key and kills the dimensionality you built in step one. Name each problem out loud if you have to. Fix them one at a time.
Step 3: Fill the Shadows With a Reflector or Fill Light
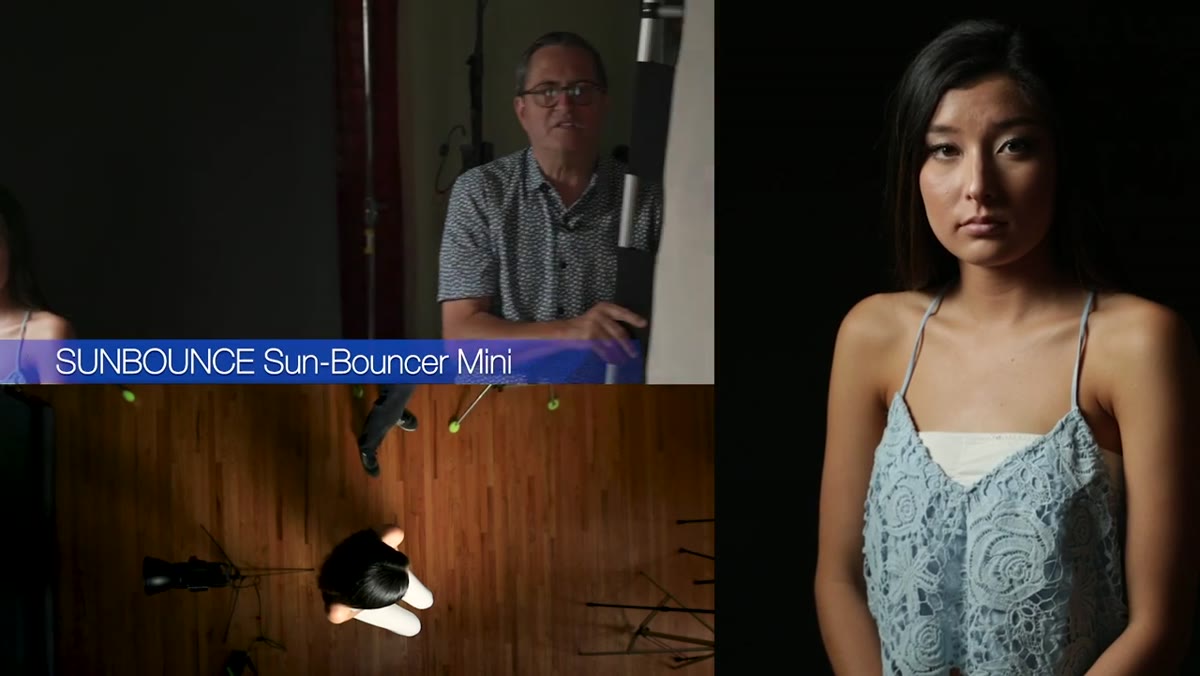 Reflector introduced on shadow side of subject
The cleanest way to open up shadow detail on the fill side is with a reflector positioned opposite the key. Slide it in until the shadow side of the face reads about one to two stops below the key side. You want to see detail in the shadows, not eliminate them entirely. Flat fill destroys depth. If you prefer a dedicated fill light rather than a reflector, treat it as a much weaker source than your key and avoid pointing it directly at the face. Feather it toward the background slightly so it softens gradually rather than punching in a competing highlight.
Reflector introduced on shadow side of subject
The cleanest way to open up shadow detail on the fill side is with a reflector positioned opposite the key. Slide it in until the shadow side of the face reads about one to two stops below the key side. You want to see detail in the shadows, not eliminate them entirely. Flat fill destroys depth. If you prefer a dedicated fill light rather than a reflector, treat it as a much weaker source than your key and avoid pointing it directly at the face. Feather it toward the background slightly so it softens gradually rather than punching in a competing highlight.
Step 4: Add a Rim Light to Separate Subject From Background
 Rim light switched on, separating subject’s shoulder from background
Separation is the functional reason most photographers add a third light, and the rim light is the most efficient tool for it. Position it behind and to the side of your subject, aimed back toward the camera at roughly a 45-degree angle. You want it to catch the edge of the shoulder, hair, and jaw without spilling onto the face. Keep it anywhere from half a stop to a full stop brighter than your key, depending on how dramatic you want the edge. On darker hair or clothing, you may need to push it a little harder. On lighter subjects, back off quickly or it will overexpose the edge and look artificial.
Rim light switched on, separating subject’s shoulder from background
Separation is the functional reason most photographers add a third light, and the rim light is the most efficient tool for it. Position it behind and to the side of your subject, aimed back toward the camera at roughly a 45-degree angle. You want it to catch the edge of the shoulder, hair, and jaw without spilling onto the face. Keep it anywhere from half a stop to a full stop brighter than your key, depending on how dramatic you want the edge. On darker hair or clothing, you may need to push it a little harder. On lighter subjects, back off quickly or it will overexpose the edge and look artificial.
Step 5: Place and Adjust the Background Light
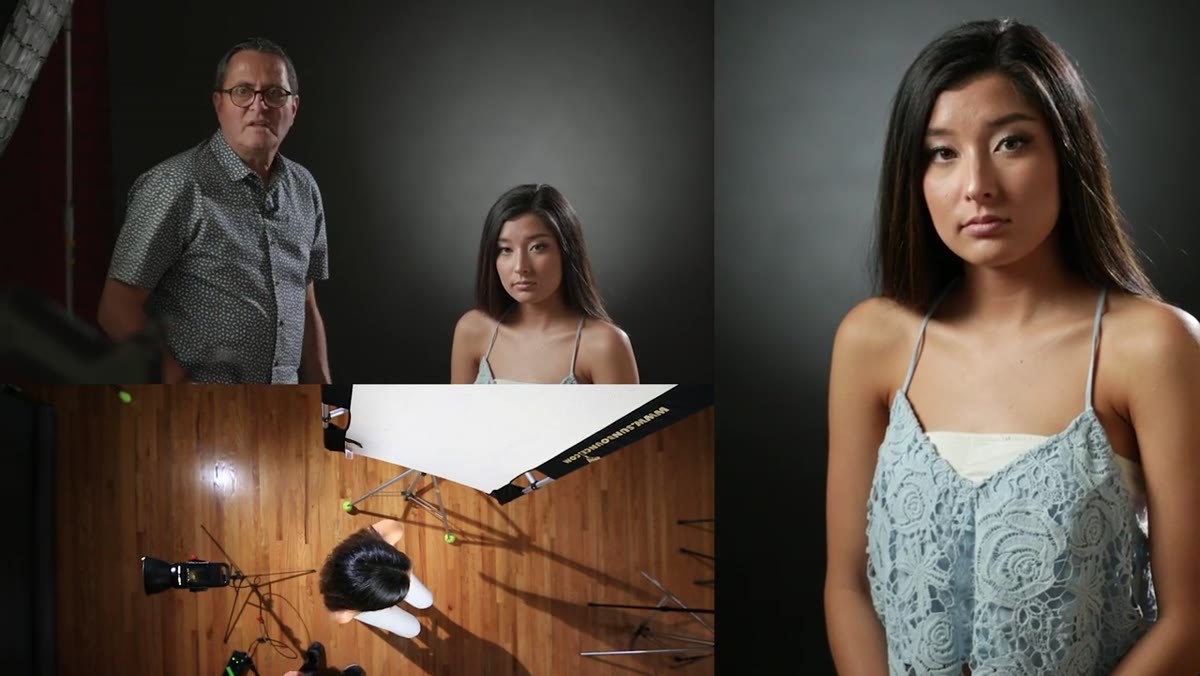 Background light positioned and adjusted behind subject
The background light controls depth and mood in a way that nothing else in the setup can replicate. JP outlines three basic approaches: panning the light in from the side for a directional gradient, placing it low on the floor so it rakes upward behind the subject, or positioning it directly behind the subject for a spotlight effect. Each creates a genuinely different emotional register in the image. The critical rule regardless of placement is that the background light should never overpower the foreground. If the background reads brighter than your subject, the eye goes to the background first, and you’ve lost control of the image. Keep it subordinate. Use it to create depth, not to compete.
Background light positioned and adjusted behind subject
The background light controls depth and mood in a way that nothing else in the setup can replicate. JP outlines three basic approaches: panning the light in from the side for a directional gradient, placing it low on the floor so it rakes upward behind the subject, or positioning it directly behind the subject for a spotlight effect. Each creates a genuinely different emotional register in the image. The critical rule regardless of placement is that the background light should never overpower the foreground. If the background reads brighter than your subject, the eye goes to the background first, and you’ve lost control of the image. Keep it subordinate. Use it to create depth, not to compete.
Step 6: Control Your Subject-to-Background Distance
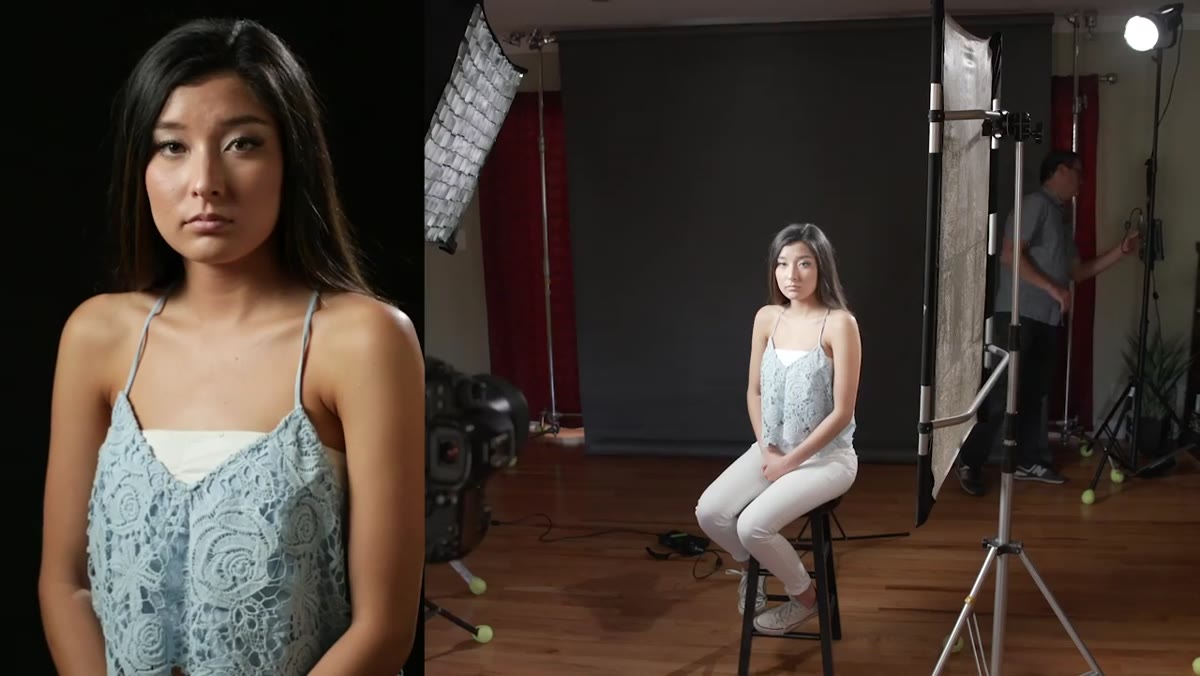
 Wide view of studio showing subject positioned away from background
Distance between your subject and the background is a variable most beginners ignore, and it matters more than any additional light you could add. The further back you push the background, the more independent control you have over it. Light spill from your key and fill won’t contaminate it as easily, and you can shape the background light more precisely without it wrapping onto your subject. There are practical limits, especially on a seamless paper where you can only walk someone back so far before they step off the edge. Lens choice is the other lever here. Longer focal lengths compress the scene and make a smaller background cover the frame, but they push your camera position further back. In a tight studio, a wider lens keeps you closer to your subject and gives you more working space.
Wide view of studio showing subject positioned away from background
Distance between your subject and the background is a variable most beginners ignore, and it matters more than any additional light you could add. The further back you push the background, the more independent control you have over it. Light spill from your key and fill won’t contaminate it as easily, and you can shape the background light more precisely without it wrapping onto your subject. There are practical limits, especially on a seamless paper where you can only walk someone back so far before they step off the edge. Lens choice is the other lever here. Longer focal lengths compress the scene and make a smaller background cover the frame, but they push your camera position further back. In a tight studio, a wider lens keeps you closer to your subject and gives you more working space.
What I’d Add From My Own Studio Practice
JP’s framework is the right one, and I use a version of it on nearly every portrait and interview setup I run. The one thing I’d layer on top is metering each light individually before you combine them. I keep a Sekonic incident meter on the stand next to my camera, and before I fire all three sources together, I walk the meter to the subject’s face and read each light in isolation. Key, then fill, then rim. It takes four minutes and it’s saved me from ratio disasters more times than I can count. I keep a lighting journal where I sketch every setup I use on set, and the single-light readings always go in the margin next to the diagram. When something isn’t working, those numbers tell me exactly where the problem is before I start moving stands.
Three-point lighting isn’t a formula you apply mechanically. It’s a logical sequence: establish the key, manage the shadows, create separation, add depth, control your environment. Once that sequence is in your muscle memory, you can adapt it to any space, any subject, any gear. That’s what makes it the foundation of studio portraiture rather than just one technique among many.
Watch the full tutorial on YouTube and follow along with JP Morgan’s demonstration. Seeing it built in real time, light by light, is the fastest way to internalize the logic.
Comments
Leave a Comment