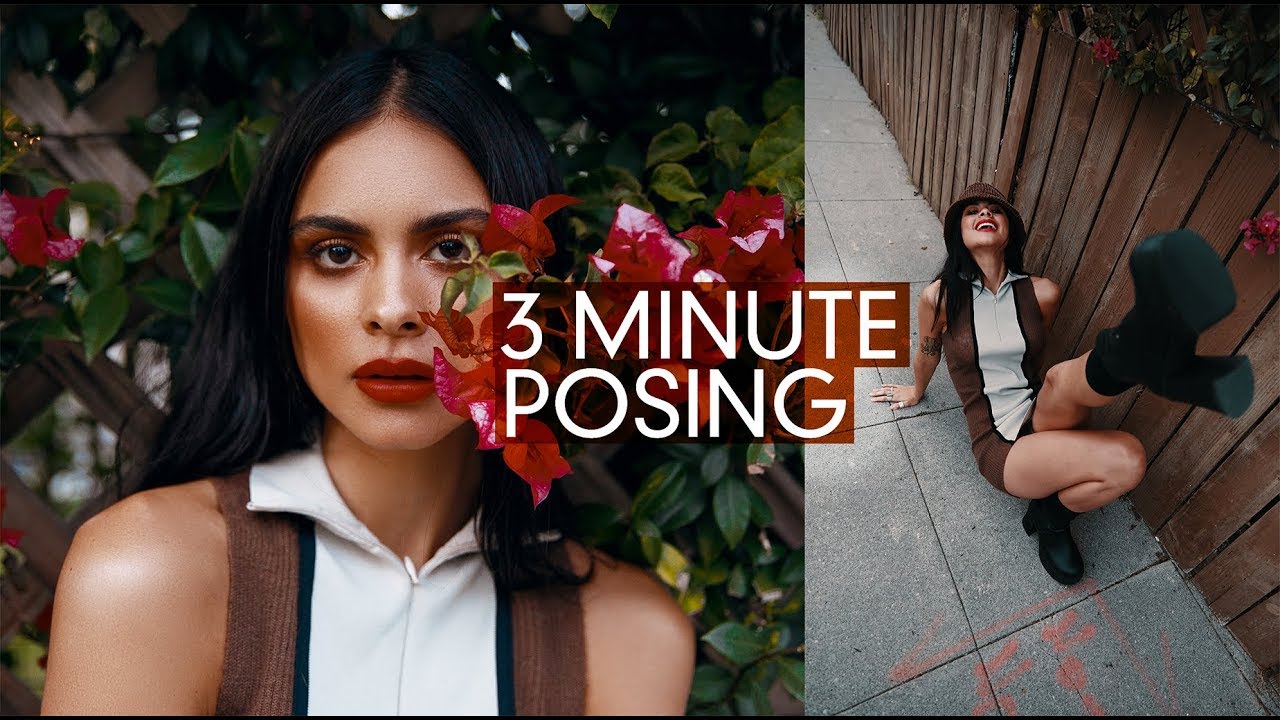
Most of my work happens in a controlled environment. I know where every light is before the model walks in. I have tape on the floor marking positions, a lighting diagram sketched the night before, and a shot list the client approved two weeks ago. That structure is a professional asset, and I’d defend it to anyone. But it also creates a blind spot: the ability to think fast, move fast, and direct a model without a plan to lean on.
That gap is exactly what this Jessica Kobeissi tutorial addresses. Watch the full tutorial on YouTube - it runs about six minutes and is worth every second. The premise is a self-imposed three-minute time limit per location, working with a professional model in ordinary outdoor settings using nothing but a camera and instinct. Kobeissi shoots alongside a second photographer, Flannery Underwood, and the friendly competition is instructive on its own. Watching two experienced shooters problem-solve the same space in different ways shows you more about creative direction than most workshops ever will.
The gear is unflashy on purpose. Both photographers run Canon Mark IV bodies with 24-70mm lenses. No off-camera flash, no reflectors, no assistants. If you work in studio, this is the stripping-away exercise that reminds you what your eye can actually do.
Step 1: Choose a Location for Its Texture, Not Its Beauty
 Photographer framing a textured blue wall with leaves
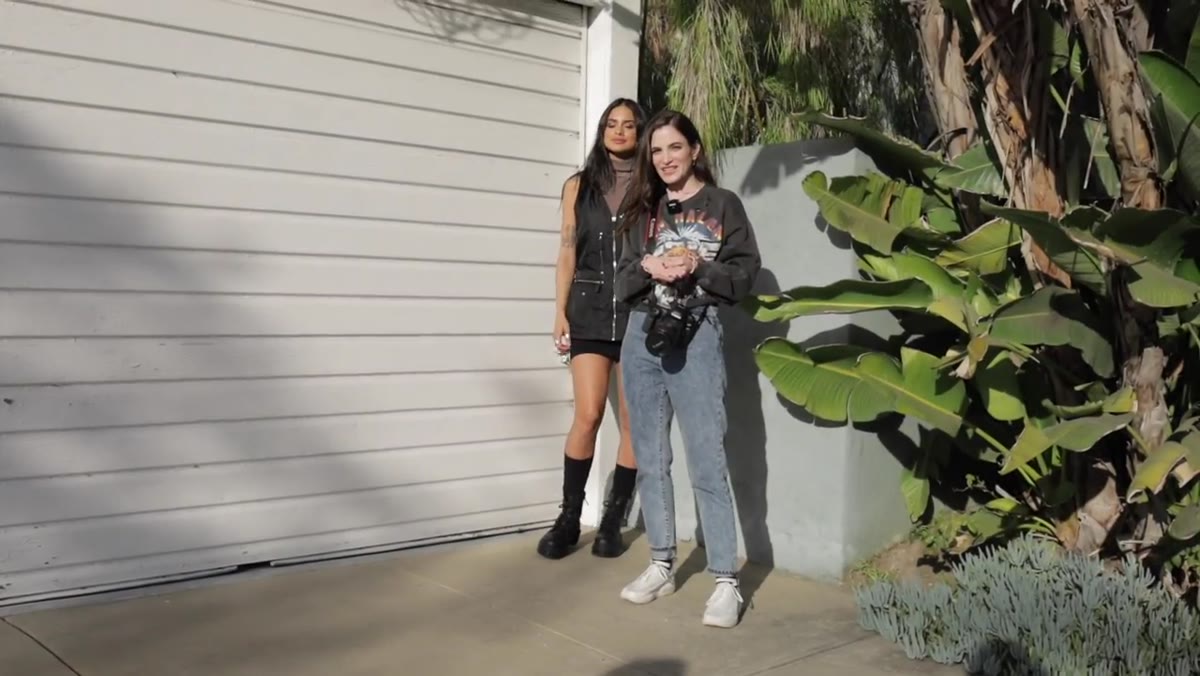
The first location is a blue wall with foliage breaking into the frame from one side. Kobeissi makes an offhand comment about how it functions like a paid studio backdrop, except it costs nothing. That observation contains real craft. She is not picking a pretty spot, she is picking a location with two visual planes: a flat, even background texture and an organic element that adds depth. In a controlled studio, I do the same thing by hanging a seamless and positioning a plant or a reflective floor element to create separation. The logic is identical outdoors, it just requires you to see it first.
Photographer framing a textured blue wall with leaves
The first location is a blue wall with foliage breaking into the frame from one side. Kobeissi makes an offhand comment about how it functions like a paid studio backdrop, except it costs nothing. That observation contains real craft. She is not picking a pretty spot, she is picking a location with two visual planes: a flat, even background texture and an organic element that adds depth. In a controlled studio, I do the same thing by hanging a seamless and positioning a plant or a reflective floor element to create separation. The logic is identical outdoors, it just requires you to see it first.
When you scout fast, train your eye to look for contrast between elements rather than beauty in isolation. A wall alone is flat. A wall plus interrupting foliage creates foreground, midground, and background inside a single frame, which gives you compositional options even before the model arrives.
Step 2: Start Wide, Then Compress
 Photographer stepping back to capture full-length pose
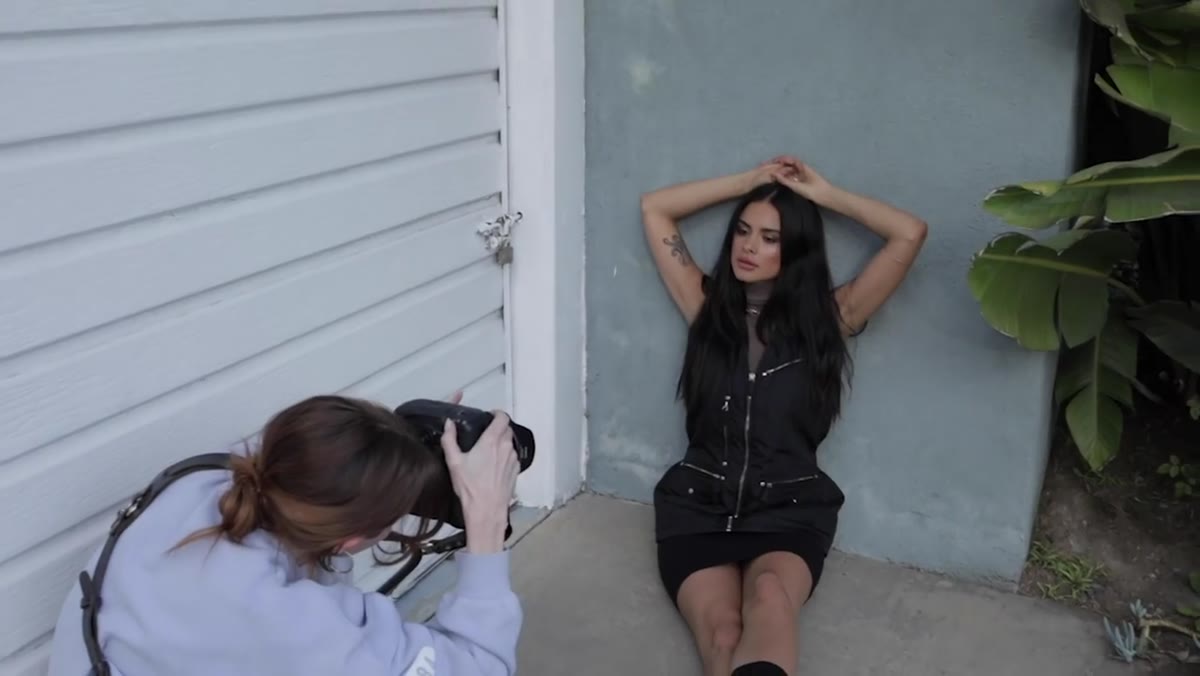
Both photographers independently arrive at the same instinct: begin with wide compositions and tighten from there. This is not just an aesthetic choice, it is an information-gathering strategy. Wide shots show you how the model relates to the whole space. They reveal if a pose that looks good from the waist up is creating a problem at the feet. They give the model room to move without penalty, which matters early in a session when both of you are still calibrating.
Photographer stepping back to capture full-length pose
Both photographers independently arrive at the same instinct: begin with wide compositions and tighten from there. This is not just an aesthetic choice, it is an information-gathering strategy. Wide shots show you how the model relates to the whole space. They reveal if a pose that looks good from the waist up is creating a problem at the feet. They give the model room to move without penalty, which matters early in a session when both of you are still calibrating.
On a 24-70, starting at the wide end and walking your zoom toward 70mm as you get closer is a simple mechanical way to enforce this habit. You will naturally move from environmental portraits to three-quarter shots to tight headshots, and you will have frames at every focal length worth keeping. I do something similar in studio when I run test shots: I bracket my crop, not just my exposure.
Step 3: Give the Model a Direction Word, Not a Position
 Photographer gesturing loosely while model adjusts shoulder
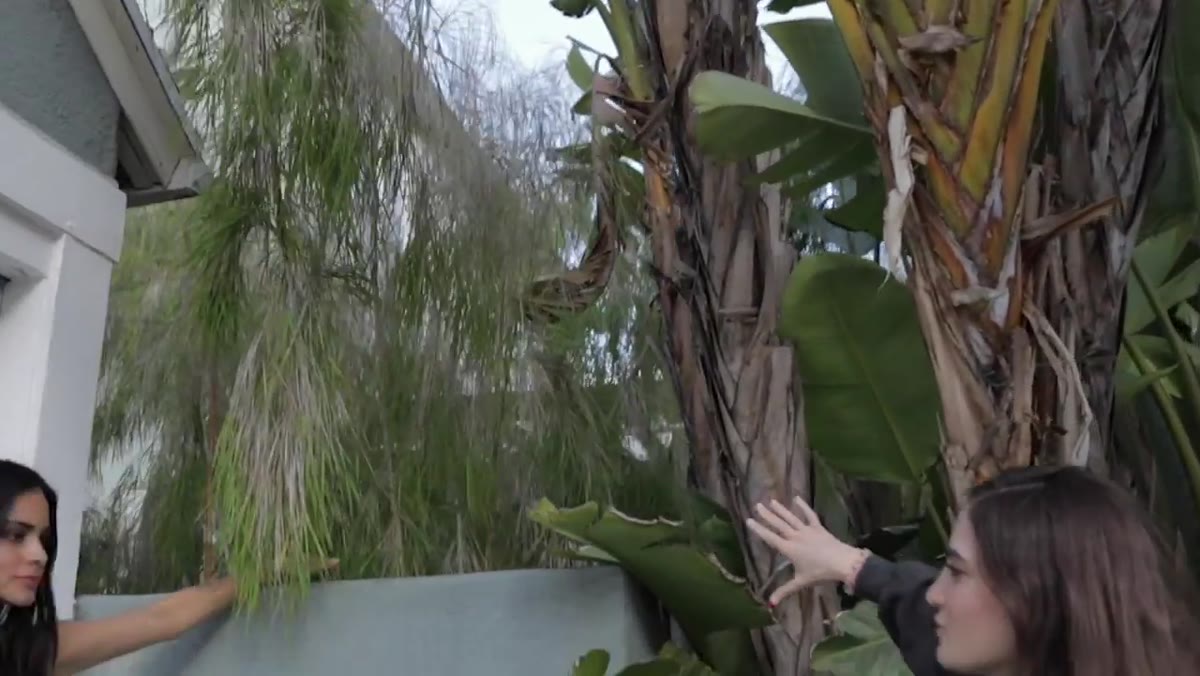
Kobeissi’s verbal direction during the timed shoot is deliberately loose. She invokes a fashion brand as a mood reference and tells the model to keep moving. She is not saying “put your left hand here.” She is giving the model a feeling and letting trained instinct fill in the specifics. This is the right approach with an experienced model, and it keeps the energy from going stiff.
Photographer gesturing loosely while model adjusts shoulder
Kobeissi’s verbal direction during the timed shoot is deliberately loose. She invokes a fashion brand as a mood reference and tells the model to keep moving. She is not saying “put your left hand here.” She is giving the model a feeling and letting trained instinct fill in the specifics. This is the right approach with an experienced model, and it keeps the energy from going stiff.
The one specific adjustment she calls out is the shoulder, asking the model to push it slightly more toward camera. That single cue shows you her actual workflow: mood-first, then one precise physical correction when something close to right needs refining. If you spend your whole session calling out specific body positions, you will get technically correct poses that look like they were assembled from a manual. If you only give mood, you risk getting something loose but unfocused. The combination of broad direction followed by one sharp correction is the technique.
Step 4: Use Props as Blocking Tools, Not Decorations
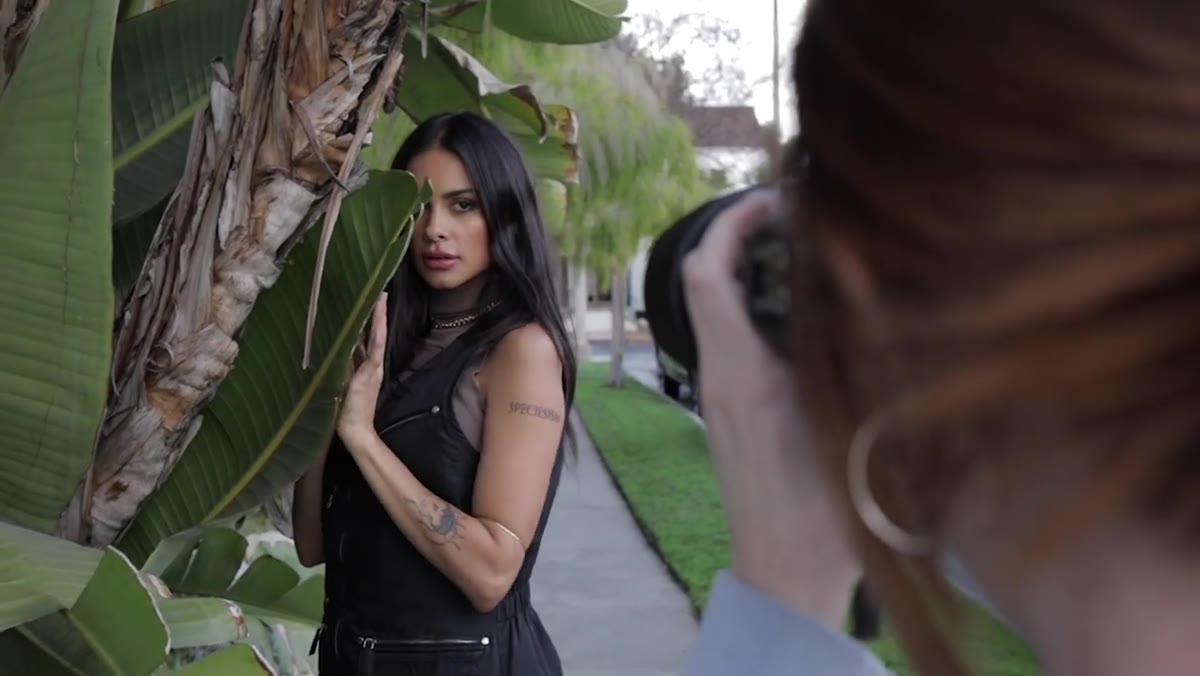 Model holding a leaf partially across her face
At one point the model is directed to hold a leaf so that it partially obscures her face. This looks like a spontaneous, playful choice, and it probably was, but it is solving a compositional problem at the same time. Partial occlusion creates mystery, draws the eye to what is revealed, and breaks the symmetry that makes portraits feel static. In studio I accomplish this with fabric, shadow, or negative fill. Outdoors, foliage works the same way if you stop thinking of it as background and start thinking of it as a posing tool the model can actually hold.
Model holding a leaf partially across her face
At one point the model is directed to hold a leaf so that it partially obscures her face. This looks like a spontaneous, playful choice, and it probably was, but it is solving a compositional problem at the same time. Partial occlusion creates mystery, draws the eye to what is revealed, and breaks the symmetry that makes portraits feel static. In studio I accomplish this with fabric, shadow, or negative fill. Outdoors, foliage works the same way if you stop thinking of it as background and start thinking of it as a posing tool the model can actually hold.
The instinct to involve a prop physically, rather than just letting it exist behind the subject, is a skill worth developing deliberately. Ask yourself whether the model can touch, hold, lean against, or partially obscure themselves with whatever is nearby. The answer changes your shot list immediately.
Step 5: Change Locations Without Losing Momentum
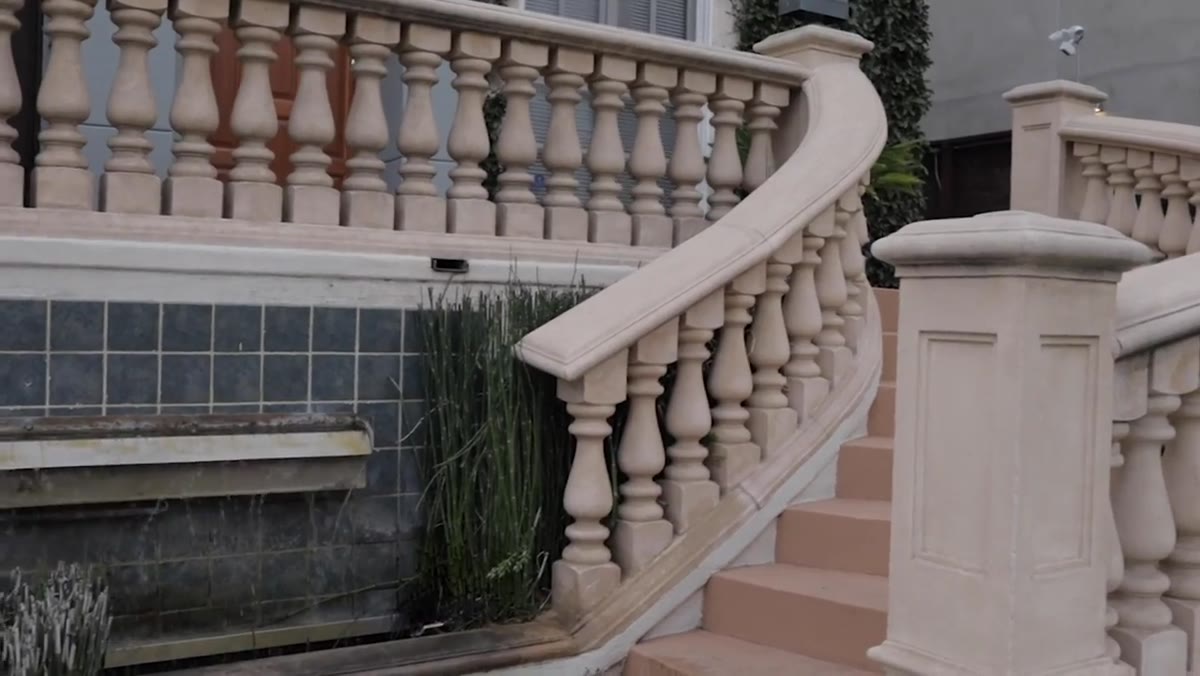 Both photographers moving to staircase with waterfall
The transition to the second location, a staircase beside a small waterfall, happens fast and without ceremony. There is a brief comment about the architecture and then the clock restarts. What Kobeissi demonstrates here is the discipline of not overthinking the reset. She arrives, reads the geometry (vertical staircase, central water feature, strong lines), and applies the same wide-to-tight strategy she used at the first location.
Both photographers moving to staircase with waterfall
The transition to the second location, a staircase beside a small waterfall, happens fast and without ceremony. There is a brief comment about the architecture and then the clock restarts. What Kobeissi demonstrates here is the discipline of not overthinking the reset. She arrives, reads the geometry (vertical staircase, central water feature, strong lines), and applies the same wide-to-tight strategy she used at the first location.
The lesson is that your approach at a new location should not be a blank slate. You carry your working method with you. Wide first, mood direction, one physical correction, involve the environment directly. When I move between setups in studio, I do not re-evaluate my entire philosophy - I apply the same recipe to new ingredients. That consistency is what makes you fast.
What This Looks Like With Studio Lighting
Kobeissi’s natural light instincts translate directly to controlled environments. When she chooses a textured wall with an organic interruption, she is building what I would call a two-source composition: the wall reads like a large soft box at camera distance, and the foliage acts as a practical element adding shape. In studio you can recreate this deliberately: a large Octa as your primary fill, a strip light or a hard grid behind the model aimed at a textured flat, and a practical prop the model can interact with. The posing direction stays identical. The model still needs a mood word, still needs one sharp physical correction, still needs permission to keep moving between frames.
The three-minute constraint is worth borrowing as a studio exercise. Set a timer and shoot an entire setup before it goes off. You will make faster decisions, give cleaner direction, and stop second-guessing frames that are already working.
The single most transferable idea from this tutorial is that confident direction and fast execution are not shortcuts, they are the conditions under which good posing actually happens. Hesitation reads in the model’s body. When you move decisively and give direction with conviction, the model responds in kind.
Watch the full tutorial on YouTube and pay particular attention to the moments between Kobeissi’s verbal cues. That silence, and what the model does inside it, is the whole lesson.
Comments (2)
Wow, I had no idea you could do this. Mind blown.
This is going in my reference folder. Incredibly useful.
Leave a Comment