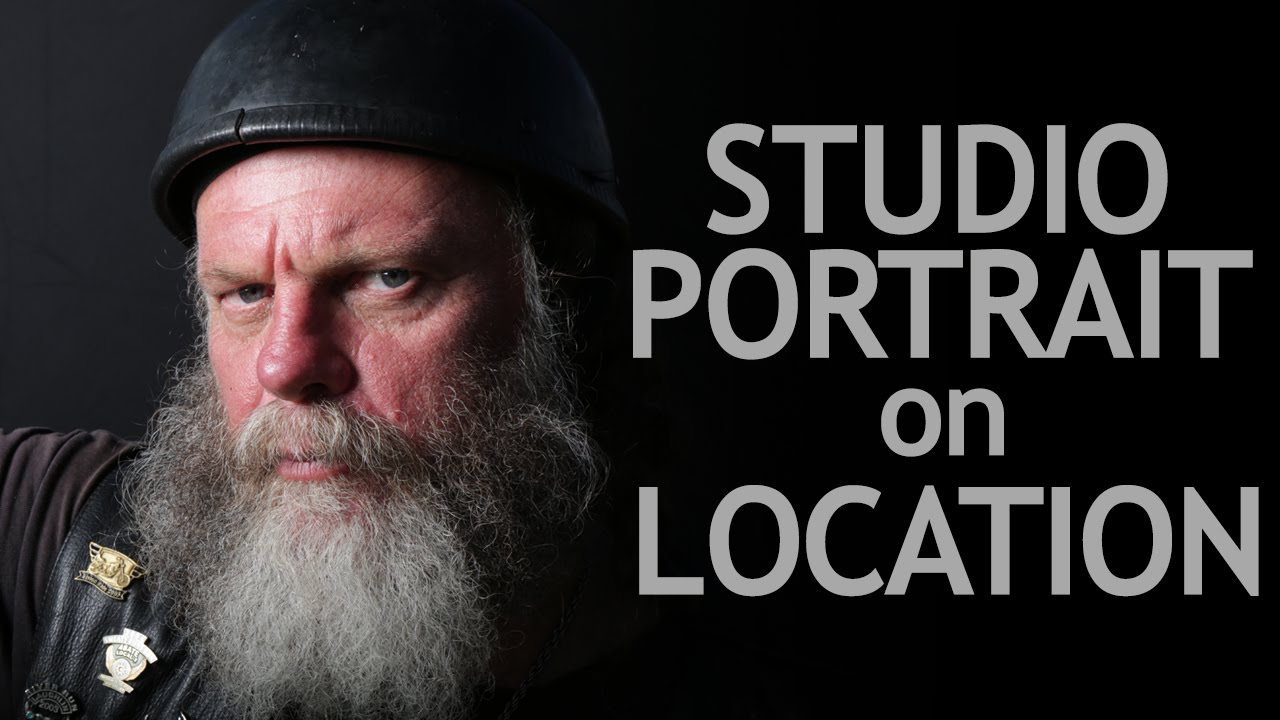
There’s a specific kind of panic that hits when a client wants “that clean studio look” and the only location available is a sun-blasted parking lot at noon. I’ve been there more times than I’d like to admit. Over the years I’ve developed my own systems for it, but I keep sending assistants and newer photographers to this particular tutorial because Jay P. Morgan at The Slanted Lens demonstrates the core technique more clearly than I’ve seen it explained anywhere else. Watch the full tutorial on YouTube before reading through the breakdown below, or follow the steps first and then watch. Either way works.
The fundamental problem this technique solves is one of control. In a studio, you are the only source of light in the room. Outside, the sun is doing whatever it wants, and it has more power than any strobe you own. The goal here isn’t to fight the sun. The goal is to use your camera’s settings to make the sun irrelevant, so your strobe becomes the only light that matters. Once you understand that framing, the whole approach clicks into place.
What makes this technique genuinely useful for commercial and editorial work is the speed of it. When I’m on location shooting a corporate portrait or an editorial feature, I don’t have an hour to construct a setup. This method can be dialed in within ten minutes if you’ve done it a few times. It’s one of those techniques I sketched into my lighting journal after the first time I tested it, and it’s come back out of that journal dozens of times since.
Step 1: Choose a Portable Background That Does Double Duty
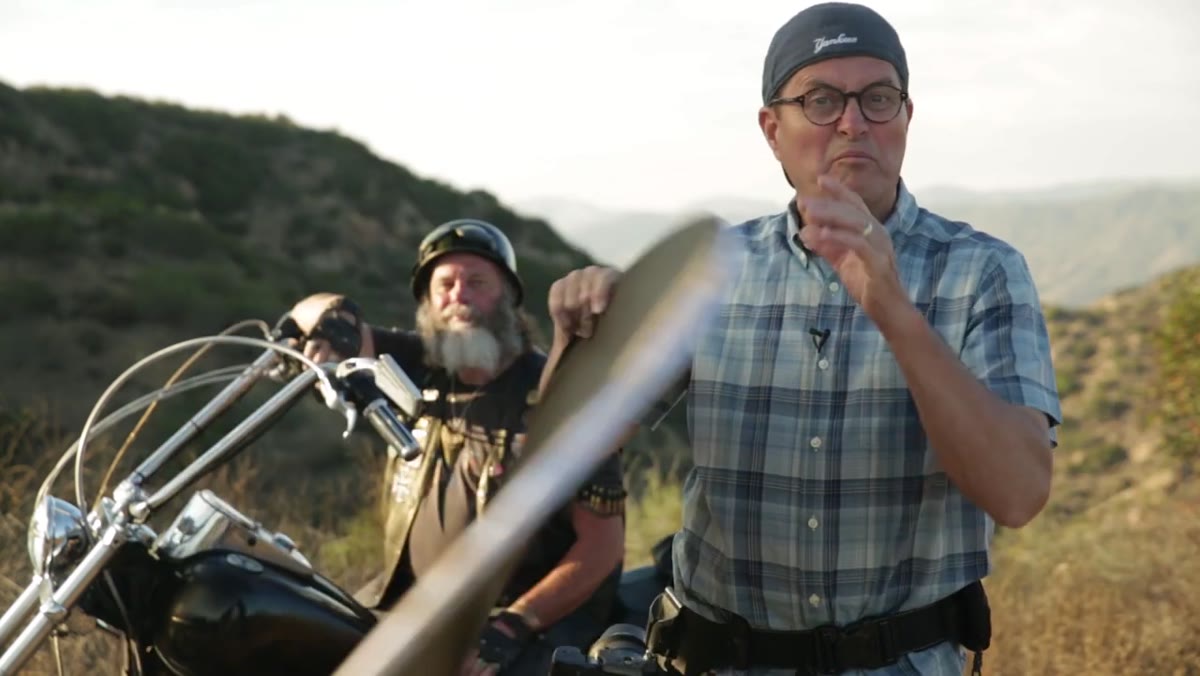 Jay holding a 7-in-1 reflector showing black and white sides
The gear here is simpler than you might expect. Morgan uses a Photoflex 7-in-1 reflector, specifically because it has a white side and a black side. That’s the entire background kit. For editorial portraits especially, a white background reads as clean and professional, and a black background gives you dramatic contrast without hauling a full backdrop stand system to the location. If you’re doing executive portraits or on-location editorial work, this single piece of gear covers both looks. I keep two of these in every location kit I pack, and I’ve been doing that since the first time I had to explain to a client why their “studio portrait” had a gas station in the background.
Jay holding a 7-in-1 reflector showing black and white sides
The gear here is simpler than you might expect. Morgan uses a Photoflex 7-in-1 reflector, specifically because it has a white side and a black side. That’s the entire background kit. For editorial portraits especially, a white background reads as clean and professional, and a black background gives you dramatic contrast without hauling a full backdrop stand system to the location. If you’re doing executive portraits or on-location editorial work, this single piece of gear covers both looks. I keep two of these in every location kit I pack, and I’ve been doing that since the first time I had to explain to a client why their “studio portrait” had a gas station in the background.
Step 2: Set ISO to Its Lowest Native Value
 Camera settings display showing ISO 100
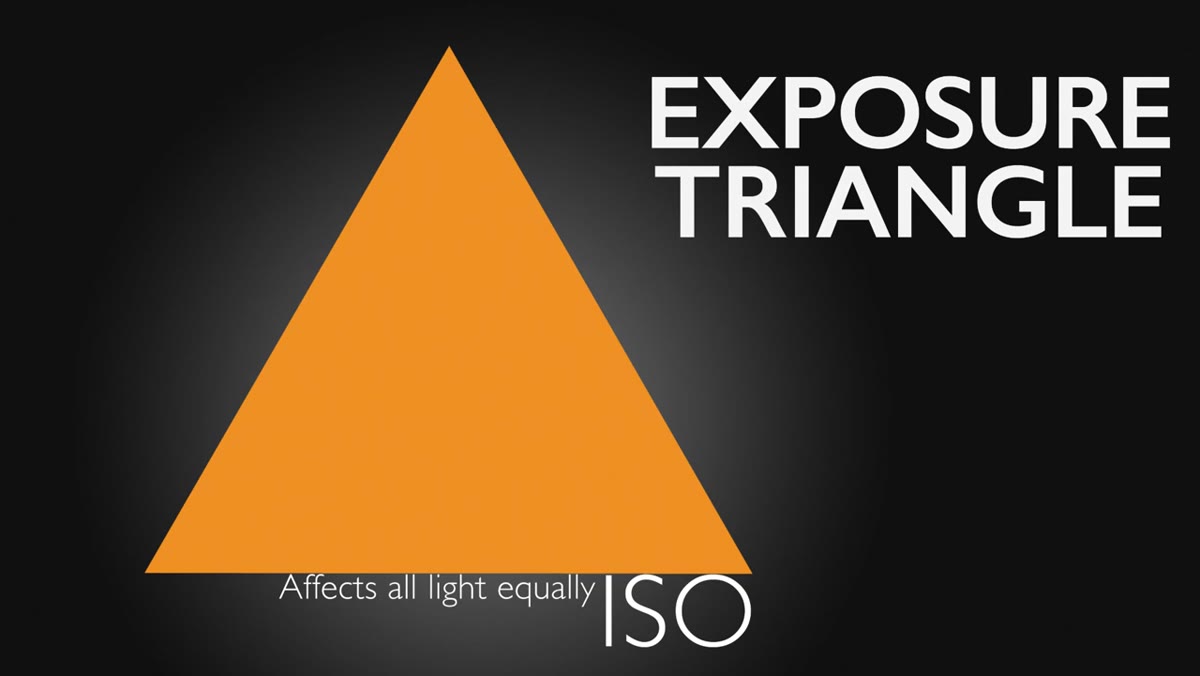
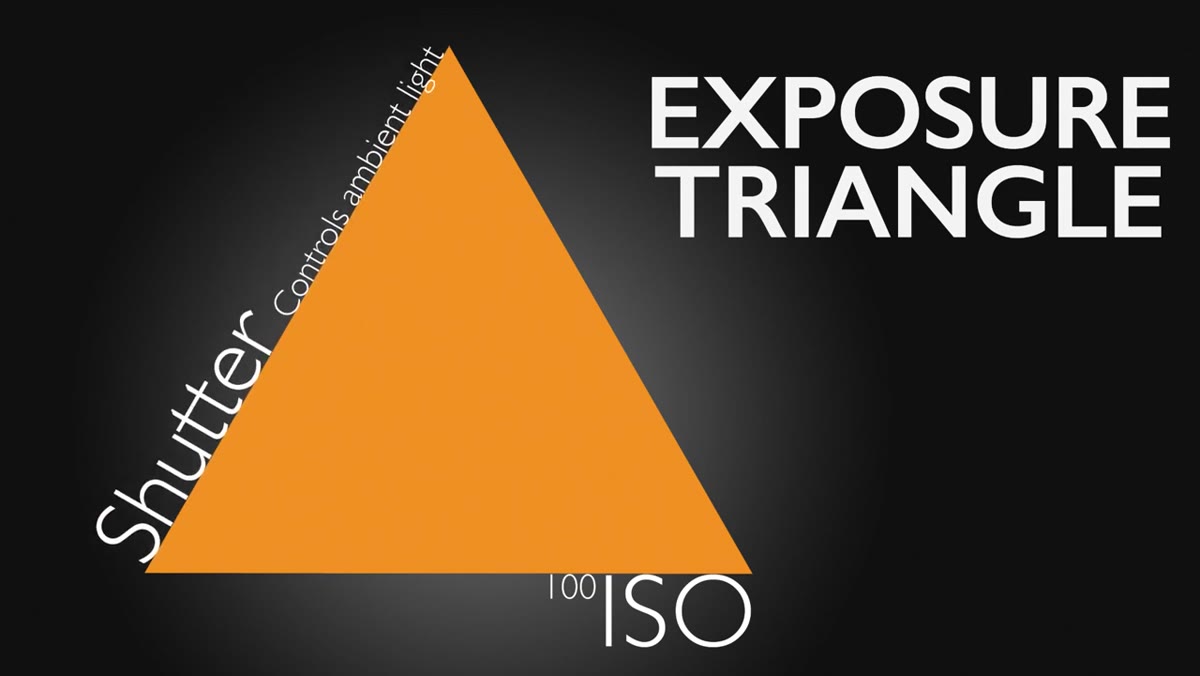
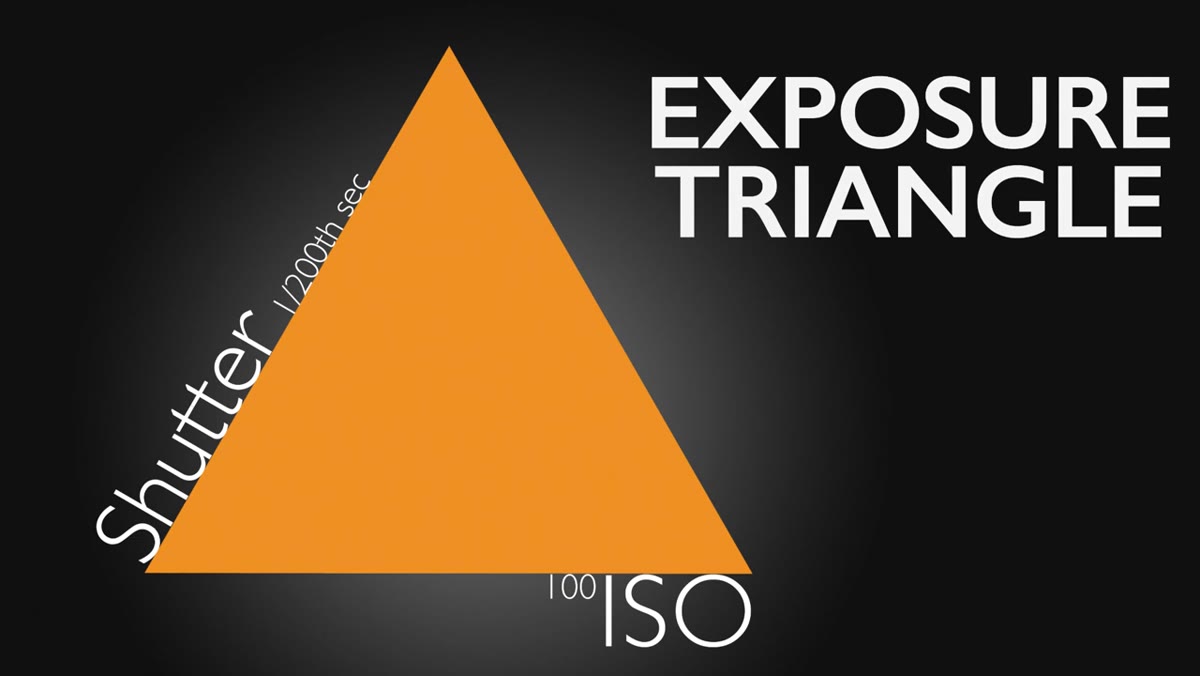
Start by setting your ISO to 100. Morgan is explicit about why: ISO affects both ambient light and strobe output equally. Raising ISO to help your strobe also brings the ambient light back up with it, which defeats the purpose. Keeping ISO at 100 locks it out of the equation. It also gives you the cleanest image quality, which matters when you’re delivering to a magazine or beauty client who will be looking at this at full resolution. ISO 100 is your baseline and it doesn’t move.
Camera settings display showing ISO 100
Start by setting your ISO to 100. Morgan is explicit about why: ISO affects both ambient light and strobe output equally. Raising ISO to help your strobe also brings the ambient light back up with it, which defeats the purpose. Keeping ISO at 100 locks it out of the equation. It also gives you the cleanest image quality, which matters when you’re delivering to a magazine or beauty client who will be looking at this at full resolution. ISO 100 is your baseline and it doesn’t move.
Step 3: Push Shutter Speed to Sync Limit
 Shutter speed being set to 1/200th of a second
This is where you actually start suppressing ambient light. Set your shutter speed to the fastest sync speed your camera body allows before it starts to clip the strobe. On most Canon bodies that’s 1/200th of a second. Nikon tends to allow 1/250th. Check your camera’s manual if you’re unsure. A faster shutter cuts the amount of ambient light reaching your sensor during the exposure, without affecting the strobe output at all, because a strobe fires faster than any mechanical shutter. This single setting change can make a significant dent in bright outdoor conditions before you’ve touched a single light.
Shutter speed being set to 1/200th of a second
This is where you actually start suppressing ambient light. Set your shutter speed to the fastest sync speed your camera body allows before it starts to clip the strobe. On most Canon bodies that’s 1/200th of a second. Nikon tends to allow 1/250th. Check your camera’s manual if you’re unsure. A faster shutter cuts the amount of ambient light reaching your sensor during the exposure, without affecting the strobe output at all, because a strobe fires faster than any mechanical shutter. This single setting change can make a significant dent in bright outdoor conditions before you’ve touched a single light.
Step 4: Meter the Strobe and Set Aperture
 Using a strobe meter to take a reading on location
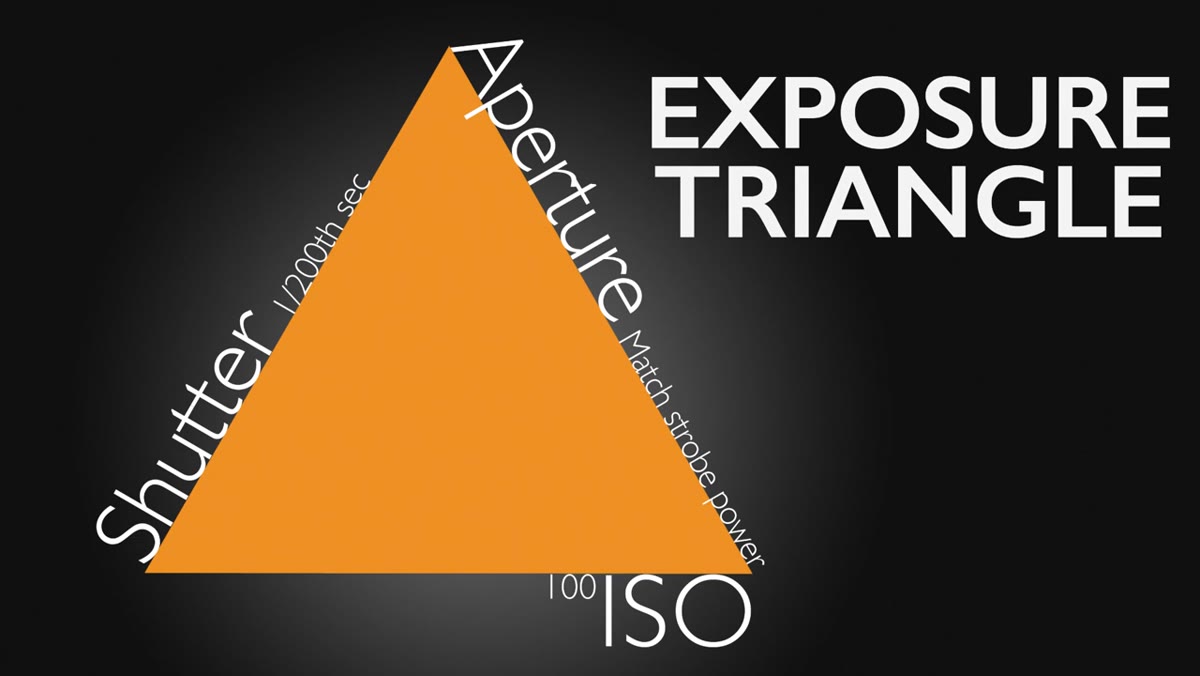
With ISO locked and shutter at sync speed, put your strobe on full power and take a strobe meter reading. Morgan notes this will typically come in two to three stops brighter than the ambient exposure for those same settings. Set your aperture to match the strobe meter reading. That combination, low ISO, fast shutter, and a narrower aperture driven by a full-power strobe, should effectively crush the ambient. The sun is still out there. It’s just too underexposed to register.
Using a strobe meter to take a reading on location
With ISO locked and shutter at sync speed, put your strobe on full power and take a strobe meter reading. Morgan notes this will typically come in two to three stops brighter than the ambient exposure for those same settings. Set your aperture to match the strobe meter reading. That combination, low ISO, fast shutter, and a narrower aperture driven by a full-power strobe, should effectively crush the ambient. The sun is still out there. It’s just too underexposed to register.
Step 5: Verify With a No-Strobe Test Frame
 Test shot showing near-black frame with strobes off
Before you bring your subject into the frame, fire a test shot with the strobes turned off. At 100 ISO, 1/200th, and the aperture set to your strobe meter reading, you should get a frame that is nearly black. If you’re still seeing some ambient bleed, especially on your subject, a translucent disc held just out of frame can cut that remaining light. If the background is still picking up ambient, this is the moment to introduce the black side of your reflector behind the subject. That combination of fast settings and a black background eliminates almost any ambient intrusion.
Test shot showing near-black frame with strobes off
Before you bring your subject into the frame, fire a test shot with the strobes turned off. At 100 ISO, 1/200th, and the aperture set to your strobe meter reading, you should get a frame that is nearly black. If you’re still seeing some ambient bleed, especially on your subject, a translucent disc held just out of frame can cut that remaining light. If the background is still picking up ambient, this is the moment to introduce the black side of your reflector behind the subject. That combination of fast settings and a black background eliminates almost any ambient intrusion.
Step 6: Position the Strobe for Dramatic One-Light Falloff
 Softbox positioned high and angled behind the subject
Morgan positions his softbox tilted upward and pulled slightly back and behind the subject rather than directly beside them. That positioning creates a light that wraps around the face with a natural falloff rather than a flat side-lit look. It’s a subtle difference in placement but a large difference in mood. This is the same logic behind the classic Rembrandt and loop lighting positions that studio photographers have used for decades. One light, positioned thoughtfully, does the work of a complex multi-light setup if the angle and distance are right. I always test this on myself before the subject steps in, using a hand held up near my face to preview where the shadow falls.
Softbox positioned high and angled behind the subject
Morgan positions his softbox tilted upward and pulled slightly back and behind the subject rather than directly beside them. That positioning creates a light that wraps around the face with a natural falloff rather than a flat side-lit look. It’s a subtle difference in placement but a large difference in mood. This is the same logic behind the classic Rembrandt and loop lighting positions that studio photographers have used for decades. One light, positioned thoughtfully, does the work of a complex multi-light setup if the angle and distance are right. I always test this on myself before the subject steps in, using a hand held up near my face to preview where the shadow falls.
Step 7: Lens Choice - Stick to the 85-105mm Range
 Tamron 85mm lens mounted on camera body
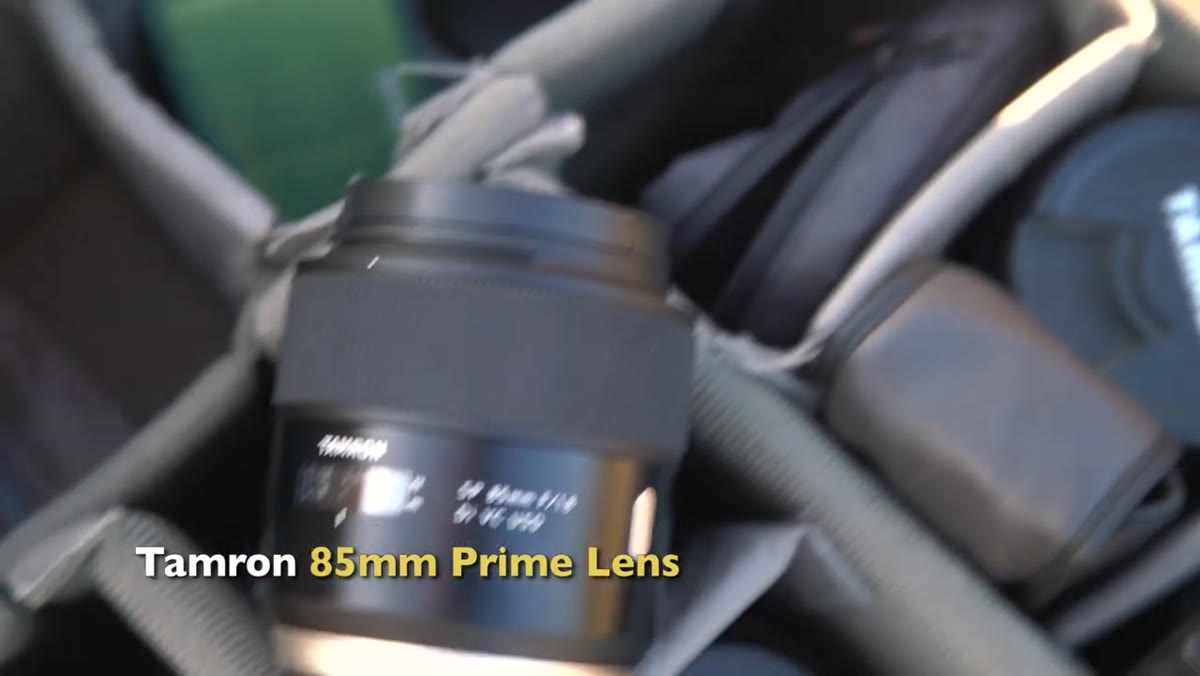
Morgan shoots this with an 85mm lens, and his reasoning holds up. The 85 to 105mm range is the standard portrait focal length because it compresses the face flattering without the distortion you get from wider lenses. It also creates a comfortable working distance between you and your subject, which matters for getting natural expressions. Depending on the subject’s face shape, he notes that something just past 100mm can sometimes be more flattering. I tend to agree. I carry both an 85mm and a 105mm to portrait shoots and make the call after the first few frames.
Tamron 85mm lens mounted on camera body
Morgan shoots this with an 85mm lens, and his reasoning holds up. The 85 to 105mm range is the standard portrait focal length because it compresses the face flattering without the distortion you get from wider lenses. It also creates a comfortable working distance between you and your subject, which matters for getting natural expressions. Depending on the subject’s face shape, he notes that something just past 100mm can sometimes be more flattering. I tend to agree. I carry both an 85mm and a 105mm to portrait shoots and make the call after the first few frames.
What I’d Add: Build a Reference Shot Without the Subject First
Every time I use this technique on a new location, I photograph the empty background before my subject steps in. That frame tells me immediately whether I’ve truly killed the ambient or whether there’s a hotspot or color cast I haven’t noticed. It’s a ten-second check that has saved me from delivering images with a muddy grey background more than once. The setup is fast enough that adding this step doesn’t cost you much, and it gives you a clean reference to compare against if something looks off during editing.
The single most important idea in this whole approach is that shutter speed controls ambient light and aperture controls strobe exposure. Understand that relationship clearly, and you can adapt it to almost any outdoor situation. Morgan’s tutorial makes that principle practical and repeatable, which is why it’s worth watching in full. Watch the full tutorial on YouTube to see the finished portraits and how the complete setup comes together in real time.
Comments (3)
Clear and practical. No fluff. Appreciate that.
Quality content like this is rare. Keep it up.
Really solid breakdown. This pairs perfectly with the gear work I've been writing about.
Leave a Comment