
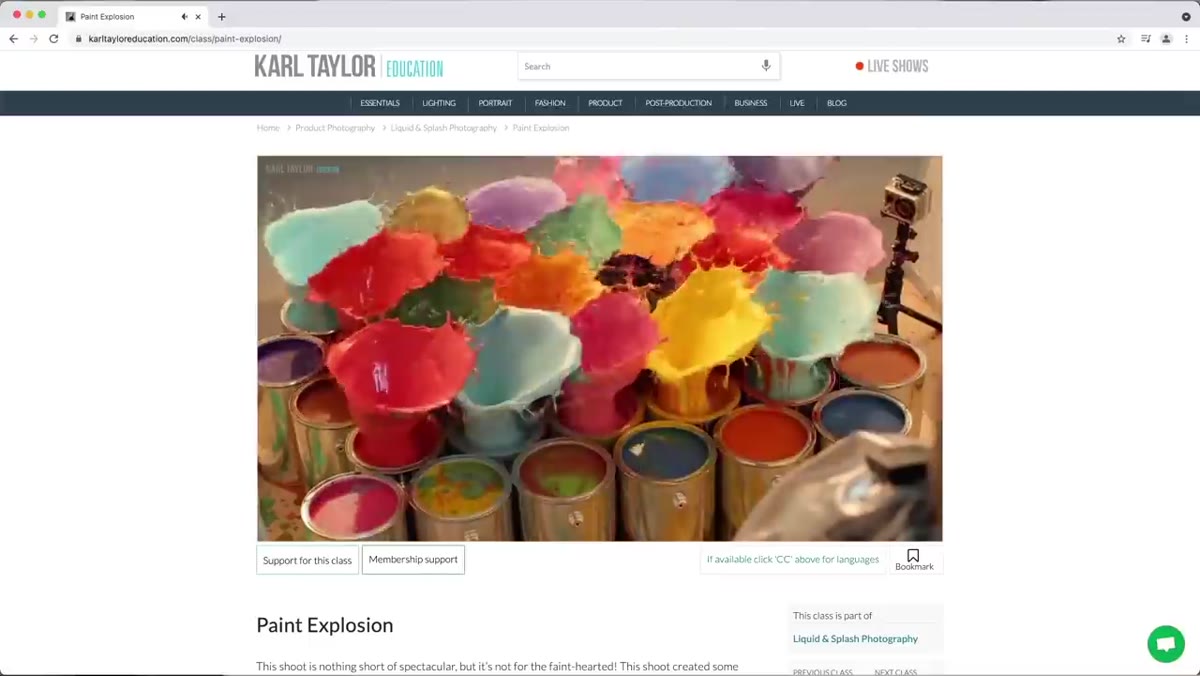
Client inquiries come in waves, and every few years a category of image starts showing up on mood boards constantly. Explosive product shots, the kind where paint or powder or liquid appears to detonate off a surface, have been on those boards for years. Every time I get a brief that gestures at that aesthetic, I go back to basics: how do you actually freeze motion that fast, how do you light something chaotic and reflective, and how do you rig a repeatable trigger mechanism without rigging anything dangerous? Carl Taylor’s paint explosion tutorial answers all three. Watch the full tutorial on YouTube before or after reading, it holds up either way.
What I respect about Carl’s approach here is that the final image looks like it required specialist equipment and a pyrotechnics team. It didn’t. It required a clear understanding of flash duration physics, a thoughtful multi-light setup, and a genuinely clever low-tech mechanical solution. That combination, high craft thinking applied to simple tools, is exactly the kind of thing I try to carry into my own commercial work. Here is the full breakdown, step by step.
Step 1: Understand What You Are Actually Freezing
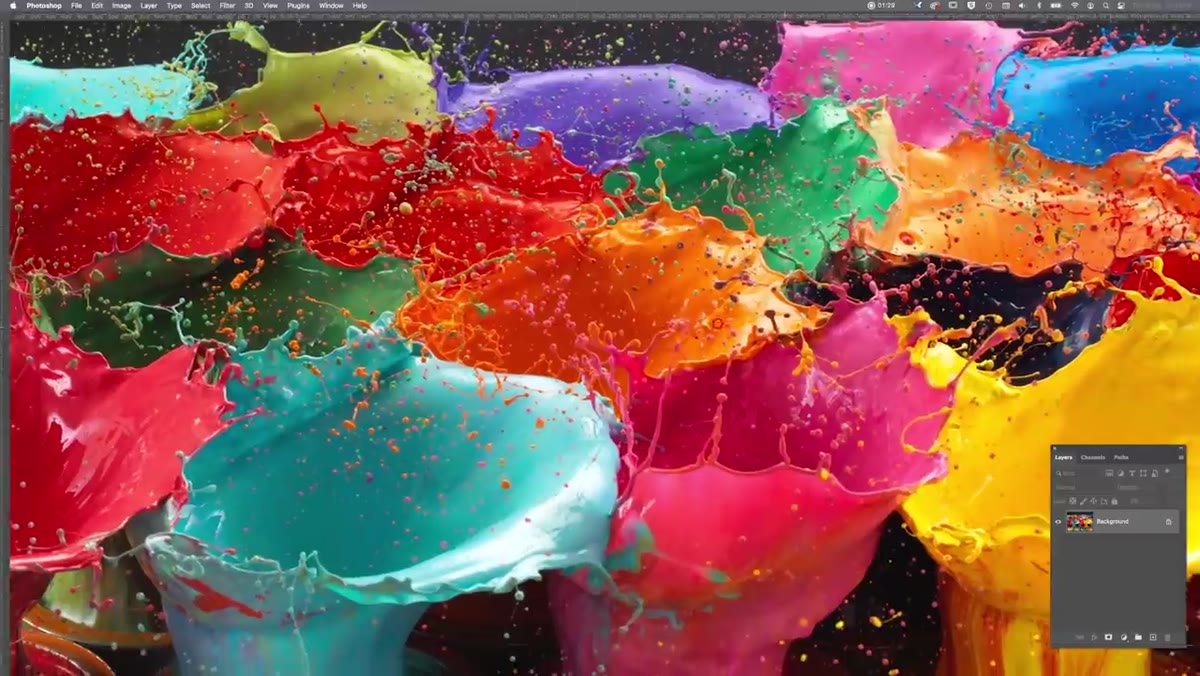 Super-fast flash duration text over the final paint explosion image
Before you touch a single light, get this into your head: you are not freezing motion with your shutter speed. At the durations paint moves, your shutter is irrelevant. What freezes the explosion is the flash duration itself. A fast flash duration, measured as t0.5 or t0.1 depending on the manufacturer, acts as the effective exposure time. The shorter the flash pulse, the sharper the movement. This is the foundational principle the entire shoot rests on.
Super-fast flash duration text over the final paint explosion image
Before you touch a single light, get this into your head: you are not freezing motion with your shutter speed. At the durations paint moves, your shutter is irrelevant. What freezes the explosion is the flash duration itself. A fast flash duration, measured as t0.5 or t0.1 depending on the manufacturer, acts as the effective exposure time. The shorter the flash pulse, the sharper the movement. This is the foundational principle the entire shoot rests on.
Carl was shooting with Elinchrom units at the time of this particular image. His solution to extracting the fastest possible flash duration from those lights was to run them at low power. Lower power settings produce shorter flash durations on most studio monolights and pack systems. Keep that in mind when you are setting up: maximum power is not your friend here.
Step 2: Build the Lighting Rig Around Scrims
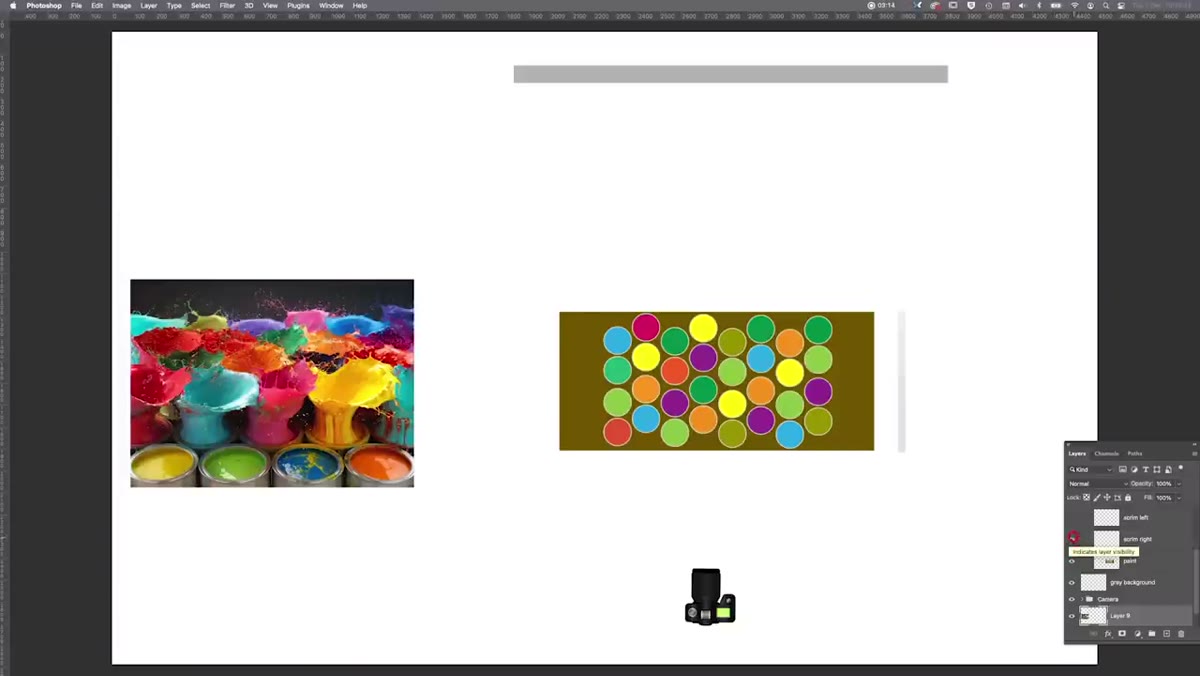 Lighting diagram showing scrim placement on left, right, and behind subject
The lighting diagram Carl walks through uses three scrims positioned around the paint pots. Two scrims flank the subject on the left and right sides. A third, larger scrim sits behind the arrangement at roughly a 45-degree angle, raised high enough that it does not block the gray background behind it. Speedlights fire through each flanking scrim.
Lighting diagram showing scrim placement on left, right, and behind subject
The lighting diagram Carl walks through uses three scrims positioned around the paint pots. Two scrims flank the subject on the left and right sides. A third, larger scrim sits behind the arrangement at roughly a 45-degree angle, raised high enough that it does not block the gray background behind it. Speedlights fire through each flanking scrim.
The reason for routing speedlights through scrims rather than shooting them bare is surface quality. Glossy paint tins reflect everything, and a bare speedlight produces a harsh, small specular highlight that reads as cheap on camera. Running the light through a scrim spreads and softens it, producing a graduated falloff across the curved surface of each tin. This is the same logic I apply when I label my lights before a shoot: if I know exactly what each source is doing, I can adjust one thing at a time. Here, the scrims are doing the quality control.
Step 3: Add Boom-Mounted Studio Lights for Fill and Supplemental Freeze
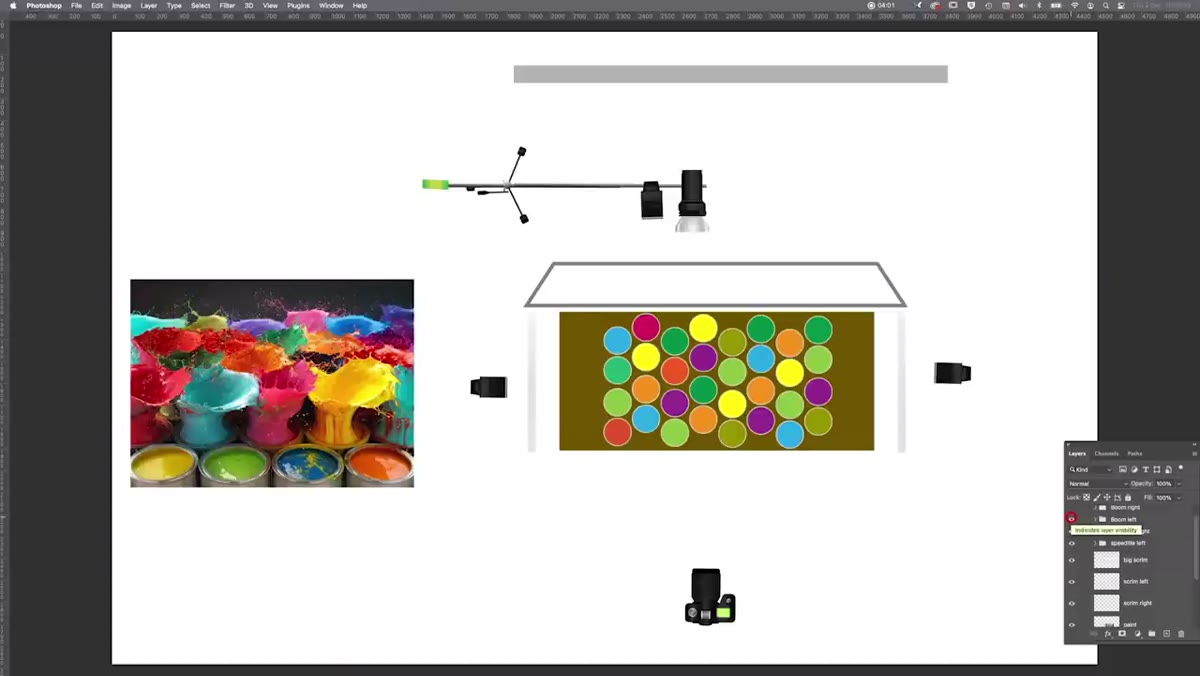 Lighting diagram showing boom arms at back left and back right positions
Behind the subject, Carl adds two boom arms, one at the back left and one at the back right. Each boom carries both a studio strobe and an additional speedlight. The studio strobes are run at low power, contributing a small amount of fill while also producing their shortest possible flash duration. The speedlights are the primary freeze mechanism.
Lighting diagram showing boom arms at back left and back right positions
Behind the subject, Carl adds two boom arms, one at the back left and one at the back right. Each boom carries both a studio strobe and an additional speedlight. The studio strobes are run at low power, contributing a small amount of fill while also producing their shortest possible flash duration. The speedlights are the primary freeze mechanism.
The doubling up of light types on each boom is worth understanding. You are not chasing more power here. You are chasing the fastest combined light output from mixed sources while maintaining enough coverage to illuminate an explosive three-dimensional subject from multiple angles simultaneously. When paint launches upward and outward in all directions, you need light coming from more than one plane or large sections of the explosion will fall into shadow.
Step 4: Choose the Right Background and Surface
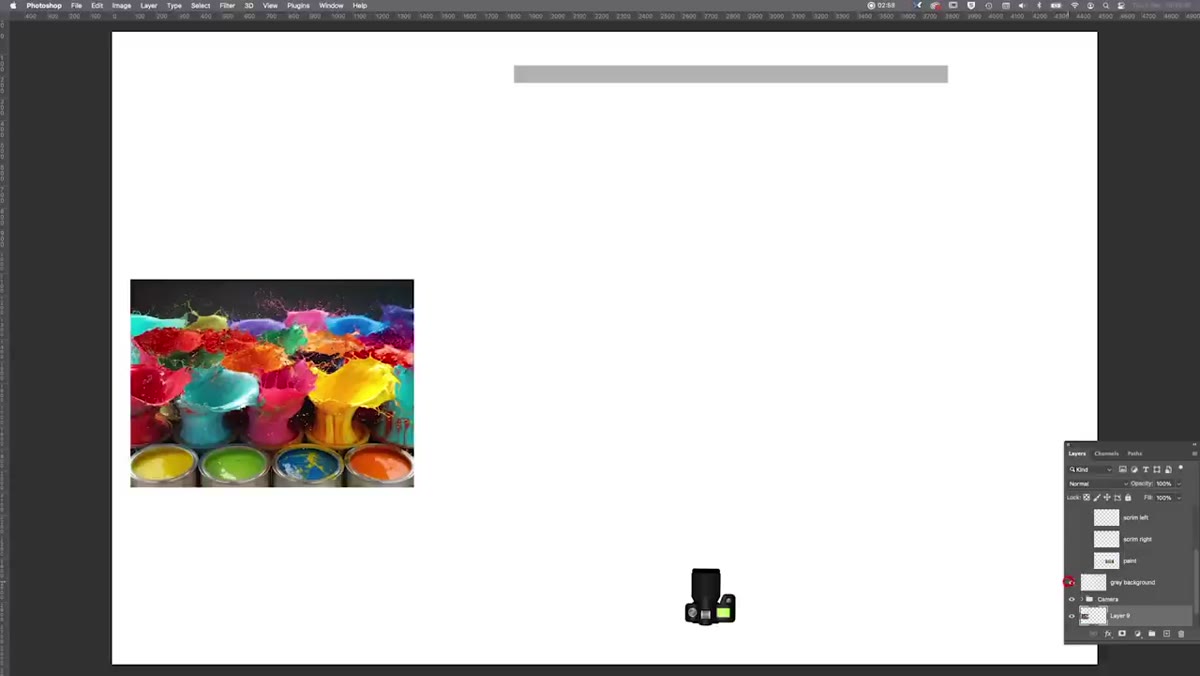 Lighting diagram with gray background behind paint pots on floor board
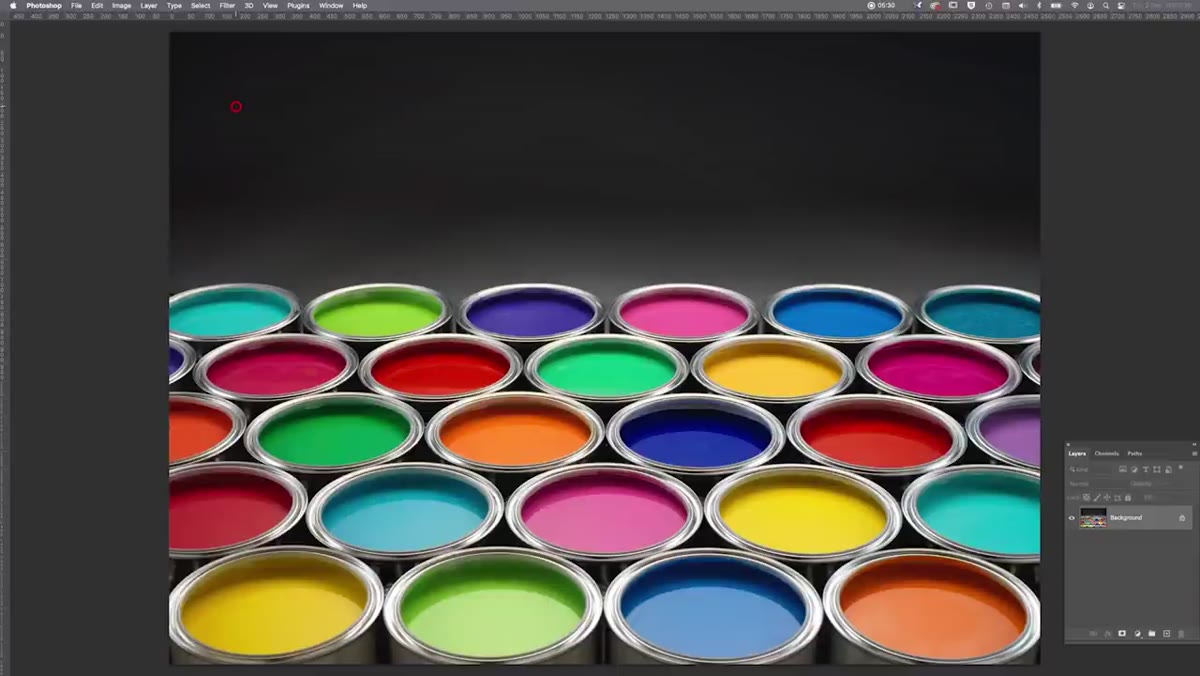
The paint pots sit on a board placed on the floor. Behind them is a gray background. This sounds simple, but the gray is doing specific work: it provides enough contrast to separate the vivid paint colors without competing with them. A white background would blow out around the edges of lighter paint tones. A black background would absorb the shadow detail in the lower part of the image.
Lighting diagram with gray background behind paint pots on floor board
The paint pots sit on a board placed on the floor. Behind them is a gray background. This sounds simple, but the gray is doing specific work: it provides enough contrast to separate the vivid paint colors without competing with them. A white background would blow out around the edges of lighter paint tones. A black background would absorb the shadow detail in the lower part of the image.
The floor placement matters too. Gravity is the trigger mechanism in this shot, which means the paint launches upward. Placing everything low gives you vertical space for the explosion to travel into frame before it exits it.
Step 5: Use Gravity as Your Trigger, Not Explosives
 Explanation of dropping a heavy ball into the paint pot as trigger method
This is the part people get wrong when they try to reverse-engineer images like this. The assumption is that small explosive charges or firecrackers are hidden beneath each tin. Carl dismisses this quickly and correctly: threading an ignition wire through a sealed tin of liquid is not a practical solution. Instead, he used heavy billiard or snooker balls dropped into the open paint tins from a height.
Explanation of dropping a heavy ball into the paint pot as trigger method
This is the part people get wrong when they try to reverse-engineer images like this. The assumption is that small explosive charges or firecrackers are hidden beneath each tin. Carl dismisses this quickly and correctly: threading an ignition wire through a sealed tin of liquid is not a practical solution. Instead, he used heavy billiard or snooker balls dropped into the open paint tins from a height.
A dense, hard, round object hitting the surface of a thick liquid transfers its kinetic energy into the paint and forces it upward and outward. The shape of the ball and the viscosity of the paint determine the shape of the resulting explosion. Testing with a single tin first lets you dial in drop height and timing before committing to a full multi-tin setup.
Step 6: Synchronize the Drop with the Flash
 Single paint pot test setup described verbally in the tutorial
Getting all paint pots to explode simultaneously requires synchronizing multiple drops at the same moment. Carl tested the single-pot version first to understand the timing, then scaled up. The camera fires in response to the moment of impact, which you can trigger manually or with a sound or laser trigger.
Single paint pot test setup described verbally in the tutorial
Getting all paint pots to explode simultaneously requires synchronizing multiple drops at the same moment. Carl tested the single-pot version first to understand the timing, then scaled up. The camera fires in response to the moment of impact, which you can trigger manually or with a sound or laser trigger.
Your flash sync speed must be set at or below your camera’s maximum sync threshold, typically 1/200s or 1/250s for most studio cameras, but as noted earlier, the shutter is not doing the freezing work. Set your ambient exposure so that the room light contributes nothing, essentially shooting in a darkened studio, and your flash duration handles everything.
What I Would Do Differently in a Commercial Context
I keep a lighting journal where I sketch every setup I shoot, and if I were logging Carl’s approach for a paid client job, I would add one note to this rig: a fourth speedlight positioned low and behind the subject, aimed at the background. The gray works, but on a client shoot with a specific brand palette, you might want the background to shift slightly in tone or pick up a color cast from the paint. A gelled background light gives you that control without touching the foreground setup.
I would also pre-test the paint viscosity. Thick paint produces tighter, more defined columns. Thin paint spreads wider and lower. For a brief that wants drama and height, you want the thicker consistency. That is the kind of variable that does not show up in a lighting diagram but absolutely shows up in the final image.
The single most important lesson from this tutorial is that flash duration, not shutter speed, is the real tool for freezing fast motion in a studio. Once you internalize that, your entire approach to high-speed work changes. You stop chasing sync speeds and start choosing lights based on their t0.5 ratings.
Watch the full tutorial on YouTube and pay particular attention to how Carl describes the relationship between power settings and flash duration. That five-minute explanation alone is worth building a shoot around.
Comments (1)
The before and after really sells it. Incredible difference.
Leave a Comment