There’s a moment in every working photographer’s career when a client walks into your studio and either relaxes or tenses up. You can feel it in the first ten seconds. I’ve been shooting commercial and editorial work long enough to know that the lighting environment you build around your subjects does at least half the job before you ever fire a strobe. That’s why, even though Watch the full tutorial on YouTube this Peter McKinnon studio tour is ostensibly a fun hangout video with his friend Chris, I watched it three times taking notes on how Chris’s studio space is lit and why it works so well. The techniques buried in this video translate directly into studio setups I’ve been refining in Los Angeles for years.
What caught my attention immediately was the layered ambient lighting approach Chris uses throughout his space. Most photographers think about their key light, fill, and maybe a hair light. Chris is building an entire atmospheric layer underneath all of that, using plants, architectural features, and colored accent lights to create depth that a single softbox could never achieve. I sketched the rough layout in my lighting journal the same night I watched this. This is a breakdown of what I saw, what it means technically, and how you can apply it in your own studio.
Step 1: Establish Your Atmospheric Base Layer Before Any Key Lighting
 Aperture accent lights positioned behind plants and in corners
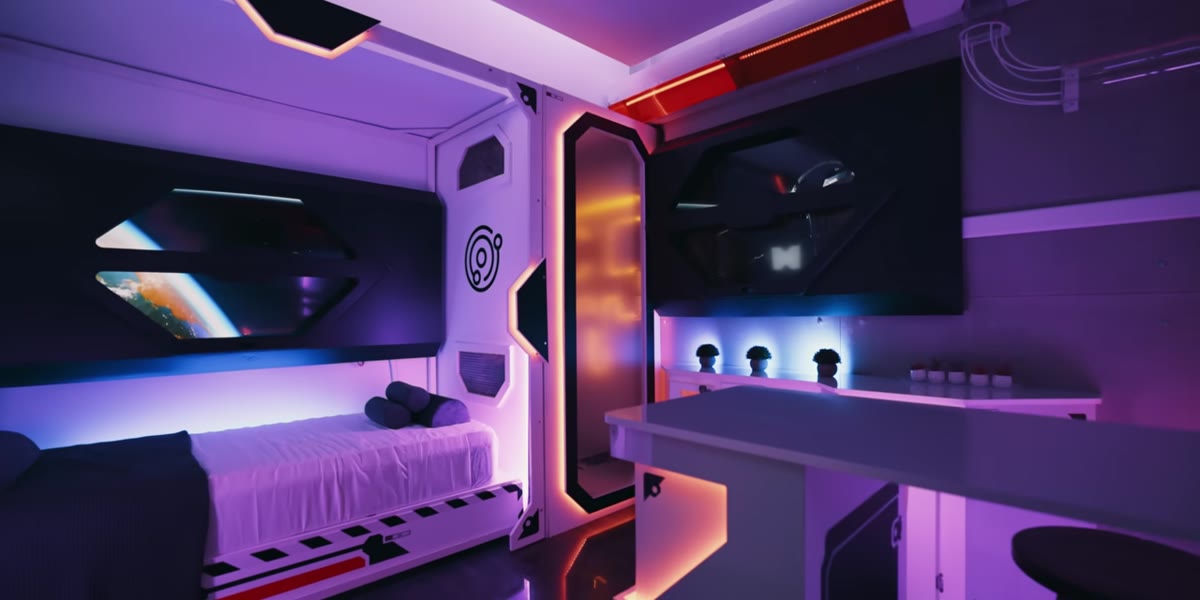
The foundation of Chris’s studio lighting is a collection of small LED panel lights, specifically Aperture units, tucked behind and underneath large potted plants around the room’s perimeter. These are not working lights. They are not there to illuminate a subject. Their entire purpose is to create the visual impression that the space has depth and dimension. Think of it like painting the back wall of a stage set. Before anything else, identify the corners and edges of your room and ask what is sitting in those zones. Dead, unlit corners flatten a space dramatically.
Aperture accent lights positioned behind plants and in corners
The foundation of Chris’s studio lighting is a collection of small LED panel lights, specifically Aperture units, tucked behind and underneath large potted plants around the room’s perimeter. These are not working lights. They are not there to illuminate a subject. Their entire purpose is to create the visual impression that the space has depth and dimension. Think of it like painting the back wall of a stage set. Before anything else, identify the corners and edges of your room and ask what is sitting in those zones. Dead, unlit corners flatten a space dramatically.
When I built out my own studio, I made the mistake of lighting the room purely for function. Every fixture was mapped to a purpose. What I was missing was the layer that tells your subject’s nervous system, “this is a comfortable, interesting place to be.” Plant-backed accent lights solve that at a low cost and without interfering with your metered exposure.
Step 2: Use Neon or Colored LED Accents as Controlled Color Temperature Contrast
 Neon signs and colored LED strips visible along studio walls
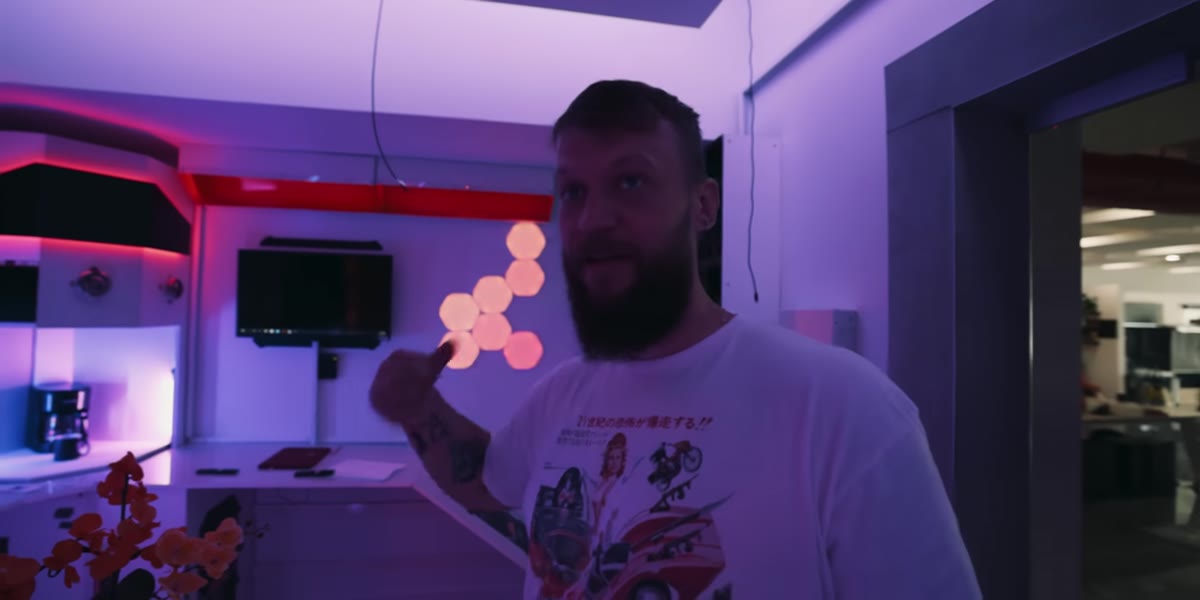
Visible in the studio tour are neon signs and colored LED strips positioned along the walls at mid-height. These introduce a secondary color temperature into the room, typically in the warm amber or cool blue range depending on the choice of neon. The key here is understanding that these colored sources will influence your camera’s white balance if they are too close to your subject or too bright. Chris’s setup keeps them far enough into the background that they register as color accents in the frame rather than as dominant light sources.
Neon signs and colored LED strips visible along studio walls
Visible in the studio tour are neon signs and colored LED strips positioned along the walls at mid-height. These introduce a secondary color temperature into the room, typically in the warm amber or cool blue range depending on the choice of neon. The key here is understanding that these colored sources will influence your camera’s white balance if they are too close to your subject or too bright. Chris’s setup keeps them far enough into the background that they register as color accents in the frame rather than as dominant light sources.
From a technical standpoint, I recommend keeping your colored accent lights at least two stops underexposed relative to your key light. Meter your key, then check your accent neons by eye. They should be glowing, visible, and atmospheric. They should not be casting colored shadows on your subject’s face or throwing green or purple onto a white backdrop. I ruined an early editorial shoot by misjudging color temperature bleed from a practical source, and I have been paranoid about it ever since. Tape a piece of white paper near the accent light zone, photograph it, and check the color cast before your subject arrives.
Step 3: Layer Lighting at Multiple Heights to Eliminate the “Office” Feel
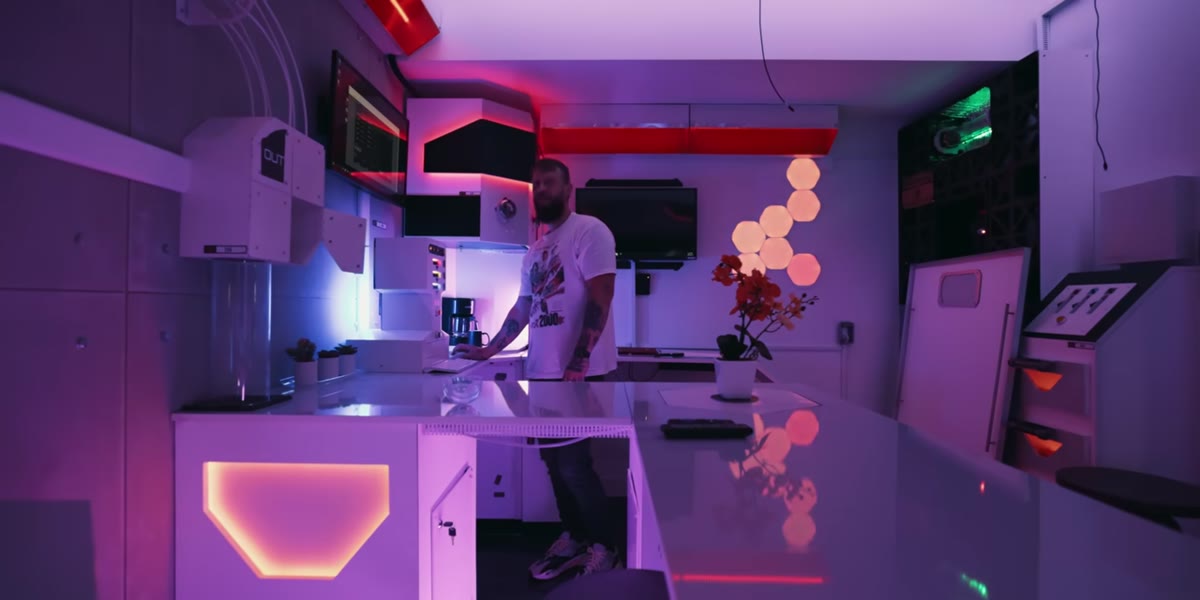
 Wide shot showing low, mid, and high light sources across the studio
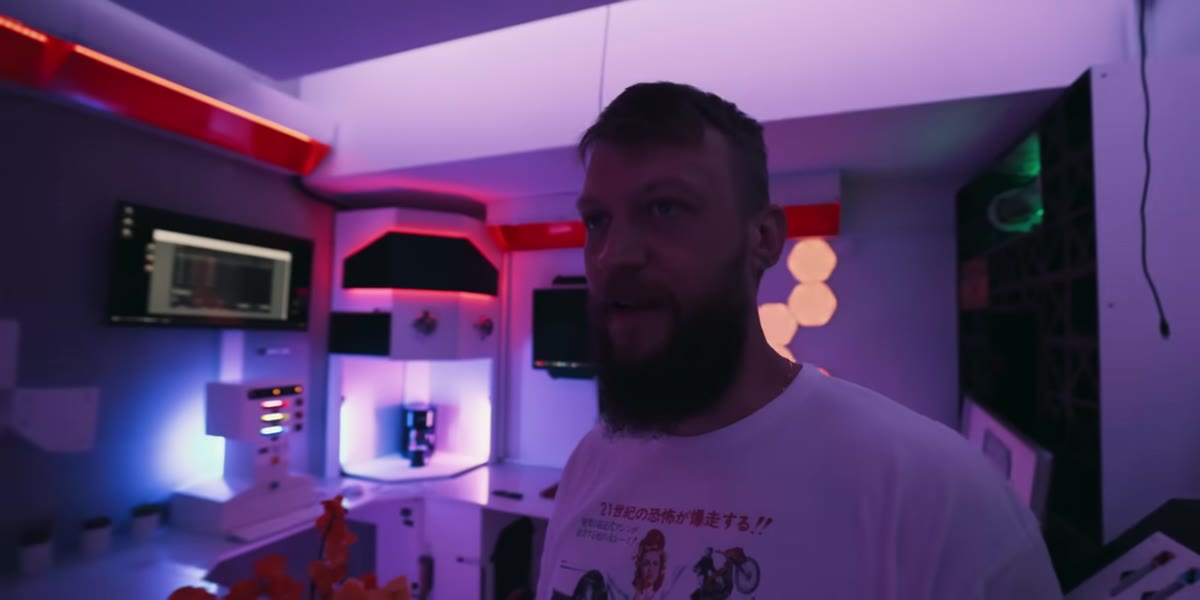
One of the things Chris mentions is that you forget you’re in an office when you walk into this studio. That is not an accident. It is a direct result of having light sources placed at floor level, eye level, and ceiling level simultaneously. Most office environments light exclusively from above, which is why they feel institutional. When you introduce low-level sources, such as the ground-level plant lighting Chris uses, you create upward gradients of light that feel more like natural environmental lighting.
Wide shot showing low, mid, and high light sources across the studio
One of the things Chris mentions is that you forget you’re in an office when you walk into this studio. That is not an accident. It is a direct result of having light sources placed at floor level, eye level, and ceiling level simultaneously. Most office environments light exclusively from above, which is why they feel institutional. When you introduce low-level sources, such as the ground-level plant lighting Chris uses, you create upward gradients of light that feel more like natural environmental lighting.
In a studio context, this translates well to shooting portraits and beauty work. I will often place a small LED panel on the floor behind a set piece or a plant to throw light upward onto a backdrop, creating a subtle gradient that makes the background look more three-dimensional. This costs almost nothing in terms of setup time and dramatically changes the feel of the resulting image.
Step 4: Design the Room So Every Angle Is a Usable Background
 360-degree sweep showing lit corners, plants, and wall features
What becomes clear as the camera moves through Chris’s studio is that he has thought about what the room looks like from the perspective of a lens pointing in any direction. The lighting is not optimized for one shooting position. It wraps the entire space. This is intentional studio design, not decoration.
360-degree sweep showing lit corners, plants, and wall features
What becomes clear as the camera moves through Chris’s studio is that he has thought about what the room looks like from the perspective of a lens pointing in any direction. The lighting is not optimized for one shooting position. It wraps the entire space. This is intentional studio design, not decoration.
When I set up a new studio environment, I now do what I call a compass check. I stand in the center of the room and photograph all four cardinal directions plus the four diagonals. Every one of those eight frames should show something visually interesting. If two of them show a bare white wall with no depth, I have work to do. Chris’s studio passes this test easily because the layered plant lighting and the neon accents create visual interest from nearly any angle.
Step 5: Integrate Technology and Interactive Elements to Shift Client Energy
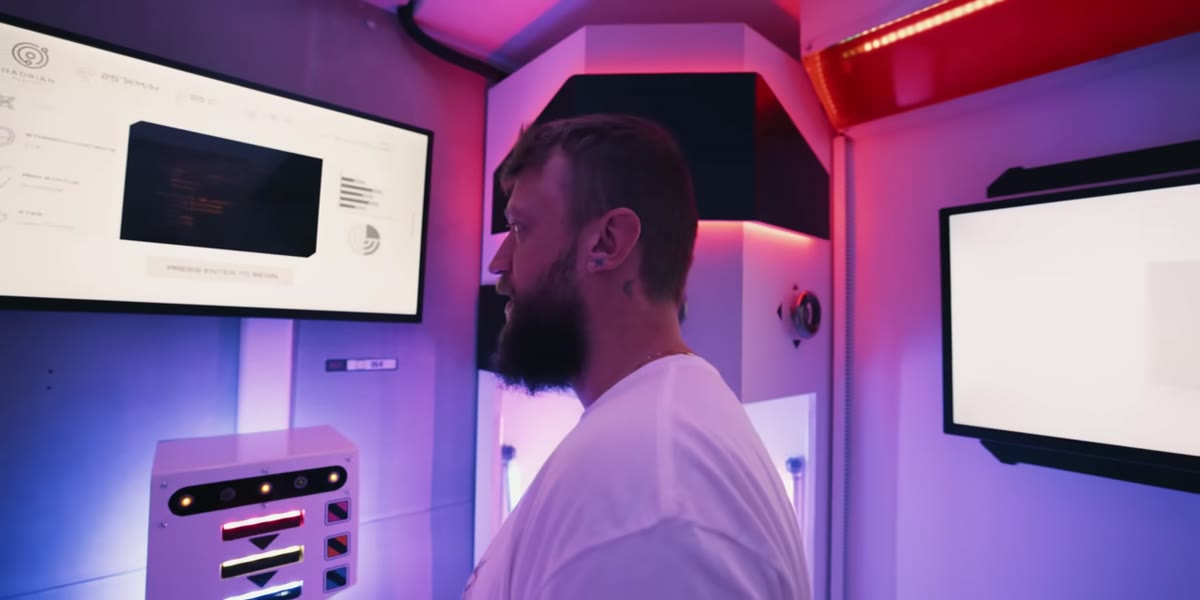 The escape room panel and interactive studio entrance in use
This is where Chris’s studio goes somewhere most photographers would never think to go. The studio includes an escape-room-style interactive entry experience with voice-activated panels and light sequences. On the surface this looks like a novelty. What it actually does is shift a client or collaborator’s mental state from passive to engaged within the first two minutes of arrival.
The escape room panel and interactive studio entrance in use
This is where Chris’s studio goes somewhere most photographers would never think to go. The studio includes an escape-room-style interactive entry experience with voice-activated panels and light sequences. On the surface this looks like a novelty. What it actually does is shift a client or collaborator’s mental state from passive to engaged within the first two minutes of arrival.
I have experimented with simpler versions of this idea. Playing a specific playlist when a client walks in, having one unusual prop they can interact with, asking them to choose between two backdrop options before we start. These small acts of agency change the energy in the room and I consistently get better expressions and more relaxed body language from subjects who have been briefly made to feel like participants rather than products.
What I Do Differently in a Commercial Studio Context
The approach Chris uses is perfectly calibrated for a content creation space where the goal is atmosphere and personality. In a commercial studio where a beauty client needs accurate skin rendering, I add one critical step. Every accent light and ambient source gets flagged away from the camera axis before I meter anything. I use black wrap or small barn doors to ensure the colored and ambient sources are not reading on my subject’s skin. I want the atmosphere in the room but not in my key light zone. The two can coexist with a little flagging and careful positioning. Don’t let the vibe lights run your exposure.
The single most important idea I took from this tour is that a studio is not just a room with a light in it. It is an environment that communicates to everyone inside it, and the lighting design is the primary language it speaks. Build your ambient layer first. Then add your working lights on top of it. The subject you put in front of your camera will feel the difference even if they cannot articulate why.
Watch the full tutorial on YouTube to see Chris’s complete studio setup in motion and catch the details that screenshots simply cannot capture.
Comments (3)
The before and after really sells it. Incredible difference.
Been doing this wrong for years apparently. Thanks for the wake-up call.
This is the kind of content that keeps me coming back.
Leave a Comment