
There’s a version of “studio envy” I used to get from flipping through architecture magazines, the kind where everything is pristine, calibrated, and clearly never used. Then there’s the real thing. I keep a lighting journal where I sketch every setup after every shoot, and one habit I’ve built alongside that is studying how other working creatives organize their physical space. Not just photographers. Jewelers, ceramicists, painters. The decisions they make about tool placement, inspiration walls, and workflow stations translate directly into how I think about light placement and shooting order. When I came across this CreativeLive tutorial featuring Alexa Allamano of Foamy Wader Jewelry in Seattle, I watched it twice. Watch the full tutorial on YouTube
What Alexa walks through is a complete craft studio tour, from her showroom floor to her hydraulic press to her gem storage. On the surface, that has nothing to do with photography lighting. But the underlying logic of how she built and arranged her workspace is exactly the kind of spatial thinking I apply every time I tape a light’s name to its stand and diagram where everything lives before a shoot. The parallels are direct. Here’s what I took from it, step by step.
Step 1: Let Your Studio Name Anchor Your Aesthetic
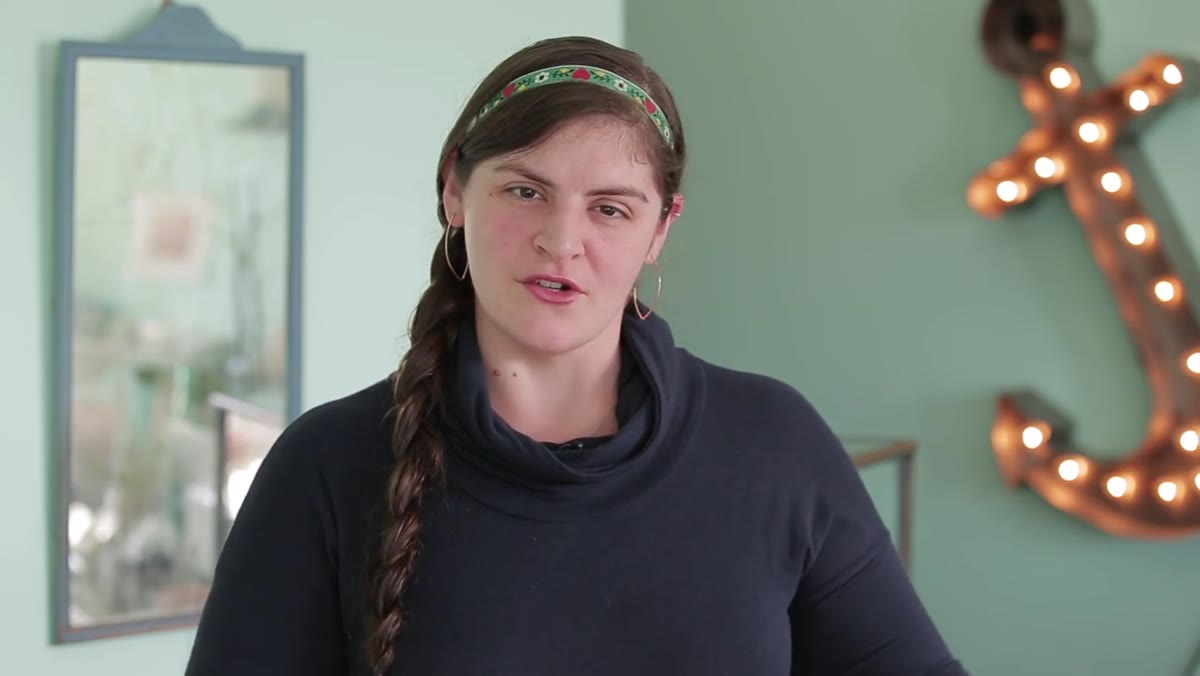 Alexa introduces herself and explains the Foamy Wader name origin
Alexa opens by explaining the name Foamy Wader, which came from wading in a soap-bombed fountain as a teenager. The name stuck, and when she noticed her jewelry style was “optical and bubbly and playful,” the name and the work fed each other. That isn’t just a charming anecdote. It’s a positioning decision.
Alexa introduces herself and explains the Foamy Wader name origin
Alexa opens by explaining the name Foamy Wader, which came from wading in a soap-bombed fountain as a teenager. The name stuck, and when she noticed her jewelry style was “optical and bubbly and playful,” the name and the work fed each other. That isn’t just a charming anecdote. It’s a positioning decision.
For photographers, this matters. If your studio or brand name implies something about your visual language, your clients arrive with aligned expectations. I label every light in my studio with masking tape, not just for efficiency but because naming things forces clarity about their function. Your studio name is the first label you put on your work. Make it accurate.
Step 2: Upgrade Space Before You Upgrade Tools
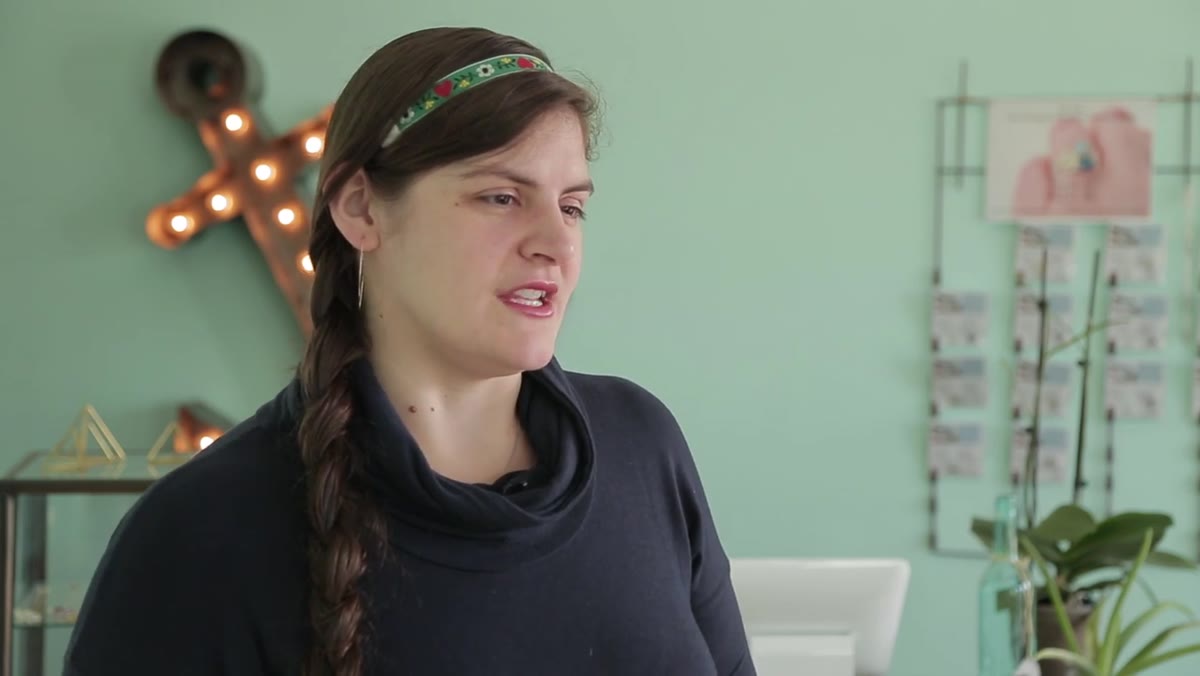 Alexa describes her cramped 110-square-foot home studio
Before opening the Seattle shop, Alexa was working out of roughly 110 square feet at home. Her exact words describe a space crammed with show displays and tools, where she was limited in what she could even create. The move to a dedicated space with both a showroom and a working studio wasn’t about vanity. It was about removing friction.
Alexa describes her cramped 110-square-foot home studio
Before opening the Seattle shop, Alexa was working out of roughly 110 square feet at home. Her exact words describe a space crammed with show displays and tools, where she was limited in what she could even create. The move to a dedicated space with both a showroom and a working studio wasn’t about vanity. It was about removing friction.
I made a similar call years ago when I was shooting editorial work out of a converted garage. The light was manageable, but I could never set up more than one modifier without breaking something down first. When I finally rented a proper space, my output didn’t just increase. It changed in character, because I could finally rehearse setups before a client arrived. Alexa’s point is blunt and worth hearing: constrained space constrains the work itself.
Step 3: Build a Dedicated Inspiration Zone, and Protect It
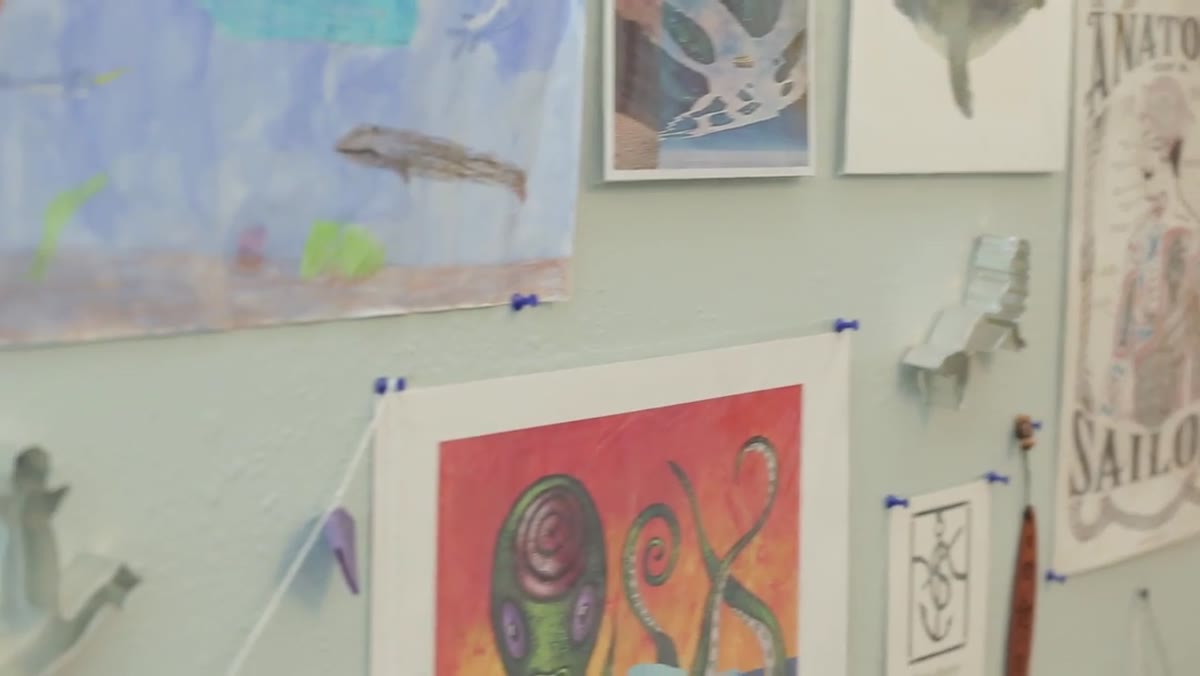 Alexa shows her nautical artwork wall and explains its purpose
Alexa’s studio includes a wall of nautical artwork, anchors, boats, pieces made by friends and her husband, things she’s found and liked. She’s explicit that this is for sitting and thinking about nautical themes. It isn’t decorative overflow. It’s a functional thinking station.
Alexa shows her nautical artwork wall and explains its purpose
Alexa’s studio includes a wall of nautical artwork, anchors, boats, pieces made by friends and her husband, things she’s found and liked. She’s explicit that this is for sitting and thinking about nautical themes. It isn’t decorative overflow. It’s a functional thinking station.
I keep a corner of my studio that’s entirely analog: printed tearsheets, sketches from my lighting journal, a few reference prints. No screens. No cables. When I’m working out a new concept, I go there before I touch a single light. Alexa’s wall works the same way. The physical act of looking at your inspiration separate from your workstation keeps ideation and execution from collapsing into each other, which is how you end up with generic results.
Step 4: Match Your Heavy Equipment to a Specific Product Line
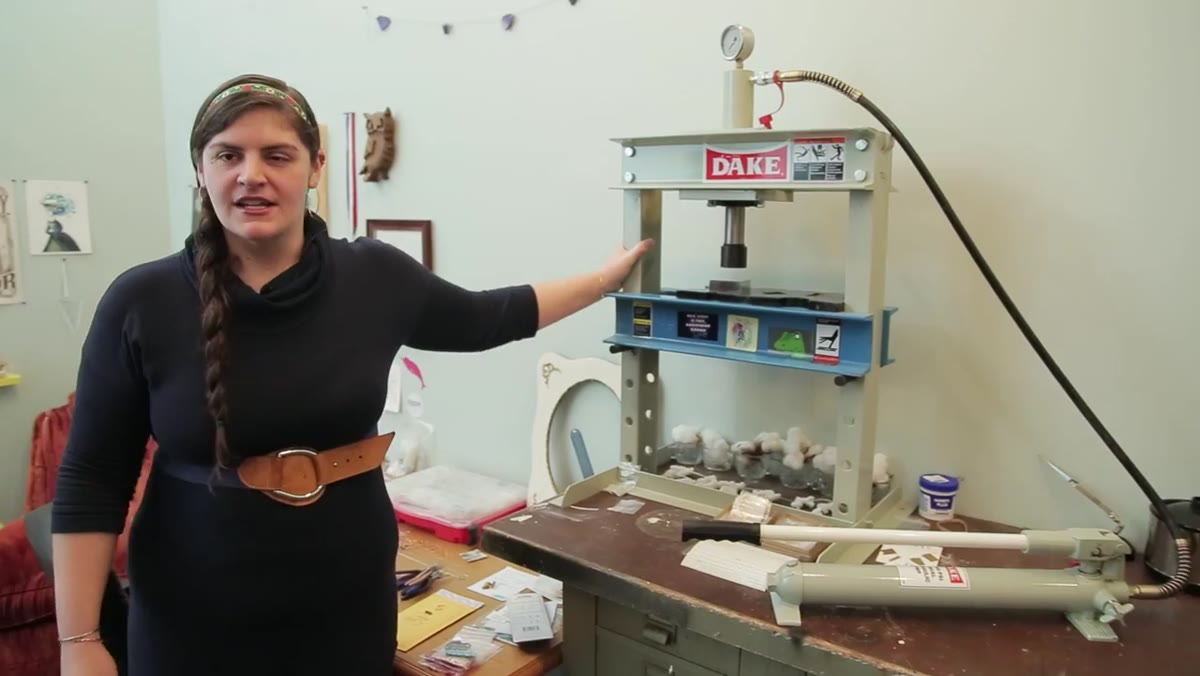 Alexa demonstrates the 10-ton hydraulic press with a steel stamp
The hydraulic press in Alexa’s studio is a 10-ton machine she bought specifically to produce nautical flag necklaces, pieces that let customers spell out words in nautical flag code. The press lets her stamp steel imagery directly into metal with consistent pressure. She walks through the process: place the steel stamp, sandwich the metal between the stamp and a steel block, pump the press down until the dial moves, hold pressure, then release.
Alexa demonstrates the 10-ton hydraulic press with a steel stamp
The hydraulic press in Alexa’s studio is a 10-ton machine she bought specifically to produce nautical flag necklaces, pieces that let customers spell out words in nautical flag code. The press lets her stamp steel imagery directly into metal with consistent pressure. She walks through the process: place the steel stamp, sandwich the metal between the stamp and a steel block, pump the press down until the dial moves, hold pressure, then release.
The specificity here is the lesson. She didn’t buy a hydraulic press because it was useful in general. She bought it because one product line required it. In lighting, I see photographers collect modifiers the same way people collect cookbooks: enthusiastically and without a menu. I test every new modifier the day it arrives, but only after identifying the specific lighting problem it solves. Alexa’s press exists because nautical flags exist. Buy gear backwards from the result.
Step 5: Group Your Stations by Heat and Risk
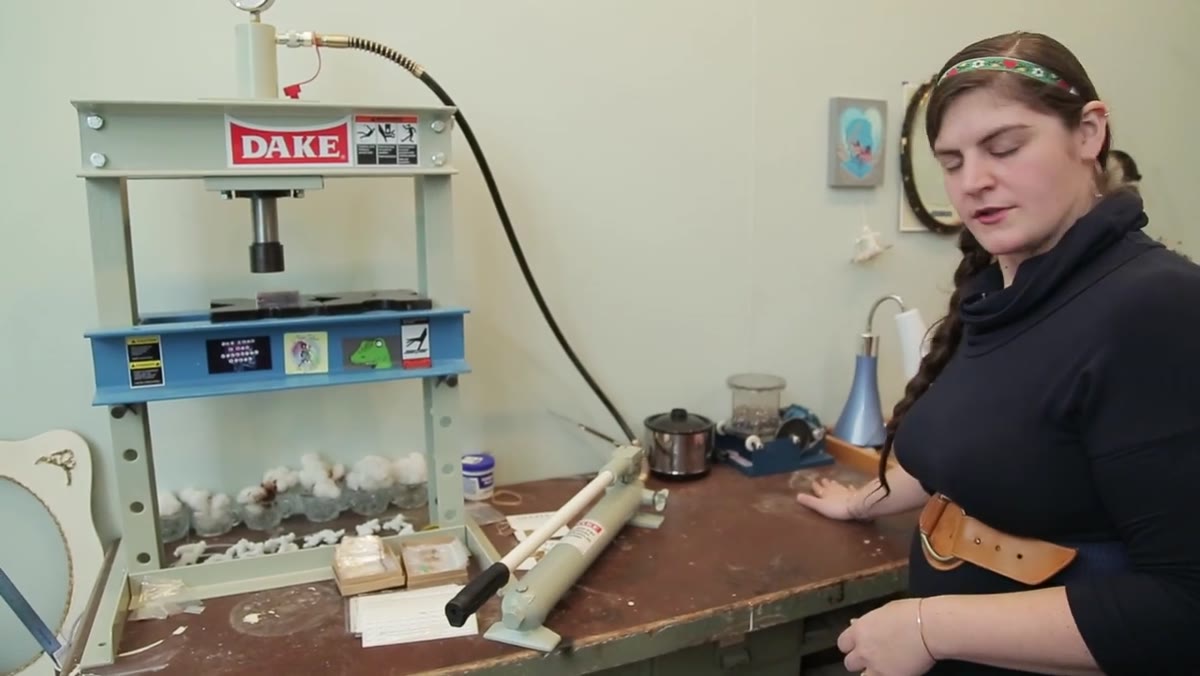 Alexa shows the torch work station used for soldering and annealing
Adjacent to the hydraulic press is Alexa’s torch station, where she handles all the soldering and metal annealing. Next to that is the hammering bench for forging and texturing. These aren’t grouped randomly. High-risk, high-heat processes live together. Cold finishing and detailed work live elsewhere.
Alexa shows the torch work station used for soldering and annealing
Adjacent to the hydraulic press is Alexa’s torch station, where she handles all the soldering and metal annealing. Next to that is the hammering bench for forging and texturing. These aren’t grouped randomly. High-risk, high-heat processes live together. Cold finishing and detailed work live elsewhere.
In a photography studio, the equivalent is keeping your high-draw electrical equipment, strobes, power packs, large modifiers, grouped near the circuits that can handle them. I’ve seen shoots derailed because someone plugged a 2400 Ws pack into a circuit shared with the HVAC. Alexa’s station logic is the same logic: cluster by consequence.
Step 6: Let Your Materials Have Provenance
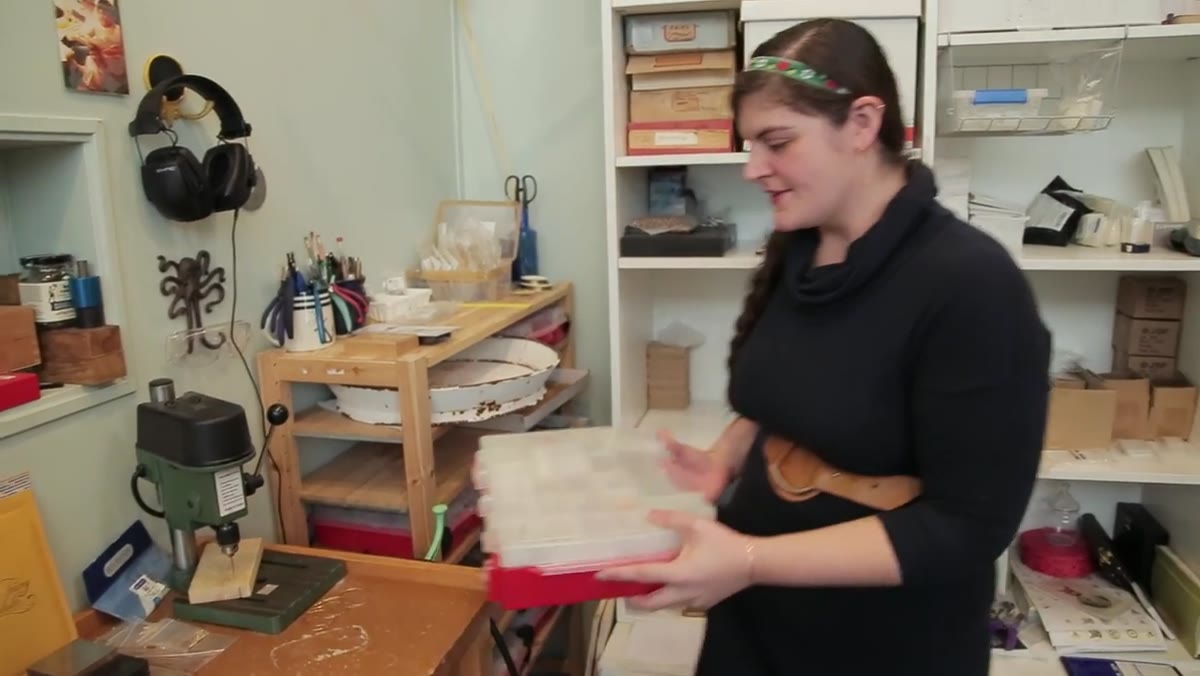 Alexa shows gem specimen boxes inherited from her grandfather and great-grandfather
Alexa’s gem collection isn’t just inventory. The boxes of specimen stones came from her grandfather and great-grandfather, both gem cutters and lapidaries. A photograph of her grandfather sits nearby. She uses the gems to decorate the shop, and the history behind them is part of the story she tells in the space.
Alexa shows gem specimen boxes inherited from her grandfather and great-grandfather
Alexa’s gem collection isn’t just inventory. The boxes of specimen stones came from her grandfather and great-grandfather, both gem cutters and lapidaries. A photograph of her grandfather sits nearby. She uses the gems to decorate the shop, and the history behind them is part of the story she tells in the space.
Materials with provenance give work texture that technique alone can’t produce. I’ve pulled this thread in photography by printing reference images on actual photographic paper rather than inkjet, and by keeping a few vintage gels in my kit even when I don’t use them. The relationship to the history of the craft matters. It shows in the work, even when no one can articulate why.
What I’d Add: Document the Setup Before You Shoot, Not After
Every station in Alexa’s studio has a clear function, and you can tell because the space reads like a diagram of her process. That diagram exists in her head before it exists in the room. I do the same thing in my lighting journal before I build a set. Sketch the positions. Name the lights. Write down the modifiers and expected ratios. If the shoot falls apart, you have something to iterate from. If it succeeds, you have something to repeat. Alexa built a studio that is, essentially, a physical version of that journal. Every tool knows where it lives.
The single most transferable idea here is that intentional workspace design is a creative act, not an administrative one. Alexa didn’t organize her studio after she knew what she was making. She organized it in a way that made certain kinds of making possible. That’s the order of operations that matters.
Watch the full tutorial on YouTube and pay attention to how she moves through the space. The tour is the technique.
Comments
Leave a Comment