
Every product photographer hits the same wall eventually. You’re asked to shoot something with a mirror-like surface, you point a softbox at it, and the image comes back looking like a light bulb advertisement. The product disappears. What you’re actually photographing is your own gear staring back at you.
Golf clubs are one of the more brutal examples of this problem. Curved metal shafts, polished club heads, chrome ferrules, all of them acting like tiny fisheye lenses reflecting your entire studio. I’ve been in that situation with cosmetics packaging and automotive parts, and the instinct is always wrong: more light, bigger modifier, crank the power. None of it helps because you’re not lighting the object. You’re curating what the object is allowed to see.
That reframing is exactly what makes this Visual Education tutorial worth studying. Watch the full tutorial on YouTube before or after reading this breakdown. What follows is a step-by-step guide to the technique, with notes from my own studio experience layered in.
Step 1: Choose Your Subject Count and Background Deliberately
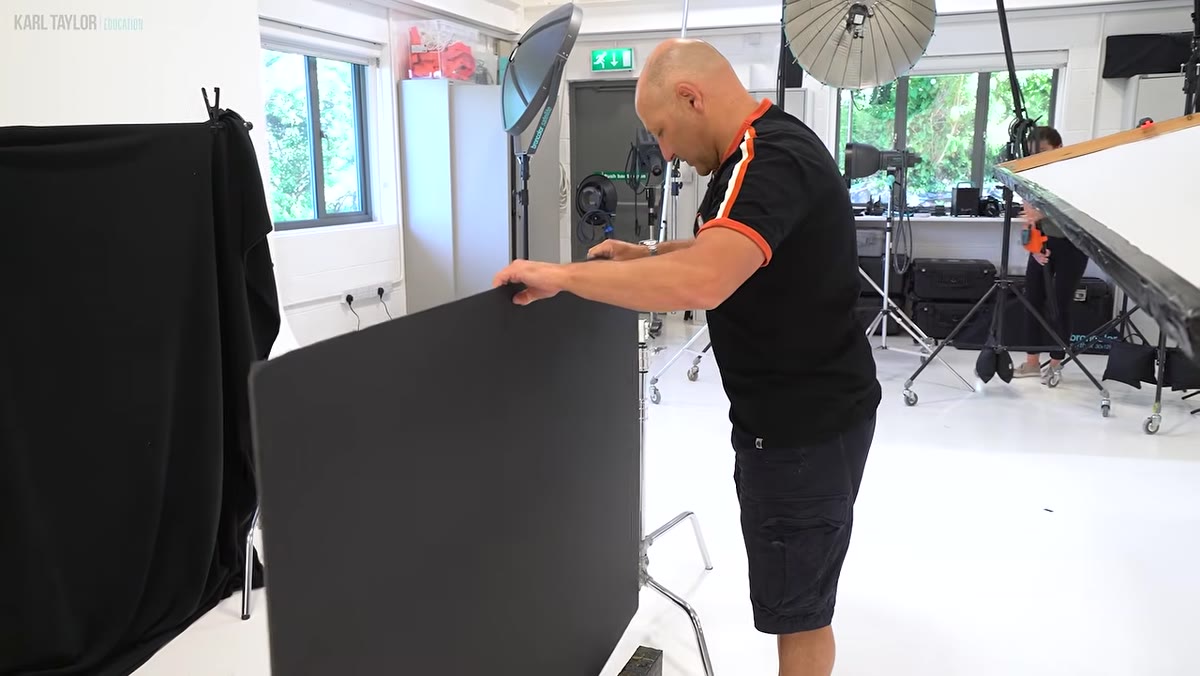 Three golf clubs arranged against dark foam board
Start by narrowing down what you’re actually shooting. In the tutorial, three clubs are selected, not because a set was requested, but because three reads better visually as a composition. That’s a real decision, not a random one. On a product shoot, especially with reflective items, every additional object multiplies your lighting complexity. Each club has its own geometry, its own angle of incidence, its own reflection problems.
Three golf clubs arranged against dark foam board
Start by narrowing down what you’re actually shooting. In the tutorial, three clubs are selected, not because a set was requested, but because three reads better visually as a composition. That’s a real decision, not a random one. On a product shoot, especially with reflective items, every additional object multiplies your lighting complexity. Each club has its own geometry, its own angle of incidence, its own reflection problems.
The background here is black foam board, chosen to make the metal pop rather than compete. It’s a starting point, not a final decision. The key takeaway is that the background choice should support the subject’s surface quality first. With shiny metal, high contrast backgrounds give you the clearest read of what the reflections are doing.
Step 2: Build Your Overhead Scrim and Position It Low
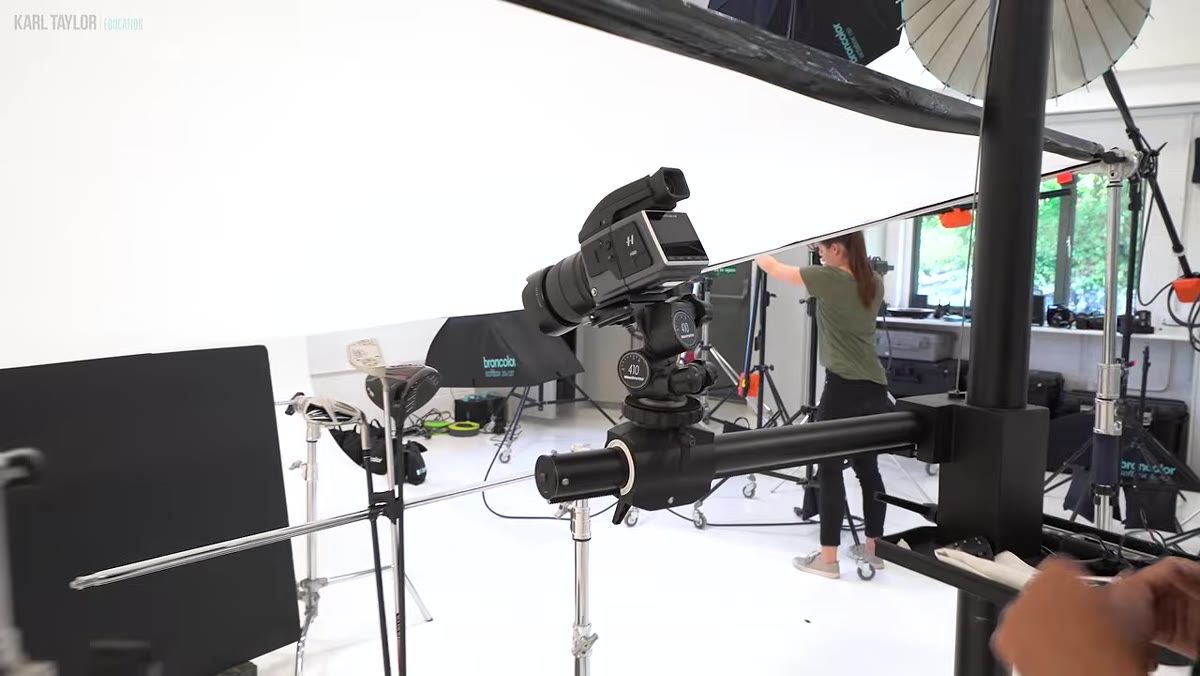 Large diffusion panel positioned very close above the golf clubs
A large overhead scrim, essentially a translucent diffusion panel stretched across a frame, is the primary light shaper here. The critical positioning detail is that it’s brought very close to the clubs, not raised high. This is counterintuitive if you’re used to thinking about light quality in terms of distance. With diffuse sources we often back them off to soften transitions. With reflective metal, proximity does something different.
Large diffusion panel positioned very close above the golf clubs
A large overhead scrim, essentially a translucent diffusion panel stretched across a frame, is the primary light shaper here. The critical positioning detail is that it’s brought very close to the clubs, not raised high. This is counterintuitive if you’re used to thinking about light quality in terms of distance. With diffuse sources we often back them off to soften transitions. With reflective metal, proximity does something different.
When the scrim is close, the ratio between the reflection of the light source and the actual illumination of the surface becomes more balanced. Pull the scrim far away and the specular reflection of the light blazes while the rest of the surface goes dark. Push it in close and you get a more even spread across the curved geometry. Curved surfaces are forgiving in one way: they pick up light from a wide angle of view, so a large close source can wrap around a club shaft in a way a small distant source never could.
Step 3: Position Your Lights Above the Scrim and Test the Gradient
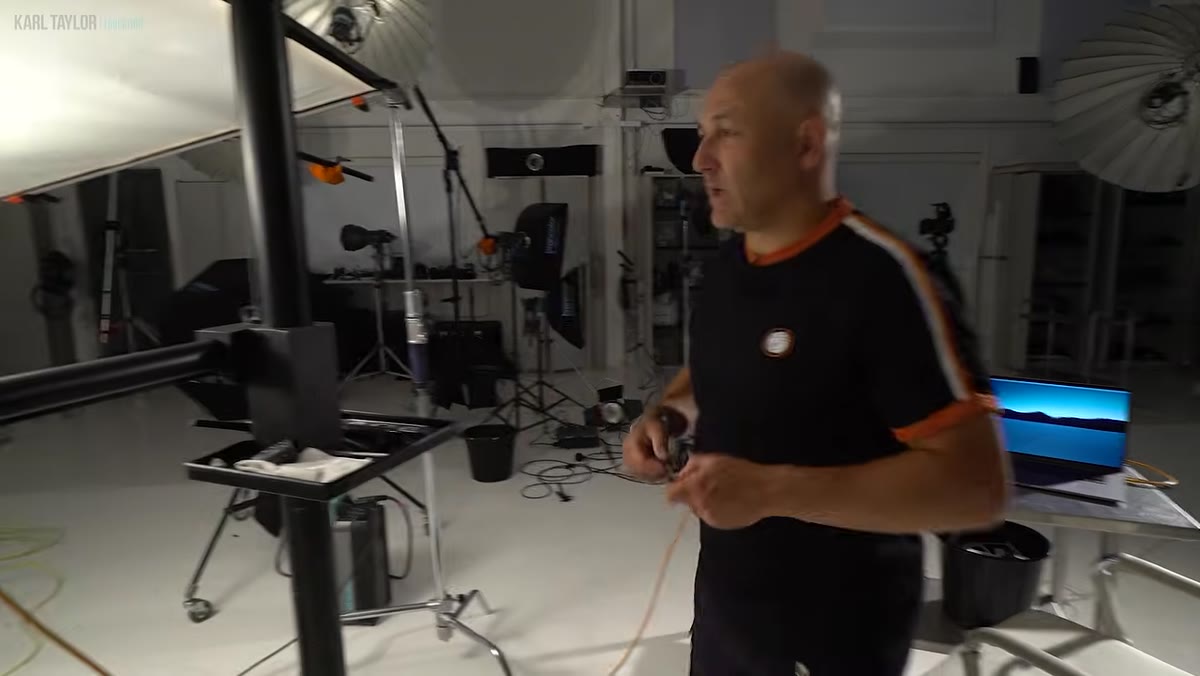 Light being moved to adjust highlight position on club shaft
The lights themselves sit above the scrim and shine down through it. The scrim is doing the actual shaping work. What you’re adjusting when you move a light head is where the brightest part of the gradient falls on the metal surface below. Move the light toward one end of the scrim and the hotspot shifts. Move it away from the scrim and the effective source size increases, softening the gradient.
Light being moved to adjust highlight position on club shaft
The lights themselves sit above the scrim and shine down through it. The scrim is doing the actual shaping work. What you’re adjusting when you move a light head is where the brightest part of the gradient falls on the metal surface below. Move the light toward one end of the scrim and the hotspot shifts. Move it away from the scrim and the effective source size increases, softening the gradient.
The tutorial works through this live, adjusting a light’s position and distance while watching how the reflection changes on each club. This is the part of the process I always log in my lighting journal: not just where the light ended up, but the direction I moved it in and what changed. When you’re back in the studio six months later shooting something similar, those notes are worth more than any diagram you find online.
Step 4: Identify the Glare Problem and Raise the Scrim to Fix It
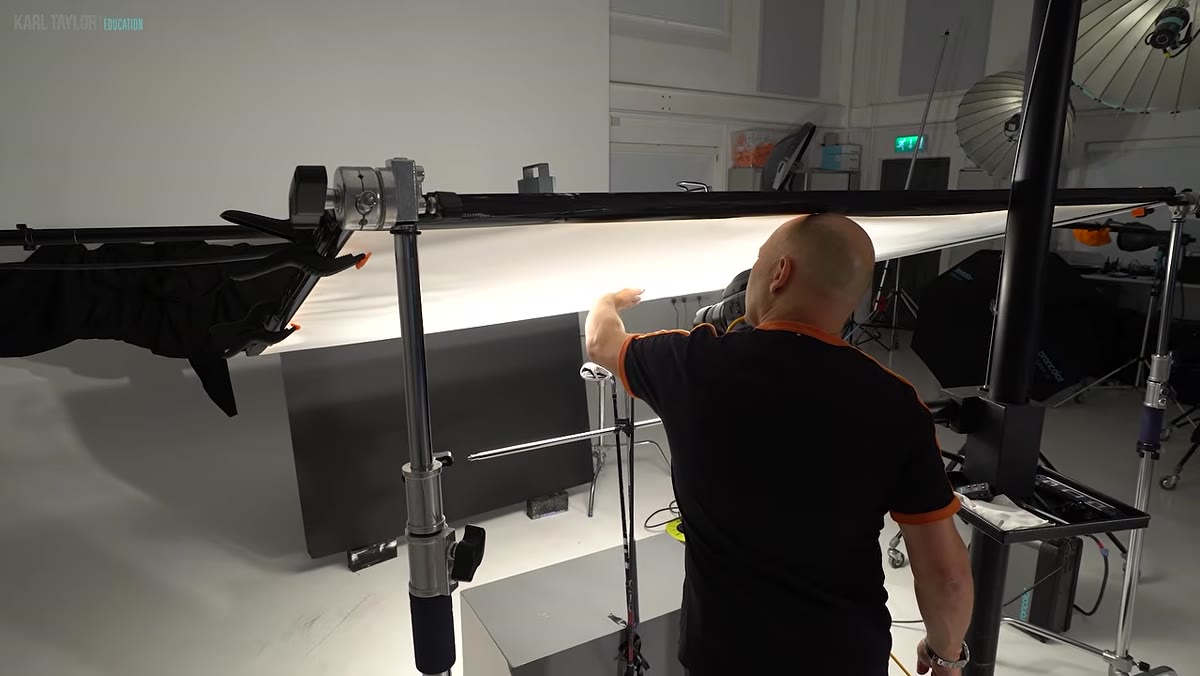 Scrim being raised to eliminate lens flare entering the camera
At a certain scrim height, the edge of the diffusion panel falls within the camera’s angle of view, and you get direct glare, light scattering into the lens rather than reflecting cleanly off the subject. The fix is simple: raise the scrim just enough to pull that edge out of frame. In the tutorial, approximately a foot of upward adjustment clears the problem.
Scrim being raised to eliminate lens flare entering the camera
At a certain scrim height, the edge of the diffusion panel falls within the camera’s angle of view, and you get direct glare, light scattering into the lens rather than reflecting cleanly off the subject. The fix is simple: raise the scrim just enough to pull that edge out of frame. In the tutorial, approximately a foot of upward adjustment clears the problem.
Once the glare is gone, the light can come back down to the working position. This is a good reminder to check for lens flare as a separate diagnostic step, not something you chase while also adjusting your gradient. Solve one variable at a time. The scrim height and the light position are two different controls.
Step 5: Treat Each Club as a Separate Lighting Problem
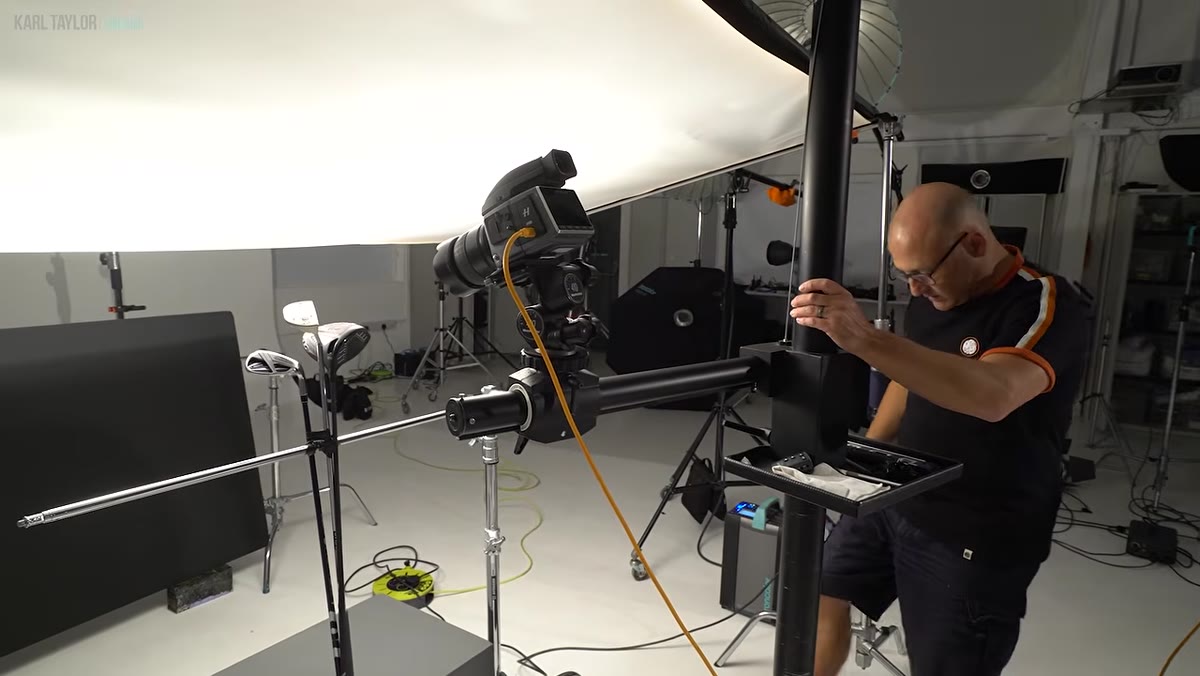 Discussion of shooting each club individually for lighting control
Here’s where the tutorial gets honest about the limits of a group setup. With three clubs at different depths and angles, there’s no single light position that makes all three look their best simultaneously. The approach is to accept this and plan for compositing: light and shoot each club individually, then combine the best frames in post.
Discussion of shooting each club individually for lighting control
Here’s where the tutorial gets honest about the limits of a group setup. With three clubs at different depths and angles, there’s no single light position that makes all three look their best simultaneously. The approach is to accept this and plan for compositing: light and shoot each club individually, then combine the best frames in post.
This also intersects with depth of field. At f/16, you’re buying sharpness across a scene with real depth, but even then, focus stacking may be necessary. The discipline here is to separate the focus problem from the lighting problem. Don’t try to solve both in one shot. Shoot for focus, then shoot for light, then let post-production do the assembly work it’s actually good at.
Step 6: Use a Mirror Instead of Another Softbox for Shaft Reflections
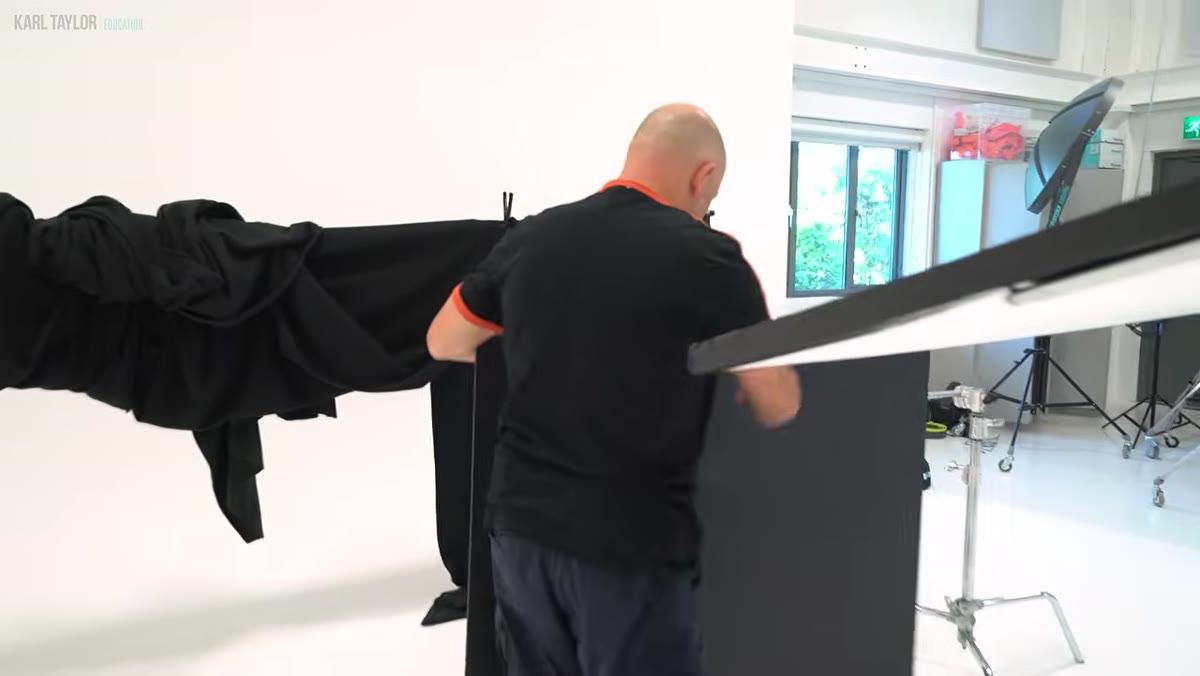 Conceptual step described in video description and transcript context
When the shaft reflections look flat or heavy, the reflex response is to add a second light source. The tutorial tests this with a small softbox aimed at the shafts and finds it produces exactly the wrong quality: dense, uniform light that kills the gradient and makes the metal look dull.
Conceptual step described in video description and transcript context
When the shaft reflections look flat or heavy, the reflex response is to add a second light source. The tutorial tests this with a small softbox aimed at the shafts and finds it produces exactly the wrong quality: dense, uniform light that kills the gradient and makes the metal look dull.
A mirror redirects the gradient that the overhead scrim is already producing. Instead of a new, flat source, the shaft now sees a version of the same soft gradient it was already receiving, just from a new angle. The reflection becomes a continuation of the lighting language rather than a contradiction of it. This is the single technique from this tutorial I’ve found most transferable across other reflective surfaces. Less light, better light.
What I’d Add from My Own Studio
The tutorial doesn’t dwell on filler panels, but the transcript mentions needing one along the front edge of the scrim where the studio environment bleeds in. In my studio, I keep a set of foam core panels labeled with masking tape: one black, one white, one silver. For polished metal, a black filler panel along the near edge almost always cleans up stray reflections without adding any unwanted gradient. White panels introduce a secondary source that competes with your main scrim. Silver panels are useful when you need to boost a specific area without changing color. Start with black and work outward from there.
The deepest lesson from this tutorial is one I come back to on every reflective shoot. You are not lighting the object. You are designing the environment the object reflects. Once that shift happens in how you think about the setup, every decision, scrim size, light position, filler placement, makes sense in a different way. It stops being about output and starts being about control.
Watch the full tutorial on YouTube to see the gradient adjustments and the mirror comparison in real time. Watching the reflection change as the light moves is something a written breakdown can only approximate.
Comments
Leave a Comment