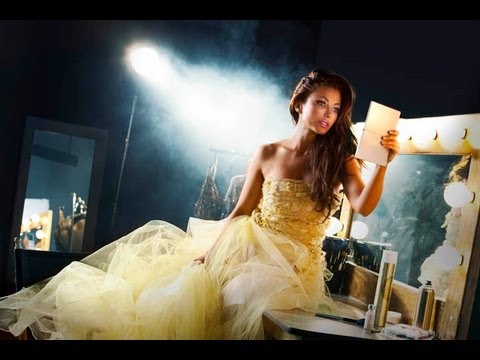
There is a specific kind of portrait shot that stops people mid-scroll. It has depth, warmth, a shaft of light cutting through atmosphere. It looks like it was lit by someone who understood both cinema and photography at the same time. For years, I chased that look by piling on more strobes, more modifiers, more complexity. The answer, it turns out, was simpler and more disruptive: stop using only one type of light source.
Mixing continuous light with strobes is one of those techniques that sounds like it would create chaos, and it will if you don’t understand why each light behaves differently at the camera level. In this The Slanted Lens tutorial, Jay P. Morgan shoots a portrait session with Rebecca Grant on a backstage makeup set, combining a 2K tungsten continuous light with studio strobes and smoke to produce images that feel genuinely cinematic. Watch the full tutorial on YouTube before or after reading this breakdown. Either way, the goal here is to give you enough mechanical understanding that you can replicate the approach on your next shoot without guessing.
The core lesson is this: continuous light and strobe light respond to your camera settings in completely different ways. Once that clicks, the whole technique opens up.
Step 1: Set Your ISO First, and Set It Higher Than Usual
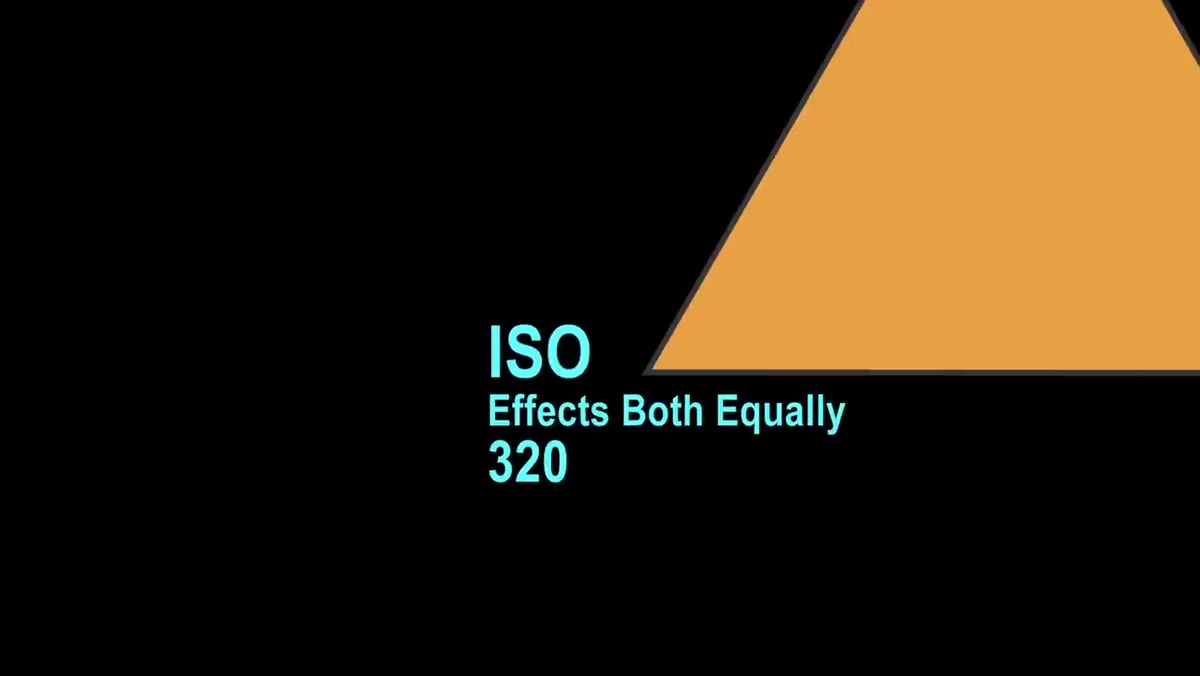 Setting ISO to 320 on camera display
Start by pushing your ISO up one stop from wherever you normally anchor it. In the tutorial, that means ISO 320 instead of the typical 160. The reason matters. ISO is the one setting in your exposure triangle that affects both light sources equally. Raising it gives your continuous light source more room to register in the final exposure without forcing you to slow your shutter to dangerous speeds or open your aperture wide past the point of useful focus. Think of ISO as the baseline volume knob for the whole mix.
Setting ISO to 320 on camera display
Start by pushing your ISO up one stop from wherever you normally anchor it. In the tutorial, that means ISO 320 instead of the typical 160. The reason matters. ISO is the one setting in your exposure triangle that affects both light sources equally. Raising it gives your continuous light source more room to register in the final exposure without forcing you to slow your shutter to dangerous speeds or open your aperture wide past the point of useful focus. Think of ISO as the baseline volume knob for the whole mix.
Step 2: Choose Your Shutter Speed to Control the Continuous Light, Not the Strobe
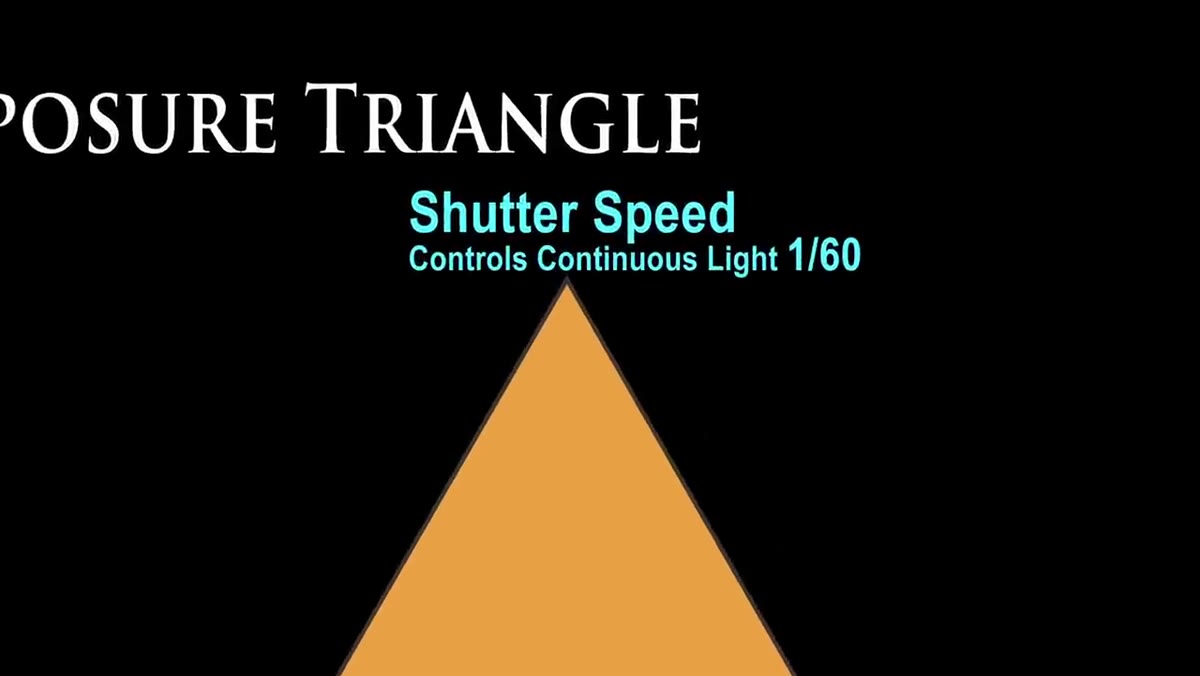 Shutter speed selection demonstrated on camera
This is where most photographers get confused, and honestly where I made my worst mistakes early in my career. Your shutter speed controls two things simultaneously: subject motion and the exposure of continuous light. It does almost nothing to strobes. A strobe fires and stops in a fraction of a millisecond. Your shutter has no meaningful effect on it until you exceed your camera’s sync speed, typically around 1/200th or 1/250th of a second depending on your system.
Shutter speed selection demonstrated on camera
This is where most photographers get confused, and honestly where I made my worst mistakes early in my career. Your shutter speed controls two things simultaneously: subject motion and the exposure of continuous light. It does almost nothing to strobes. A strobe fires and stops in a fraction of a millisecond. Your shutter has no meaningful effect on it until you exceed your camera’s sync speed, typically around 1/200th or 1/250th of a second depending on your system.
In the tutorial, the choice lands at 1/160th of a second. That speed is fast enough to prevent motion blur from the subject, which continuous light cannot freeze the way a strobe can, and slow enough to let the 2K tungsten light register with real presence. If your subject is moving, even subtly, treat your shutter speed like you’re shooting available light. Because for the continuous portion of the frame, you essentially are.
Step 3: Meter for the Continuous Light, Then Set Your Aperture Intentionally
 Taking meter reading at subject position with 2K on
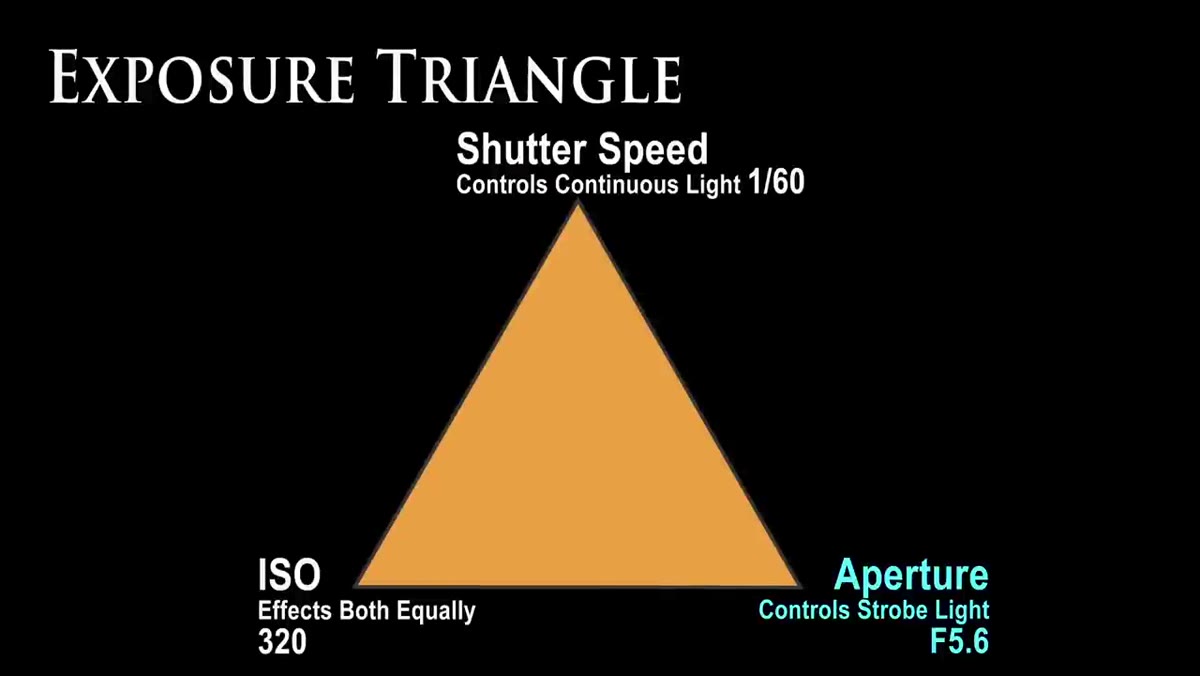
Take a meter reading of your continuous light source at the subject’s position. In this case, the 2K reads f/8. Rather than shooting at the metered value, the tutorial deliberately opens up one stop to f/5.6. The intention is to let the continuous light source run a little hot, slightly brighter than a technically correct exposure, which gives it visual weight and separates it from the strobe-lit portions of the frame.
Taking meter reading at subject position with 2K on
Take a meter reading of your continuous light source at the subject’s position. In this case, the 2K reads f/8. Rather than shooting at the metered value, the tutorial deliberately opens up one stop to f/5.6. The intention is to let the continuous light source run a little hot, slightly brighter than a technically correct exposure, which gives it visual weight and separates it from the strobe-lit portions of the frame.
Your aperture also determines depth of field, which shapes how the background reads. At f/5.6, the makeup mirror and set elements behind the subject soften into a warm, impressionistic background rather than competing with the face. Once you’ve set f/5.6 as your aperture, you power your strobe up or down until it also meters at f/5.6. Now both light sources are balanced to the same aperture, but they will still look and feel completely different in the image.
Step 4: Set White Balance to Strobe and Let the Continuous Light Go Warm
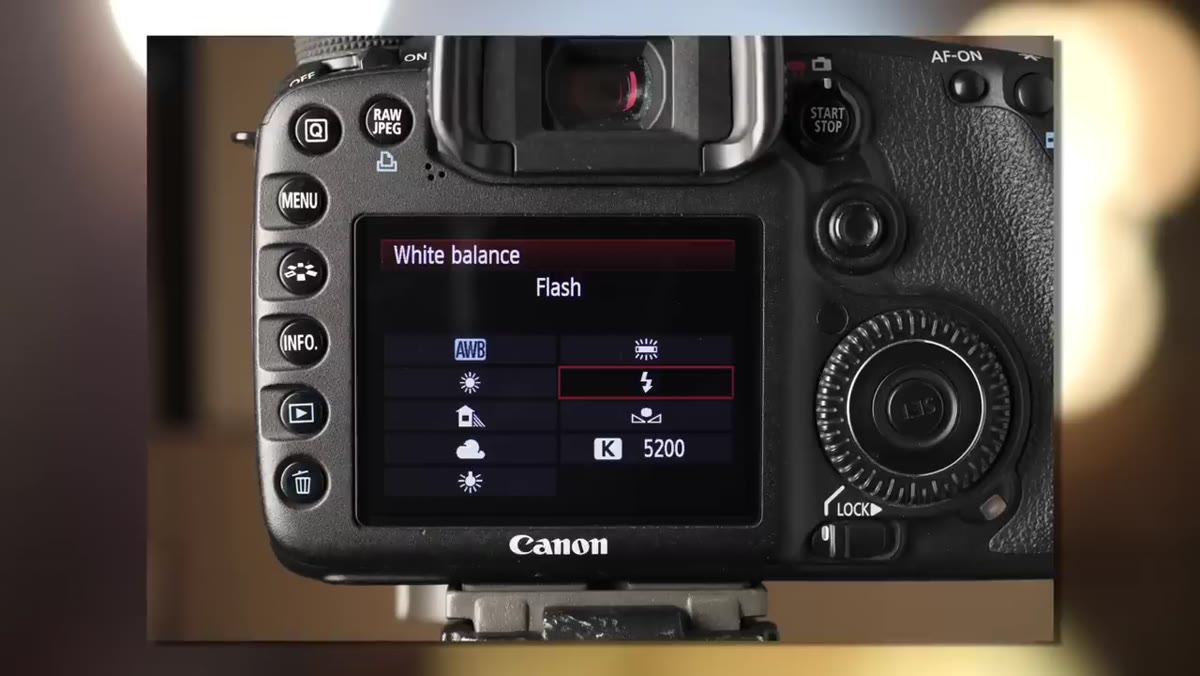 White balance set to 5600K strobe setting in camera menu
Set your white balance to daylight or strobe, roughly 5600 Kelvin. Do not try to correct your continuous light to match. This is a deliberate creative choice, not a technical oversight. Tungsten sources like a 2K run around 3200 Kelvin. Against a 5600K white balance setting, that warmth will shift toward amber and gold in the final image, which is exactly what gives this style of portrait its cinematic quality.
White balance set to 5600K strobe setting in camera menu
Set your white balance to daylight or strobe, roughly 5600 Kelvin. Do not try to correct your continuous light to match. This is a deliberate creative choice, not a technical oversight. Tungsten sources like a 2K run around 3200 Kelvin. Against a 5600K white balance setting, that warmth will shift toward amber and gold in the final image, which is exactly what gives this style of portrait its cinematic quality.
You could throw a full CTB gel on the continuous light to bring it in line with the strobe color temperature. Sometimes that is the right call. Here it is not. The color contrast between the cool, clean strobe-lit face and the warm, glowing continuous background is what makes the image feel like it was shot on a film set. Let the tools do different jobs and let the camera record both honestly.
Step 5: Build the Strobe Lighting Setup Around the Subject
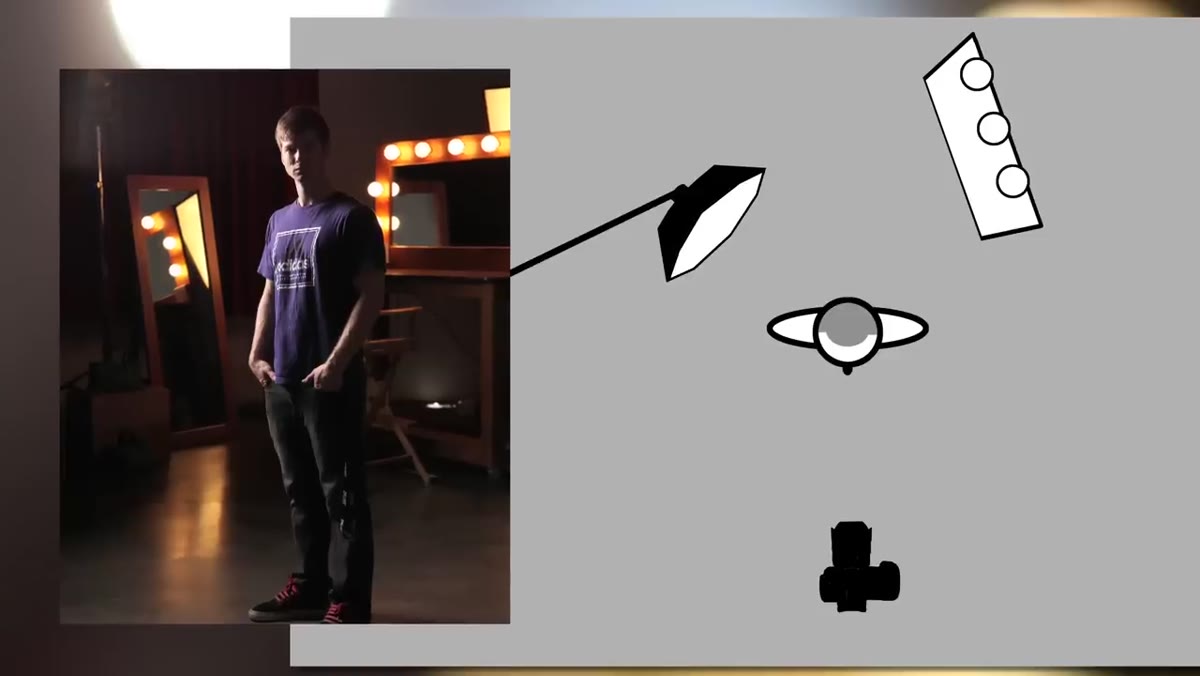 Octo on boom arm positioned as rim light over subject
The strobe layout in this tutorial is built for a three-quarter portrait on a practical set. A Dynalite head with an extra-small octodome sits on a boom arm above and behind the subject as a rim light, separating the figure from the background. A reflector panel with a gold-silver cover on camera right fills the face without adding another hard source. A second Dynalite head with a 20-degree grid handles the right shoulder and body, giving shape and dimension to the torso without spilling onto the background.
Octo on boom arm positioned as rim light over subject
The strobe layout in this tutorial is built for a three-quarter portrait on a practical set. A Dynalite head with an extra-small octodome sits on a boom arm above and behind the subject as a rim light, separating the figure from the background. A reflector panel with a gold-silver cover on camera right fills the face without adding another hard source. A second Dynalite head with a 20-degree grid handles the right shoulder and body, giving shape and dimension to the torso without spilling onto the background.
None of these lights need to be expensive or exotic. The principles are what matter: one light to separate the subject from the background, one to fill the face, one to define the body. The continuous 2K in the background handles the rest of the environmental drama.
Step 6: Add Smoke and Fan It Evenly
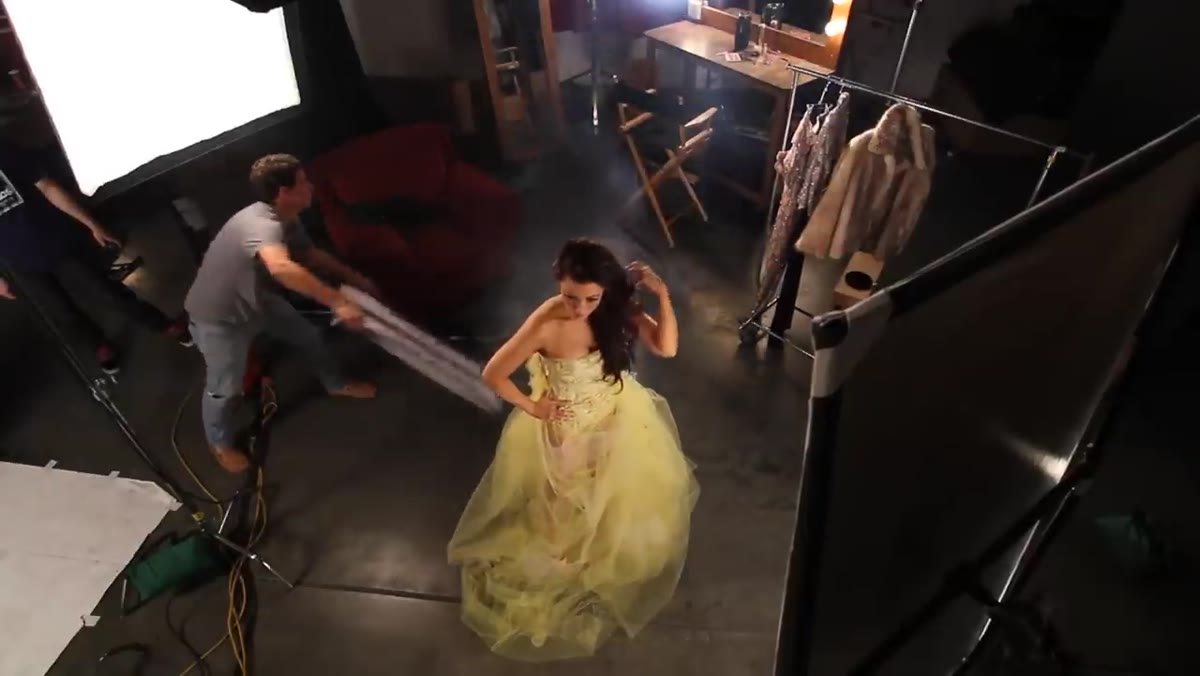 Smoke being fanned to distribute evenly across set
Smoke is what transforms the 2K from a background light into a shaft of light with physical presence. Without smoke, a back light behind a subject reads as a rim or a halo. With smoke, it becomes a beam with volume and atmosphere. The tutorial is specific about technique here: fan the smoke hard as it exits the machine to distribute it into a thin, even layer across the entire set. Clumps of smoke produce uneven, patchy shafts that look accidental rather than designed.
Smoke being fanned to distribute evenly across set
Smoke is what transforms the 2K from a background light into a shaft of light with physical presence. Without smoke, a back light behind a subject reads as a rim or a halo. With smoke, it becomes a beam with volume and atmosphere. The tutorial is specific about technique here: fan the smoke hard as it exits the machine to distribute it into a thin, even layer across the entire set. Clumps of smoke produce uneven, patchy shafts that look accidental rather than designed.
This step requires patience and an assistant if possible. Smoke dissipates and rebuilds between shots. You will not get it right on the first frame. Build the smoke layer, shoot fast, let it settle, rebuild.
What I’d Add From My Own Experience
The tutorial does not spend much time on the white balance decision, but in my experience it is the most consequential call in this entire technique. I ruined an early editorial shoot by mixing light temperatures without understanding what the camera would do with them in post. I was trying to correct everything to neutral in post instead of making the color contrast part of the design from the start.
My standard practice now is to set white balance before the shoot, decide whether the continuous source will be warm, neutral, or gelled, and write it down in my lighting journal with the rationale. When you understand the color spread you are building, you can lean into it in post with NX or Lightroom rather than fighting it. The warm-to-cool contrast does not happen by accident. It happens because you chose it.
The single most important idea to take from this technique is that strobe and continuous light are not competing. They are doing different jobs inside the same frame. Your shutter speed is the dial that controls how much the continuous source contributes. Your aperture sets the relationship between both sources. Your white balance defines the color story. Once you understand which setting controls which light, the creative possibilities open up considerably.
Watch the full tutorial on YouTube to see the smoke work in real time and follow the post-processing sequence that ties the final image together.
Comments (2)
Quality content like this is rare. Keep it up.
Solid advice. Especially the part about taking your time with it.
Leave a Comment