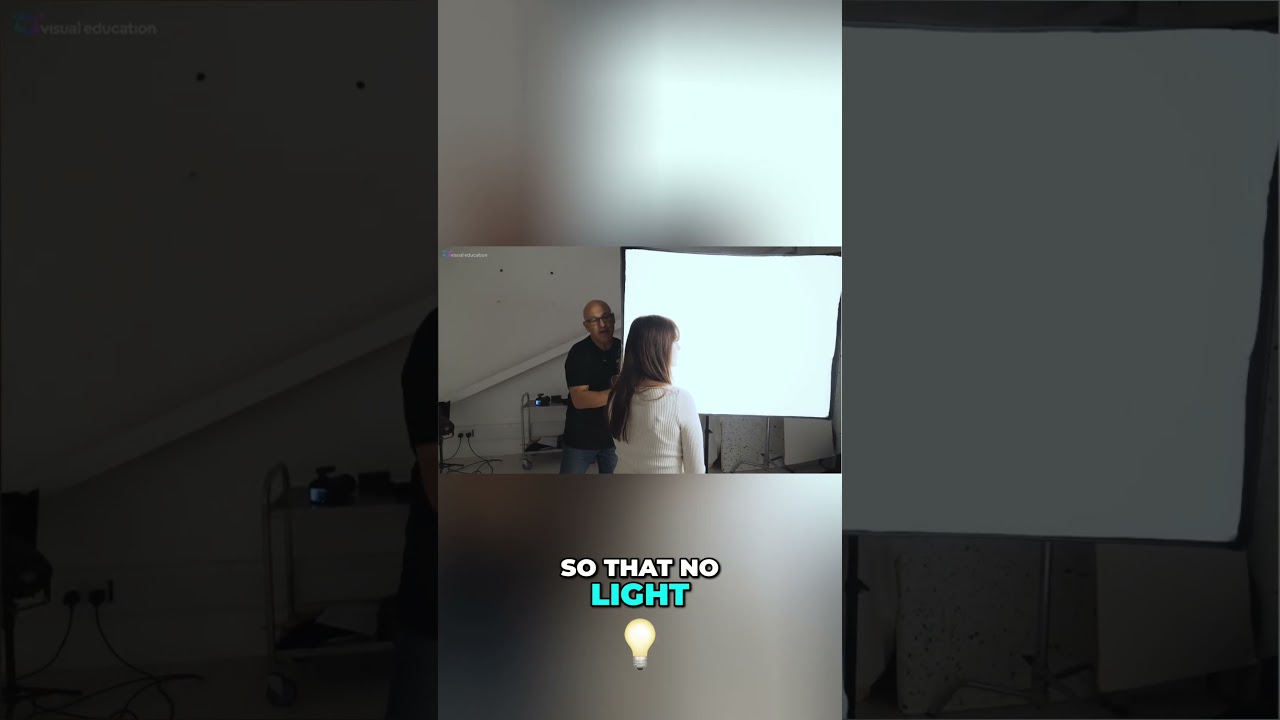
There’s a mistake I see in almost every behind-the-scenes photo that photographers share online. The softbox is positioned at a reasonable distance, the model looks okay, and the whole setup looks perfectly professional. The problem is “reasonable” and “okay” are doing a lot of heavy lifting there, and they’re covering for light that’s working against you. I spent years treating softbox distance as an afterthought, something you eyeballed and called done once the exposure looked right on the back of the camera. It took me embarrassingly long to understand that placement, not size, is where the quality of light is actually decided.
In this Visual Education tutorial, Watch the full tutorial on YouTube, the instructor breaks down a single, high-leverage adjustment that most photographers overlook: bringing the softbox significantly closer to the subject than standard practice suggests. It sounds almost too simple to matter. It matters enormously.
The principle behind it connects to something I sketch in my lighting journal on almost every shoot: the apparent size of a light source relative to the subject is what determines how soft and wrapping the light feels on skin. A large softbox parked three feet too far away starts behaving like a smaller, harsher source. Pull it in close and the physics work in your favor in ways that no amount of post-processing can replicate.
Step 1: Identify Where Your Softbox Is Currently Sitting
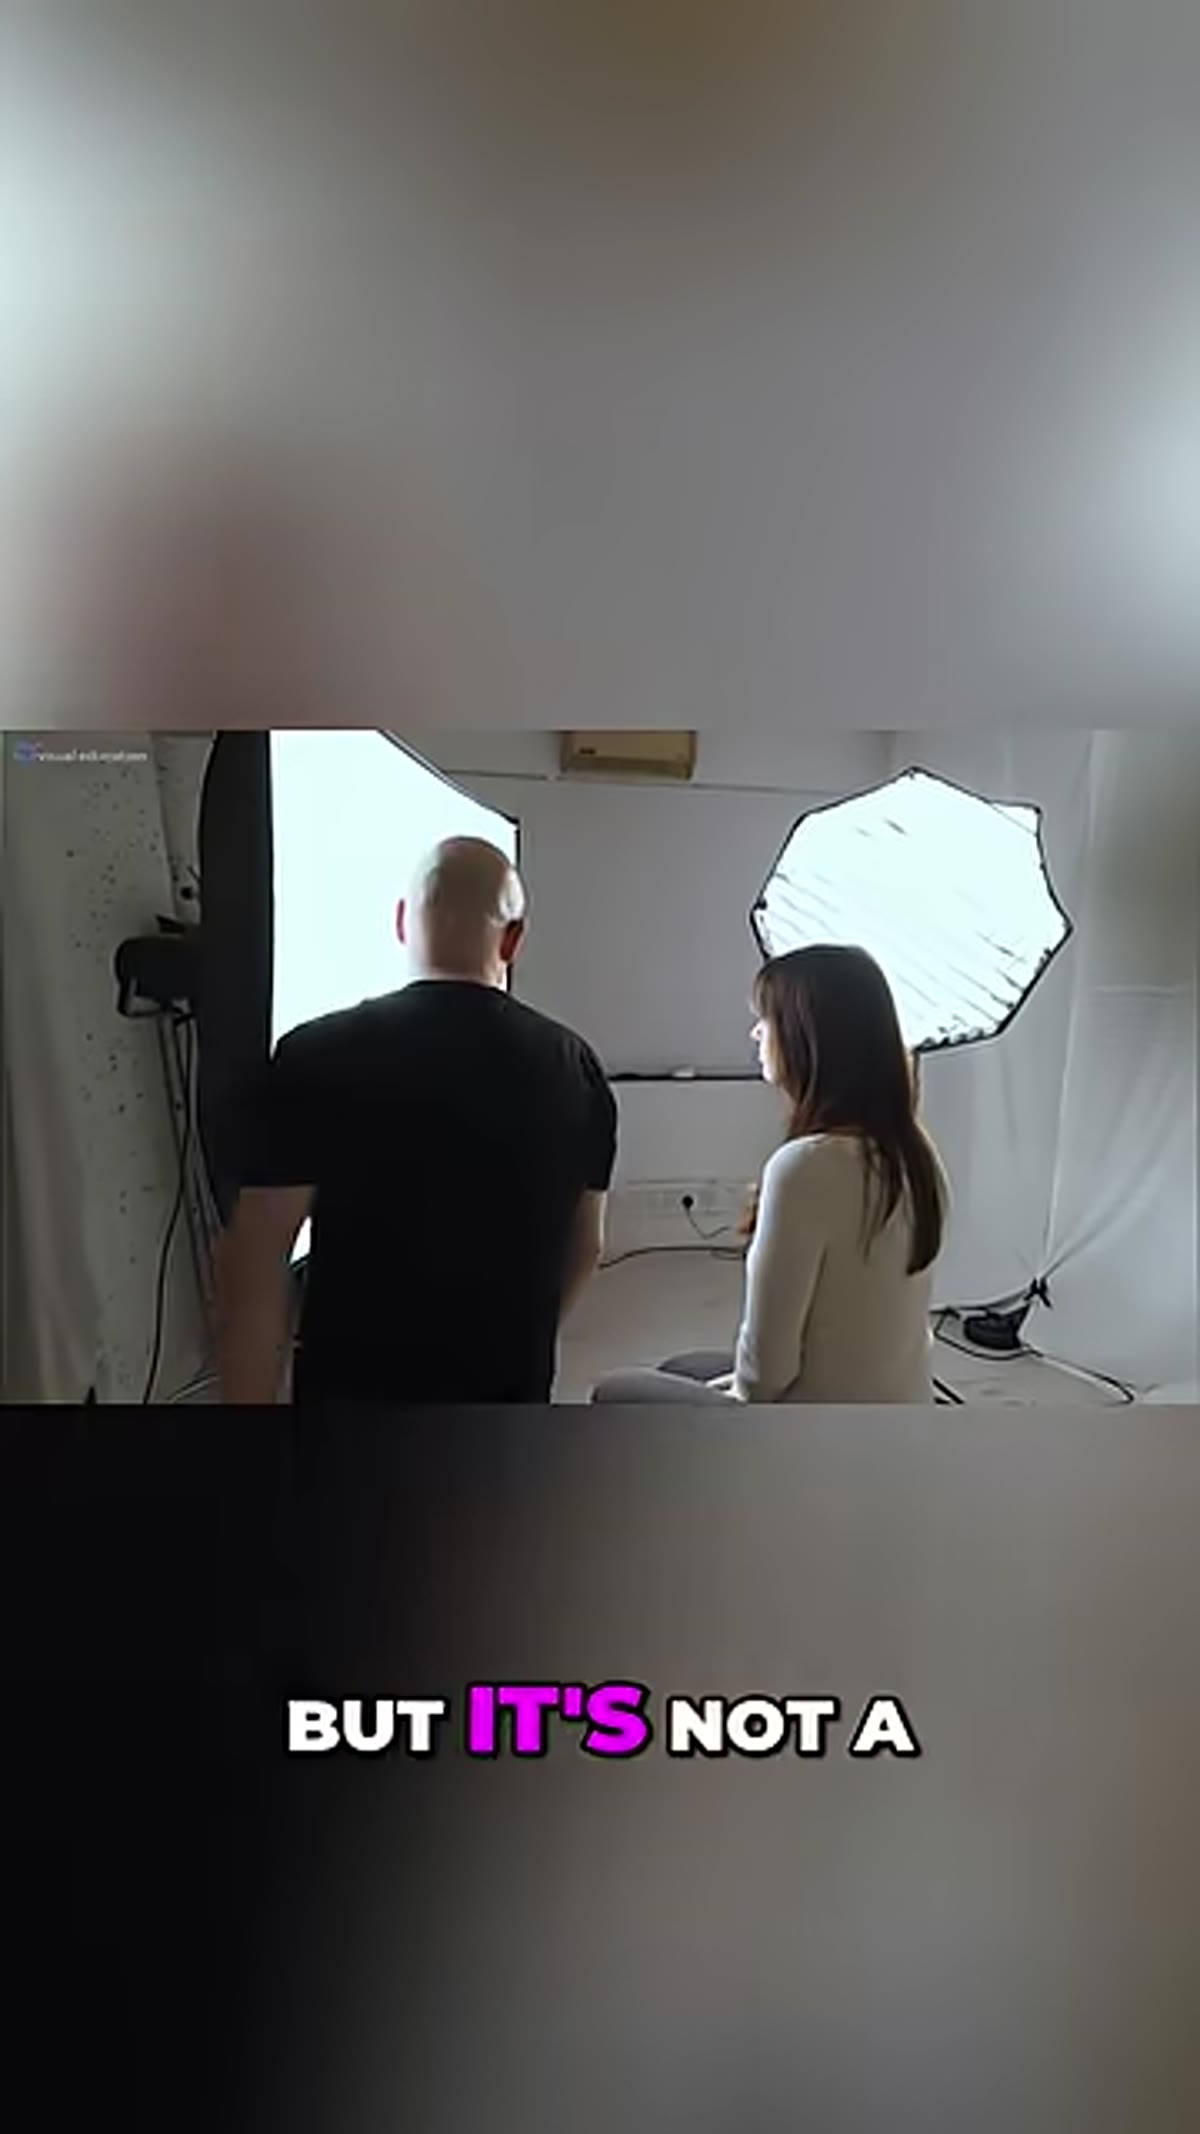 Softbox positioned at a standard but suboptimal distance from subject
Before you move anything, stop and look honestly at your current placement. Most photographers default to a distance that keeps the softbox out of frame with a little margin to spare. That margin is costing you light quality. The tutorial flags this directly: what feels like a safe, standard position is not actually a good standard. Take note of the gap between the edge of your softbox and your subject’s face. If it’s more than two feet and you’re shooting a head-and-shoulders portrait, you’ve already lost the softness you paid for when you bought that modifier.
Softbox positioned at a standard but suboptimal distance from subject
Before you move anything, stop and look honestly at your current placement. Most photographers default to a distance that keeps the softbox out of frame with a little margin to spare. That margin is costing you light quality. The tutorial flags this directly: what feels like a safe, standard position is not actually a good standard. Take note of the gap between the edge of your softbox and your subject’s face. If it’s more than two feet and you’re shooting a head-and-shoulders portrait, you’ve already lost the softness you paid for when you bought that modifier.
Step 2: Push the Softbox As Close As the Frame Allows
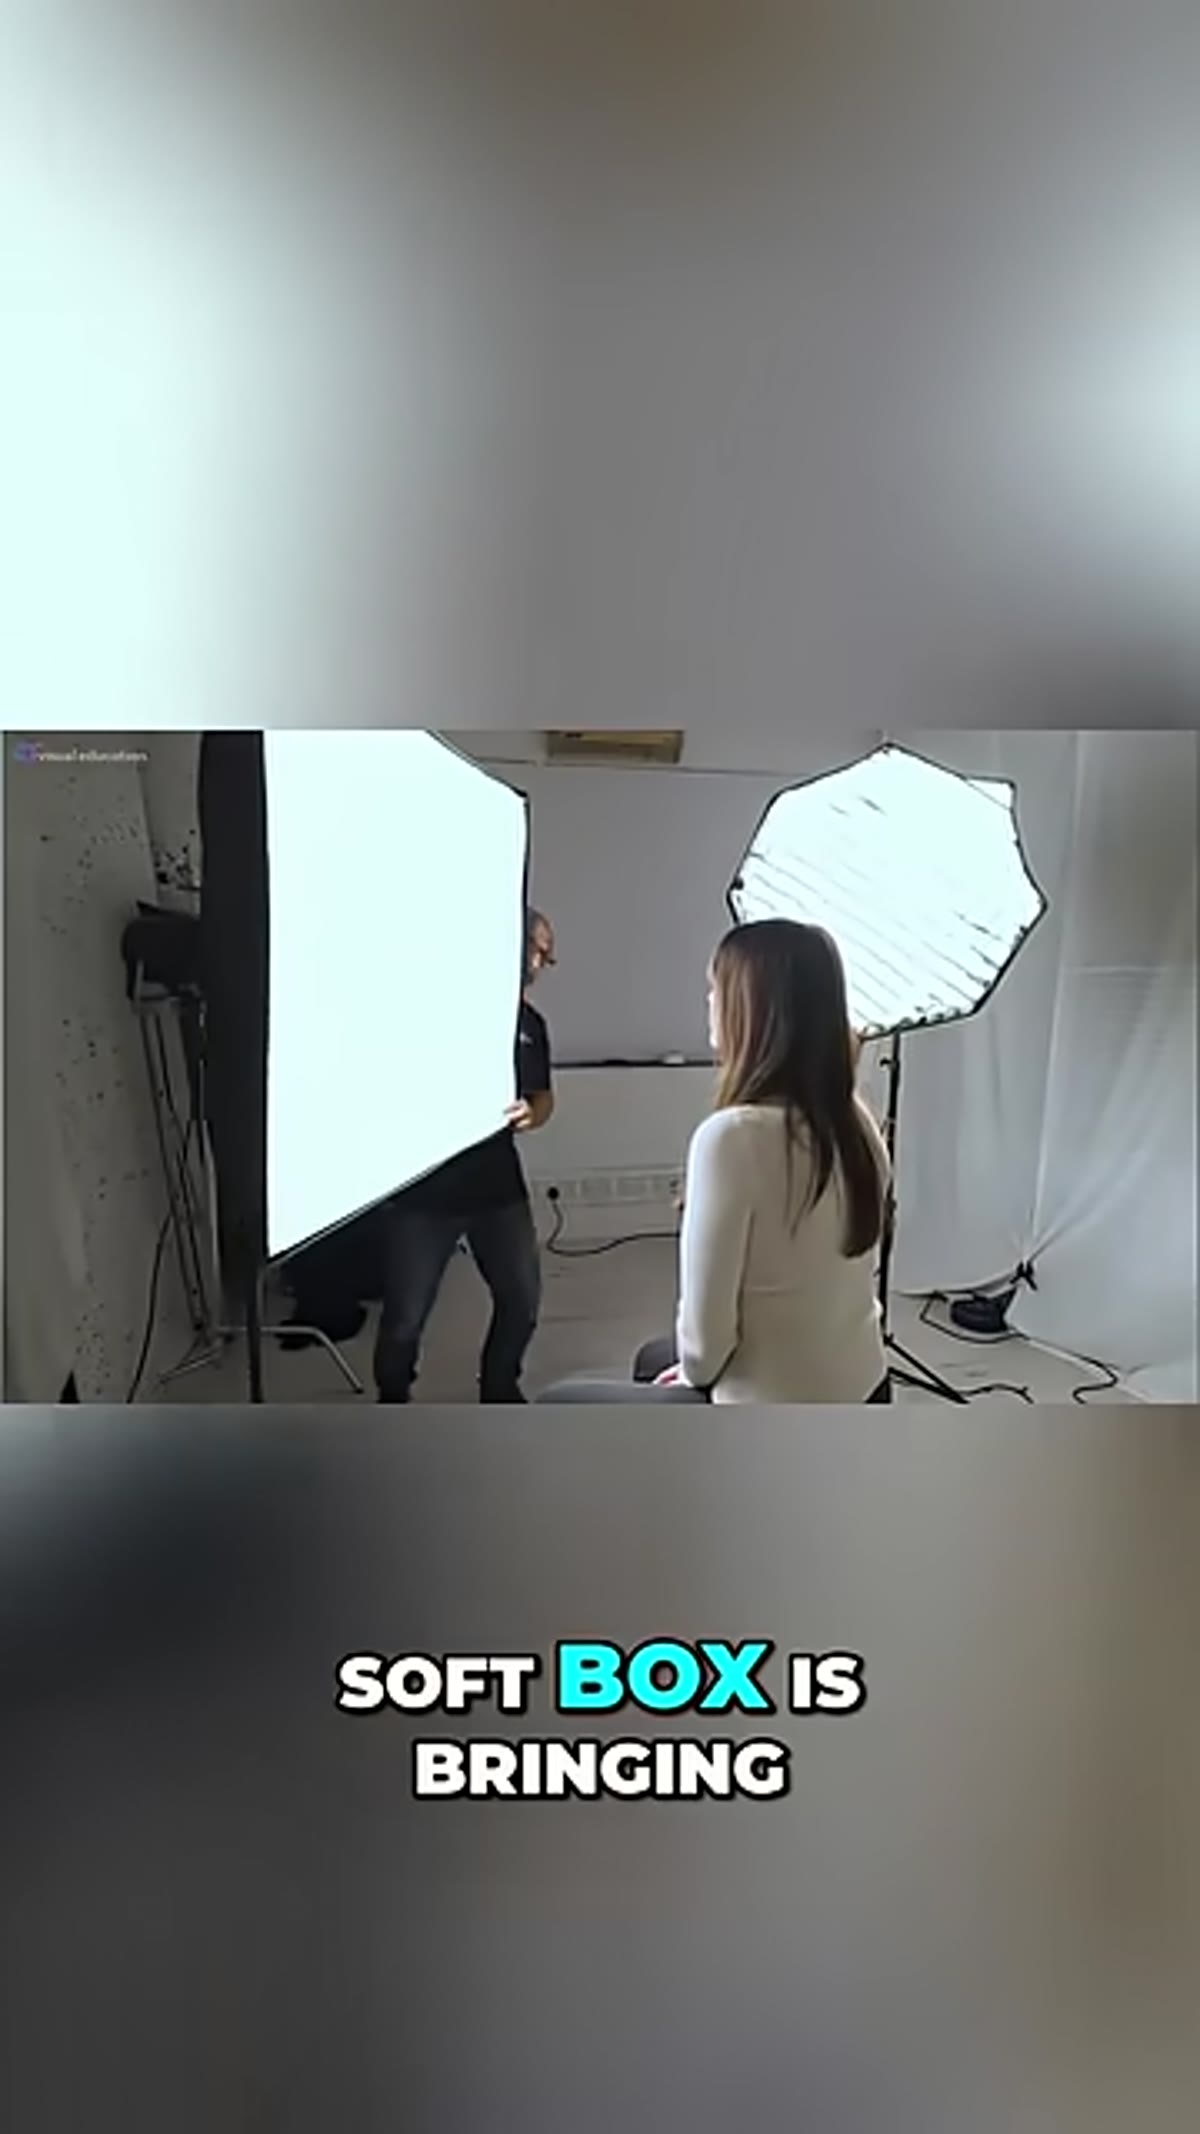 Softbox being moved significantly closer toward the subject
The instruction here is less about hitting an exact measurement and more about committing to a direction. Move the softbox in until it’s as close to the subject as possible without entering your composition. For a tight portrait, that might mean the edge of the modifier is eight to twelve inches from your subject’s cheekbone. For a three-quarter shot, you have a little more room, but the same logic applies: closer is almost always better. I use the live view on my camera to check the frame edge while an assistant nudges the light stand. If the softbox isn’t threatening to creep into frame, it’s probably not close enough yet.
Softbox being moved significantly closer toward the subject
The instruction here is less about hitting an exact measurement and more about committing to a direction. Move the softbox in until it’s as close to the subject as possible without entering your composition. For a tight portrait, that might mean the edge of the modifier is eight to twelve inches from your subject’s cheekbone. For a three-quarter shot, you have a little more room, but the same logic applies: closer is almost always better. I use the live view on my camera to check the frame edge while an assistant nudges the light stand. If the softbox isn’t threatening to creep into frame, it’s probably not close enough yet.
Step 3: Check That the Light Source Extends Beyond the Subject’s Face
 Softbox repositioned so it extends past the subject’s face on both sides
This is the detail that separates a close softbox from a correctly positioned one. The tutorial makes the point that you want the modifier to extend past the subject’s face on all sides, so no part of the light source is being “wasted” in a direction that isn’t contributing to the image. When the softbox is small relative to the face or clipped at an edge, you lose the wrap. When it extends beyond the face in all directions, light is coming at your subject from a slight arc rather than a flat plane, and that’s what produces the dimensional quality that makes a portrait feel three-dimensional rather than flat.
Softbox repositioned so it extends past the subject’s face on both sides
This is the detail that separates a close softbox from a correctly positioned one. The tutorial makes the point that you want the modifier to extend past the subject’s face on all sides, so no part of the light source is being “wasted” in a direction that isn’t contributing to the image. When the softbox is small relative to the face or clipped at an edge, you lose the wrap. When it extends beyond the face in all directions, light is coming at your subject from a slight arc rather than a flat plane, and that’s what produces the dimensional quality that makes a portrait feel three-dimensional rather than flat.
Step 4: Observe How the Light Wraps to the Far Side of the Face
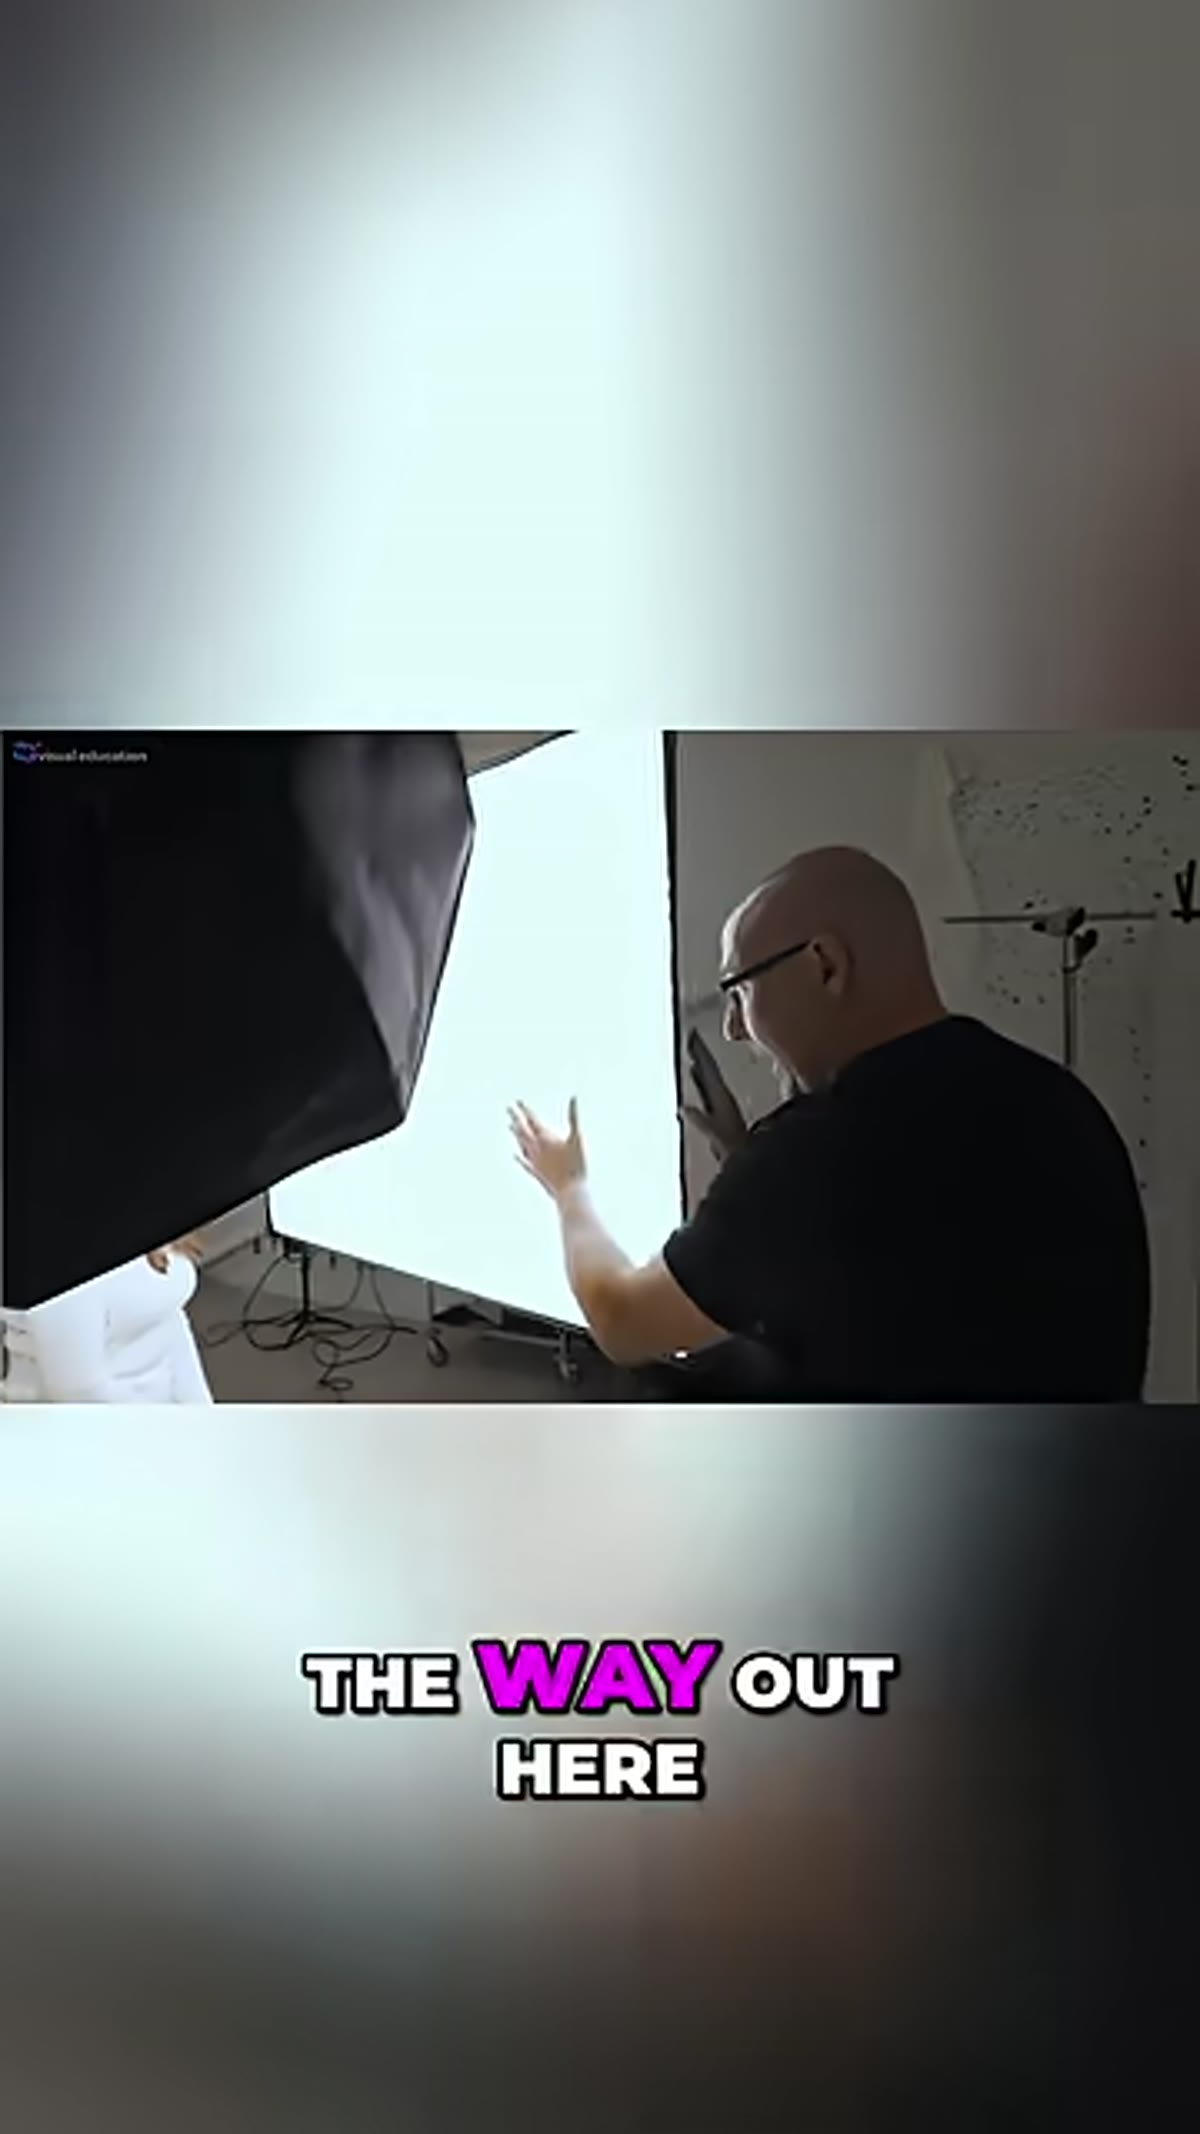 Light visibly wrapping around the shadow side of the subject’s face
Once the softbox is properly positioned, look at the shadow side of your subject’s face. A correctly placed, close softbox doesn’t just illuminate the near side, it bends around the contours and kisses the far cheek with a gradual, natural transition. The tutorial describes this as the light wrapping around the far side of the face, which is exactly the quality you’re after in beauty and editorial work. If your shadow side is going completely black with a hard edge, the light source is either too far away, too small for the frame, or both. This wrap is the visual evidence that your placement is working.
Light visibly wrapping around the shadow side of the subject’s face
Once the softbox is properly positioned, look at the shadow side of your subject’s face. A correctly placed, close softbox doesn’t just illuminate the near side, it bends around the contours and kisses the far cheek with a gradual, natural transition. The tutorial describes this as the light wrapping around the far side of the face, which is exactly the quality you’re after in beauty and editorial work. If your shadow side is going completely black with a hard edge, the light source is either too far away, too small for the frame, or both. This wrap is the visual evidence that your placement is working.
Step 5: Watch for Gradual Falloff Rather Than Abrupt Shadow Transitions
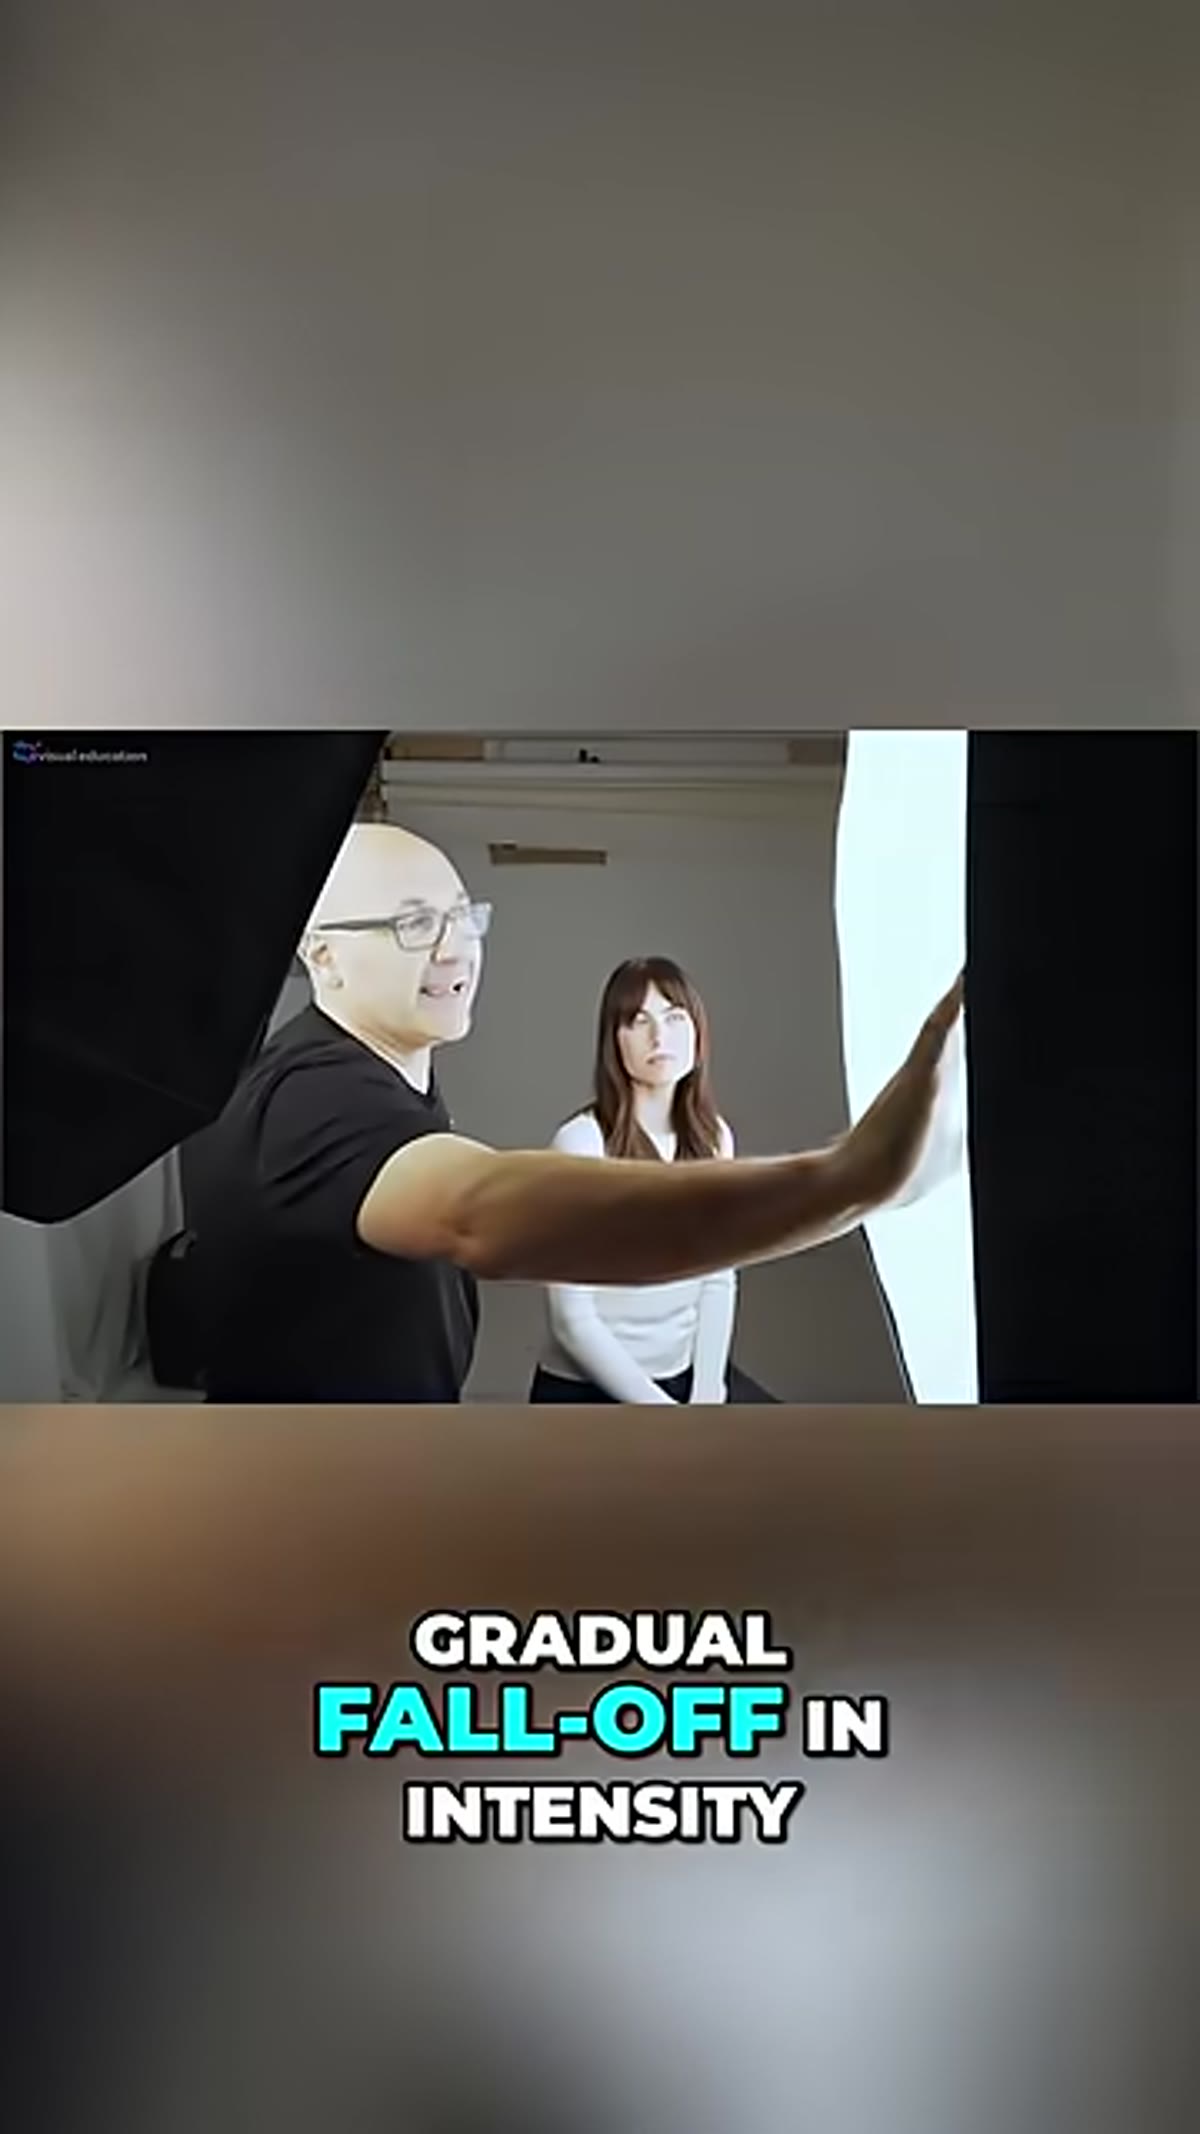 Smooth gradual light falloff visible across subject’s face and neck
Falloff is the rate at which brightness decreases as you move away from the lit area. A close, large source produces a slow, gradual falloff that reads as flattering and cinematic on skin. A distant source produces a faster, more abrupt falloff that can look harsh or flat depending on how it’s hitting your subject’s features. After repositioning, look at the transition from highlight to shadow across the cheekbones, jaw, and neck. It should feel like a slow fade, not a flip of a switch. If it still looks abrupt, the softbox needs to come in closer or increase in size.
Smooth gradual light falloff visible across subject’s face and neck
Falloff is the rate at which brightness decreases as you move away from the lit area. A close, large source produces a slow, gradual falloff that reads as flattering and cinematic on skin. A distant source produces a faster, more abrupt falloff that can look harsh or flat depending on how it’s hitting your subject’s features. After repositioning, look at the transition from highlight to shadow across the cheekbones, jaw, and neck. It should feel like a slow fade, not a flip of a switch. If it still looks abrupt, the softbox needs to come in closer or increase in size.
One Caveat From Working With This on Real Sets
The technique works exactly as described, but there’s a practical wrinkle that took me a few shoots to solve: working this close with a large softbox can create problems for models who need to move. On a recent editorial job where I was shooting full-length looks, I had to compromise slightly on distance because the subject was stepping in and out of marks. The fix I landed on was going from a 3x3 foot softbox to a 4x4, which let me pull back a few inches while keeping the apparent size roughly equivalent. More surface area gives you a little more forgiveness on distance without sacrificing the wrap. It’s a trade I’ll make every time. Always test your new configuration before the talent arrives so you’re not problem-solving with a client watching.
The single thing worth carrying out of this tutorial is the willingness to question your default softbox position. “Standard” placement is usually a habit, not a decision. Moving a light source one to two feet closer than feels comfortable can be the difference between light that looks like it was set up and light that looks like it belongs. Every time I set up a softbox now, I physically move it closer than my instinct says to, check the wrap on the shadow side, and then decide if I’ve gone far enough.
Watch the full tutorial on YouTube and pay attention to how quickly the quality of light changes in the demonstration. It’s one of those adjustments that’s obvious the moment you see it and easy to forget the moment you’re rushing through a setup.
Comments (1)
Simple but effective. Sometimes that's all you need.
Leave a Comment