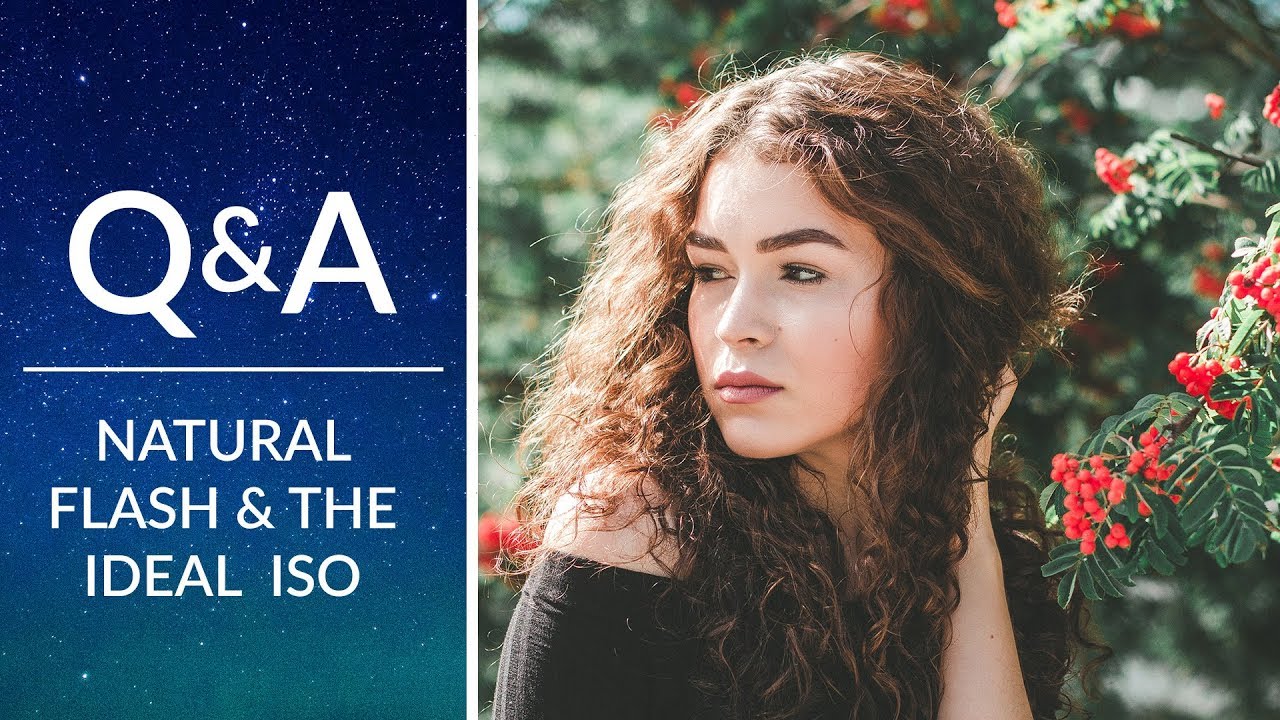
Every time I onboard a new assistant in my studio, the same conversation happens within the first hour. They’ve been shooting portraits on auto, the images look flat or harsh, and they can’t figure out why. Nine times out of ten, the problem isn’t the light source. It’s that nobody taught them how ISO and flash interact – and how that relationship determines whether your portrait looks like a photograph or a crime scene snapshot.
Watch the full tutorial on YouTube
In this Aaron Nace (PHLEARN) tutorial, he cuts straight to the practical mechanics: what ISO actually does to your sensor, how noise behaves differently across camera bodies, and how to use on-camera flash to build portraits that read as natural rather than artificial. I’ve been shooting commercial and editorial work for nearly two decades, and I still found myself nodding along. The framework he lays out is the same one I use every time I set up a new location shoot where I can’t control ambient light. Here’s how to walk through it.
Step 1: Understand What ISO Actually Does to Your Image
 Camera sensor diagram or talking head explaining ISO noise
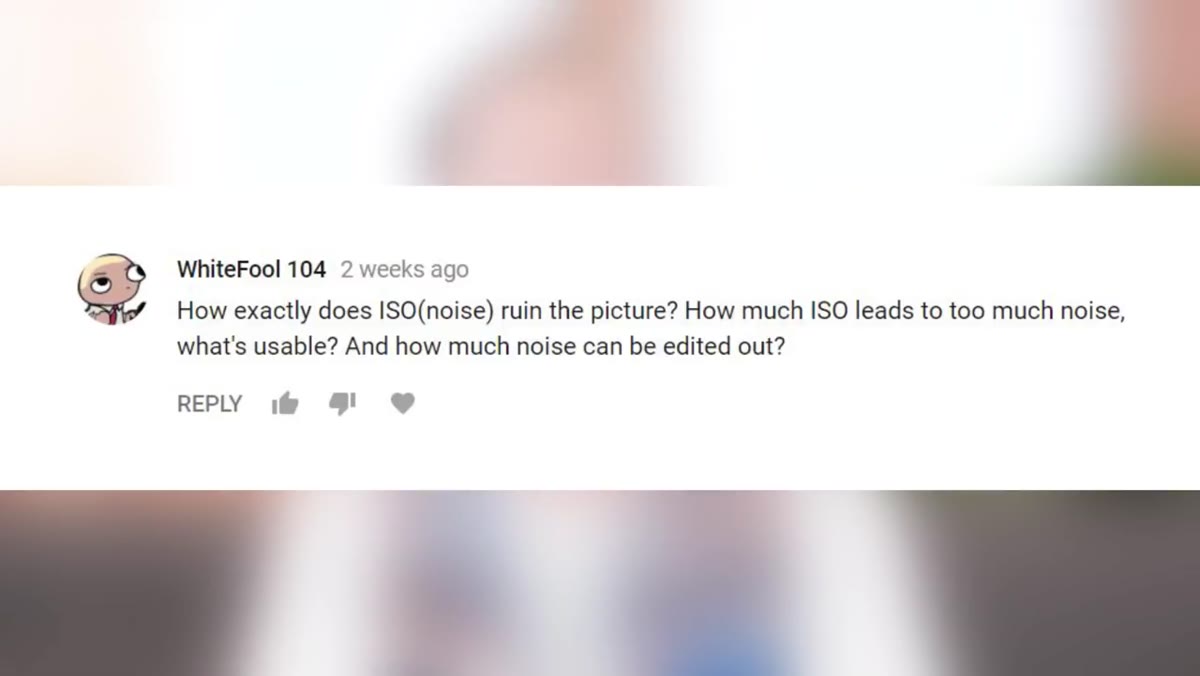
ISO is not a magic brightness dial. What it does is amplify the signal your sensor captures – and like amplifying any signal, it amplifies the noise along with it. The practical consequence is straightforward: the higher your ISO, the more grain-like digital noise appears in your shadows and midtones. Your goal in almost every portrait scenario is to keep ISO as low as your exposure allows. That’s not a stylistic preference, it’s an engineering constraint.
Camera sensor diagram or talking head explaining ISO noise
ISO is not a magic brightness dial. What it does is amplify the signal your sensor captures – and like amplifying any signal, it amplifies the noise along with it. The practical consequence is straightforward: the higher your ISO, the more grain-like digital noise appears in your shadows and midtones. Your goal in almost every portrait scenario is to keep ISO as low as your exposure allows. That’s not a stylistic preference, it’s an engineering constraint.
The threshold for “too much noise” is context-dependent. High-end beauty and product work demands clean files, sometimes ISO 100 only. Documentary and lifestyle work has more tolerance. Know your client’s expectations before you ever touch that dial.
Step 2: Run the Lens Cap Test on Every Body You Own
 Camera with lens cap on, ISO test frames on screen
Here’s a calibration habit I’ve kept since early in my career: before I rely on any camera body for a paying shoot, I run what Aaron calls the lens cap test. Cap the lens, shoot a sequence of frames at every major ISO stop – 100, 200, 400, 800, 1600, 3200 – then pull them into Lightroom and zoom to 100 percent. What you’re measuring is your personal noise floor for that specific body.
Camera with lens cap on, ISO test frames on screen
Here’s a calibration habit I’ve kept since early in my career: before I rely on any camera body for a paying shoot, I run what Aaron calls the lens cap test. Cap the lens, shoot a sequence of frames at every major ISO stop – 100, 200, 400, 800, 1600, 3200 – then pull them into Lightroom and zoom to 100 percent. What you’re measuring is your personal noise floor for that specific body.
I do this the day a new camera arrives. I keep a folder labeled by body and date so I can compare bodies side by side. A Canon 5D Mark III sitting at ISO 800 produces files I’m comfortable delivering to a fashion client. A crop-sensor entry-level body at the same ISO looks substantially noisier – not unusable for every job, but something I factor into how I expose and how much I plan to push files in post. Know your tools before the shoot, not during it.
Step 3: Accept That Noise Tolerance Is Subjective – But Define Yours in Advance
 Side-by-side comparison or Aaron discussing noise subjectivity
Aaron makes a point that sounds obvious but trips up a lot of shooters: noise ruining a photo is not an objective line, it’s a judgment call. Where I’ve seen this go wrong is when photographers treat their noise tolerance as infinite on set and then deliver files the client sends back. The fix is to define your acceptable ceiling before you shoot, not in the edit.
Side-by-side comparison or Aaron discussing noise subjectivity
Aaron makes a point that sounds obvious but trips up a lot of shooters: noise ruining a photo is not an objective line, it’s a judgment call. Where I’ve seen this go wrong is when photographers treat their noise tolerance as infinite on set and then deliver files the client sends back. The fix is to define your acceptable ceiling before you shoot, not in the edit.
For my commercial work, I set a hard limit of ISO 400 on beauty close-ups and ISO 800 on full-body editorial. Anything above that, I’m reaching for additional light rather than pushing the sensor. If I’m doing a lifestyle shoot in a dimly lit restaurant for a hospitality brand, ISO 1600 might be completely acceptable because grain reads as atmosphere in that context. The discipline is making that decision deliberately, not by accident.
Step 4: Introduce Flash to Buy Yourself a Lower ISO
 On-camera flash or external flash setup for portraits
This is where the tutorial connects the two topics. The reason to understand ISO performance is so you know exactly how much work your flash needs to do. If you’re in an environment with low ambient light and you need to keep ISO at 400 to get clean files, your flash has to bring enough output to make that exposure work at your target aperture and shutter speed.
On-camera flash or external flash setup for portraits
This is where the tutorial connects the two topics. The reason to understand ISO performance is so you know exactly how much work your flash needs to do. If you’re in an environment with low ambient light and you need to keep ISO at 400 to get clean files, your flash has to bring enough output to make that exposure work at your target aperture and shutter speed.
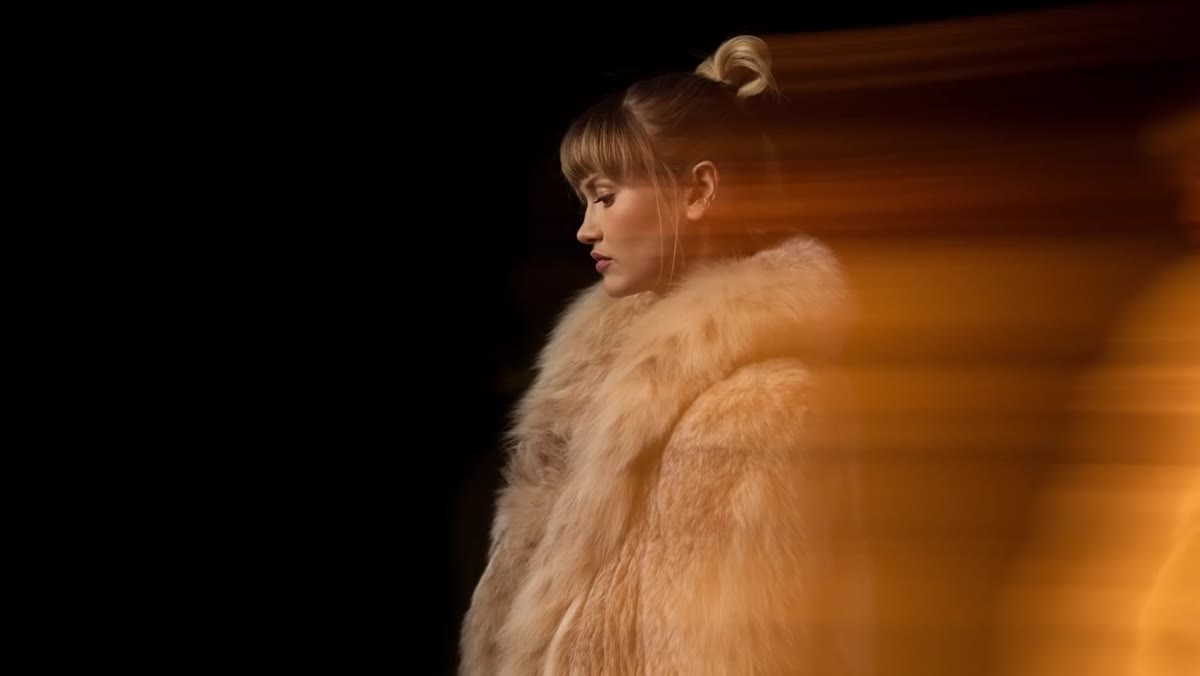
On-camera flash is often dismissed as flat and harsh, and used wrong, it is. But the approach Aaron outlines – using flash as a fill or primary source shaped with a modifier – changes the result entirely. The key is matching your flash output to the ambient so the light reads as natural. A portrait lit purely by on-camera flash at full power looks like a mugshot. A portrait where the flash is one stop above a warm ambient base looks like available light.
Step 5: Dial the Flash to Complement, Not Overpower, Ambient Light
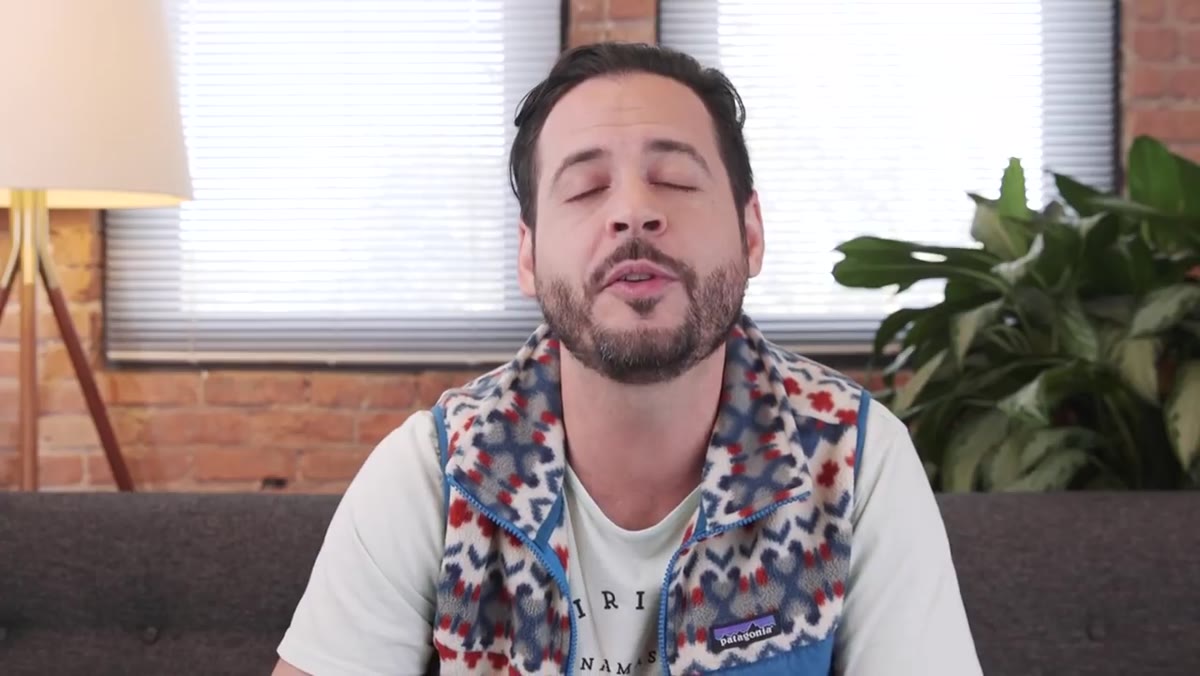 Portrait demonstration with flash and natural-looking result
The workflow I use is to set my exposure for the ambient light first – metering the background or the available fill – then bring in flash to lift the subject. If ambient gives me a one-stop underexposure on the subject’s face, I set the flash to close that gap without blowing past it. The result is a portrait where the light looks like it belongs in the room rather than like it was imposed on it.
Portrait demonstration with flash and natural-looking result
The workflow I use is to set my exposure for the ambient light first – metering the background or the available fill – then bring in flash to lift the subject. If ambient gives me a one-stop underexposure on the subject’s face, I set the flash to close that gap without blowing past it. The result is a portrait where the light looks like it belongs in the room rather than like it was imposed on it.
Aaron’s framing of “natural-looking” flash is really about ratio and color temperature. Keep your flash’s color temperature consistent with your ambient sources, or gel accordingly. I keep a small pack of CTO and CTB gels in every kit for exactly this reason.
What I’d Add From My Own Work
The lens cap test Aaron describes is solid, but I’d extend it one step further: run the same test with your flash firing. Some sensors show a slightly different noise profile when there’s a mix of flash and ambient because your shutter speed changes how much ambient bleeds in. Run a dual-exposure series – one set ambient only, one set with flash – so you understand what your files actually look like in the conditions you’re shooting.
I also keep a lighting journal for every shoot, a small notebook where I sketch the setup and log the ISO, aperture, shutter speed, and flash power for each look. When I get a result I love, I can recreate it. When something goes wrong, I can trace it back. It takes three minutes per setup and has saved me from reinventing the wheel more times than I can count.
The single most important takeaway from this tutorial is also the most unsexy one: your ISO decision and your lighting decision are the same decision. You can’t optimize them independently. Set your noise floor first, then build your light around it rather than the other way around.
Watch the full tutorial on YouTube – Aaron’s delivery is clear and practical, and the Q&A format means he’s answering questions that real photographers are actually asking.
Comments
Leave a Comment