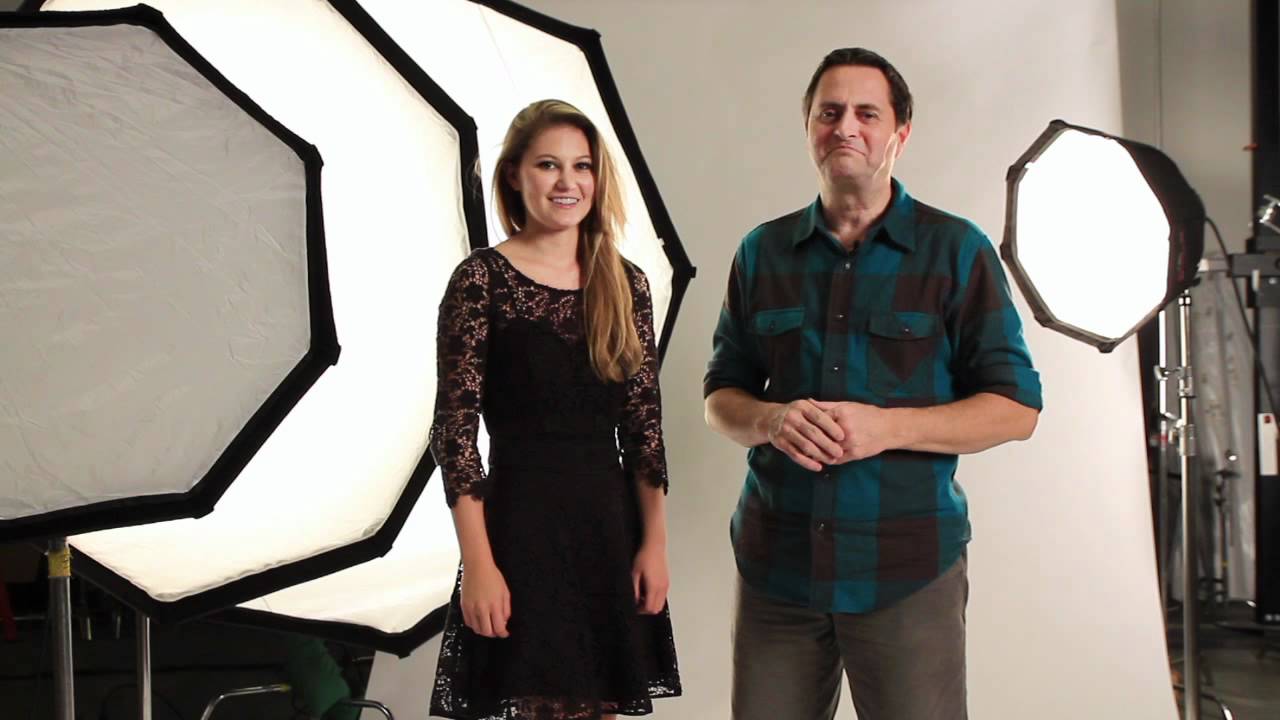
I test every new modifier the day it arrives. Not because I’m impatient, though I am, but because showing up to a client shoot with an untested piece of gear is how careers end quietly. So when octodomes started appearing in more of my commercial setups, I needed to understand exactly what I was getting, not just the marketing copy on the box. Size, coverage, feathering behavior, catchlight shape. All of it. JP Morgan over at The Slanted Lens put together a tutorial that answered the specific questions I kept running into on set, and it does it with actual measurements rather than vague impressions. Watch the full tutorial on YouTube before or after reading this breakdown.
What makes this tutorial worth your time is that it treats octodomes as a variable to be tested rather than a category to be celebrated. JP compares small, medium, and large versions of the same modifier type side by side, against a measured target, so you see real falloff data instead of approximations. That kind of rigor is how I think about lighting too. I keep a lighting journal where I sketch every setup from every shoot, and the data from this tutorial has filled several pages already.
Step 1: Understand What an Octodome Actually Is
 Host explaining octodome against a plain studio background
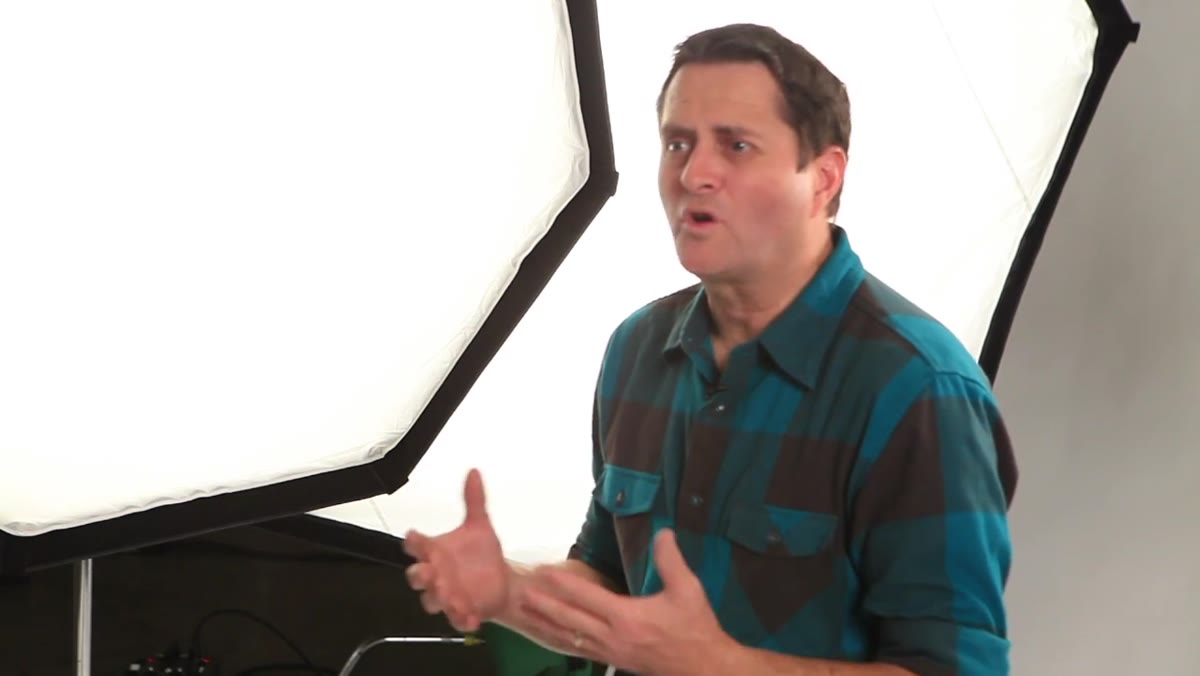
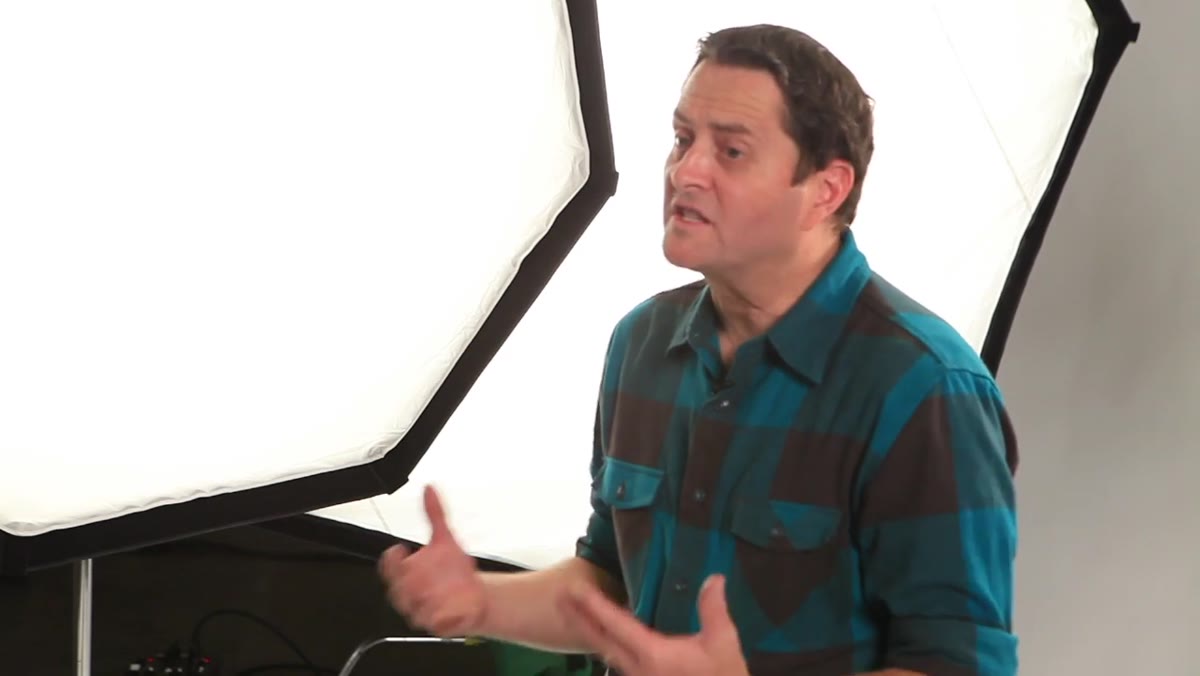
An octodome is an eight-sided softbox. Different manufacturers call it an octabox, octa-bank, or octadome, but the shape is the same. The eight sides give it a roughly circular face, which matters both for light quality and for the catchlight shape it produces in your subject’s eyes. If you already work with rectangular softboxes, think of the octodome as a cousin, similar physics, meaningfully different output in specific situations.
Host explaining octodome against a plain studio background
An octodome is an eight-sided softbox. Different manufacturers call it an octabox, octa-bank, or octadome, but the shape is the same. The eight sides give it a roughly circular face, which matters both for light quality and for the catchlight shape it produces in your subject’s eyes. If you already work with rectangular softboxes, think of the octodome as a cousin, similar physics, meaningfully different output in specific situations.
The practical starting point is recognizing that an octodome is not a universal upgrade over a standard softbox. It is a different tool with different strengths. Knowing which situations call for which modifier is the actual skill this tutorial is building toward.
Step 2: Test Coverage Area Before Assuming Bigger Means More
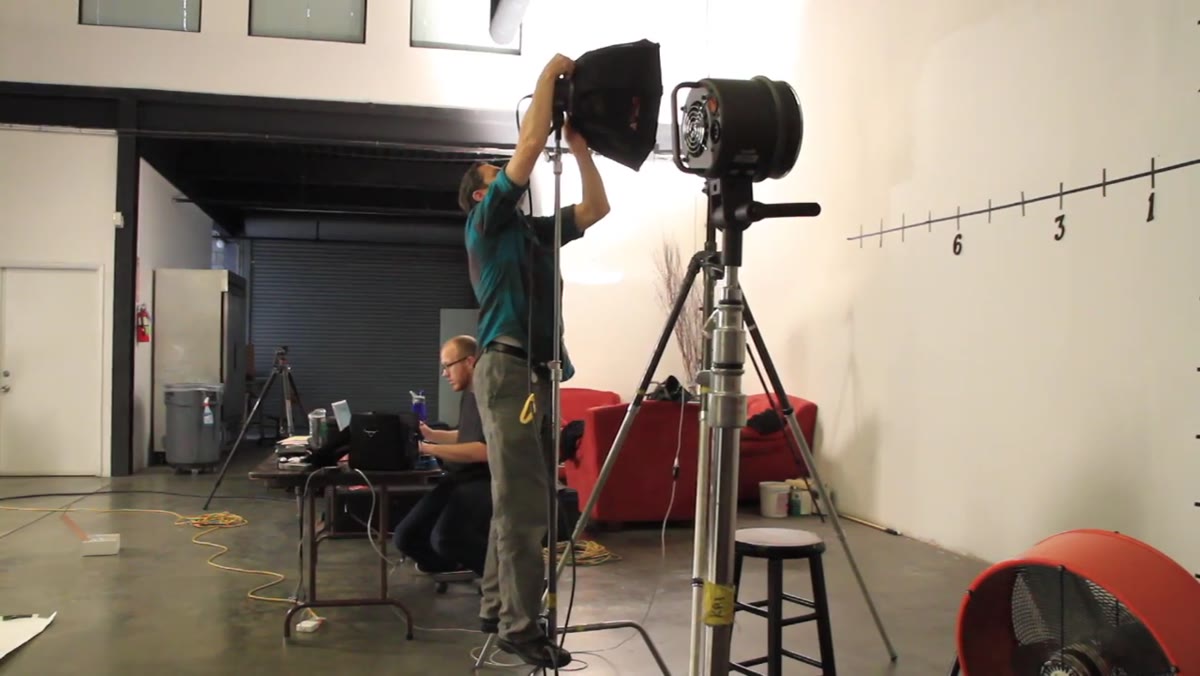
 12-foot tape grid on wall showing coverage measurement setup
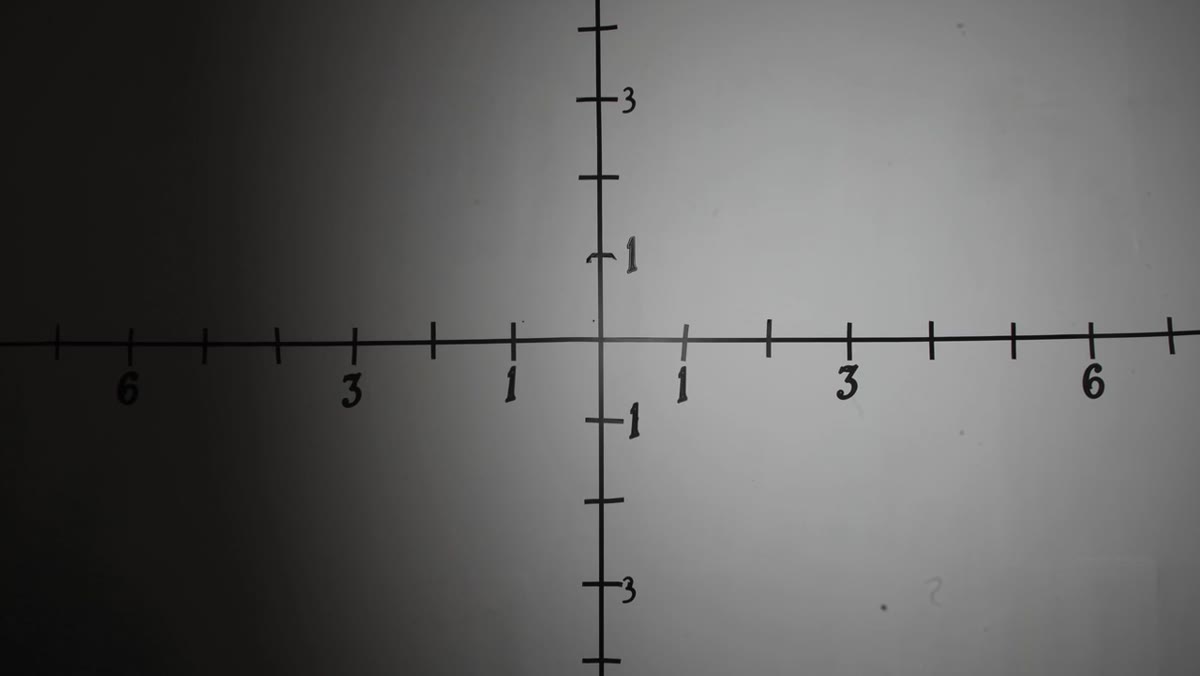
JP sets up a 12-foot by 12-foot tape grid on the wall and positions each octodome six feet away. The result is counterintuitive until you think about it: small, medium, and large octodomes all cover roughly the same 12-foot radius with a one-stop falloff. The size of the modifier does not expand the coverage area.
12-foot tape grid on wall showing coverage measurement setup
JP sets up a 12-foot by 12-foot tape grid on the wall and positions each octodome six feet away. The result is counterintuitive until you think about it: small, medium, and large octodomes all cover roughly the same 12-foot radius with a one-stop falloff. The size of the modifier does not expand the coverage area.
This matters enormously for shooting decisions. If you are placing a large 7-foot octodome because you think it will light a wider area, you are solving the wrong problem. Coverage is determined more by distance and power than by the physical size of the modifier. If you need to fill a wider area, move the light back or add a second source.
Step 3: Use Size to Control Light Quality, Not Coverage
 Small octodome on subject showing harder directional shadow
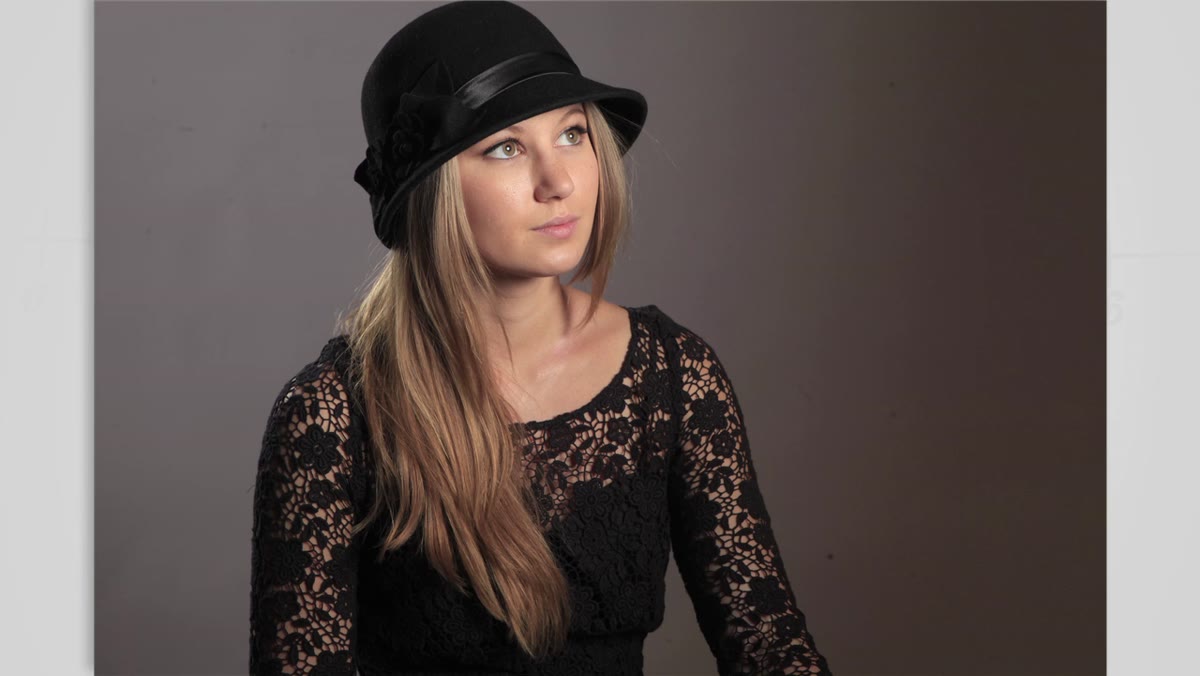
Once coverage is off the table as a differentiator, size becomes about one thing: the softness and wrap of the light. A small octodome produces a more directional, harder light with visible shadow edges. A medium octodome softens things noticeably but still gives you shadow definition on the wall behind the subject. A large 7-foot octodome wraps so aggressively that shadows nearly disappear entirely.
Small octodome on subject showing harder directional shadow
Once coverage is off the table as a differentiator, size becomes about one thing: the softness and wrap of the light. A small octodome produces a more directional, harder light with visible shadow edges. A medium octodome softens things noticeably but still gives you shadow definition on the wall behind the subject. A large 7-foot octodome wraps so aggressively that shadows nearly disappear entirely.
For beauty and fashion work where I want skin to feel luminous without looking flat, the large octodome is often the answer. For corporate headshots where I still want some facial modeling and dimension, the medium is more useful. The small octodome earns its place when I need a softer version of what a bare strobe would give me, still directional, but with some gentleness introduced.
Step 4: Factor In the Round Catchlight
 Close-up of eye showing round circular catchlight reflection
The eight-sided shape of an octodome produces a round catchlight in the eye. A rectangular softbox produces a square or rectangular one. Neither is wrong, but they carry different visual associations. A round catchlight reads closer to sunlight or a large ambient source. A square catchlight reads closer to window light.
Close-up of eye showing round circular catchlight reflection
The eight-sided shape of an octodome produces a round catchlight in the eye. A rectangular softbox produces a square or rectangular one. Neither is wrong, but they carry different visual associations. A round catchlight reads closer to sunlight or a large ambient source. A square catchlight reads closer to window light.
For portrait and beauty work, I have a strong preference for the round catchlight. It feels natural and flattering without looking artificial. For product photography, especially bottles or anything with a reflective surface, the rectangular catchlight from a standard softbox often makes more sense because it echoes real window light. Know which look you are after before you rig up.
Step 5: Learn How Octodomes Feather Differently Than Softboxes
 Octodome angled at 45 degrees showing feathering comparison test
Feathering is the technique of angling a light source away from the subject to use the softer edge of the beam rather than the hot center. JP tests this by aiming both an octodome and a softbox at a 45-degree angle to the wall and measuring the exposure difference at center.
Octodome angled at 45 degrees showing feathering comparison test
Feathering is the technique of angling a light source away from the subject to use the softer edge of the beam rather than the hot center. JP tests this by aiming both an octodome and a softbox at a 45-degree angle to the wall and measuring the exposure difference at center.
The octodome dropped one stop at center when feathered. The equivalent softbox dropped two stops. The reason is geometry: the light source inside an octodome sits closer to the face of the modifier, so you have to rotate it further before the output at any given point drops significantly. A softbox with a deeper body lets the light travel further before it exits, so feathering takes effect sooner with less physical rotation. In practice this means you need to turn an octodome further off-axis than you would a softbox to achieve the same feathered effect. Build that into your setup time.
Step 6: Match Modifier Size to Your Creative Intent
 Large octodome on subject with zero wall shadow visible
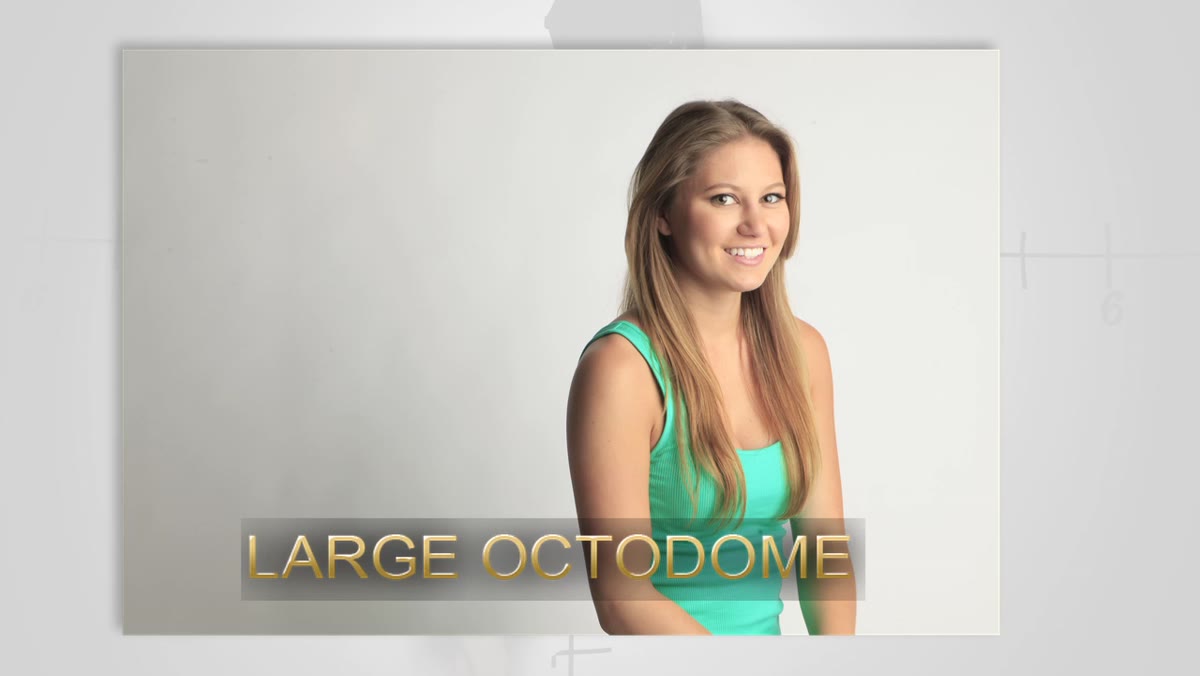
Once you understand coverage, quality, and feathering behavior, the decision framework becomes straightforward. Large octodome for maximum wrap and shadow elimination, good for glamour, fashion, or fill. Medium for balanced softness with some modeling retained. Small for directional soft light when you want shape without harshness.
Large octodome on subject with zero wall shadow visible
Once you understand coverage, quality, and feathering behavior, the decision framework becomes straightforward. Large octodome for maximum wrap and shadow elimination, good for glamour, fashion, or fill. Medium for balanced softness with some modeling retained. Small for directional soft light when you want shape without harshness.
JP demonstrates each size on a real subject so you can see the shadow building on the background wall change across all three. Watch that background shadow as your reference point. When it disappears entirely, you have crossed into the territory of a large, wrapping source. When it becomes a defined edge, you are working with a smaller, more directional modifier.
What I Would Add From My Own Work
The tutorial focuses on the octodome as a solo source, which is exactly right for learning its behavior in isolation. In commercial and editorial work, though, I almost never use a large octodome without something behind the subject or a second modifier cutting the spill. That wrap-everything quality is beautiful and also indiscriminate. A 7-foot octodome will fill your shadows, yes, and it will also flatten your background separation and reduce the sense of depth in the image.
My usual approach with a large octodome is to treat it as a primary source and then use a separate hair or rim light to reintroduce some dimension. I also keep a roll of black foil rigged near the edge of large modifiers to cut any spill that bleeds onto the background when I want to hold that separation. The octodome gives you beautiful light fast. The control work happens in the details around it.
The single most important thing this tutorial teaches is that modifier size controls light quality, not light coverage. Once that principle lands, your modifier choices become deliberate rather than instinctive. Watch the full tutorial on YouTube to see the side-by-side comparisons on a real subject, they make the falloff and wrap differences immediately visible in a way that no written description fully replaces.
Comments (1)
Great breakdown. The step-by-step approach really helps.
Leave a Comment