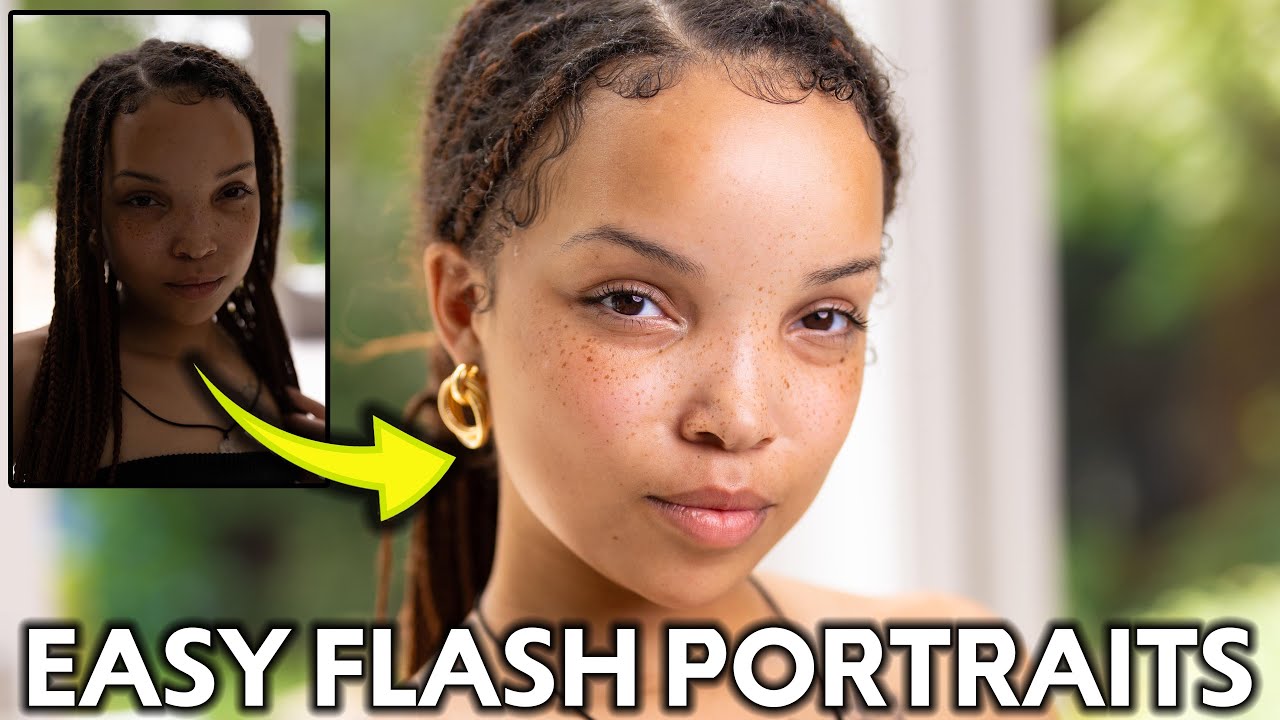
Every new client I talk to asks me about cameras. Which one should they watch for on sale, which mirrorless system is worth the switch. I get it. Gear is tangible. You can compare specs on a spreadsheet. But I’ve shot enough bad portraits under expensive glass to know that a $600 strobe will do more for your images than a $2,000 lens upgrade ever will. That’s not a hot take. That’s just physics.
In this Tony & Chelsea Northrup tutorial, Watch the full tutorial on YouTube, Tony demonstrates exactly that point with a live before-and-after: same subject, same location, completely different image once a single off-camera strobe enters the frame. If you’ve been on the fence about adding artificial light to your portrait work, this walkthrough is a practical and honest place to start.
What I appreciate about Tony’s approach is that it matches how I actually work on commercial jobs. He’s not building an elaborate five-light setup. He’s solving a real problem. Clients book sessions at noon because that’s when they’re free, not because the light is flattering. You can’t reschedule the sun. But you can overpower it, shape it, or completely replace it when you have the right tools in your kit. Here’s how he does it.
Step 1: Understand What Off-Camera Flash Actually Solves
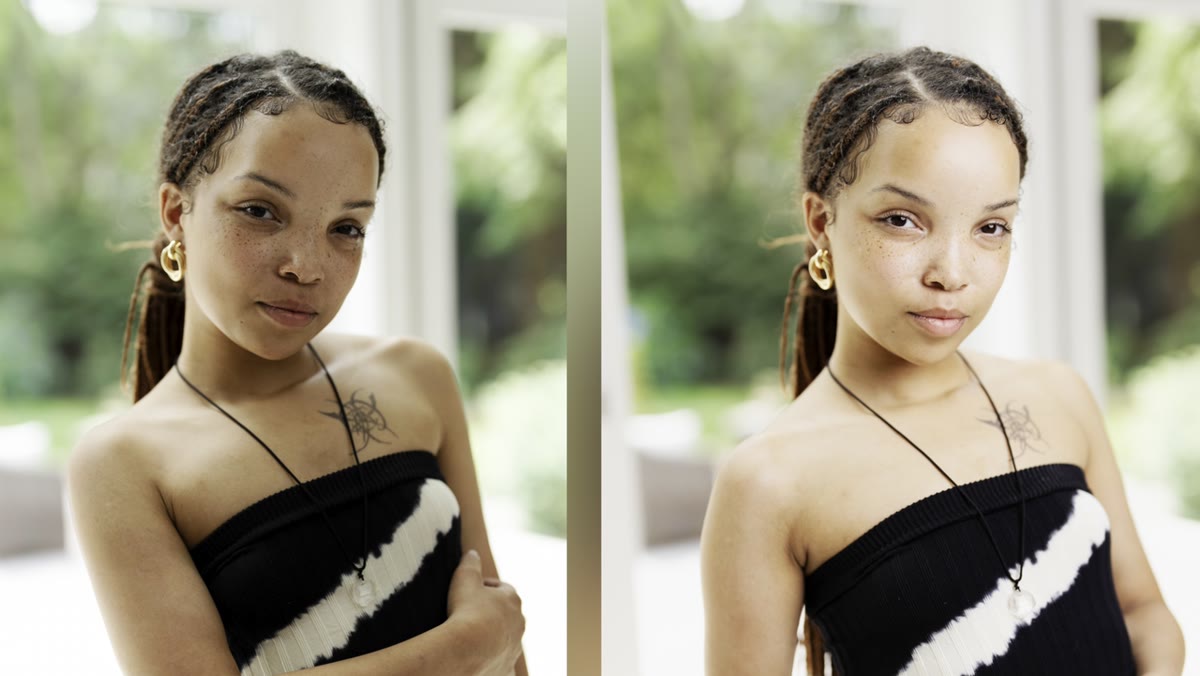 Before and after portrait comparison with and without flash
The tutorial opens with something most photography educators skip: a clear problem statement. Difficult natural light isn’t about intensity. It’s about uncontrollability. Harsh midday sun creates unflattering shadows. An overcast sky flattens everything. Off-camera flash gives you a light source you can position, shape, and power exactly where you need it.
Before and after portrait comparison with and without flash
The tutorial opens with something most photography educators skip: a clear problem statement. Difficult natural light isn’t about intensity. It’s about uncontrollability. Harsh midday sun creates unflattering shadows. An overcast sky flattens everything. Off-camera flash gives you a light source you can position, shape, and power exactly where you need it.
Tony frames this as a creative control issue, not a gear issue. I’d go one step further: once you start thinking of light as something you manufacture rather than something you find, your whole approach to scouting locations changes. You stop looking for “good light” and start looking for good backgrounds.
Step 2: Choose a Strobe With Enough Headroom
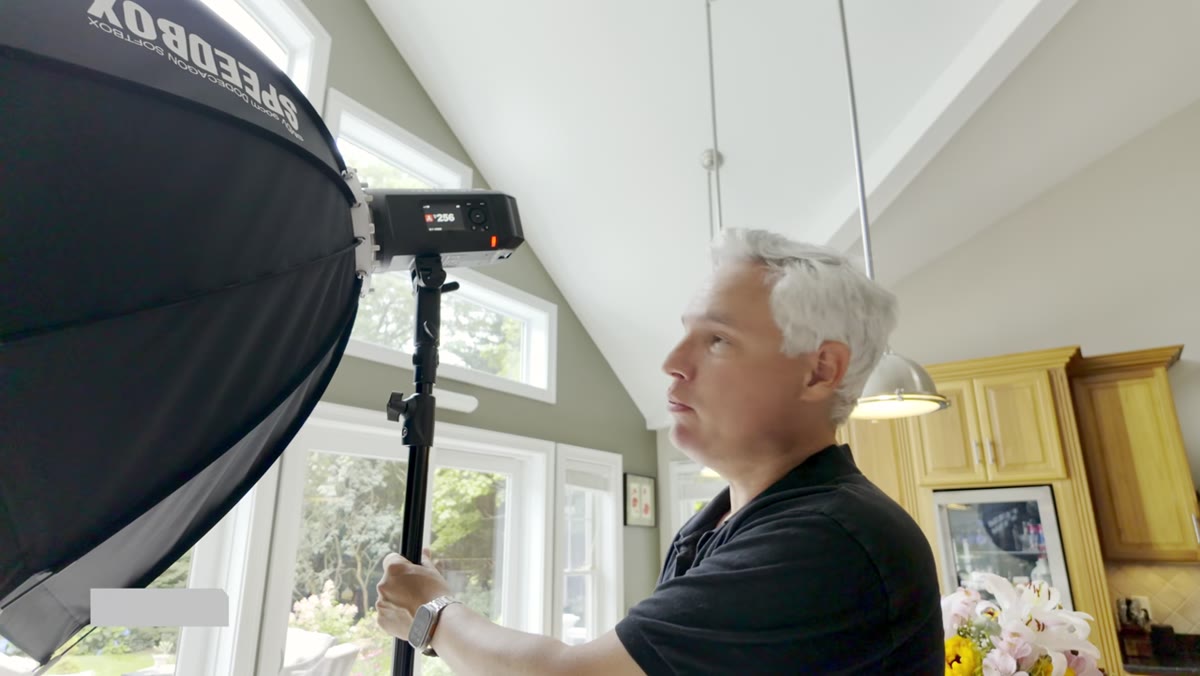 Flashpoint 600 SE strobe displayed and described on camera
Tony is using the Flashpoint 600 SE, a 600-watt-second battery-powered monolight that’s part of the R2 wireless system. The key point he makes isn’t about the specific unit. It’s about why you want more power than you think you need. By shooting at 1/256th power output, he gets dramatically faster flash durations, around 1/10,000th of a second, and near-instant recycle times. That matters on a fast-paced portrait session where you’re working in bursts.
Flashpoint 600 SE strobe displayed and described on camera
Tony is using the Flashpoint 600 SE, a 600-watt-second battery-powered monolight that’s part of the R2 wireless system. The key point he makes isn’t about the specific unit. It’s about why you want more power than you think you need. By shooting at 1/256th power output, he gets dramatically faster flash durations, around 1/10,000th of a second, and near-instant recycle times. That matters on a fast-paced portrait session where you’re working in bursts.
If you’re shopping for a first strobe, look for anything in the 400 to 600 watt-second range from the Godox or Flashpoint R2 ecosystem. These systems are cross-compatible, which means you can mix units across different jobs without buying separate triggers. The modeling light on the Flashpoint 600 SE is also worth noting: it’s a 400-watt-equivalent LED, which gives you a live preview of how shadows will fall on your subject’s face before you fire a single frame.
Step 3: Set Up the Wireless Control System
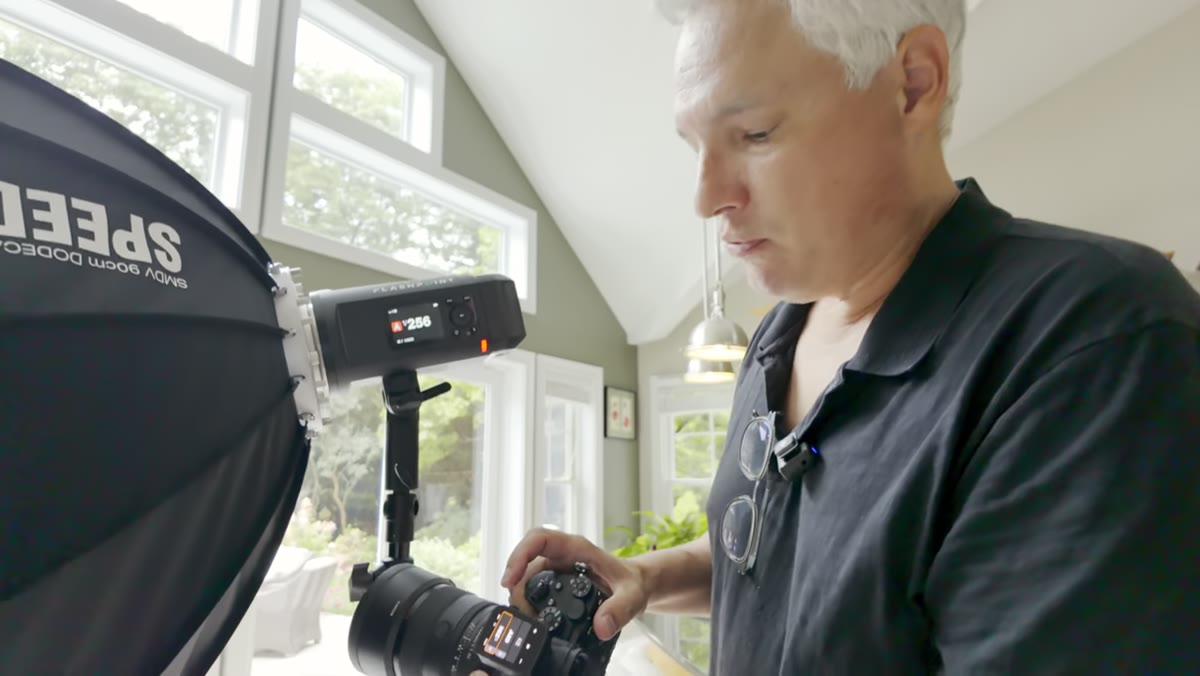 Wireless controller being adjusted with real-time strobe response
One detail Tony glosses over but I think deserves more attention: manual mode versus TTL. The Flashpoint 600 SE doesn’t offer TTL (through-the-lens metering), which means you’re dialing in power levels yourself. Tony acknowledges this is actually his preference for portrait work, and I agree completely. TTL is useful when you’re chasing subjects at events. For a controlled portrait session, manual mode gives you consistent, repeatable exposures from frame to frame.
Wireless controller being adjusted with real-time strobe response
One detail Tony glosses over but I think deserves more attention: manual mode versus TTL. The Flashpoint 600 SE doesn’t offer TTL (through-the-lens metering), which means you’re dialing in power levels yourself. Tony acknowledges this is actually his preference for portrait work, and I agree completely. TTL is useful when you’re chasing subjects at events. For a controlled portrait session, manual mode gives you consistent, repeatable exposures from frame to frame.
The wireless controller he uses offers up to 260 feet of range, with instant power adjustments from your shooting position. In practice, that means you can stand next to your subject, evaluate the light on their face, and trim power up or down without walking back to the strobe. If your current workflow involves running back and forth to adjust your flash between shots, a quality wireless system will change how fluidly your sessions run.
Step 4: Pick the Right Modifier for Your Environment
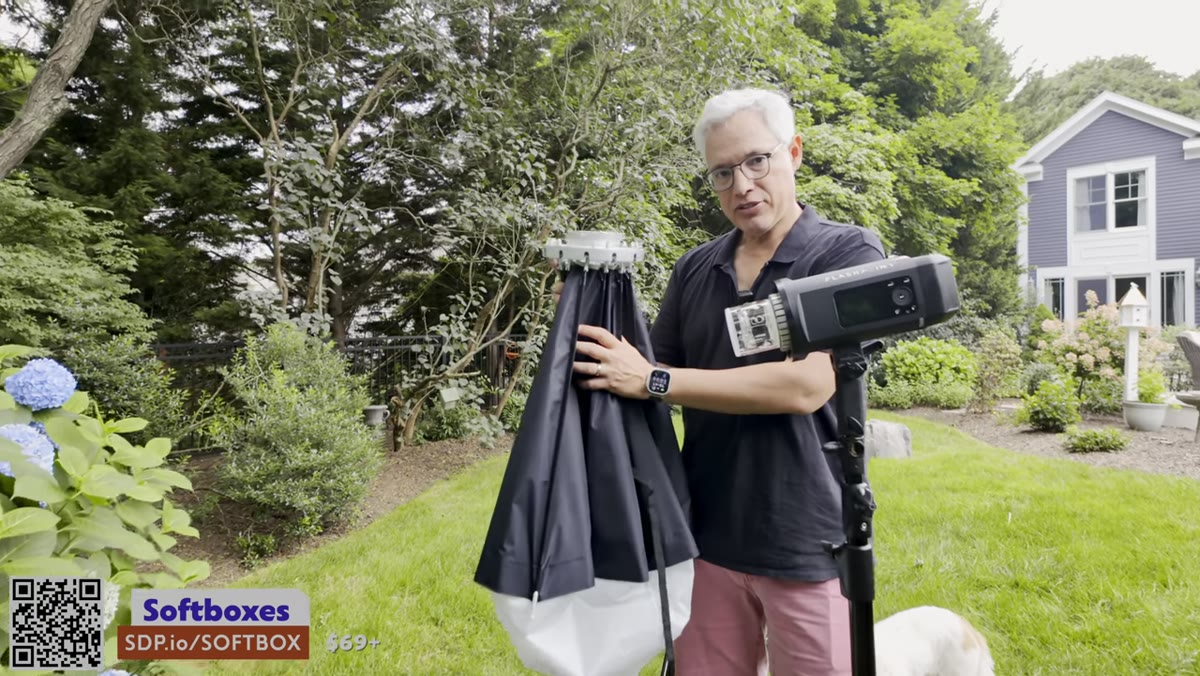 Softbox being expanded and attached to strobe outdoors
Tony uses a collapsible softbox for outdoor work specifically because it packs flat and deploys quickly. The logic is sound: when you’re working on location, setup time is real time, and a bulky octabox that takes ten minutes to assemble is a liability. A foldable softbox that snaps open in thirty seconds is a tool you’ll actually use.
Softbox being expanded and attached to strobe outdoors
Tony uses a collapsible softbox for outdoor work specifically because it packs flat and deploys quickly. The logic is sound: when you’re working on location, setup time is real time, and a bulky octabox that takes ten minutes to assemble is a liability. A foldable softbox that snaps open in thirty seconds is a tool you’ll actually use.
The size of the modifier matters too. Larger light sources relative to your subject produce softer, more gradual shadows. For a head-and-shoulders portrait, a 24x36-inch softbox at close range gives you that wrapped, flattering light that most clients want. For a full-length shot outdoors, you may need to move the light back, which makes it effectively smaller and harder. Knowing how to compensate for that, by flagging the light or adding a second fill, is where your own judgment has to kick in.
Step 5: Use Barn Doors to Sculpt and Direct the Light
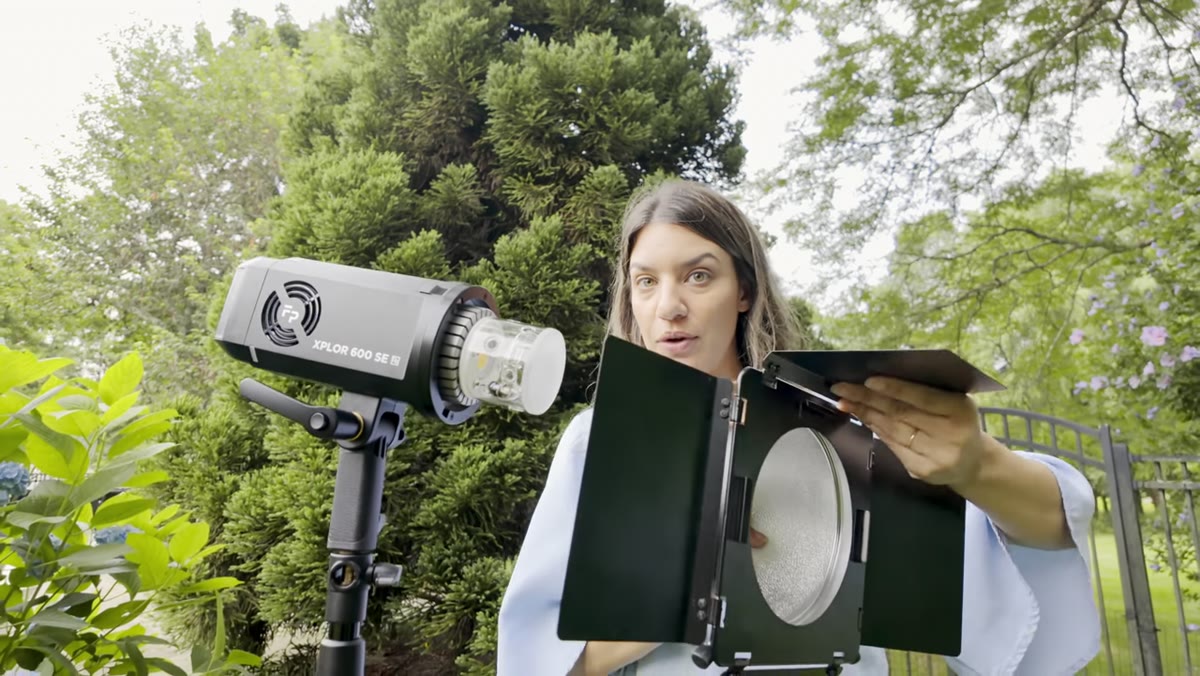 Barn door modifier being attached to strobe for directional control
To create a warm, sunset-style look in the photograph, Tony adds a barn door attachment to a second light. Barn doors are metal flaps that fold around the front of a light source, letting you cut off spill and direct the beam precisely. Where a softbox spreads light broadly, barn doors concentrate it.
Barn door modifier being attached to strobe for directional control
To create a warm, sunset-style look in the photograph, Tony adds a barn door attachment to a second light. Barn doors are metal flaps that fold around the front of a light source, letting you cut off spill and direct the beam precisely. Where a softbox spreads light broadly, barn doors concentrate it.
This combination, a soft main light paired with a directed accent or background light, is one of the most versatile two-light setups you can build. The accent light here is doing a specific creative job: simulating the color and direction of late afternoon sun so the image reads as golden hour even if it was shot at midday. Drop an orange gel over that light and you complete the illusion.
What I’d Add From My Own Work
The tutorial doesn’t spend much time on color temperature matching, and that’s the one place I’d push back or at least expand the conversation. Early in my career I ruined an editorial shoot because my strobe was running slightly cool against warm ambient light and I didn’t catch it on set. The final images had a mixed-temperature look that the client noticed immediately. Now I carry a gray card on every shoot and do a custom white balance before I fire the first frame.
If you’re using gels to create a warm accent light like Tony demonstrates here, run a test frame, zoom into the skin tones on your histogram, and make sure your main light and your gelled light are working together rather than fighting. A half-CTO gel on your main light will often help everything sit in the same color neighborhood, especially outdoors where ambient light shifts throughout the session.
The single biggest shift in my work came when I stopped treating natural light as a given and started treating it as one option among many. A portable strobe with a decent softbox gives you that choice on every shoot, in every condition. Tony and Chelsea’s tutorial is one of the clearest demonstrations of that principle I’ve seen. Watch the full tutorial on YouTube and pay particular attention to the before-and-after at the opening. That twenty-second comparison is worth more than a semester of gear debates.
Comments (1)
Tried this technique this morning. Game changer for real.
Leave a Comment