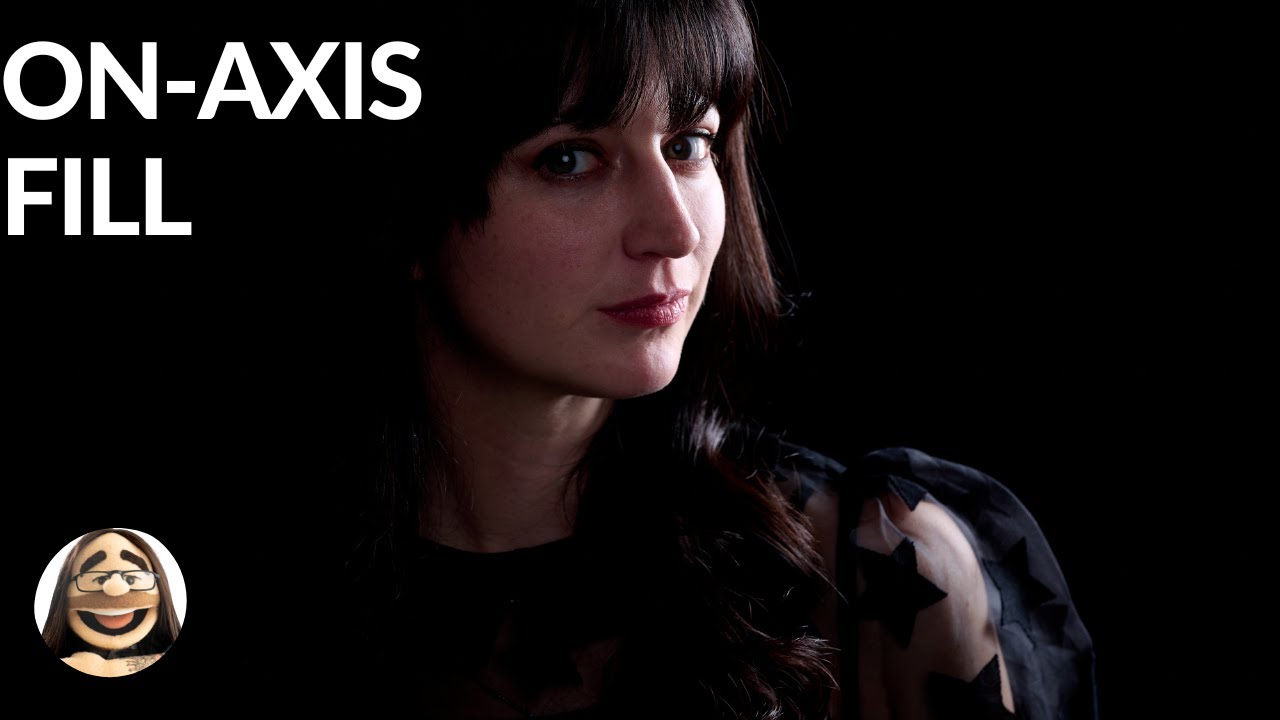
Every time I walk into a studio rental and see a photographer’s fill light parked directly opposite the key light, I know exactly what their images look like before I even glance at the camera. Two competing shadow directions. A muddy, restless quality across the face that no amount of retouching fully fixes. I’ve been there. Early in my career I set up fill lights wherever they happened to be convenient, and I spent hours in post wondering why the skin tones felt so complicated. The problem was never the light output. It was placement.
Watch the full tutorial on YouTube
In this Daniel Norton Photographer tutorial, Norton works through one of the most practical fill light concepts in studio portraiture: on-axis fill. The idea is clean and logical once you hear it explained, but most photographers never get it stated this clearly. Norton demonstrates the principle using a short lighting setup, which is actually a stress test for the technique because short light hits the far side of the face and leaves the camera-side in shadow. If on-axis fill works under those conditions, it works everywhere. Here is a full walkthrough you can follow without leaving this page.
Step 1: Understand Why Fill Light Placement Is Not Arbitrary
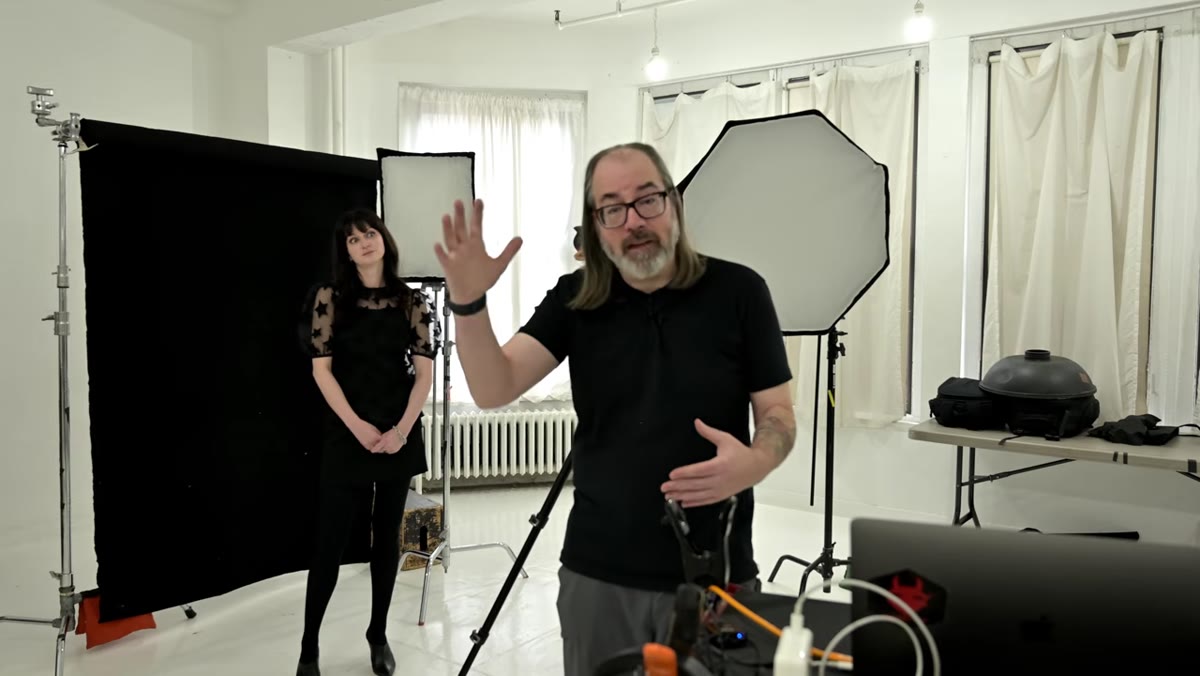 Diagram showing crossed shadow problem from opposite fill placement
Placing a fill light on the opposite side of the key light creates what Norton calls crossed shadows. The key light throws shadows in one direction. The fill light throws shadows back the other way. Neither set of shadows disappears. They layer on top of each other and produce a result that reads as unresolved and overworked. The fix is positioning the fill so its shadows go directly behind the subject, straight back toward the camera axis, where they become invisible. That is on-axis fill. The shadows from your key light remain clean because nothing is contradicting them from the opposite angle.
Diagram showing crossed shadow problem from opposite fill placement
Placing a fill light on the opposite side of the key light creates what Norton calls crossed shadows. The key light throws shadows in one direction. The fill light throws shadows back the other way. Neither set of shadows disappears. They layer on top of each other and produce a result that reads as unresolved and overworked. The fix is positioning the fill so its shadows go directly behind the subject, straight back toward the camera axis, where they become invisible. That is on-axis fill. The shadows from your key light remain clean because nothing is contradicting them from the opposite angle.
Step 2: Build Your Key Light First — Short Lighting as the Extreme Case
 Short lighting setup with key light positioned behind subject
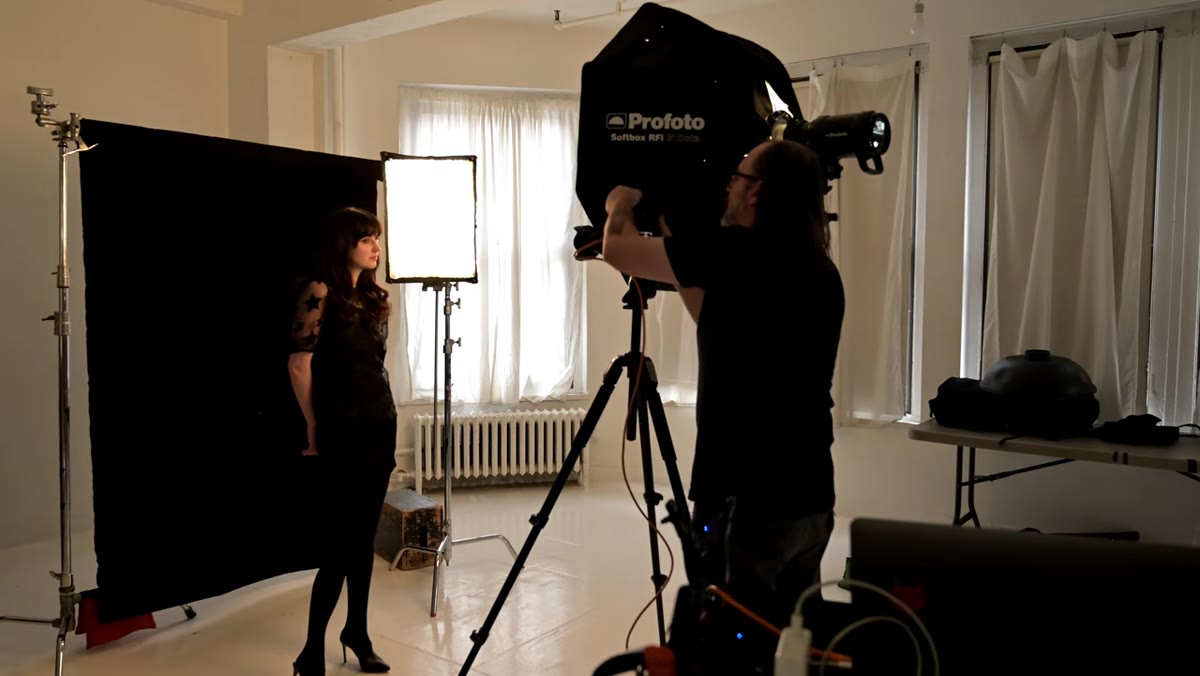
Norton sets up a short lighting configuration as the starting point, which is deliberately challenging. In short lighting, the key light comes from behind and to the side, illuminating the far edge of the face rather than the side closest to camera. This creates strong drama and mood, but it leaves the near side of the face almost completely in shadow. Norton’s point is that if you can place a fill light correctly in this scenario without wrecking the shadows from the key, you can manage it in any setup. Get your key light dialed in to a correct base exposure before you touch the fill. The fill should never be correcting for an underexposed key.
Short lighting setup with key light positioned behind subject
Norton sets up a short lighting configuration as the starting point, which is deliberately challenging. In short lighting, the key light comes from behind and to the side, illuminating the far edge of the face rather than the side closest to camera. This creates strong drama and mood, but it leaves the near side of the face almost completely in shadow. Norton’s point is that if you can place a fill light correctly in this scenario without wrecking the shadows from the key, you can manage it in any setup. Get your key light dialed in to a correct base exposure before you touch the fill. The fill should never be correcting for an underexposed key.
Step 3: Choose the Largest Modifier You Have Available
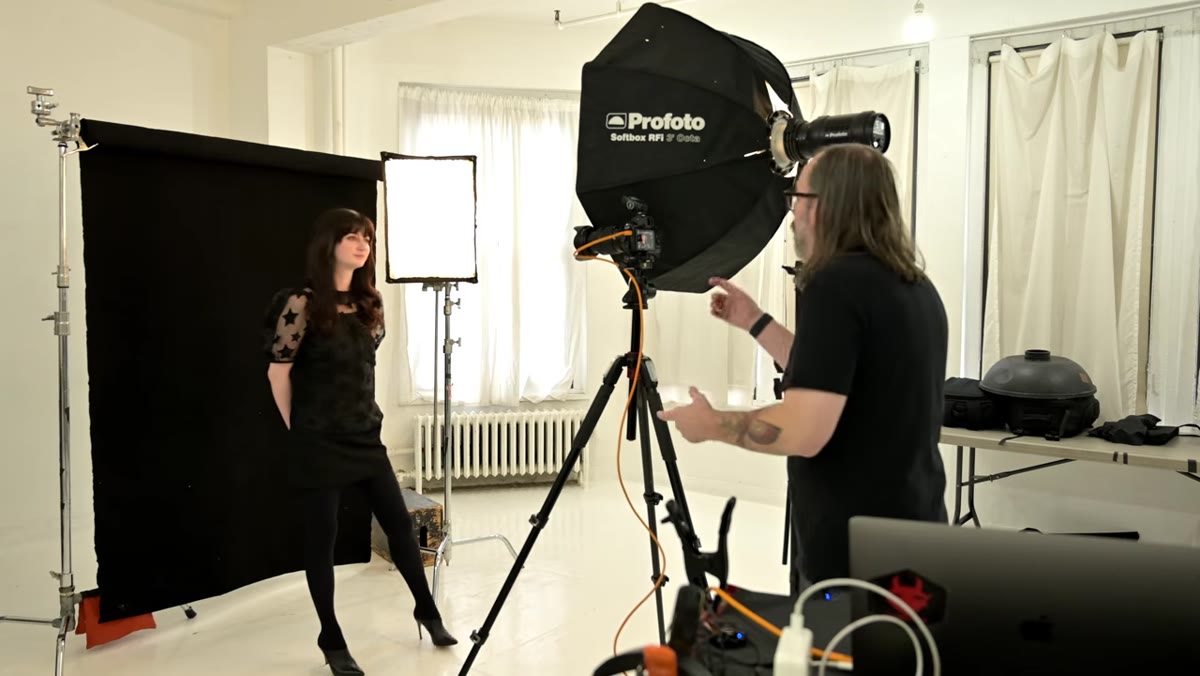
 Three-foot octabox positioned as fill light source
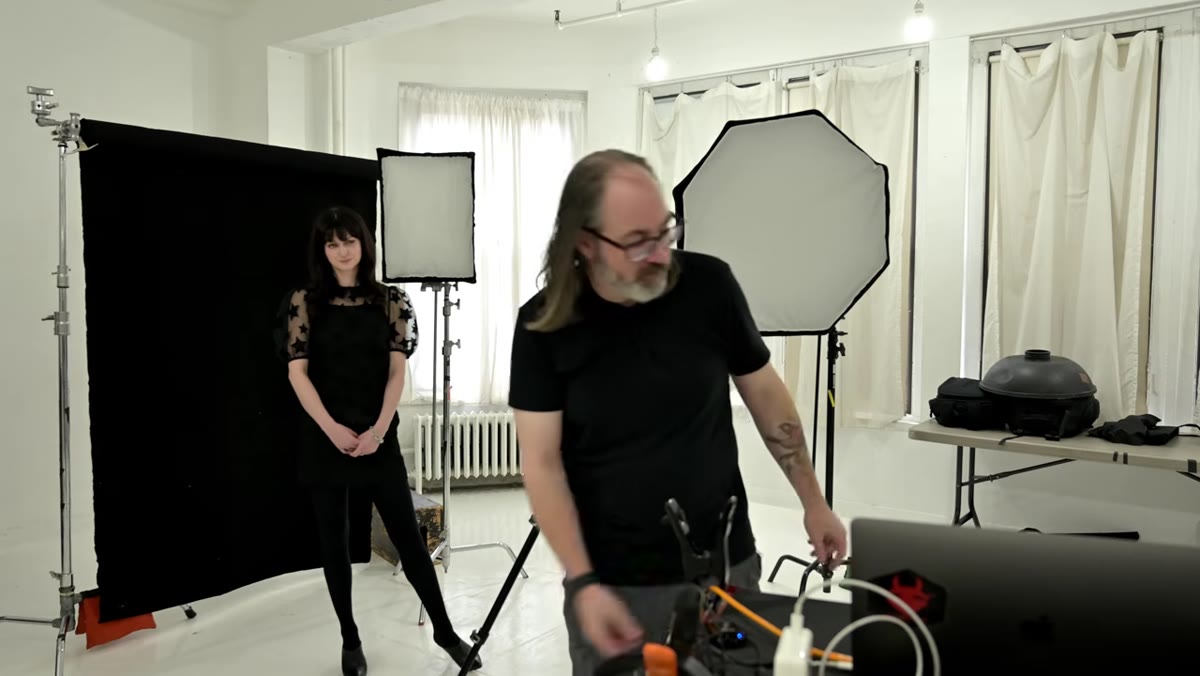
For the fill light itself, Norton reaches for his largest modifier, a three-foot octabox. This matters because a large, soft source wraps around the subject gently and is far less likely to produce its own visible, directional shadow. A small modifier used as fill will create a fill shadow that has enough edge to become distracting. When I test a new octabox in my studio I always run it as a fill light first, because that is where soft, even coverage is most critical. If you do not have a large octabox, a shoot-through umbrella at close range is a reasonable substitute. The goal is maximum spread with minimum directionality.
Three-foot octabox positioned as fill light source
For the fill light itself, Norton reaches for his largest modifier, a three-foot octabox. This matters because a large, soft source wraps around the subject gently and is far less likely to produce its own visible, directional shadow. A small modifier used as fill will create a fill shadow that has enough edge to become distracting. When I test a new octabox in my studio I always run it as a fill light first, because that is where soft, even coverage is most critical. If you do not have a large octabox, a shoot-through umbrella at close range is a reasonable substitute. The goal is maximum spread with minimum directionality.
Step 4: Position the Fill Light Directly on the Camera Axis
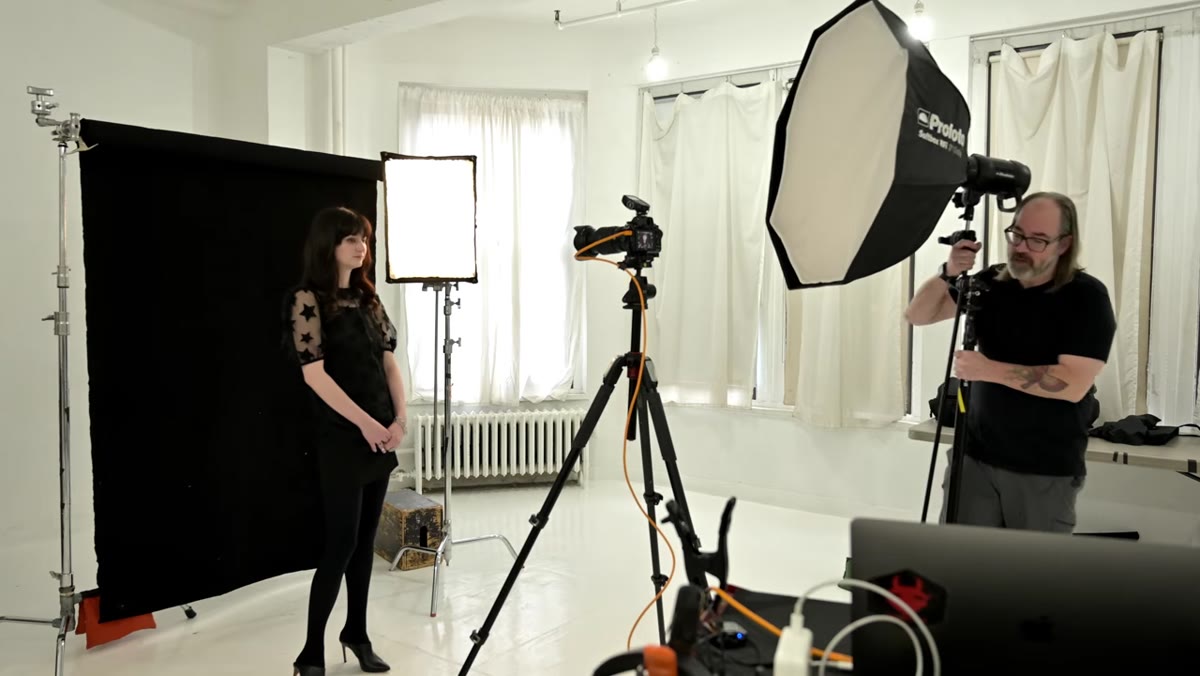 Fill light placed close to camera, roughly over the lens
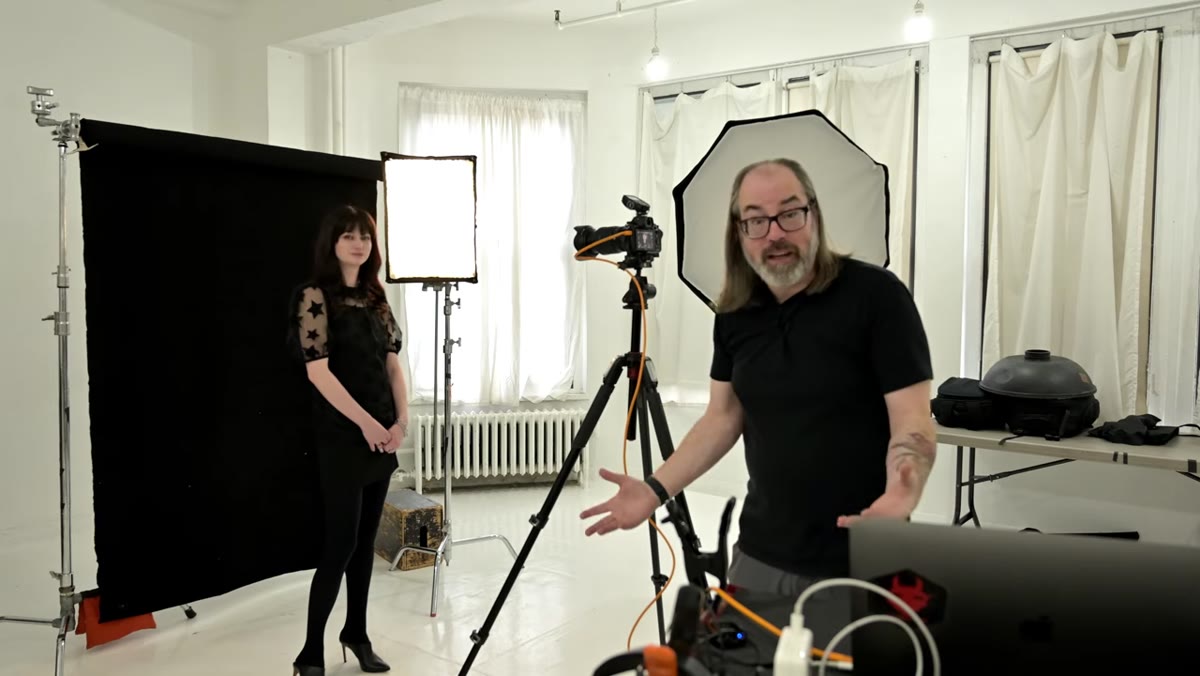
The fill light goes as close to the camera axis as your setup allows. Norton places his just beside and slightly above the lens. If you can position it behind yourself, that is even better, but beside the camera works fine. Norton notes that when you have to choose a side, favor placing it on the same side as the key light rather than opposite. The reasoning is consistent: the further you push the fill off-axis toward the shadowed side of the face, the more likely you are to reintroduce a competing shadow direction. Right next to the lens, centered on your subject, is the target position.
Fill light placed close to camera, roughly over the lens
The fill light goes as close to the camera axis as your setup allows. Norton places his just beside and slightly above the lens. If you can position it behind yourself, that is even better, but beside the camera works fine. Norton notes that when you have to choose a side, favor placing it on the same side as the key light rather than opposite. The reasoning is consistent: the further you push the fill off-axis toward the shadowed side of the face, the more likely you are to reintroduce a competing shadow direction. Right next to the lens, centered on your subject, is the target position.
Step 5: Set the Fill Light Two Stops Below the Key
 Camera display showing fill light exposure settings
With both lights on, start with the fill set two full stops below your key light exposure. Norton begins in TTL to get to a workable ballpark quickly, then pulls the fill down by two stops from there. Two stops is a standard starting ratio for fill that retains shadow detail without flattening the image. At this setting you should still clearly read the direction of the key light, but the shadow side of the face will have enough information to look intentional rather than lost. If you are shooting manually from the start, meter your key light for the exposure you want, then dial the fill back two stops from that power output.
Camera display showing fill light exposure settings
With both lights on, start with the fill set two full stops below your key light exposure. Norton begins in TTL to get to a workable ballpark quickly, then pulls the fill down by two stops from there. Two stops is a standard starting ratio for fill that retains shadow detail without flattening the image. At this setting you should still clearly read the direction of the key light, but the shadow side of the face will have enough information to look intentional rather than lost. If you are shooting manually from the start, meter your key light for the exposure you want, then dial the fill back two stops from that power output.
Step 6: Refine the Fill Ratio by Eye and Adjust in Small Increments
 Photographer adjusting fill light power on camera trigger
Two stops down is a starting point, not a finish line. Norton finds his first test frame still a little too bright in the fill, so he pulls the B group down an additional two stops, which turns out to be too aggressive. He settles on backing up about three-quarters of a stop from that point, landing roughly one and a third stops below his original two-stop reduction. The lesson here is that fill ratios are image-specific. A high-key beauty shot might want fill at only one stop below key. A moody editorial might want three or more stops of separation. Make adjustments in half-stop increments, review the histogram and the shadow detail together, and stop when the face reads as three-dimensional rather than flat or carved.
Photographer adjusting fill light power on camera trigger
Two stops down is a starting point, not a finish line. Norton finds his first test frame still a little too bright in the fill, so he pulls the B group down an additional two stops, which turns out to be too aggressive. He settles on backing up about three-quarters of a stop from that point, landing roughly one and a third stops below his original two-stop reduction. The lesson here is that fill ratios are image-specific. A high-key beauty shot might want fill at only one stop below key. A moody editorial might want three or more stops of separation. Make adjustments in half-stop increments, review the histogram and the shadow detail together, and stop when the face reads as three-dimensional rather than flat or carved.
What I Do Differently in My Own Workflow
Norton’s on-axis approach is exactly what I use, and I have not shot fill any other way in at least five years. The one thing I add is a strip of masking tape on my fill light stand that reads the ratio I landed on for a given setup. Every light in my studio gets labeled this way during a shoot. When I come back from a client’s wardrobe change and need to rebuild the lighting quickly, I am not guessing. I know the fill was at minus one and a half stops because it says so on the stand. It sounds obsessive. It has saved client relationships more than once.
The other adjustment I make is defaulting to a five-foot octabox as fill whenever I have ceiling height for it. The extra modifier surface area at fill-level power outputs produces a wrap that is almost shadowless, which is exactly what you want from a source that is supposed to be invisible in the final frame.
On-axis fill works because it respects the hierarchy of your lighting setup. The key light tells the story. The fill light should whisper supporting information without arguing with the shadows the key light already established. Place the fill next to the lens, start two stops below key, and adjust from there in small steps.
Watch the full tutorial on YouTube to see Daniel Norton demonstrate every adjustment in real time with a working studio setup.
Comments (4)
Shared this with my photography group. Everyone loved it.
Simple but effective. Sometimes that's all you need.
Well explained. I think my audience would really benefit from this — mind if I link to it?
Just used this on a wedding shoot edit. Client was thrilled.
Leave a Comment