
Every working photographer I know has a version of this story. You show up to a location job, the light is complicated, and you reach for the obvious solution: pop the flash on the hot shoe and fire away. The results look exactly like what they are. Flat, harsh, clinical. A face lit like a police booking photo.
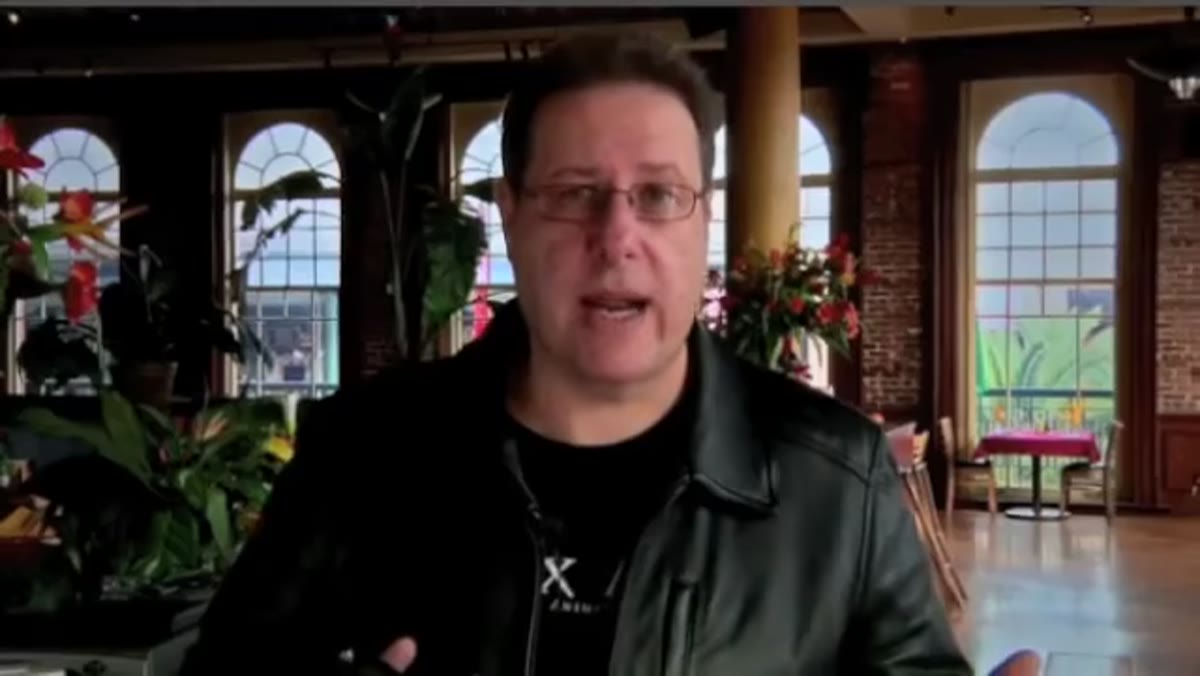
I’ve been shooting commercially for long enough that I rarely make that mistake anymore, but I still find value in watching someone demonstrate the progression from worst to best in a single controlled setup. In this KelbyOne tutorial, Watch the full tutorial on YouTube, the instructor walks through a real location portrait session and stacks each improvement on the last, from bare on-camera flash all the way to a shoot-through umbrella on a stand. It’s the kind of side-by-side that actually sticks because you see the reasoning, not just the conclusion.
What I appreciate most about this approach is that it treats lighting as a problem you solve in steps, not a switch you flip. That matches how I actually work. Every modifier I own earns its place by solving a specific problem. This tutorial lays out that logic clearly, and I want to walk through it the same way here.
Step 1: Establish Your Base Exposure Without Flash
 Subject positioned in front of window, no flash
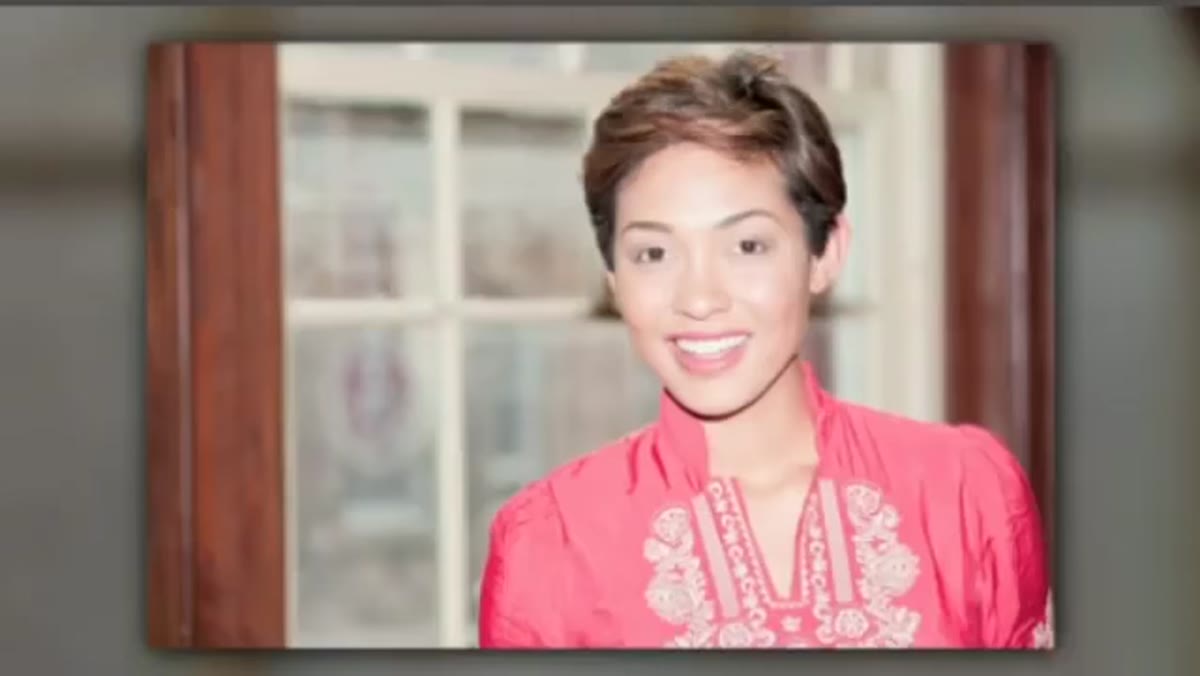
Before you touch your flash, get your ambient exposure locked in. In the tutorial, the subject is positioned in front of a window so the natural light wraps around her from behind, creating a rim light on her hair and shoulders. The instructor shoots this first, in manual mode, to show what the window light alone gives you. It’s pretty, but the face falls into shadow.
Subject positioned in front of window, no flash
Before you touch your flash, get your ambient exposure locked in. In the tutorial, the subject is positioned in front of a window so the natural light wraps around her from behind, creating a rim light on her hair and shoulders. The instructor shoots this first, in manual mode, to show what the window light alone gives you. It’s pretty, but the face falls into shadow.
This is a critical habit. When you know what your ambient is doing, you can use your flash intentionally rather than just fighting the room. Set your shutter speed below your sync speed, typically 1/200s or 1/250s depending on your camera body, and dial your aperture and ISO to get the background exposure where you want it. Everything after this is just adding controlled light to your subject.
Step 2: Fire the Flash On-Camera, No Modifier
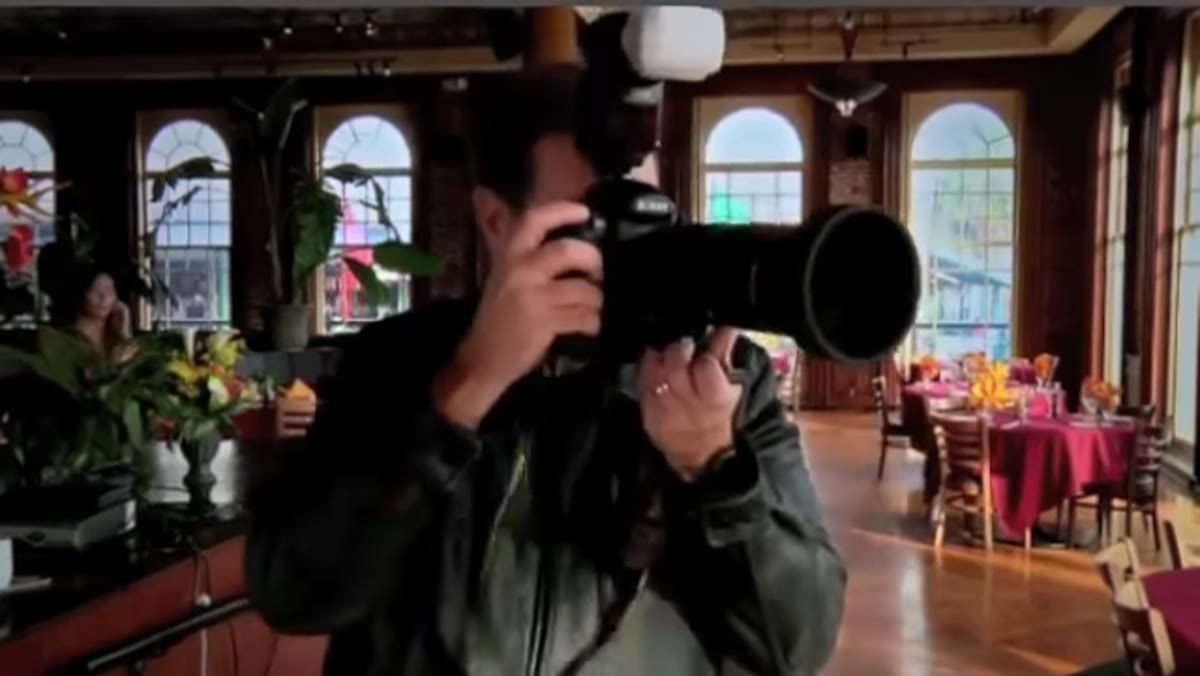
 On-camera flash mounted to hot shoe, bare flash result
Mount your speedlight directly to the hot shoe and take a shot. Don’t skip this step, even though you know it’s going to look bad. Seeing the problem in your own frame is more instructive than reading about it. The result here is exactly what you’d expect: harsh, flat light that kills dimension, blows out the closest parts of the face, and adds nothing to the window rim light already doing good work.
On-camera flash mounted to hot shoe, bare flash result
Mount your speedlight directly to the hot shoe and take a shot. Don’t skip this step, even though you know it’s going to look bad. Seeing the problem in your own frame is more instructive than reading about it. The result here is exactly what you’d expect: harsh, flat light that kills dimension, blows out the closest parts of the face, and adds nothing to the window rim light already doing good work.
This is the baseline you’re trying to get away from. Direct on-camera flash puts the light source at the same axis as the lens. There’s nowhere for shadows to fall, and shadow is what creates the appearance of depth and structure in a face.
Step 3: Add a Diffusion Dome
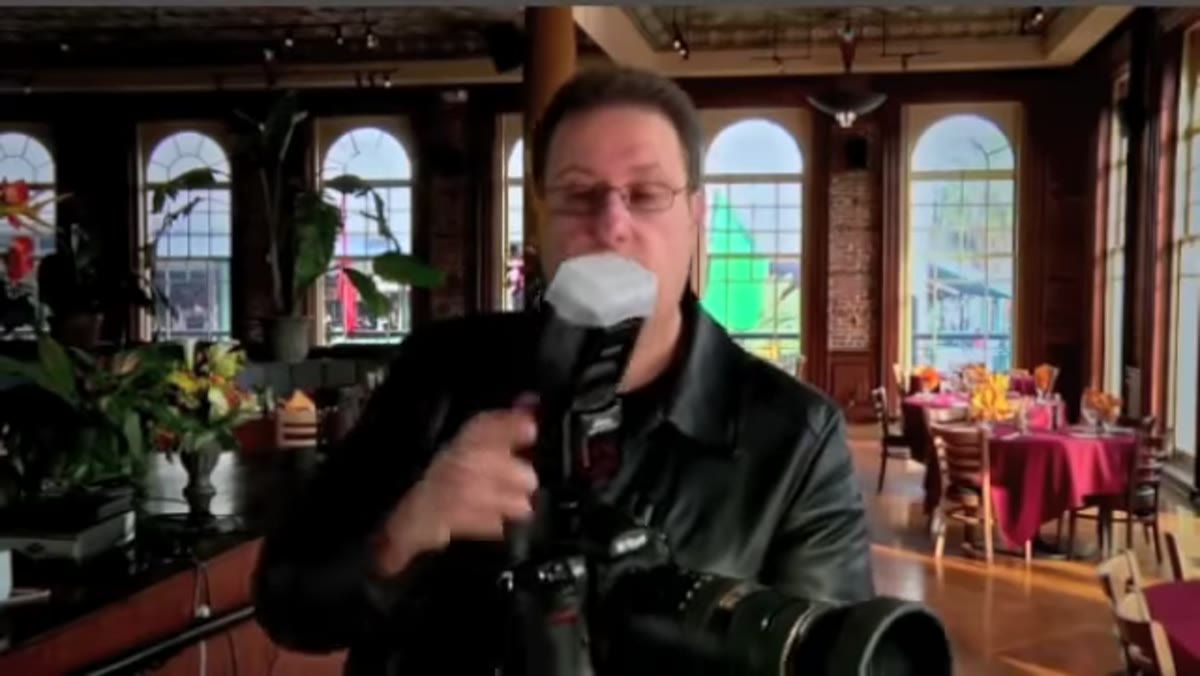
 Diffusion dome attached to flash head
Snap a diffusion dome onto the flash head and shoot again. In the tutorial, this does soften things slightly. The light spreads more, the harsh central hotspot is reduced, and the overall quality improves. But the improvement is modest. The dome widens the apparent light source a little, but a small modified source at close range is still a small source. The physics don’t change much.
Diffusion dome attached to flash head
Snap a diffusion dome onto the flash head and shoot again. In the tutorial, this does soften things slightly. The light spreads more, the harsh central hotspot is reduced, and the overall quality improves. But the improvement is modest. The dome widens the apparent light source a little, but a small modified source at close range is still a small source. The physics don’t change much.
Think of the diffusion dome as a floor, not a ceiling. It’s useful when you have no other option and it’s always better than bare flash. But it won’t give you the soft, dimensional light that comes from a genuinely large source relative to your subject.
Step 4: Try Bounce Flash
 Flash head tilted upward to bounce off ceiling
Tilt the flash head up and try bouncing off the ceiling. The tutorial is honest about why this doesn’t fully work in this particular room: the ceiling is high and dark. Both of those factors kill your bounce. A low, white ceiling turns your flash into an enormous soft source. A dark ceiling at ten feet absorbs the light and delivers a fraction of it back with little softness gained.
Flash head tilted upward to bounce off ceiling
Tilt the flash head up and try bouncing off the ceiling. The tutorial is honest about why this doesn’t fully work in this particular room: the ceiling is high and dark. Both of those factors kill your bounce. A low, white ceiling turns your flash into an enormous soft source. A dark ceiling at ten feet absorbs the light and delivers a fraction of it back with little softness gained.
When bounce works, it’s fast and effective. But you are completely at the mercy of the architecture. On location, you can’t count on it. Know the technique, use it when the room cooperates, and have a plan for when it doesn’t.
Step 5: Move the Flash Off Camera
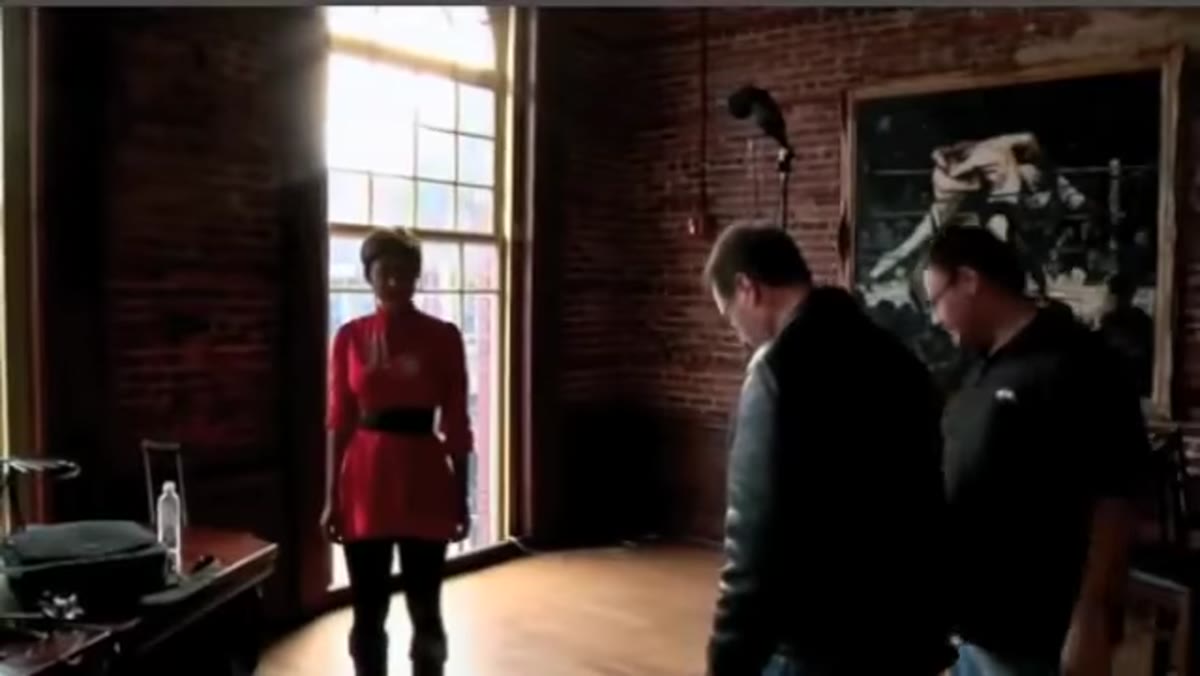 Flash mounted on light stand, triggered wirelessly
Take the flash off the camera entirely, mount it on a light stand, and trigger it wirelessly. In the tutorial, a PocketWizard handles the trigger. Camera settings at this point are 1/1200s at f/5.6, which keeps the shutter below sync speed while controlling the ambient.
Flash mounted on light stand, triggered wirelessly
Take the flash off the camera entirely, mount it on a light stand, and trigger it wirelessly. In the tutorial, a PocketWizard handles the trigger. Camera settings at this point are 1/1200s at f/5.6, which keeps the shutter below sync speed while controlling the ambient.
Moving the flash to the side immediately adds directionality. You start seeing shadow fall across the far side of the face, which is the beginning of real lighting. The diffusion dome stays on, but as the instructor notes, the light is still harder than ideal. A small source is a small source regardless of where you put it. Moving it off axis is necessary but not sufficient on its own.
Step 6: Add a Shoot-Through Umbrella and Close the Distance
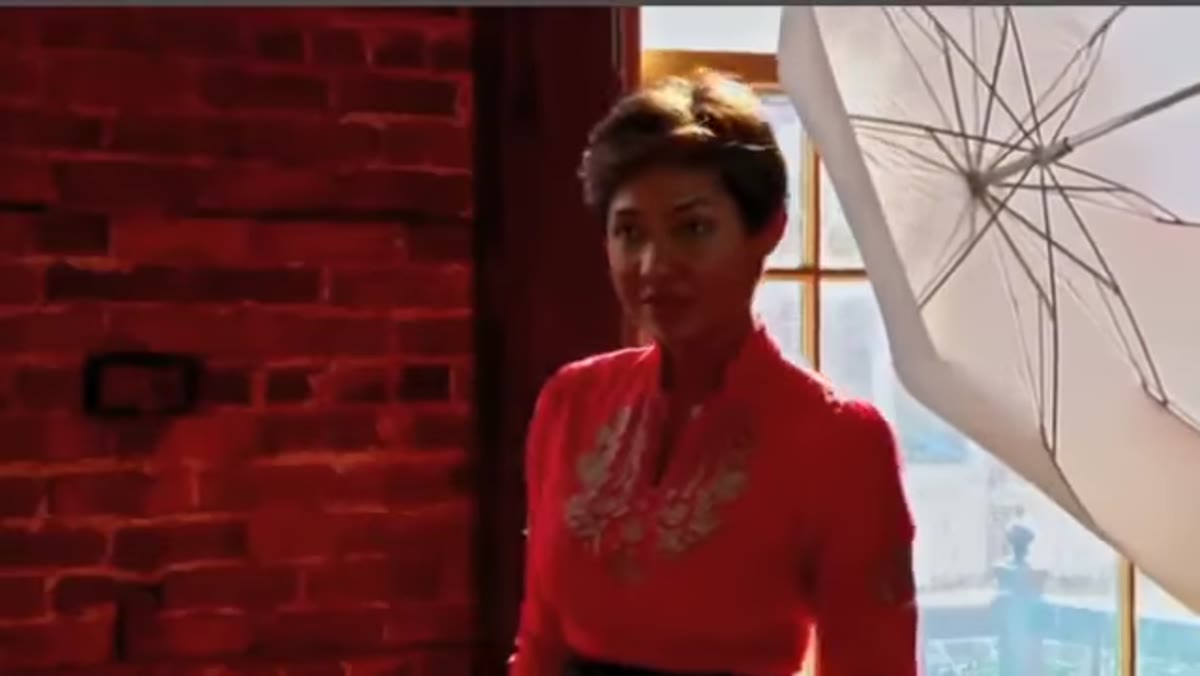 Umbrella mounted on stand, positioned close to subject
Attach a shoot-through umbrella to the light stand, position it close to the subject, and reduce flash power slightly to compensate for the added proximity. This is where the image transforms. The umbrella spreads the light across a large surface area, and because it’s brought in close, that surface area is large relative to the subject. Large source, close distance: that combination produces soft, wrapping light with gradual shadow transitions.
Umbrella mounted on stand, positioned close to subject
Attach a shoot-through umbrella to the light stand, position it close to the subject, and reduce flash power slightly to compensate for the added proximity. This is where the image transforms. The umbrella spreads the light across a large surface area, and because it’s brought in close, that surface area is large relative to the subject. Large source, close distance: that combination produces soft, wrapping light with gradual shadow transitions.
The instructor moves the light closer after adding the umbrella, which is the right call. Proximity matters as much as modifier size. A huge umbrella ten feet away will be harder than a medium umbrella three feet away. Power down to compensate and move it in.
What I’d Add From My Own Work
The tutorial covers one light beautifully, but on my commercial jobs I almost always run a second unit as a fill or a hair light even on simple location portraits. The window in this setup is doing that job, which is smart location lighting. When there’s no window available, I’ll put a second flash at very low power on the shadow side to open up the face without killing the shadow structure the key light is creating. I keep that fill at least two stops under the key, usually more. If the fill is visible as a light source, it’s too strong.
I also never skip writing the setup in my lighting journal before I break everything down. After years of shooting, I still sketch the position, the modifier, the power ratio, and the distance. Recreating a good result is only possible if you recorded what made it good.
The single most important idea in this tutorial is that light quality is a function of source size relative to subject. Every step, from dome to bounce to off-camera to umbrella, is an attempt to increase that ratio. Once you understand that principle, you stop guessing with modifiers and start making decisions.
Watch the full tutorial on YouTube to see each result side by side. Seeing the before and after in motion makes the difference visceral in a way that description alone doesn’t.
Comments
Leave a Comment