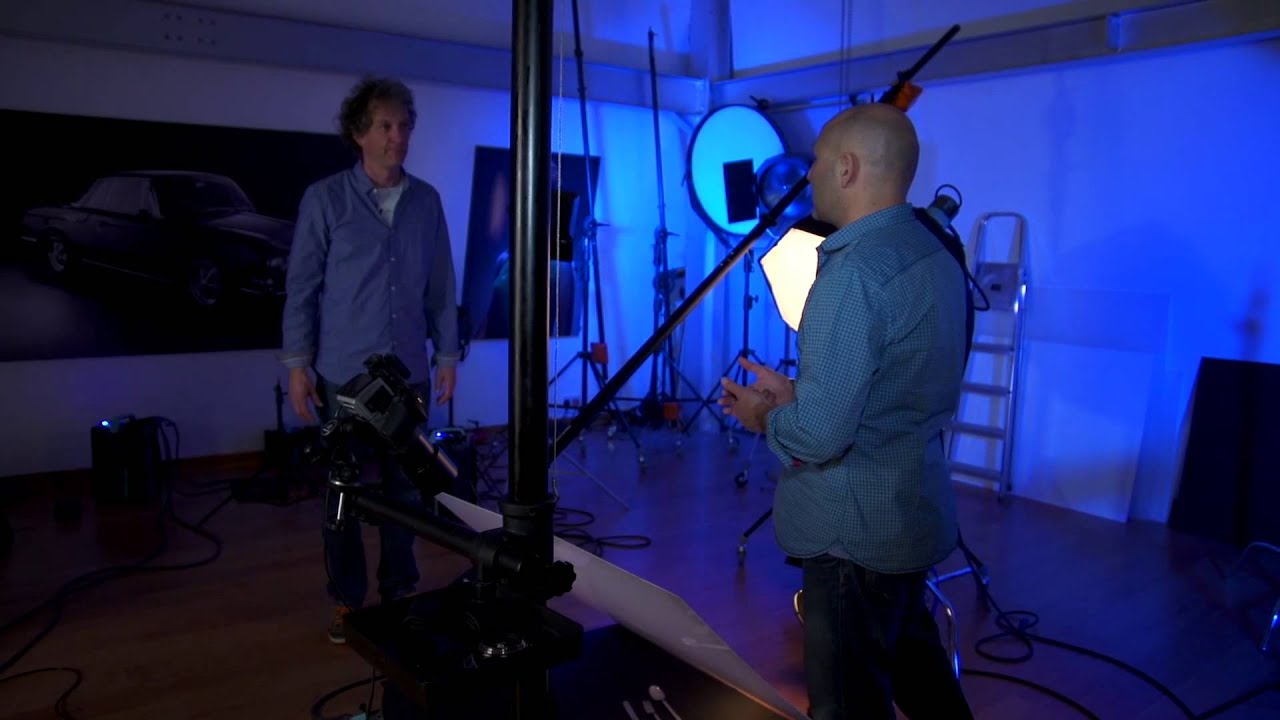
Shiny metal is one of those subjects that separates photographers who understand light from photographers who just point it. Chrome cutlery, polished hardware, jewelry with high-gloss finishes — these objects don’t have a surface so much as a mirror, and that mirror reflects everything in your studio back into the lens. I’ve watched otherwise confident photographers completely fall apart when they have to shoot a set of silverware for a catalog client. The problem isn’t the object. The problem is that most lighting approaches built for texture and form are too indiscriminate. The light goes everywhere it wants to go, and you lose control of the gradation that makes the object read as three-dimensional.
Watch the full tutorial on YouTube
In this Visual Education tutorial from Broncolor, photographer and consultant Siro (working alongside commercial photographer and instructor Karl Taylor) walks through a three-light setup for chrome cutlery that solves a problem I’ve encountered on more than a few editorial jobs: how do you place an edge light when that same edge light will contaminate your carefully built main-light gradation? The answer is elegant and a little counterintuitive. They fire the lights at two different moments inside a single long exposure. Here is exactly how they do it.
Step 1: Build Your Main Light With a Focused, Directional Source
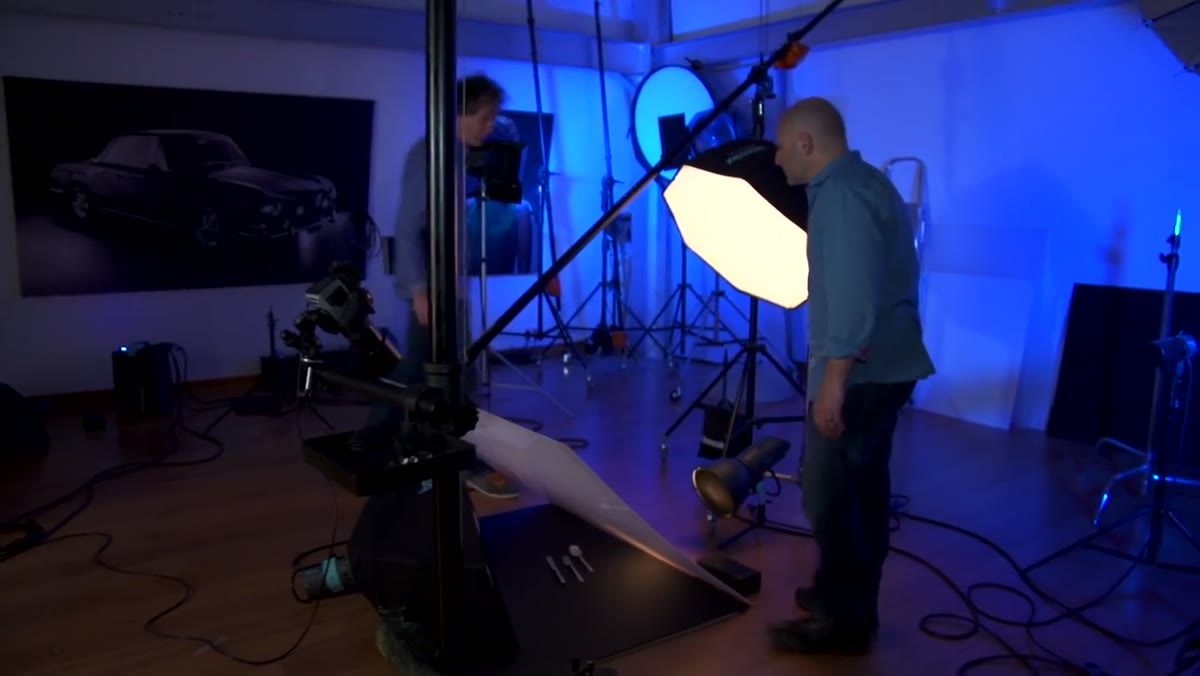 Photographer pointing to P70 reflector with honeycomb grid attached
The primary light in this setup is a P70 standard reflector fitted with a honeycomb grid. The grid is the critical piece. Without it, a reflector throws light broadly across the scene, and on a chrome surface that reads as a large, relatively flat highlight with soft edges. The grid collimates the beam and gives you a concentrated pool of light that falls off sharply at the edges. That falloff is what creates the gradation from bright to dark across the object’s form, and on a chrome surface, gradation is the only thing telling the viewer there is a curve there at all. A flat, even light on chrome produces a flat, lifeless result. You need the shadow side to earn its darkness.
Photographer pointing to P70 reflector with honeycomb grid attached
The primary light in this setup is a P70 standard reflector fitted with a honeycomb grid. The grid is the critical piece. Without it, a reflector throws light broadly across the scene, and on a chrome surface that reads as a large, relatively flat highlight with soft edges. The grid collimates the beam and gives you a concentrated pool of light that falls off sharply at the edges. That falloff is what creates the gradation from bright to dark across the object’s form, and on a chrome surface, gradation is the only thing telling the viewer there is a curve there at all. A flat, even light on chrome produces a flat, lifeless result. You need the shadow side to earn its darkness.
Position this light from the back of the set, angled toward the subject. Siro places it so the cutlery is brighter toward the rear of the frame and falls into shadow toward the camera. This is the opposite of how most photographers are inclined to light something, but for objects with high specularity it puts the controlled highlight exactly where you want it.
Step 2: Add a Softbox at Low Power to Extend the Gradation
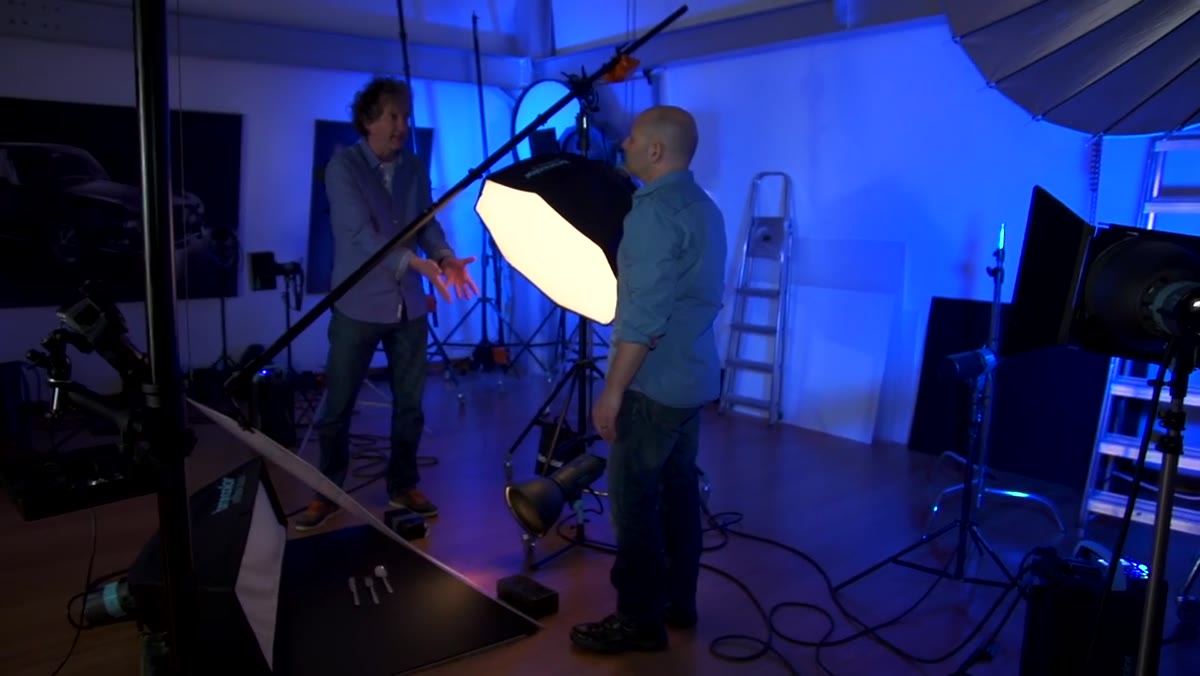 Softbox visible beside main setup, identified as secondary fill source
Here is where photographers sometimes overcorrect. You have a tight, gridded main light producing a beautiful gradation, and then the shadow side goes fully black almost immediately. The object looks dramatic but loses information. The solution is not to add a second strong light. It is to introduce a softbox at very low power, positioned to extend the transition zone between the bright side and the shadow side. Think of it as stretching the midtone range of the gradation rather than filling the shadow with new light.
Softbox visible beside main setup, identified as secondary fill source
Here is where photographers sometimes overcorrect. You have a tight, gridded main light producing a beautiful gradation, and then the shadow side goes fully black almost immediately. The object looks dramatic but loses information. The solution is not to add a second strong light. It is to introduce a softbox at very low power, positioned to extend the transition zone between the bright side and the shadow side. Think of it as stretching the midtone range of the gradation rather than filling the shadow with new light.
At the power levels Siro uses, this softbox barely registers on its own. It is not creating a second highlight. It is pushing the gradation from a sharp, abrupt transition into something that holds a little more gray before it goes dark. On a rounded chrome surface, that extra midtone range is what communicates volume. Keep this light well below your main light’s output, probably two to three stops down as a starting point, and adjust by eye on your tethered capture.
Step 3: Place a Strip Light on the Floor for Edge Definition
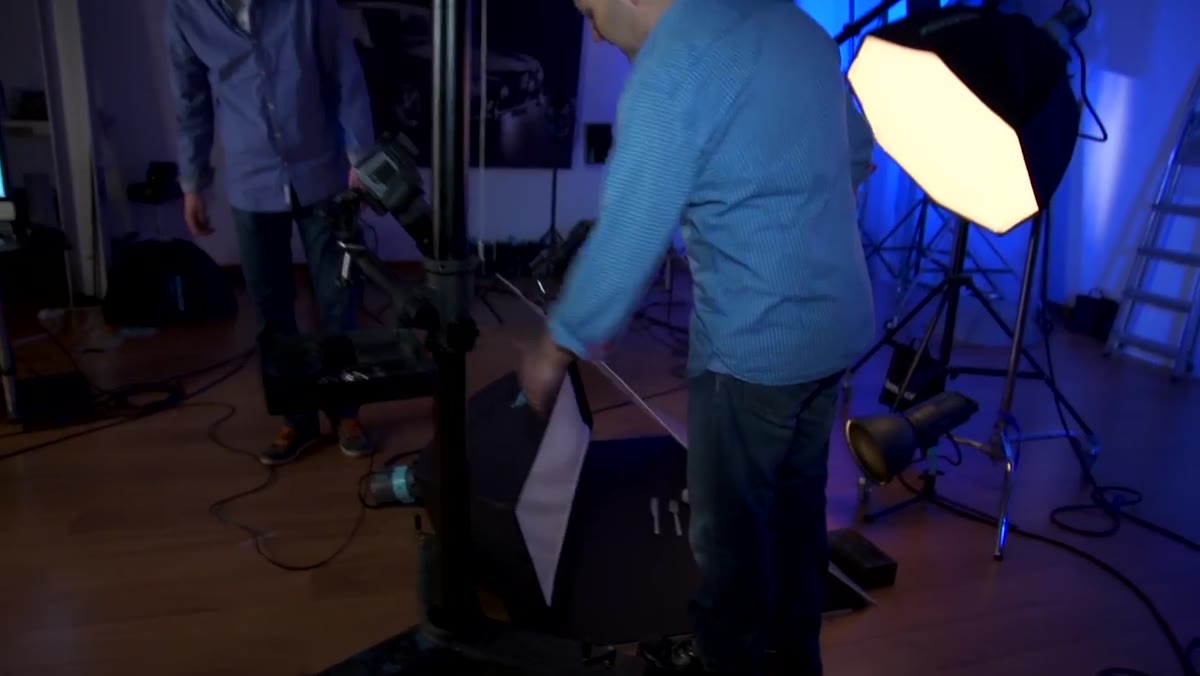 Strip light positioned on floor behind the cutlery set
The third light is a strip light placed on the floor behind the cutlery, aimed to produce a thin bright line along the camera-facing edge of each piece. Because all the main lighting comes from the back, the front edge of the cutlery is the darkest part of the image. Without intervention, it simply disappears into the background. This strip light is the intervention. It catches the front-facing edge and gives each piece a clean separation.
Strip light positioned on floor behind the cutlery set
The third light is a strip light placed on the floor behind the cutlery, aimed to produce a thin bright line along the camera-facing edge of each piece. Because all the main lighting comes from the back, the front edge of the cutlery is the darkest part of the image. Without intervention, it simply disappears into the background. This strip light is the intervention. It catches the front-facing edge and gives each piece a clean separation.
The complication is physics. A strip light on an acrylic or perspex surface is not selective. It lights the surface it sits on, and that surface reflects back into your lens, contaminating the gradation your main light built. Siro demonstrates the test shot at this point and the problem is immediately visible: the reflection of the acrylic panel creates an unwanted bright zone that competes with the main-light gradation and flattens the result. You can see exactly what needs to be fixed before the technique resolves it.
Step 4: Connect the Strip Light to a Separate Power Pack With a Timed Delay
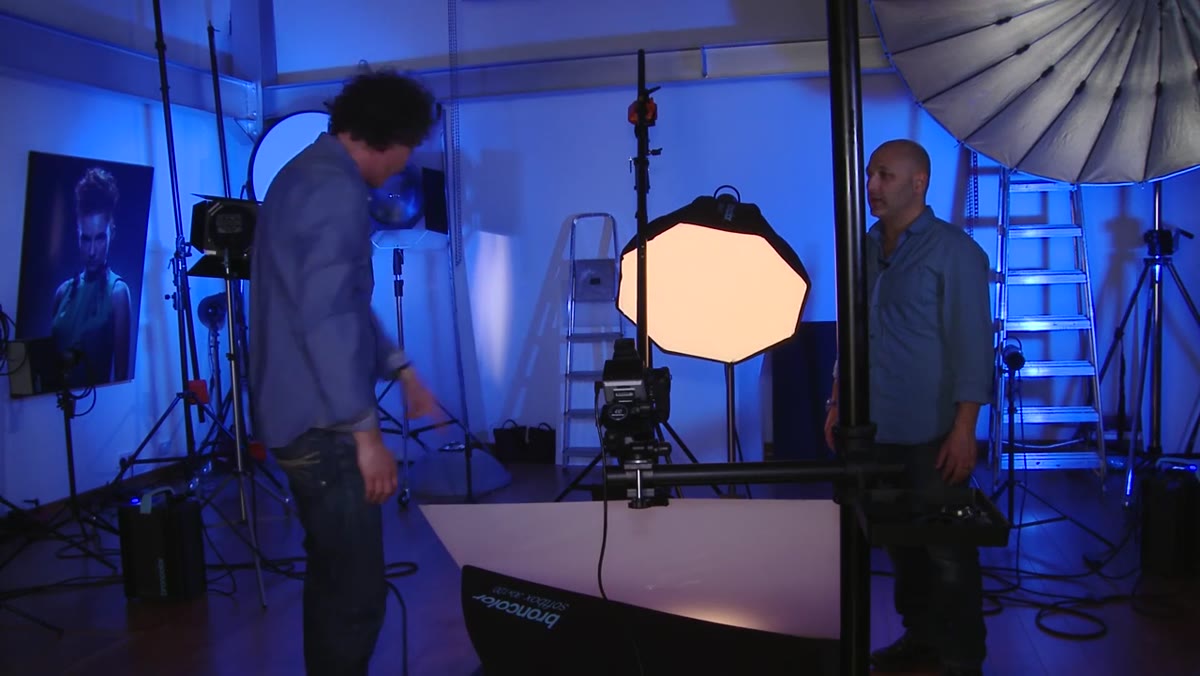 Separate power pack identified, delay mechanism explained in discussion
This is the step that makes the whole technique work. The strip light is connected to its own power pack, independent of the pack driving the main light and the softbox. The pack is configured to fire six seconds after the first group. That six-second gap is not wasted time. It is a window for action.
Separate power pack identified, delay mechanism explained in discussion
This is the step that makes the whole technique work. The strip light is connected to its own power pack, independent of the pack driving the main light and the softbox. The pack is configured to fire six seconds after the first group. That six-second gap is not wasted time. It is a window for action.
When you trip the shutter, the main light and the softbox fire immediately. The camera’s shutter stays open. The studio goes dark. In those six seconds, the photographer removes the acrylic panel from the set and rotates the softbox away so it no longer has a reflective surface to bounce off. Then the strip light fires, adding the edge highlight to the already-recorded image of the cutlery with the clean gradation intact. The camera sees both moments of light as a single exposure. The contamination problem is eliminated not by flagging or diffusion but by making the conflicting lights exist at different points in time.
Step 5: Execute the Sequence in a Fully Darkened Studio
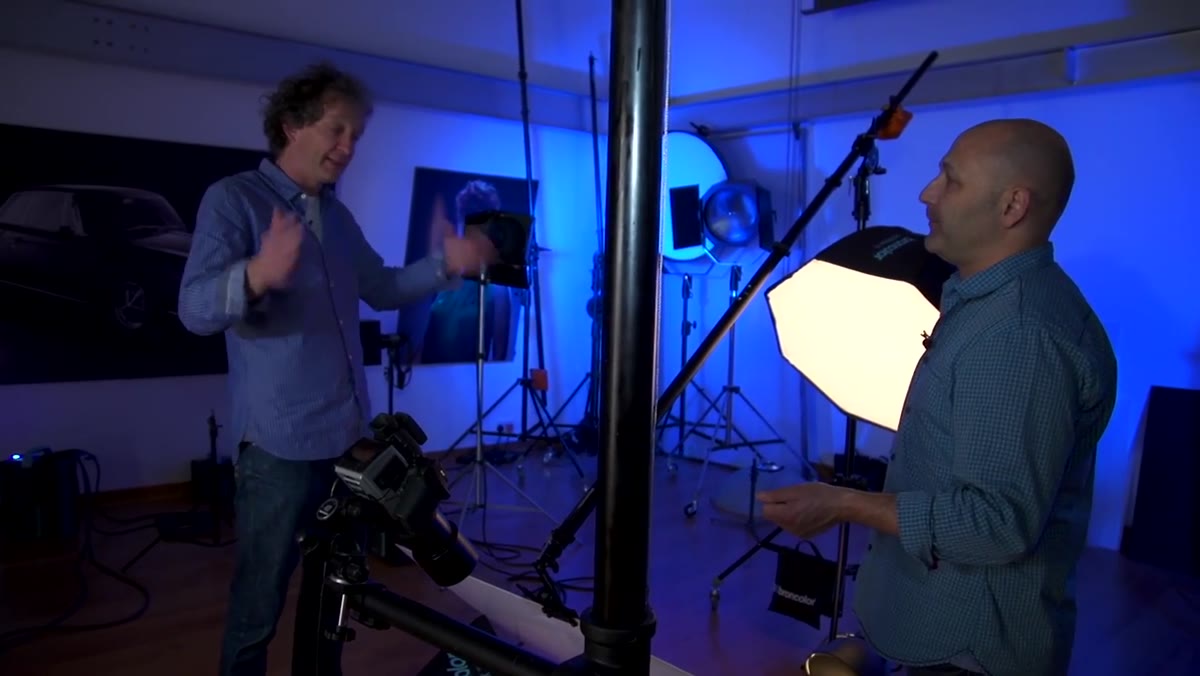 Dark studio moment between the two flash firings captured in camera
The technique depends entirely on the studio being light-tight during those six seconds between flashes. Any ambient light leaking into the room during the open shutter will accumulate on the sensor and soften the separation you built. Before you shoot, kill every modeling lamp on every head, close any doors with light gaps underneath, and tape over any indicator lights on your packs. I keep a roll of black gaffer tape on a hook by my studio door for exactly this reason.
Dark studio moment between the two flash firings captured in camera
The technique depends entirely on the studio being light-tight during those six seconds between flashes. Any ambient light leaking into the room during the open shutter will accumulate on the sensor and soften the separation you built. Before you shoot, kill every modeling lamp on every head, close any doors with light gaps underneath, and tape over any indicator lights on your packs. I keep a roll of black gaffer tape on a hook by my studio door for exactly this reason.
The shutter speed is six seconds at minimum, timed to the delay on your secondary pack. Siro and Taylor demonstrate the live execution here, and watching it happen in real time clarifies something the explanation alone cannot: the physical choreography matters as much as the lighting math. You are moving set elements during an open exposure. Slow, deliberate movements prevent blur or accidental shadows.
What I’d Add From My Own Practice
This technique transfers cleanly to other high-specularity objects, but the six-second window is generous because the setup is relatively simple. When I shoot jewelry on a more complex set, I sometimes need closer to ten or twelve seconds to reposition multiple elements between flashes. Most monoblock packs won’t give you a programmable delay, so this approach really does benefit from a system-level solution like Broncolor’s. If you’re working with independent monoblocks, an external timer triggering a second radio channel is a workable workaround, though it adds complexity and one more point of failure to troubleshoot.
The deeper principle here is one worth writing down: when two light sources interfere and you can’t solve it with flags or position, change when they fire instead of where they point. I’ve applied that logic to glass, to lacquered furniture, and to highly polished dark surfaces. It holds up every time.
The single most important idea in this tutorial is that time is a dimension of light control just as much as angle or modifier choice. You don’t have to solve every lighting problem in a single simultaneous flash. If the camera is open and the room is dark, you can build an exposure in stages, removing and repositioning elements between flashes to create a result that would be physically impossible to achieve any other way.
Watch the full tutorial on YouTube and watch the moment after the first test shot when the reflection problem becomes visible. That moment of diagnosis is as instructive as the solution.
Comments
Leave a Comment