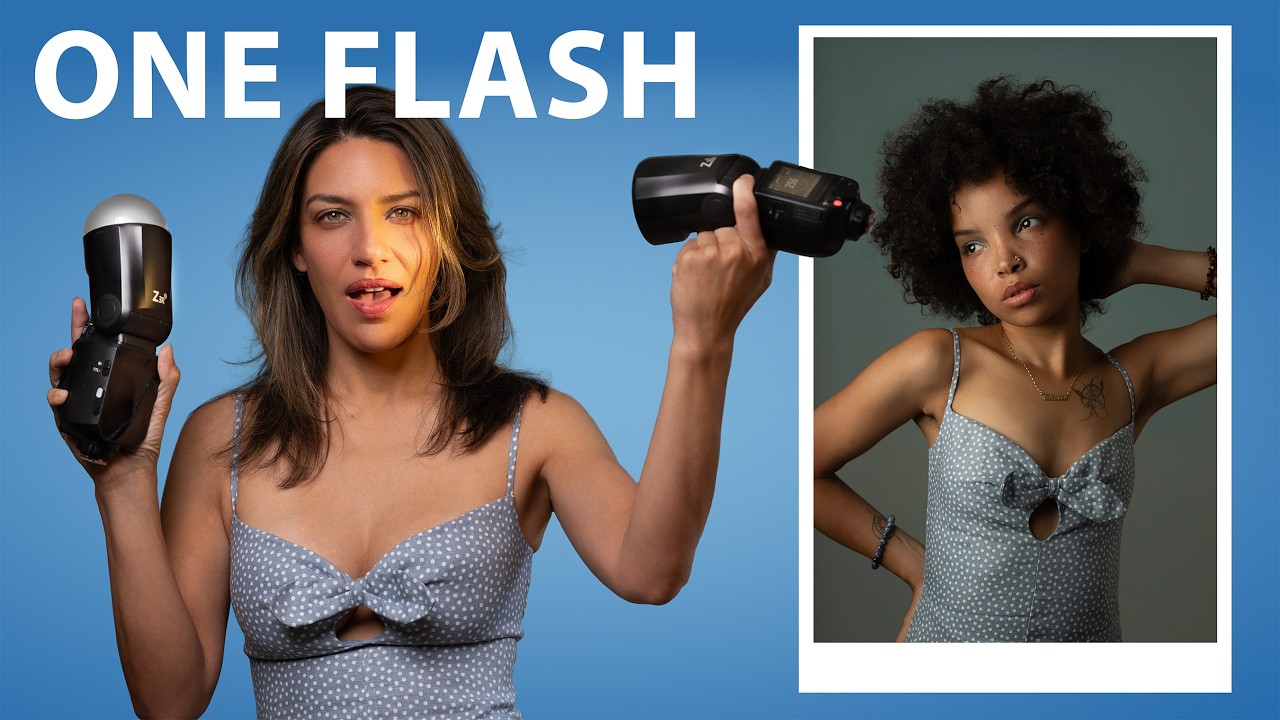
Most of my clients assume I’m working with a truck full of Profoto heads and a crew of assistants. The truth is that some of my cleanest editorial portraits have come from a single flash, a good modifier, and a room small enough that I could touch both walls with my arms stretched out. That gap between what people think pro lighting requires and what actually produces pro results is exactly what keeps beginners stuck.
In this Tony & Chelsea Northrup tutorial, Chelsea Mercado walks through a complete single-flash portrait workflow using Neewer’s Z2 Pro and Z3R speedlights. She covers the hardware differences, flash modes, studio setup on a budget, and posing fundamentals. I’ve sketched variations of this exact setup in my lighting journal more times than I can count, and the approach she lays out is clean, repeatable, and genuinely scalable to paid work.
Watch the full tutorial on YouTube
Step 1: Choose the Right Flash for Your Needs
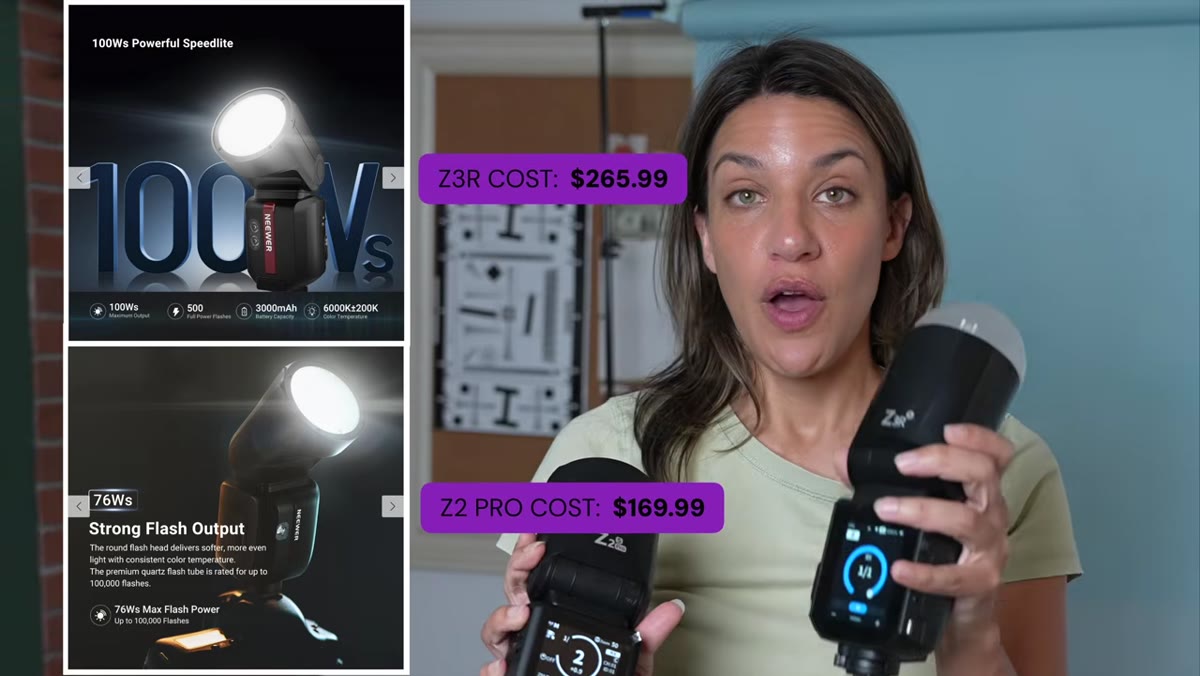 Chelsea holding Z2 Pro and Z3R side by side
The Z2 Pro runs at 76 watt-seconds and the Z3R runs at 100 watt-seconds. That’s not a trivial difference in a small room where you’re working close to a subject, but it’s also not the spec that will make or break your portraits. What Chelsea points out, and I agree with completely, is that the Z3R’s real upgrade is the touchscreen. Dialing power adjustments mid-shoot without hunting through a menu is a legitimate workflow improvement, not a luxury. If you’re shooting events or editorial with quick lighting changes, the extra cost is worth it.
Chelsea holding Z2 Pro and Z3R side by side
The Z2 Pro runs at 76 watt-seconds and the Z3R runs at 100 watt-seconds. That’s not a trivial difference in a small room where you’re working close to a subject, but it’s also not the spec that will make or break your portraits. What Chelsea points out, and I agree with completely, is that the Z3R’s real upgrade is the touchscreen. Dialing power adjustments mid-shoot without hunting through a menu is a legitimate workflow improvement, not a luxury. If you’re shooting events or editorial with quick lighting changes, the extra cost is worth it.
Both units use USB-C rechargeable batteries that can be removed and charged separately. Pull the battery when you’re done shooting. Leaving it seated will slowly drain the cell. If you’re mid-shoot and running low, both flashes support charging while in use, which is a practical lifeline during long sessions.
Step 2: Select the Correct Flash Mode for Studio Work
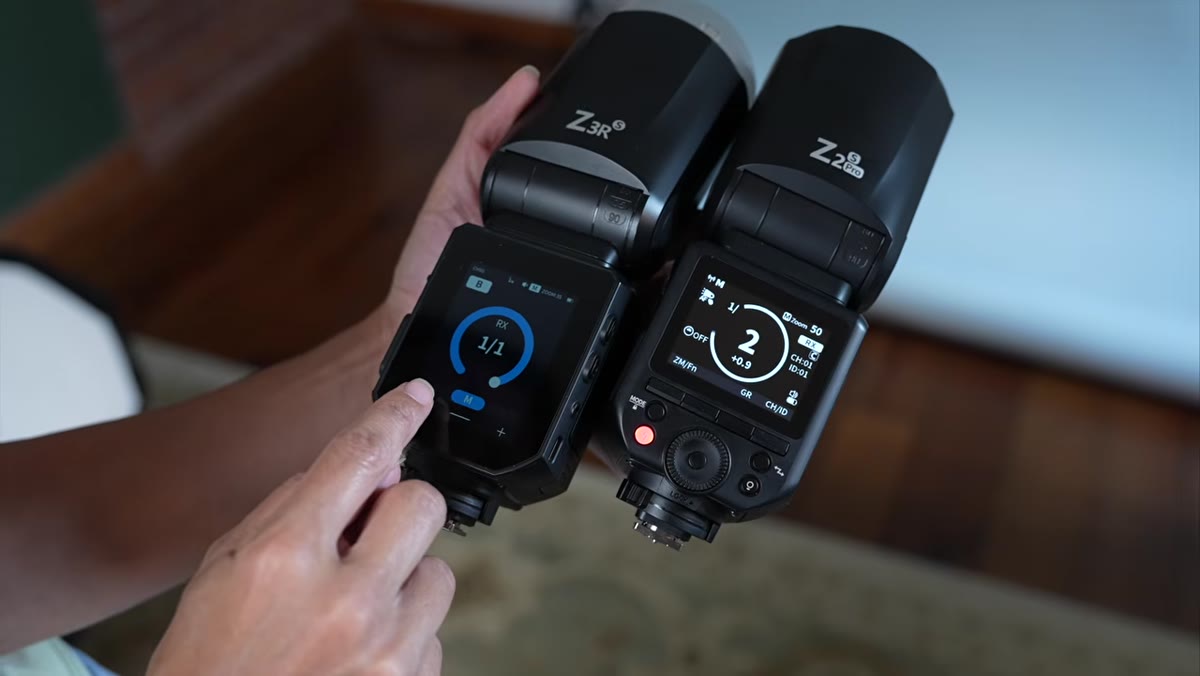 Flash mode screen showing TTL, Manual, and Multi options
Chelsea identifies three modes: TTL, Manual, and Multi. TTL, which stands for through-the-lens metering, lets the camera and flash communicate to calculate exposure automatically. It’s fast and useful for weddings or events where the distance between you and your subject keeps changing. Manual mode locks the flash output at a specific power level, which is exactly what you want in a controlled studio environment. Multi mode fires the flash in rapid stroboscopic bursts, useful for freezing motion across a single frame.
Flash mode screen showing TTL, Manual, and Multi options
Chelsea identifies three modes: TTL, Manual, and Multi. TTL, which stands for through-the-lens metering, lets the camera and flash communicate to calculate exposure automatically. It’s fast and useful for weddings or events where the distance between you and your subject keeps changing. Manual mode locks the flash output at a specific power level, which is exactly what you want in a controlled studio environment. Multi mode fires the flash in rapid stroboscopic bursts, useful for freezing motion across a single frame.
For studio portraits, use Manual. Full stop. Once your power level is set and your subject is positioned consistently, every frame gets the same light. That consistency is what allows you to refine your pose and expression without chasing exposure. I label my power settings on a strip of masking tape on the light stand so I can return to a setup without re-metering from scratch.
Step 3: Understand Battery Life and Recycle Time
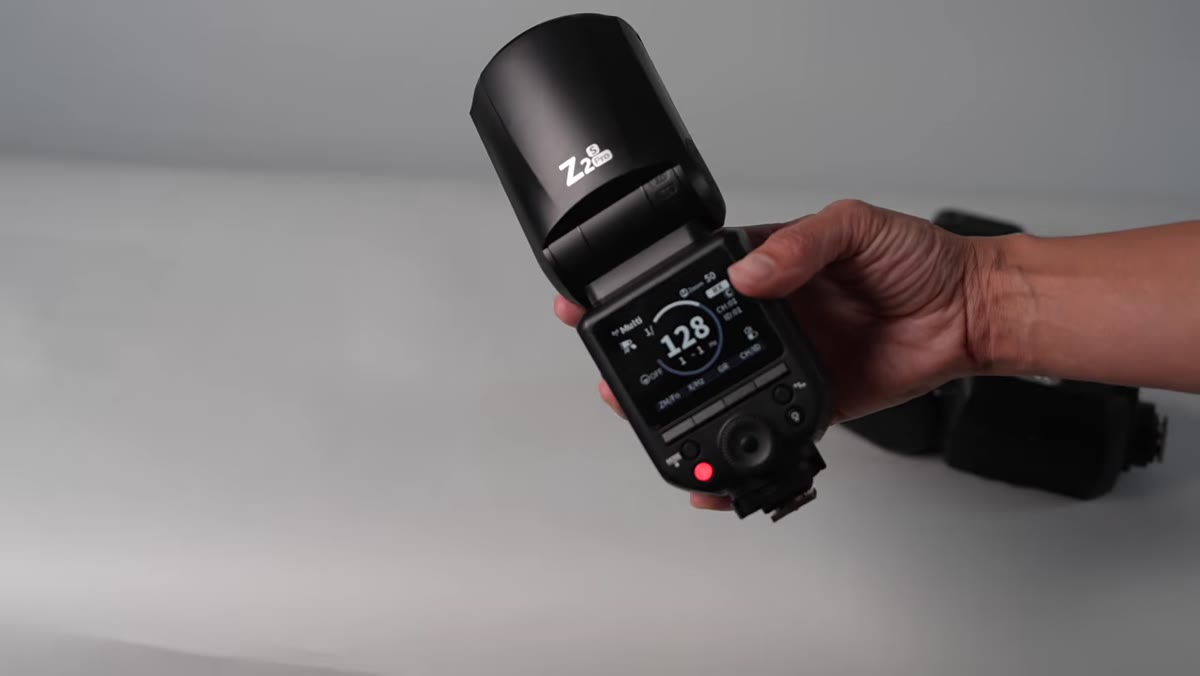 On-screen spec comparison of Z2 Pro and Z3R
At full power, the Z2 Pro delivers around 100 consecutive flashes before it needs a charge. The Z3R, because it’s pushing more power, lands between 70 and 100. Both units include thermal protection that will throttle performance before the unit overheats. The recycle time, meaning how long you wait between flashes, sits at 1.5 seconds for the Z2 Pro and 1.7 seconds for the Z3R at full power. That difference is barely noticeable in practice.
On-screen spec comparison of Z2 Pro and Z3R
At full power, the Z2 Pro delivers around 100 consecutive flashes before it needs a charge. The Z3R, because it’s pushing more power, lands between 70 and 100. Both units include thermal protection that will throttle performance before the unit overheats. The recycle time, meaning how long you wait between flashes, sits at 1.5 seconds for the Z2 Pro and 1.7 seconds for the Z3R at full power. That difference is barely noticeable in practice.
Here’s the practical implication: you don’t need to shoot at full power for most portrait work. Drop to half power and your recycle time shrinks, your battery lasts longer, and you still have plenty of output if you’re working with a softbox in a modest room. I rarely run any flash at full power in a studio setting unless I’m fighting strong ambient light.
Step 4: Use the QZ Trigger for Remote Control
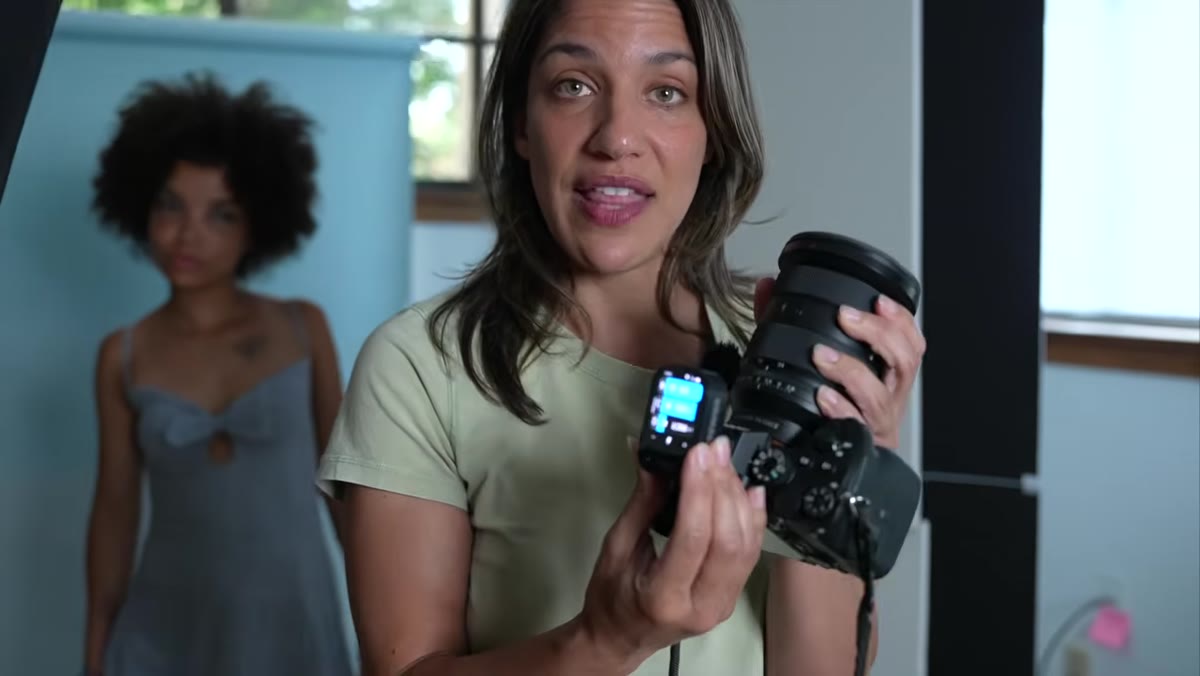 Chelsea attaching QZ trigger to camera hot shoe
The Neewer QZ trigger mounts to your camera’s hot shoe and controls both flashes wirelessly. What makes this particularly useful is the Godox 2.4 GHz compatibility. These Neewer flashes speak the same wireless protocol as Godox units, which means if you already own a Godox X3 or X Pro transmitter, it will work. It also means your trigger library isn’t locked to a single brand. With the latest firmware update, the Neewer trigger can also control Godox flashes, so mixing systems on a shoot is genuinely possible.
Chelsea attaching QZ trigger to camera hot shoe
The Neewer QZ trigger mounts to your camera’s hot shoe and controls both flashes wirelessly. What makes this particularly useful is the Godox 2.4 GHz compatibility. These Neewer flashes speak the same wireless protocol as Godox units, which means if you already own a Godox X3 or X Pro transmitter, it will work. It also means your trigger library isn’t locked to a single brand. With the latest firmware update, the Neewer trigger can also control Godox flashes, so mixing systems on a shoot is genuinely possible.
Download the latest firmware from the official Neewer website before your first shoot. Firmware updates on these units are not cosmetic. The expanded Godox compatibility came through a firmware revision, and running outdated firmware means leaving real functionality on the table.
Step 5: Set Up Your Studio Without a Big Space or Budget
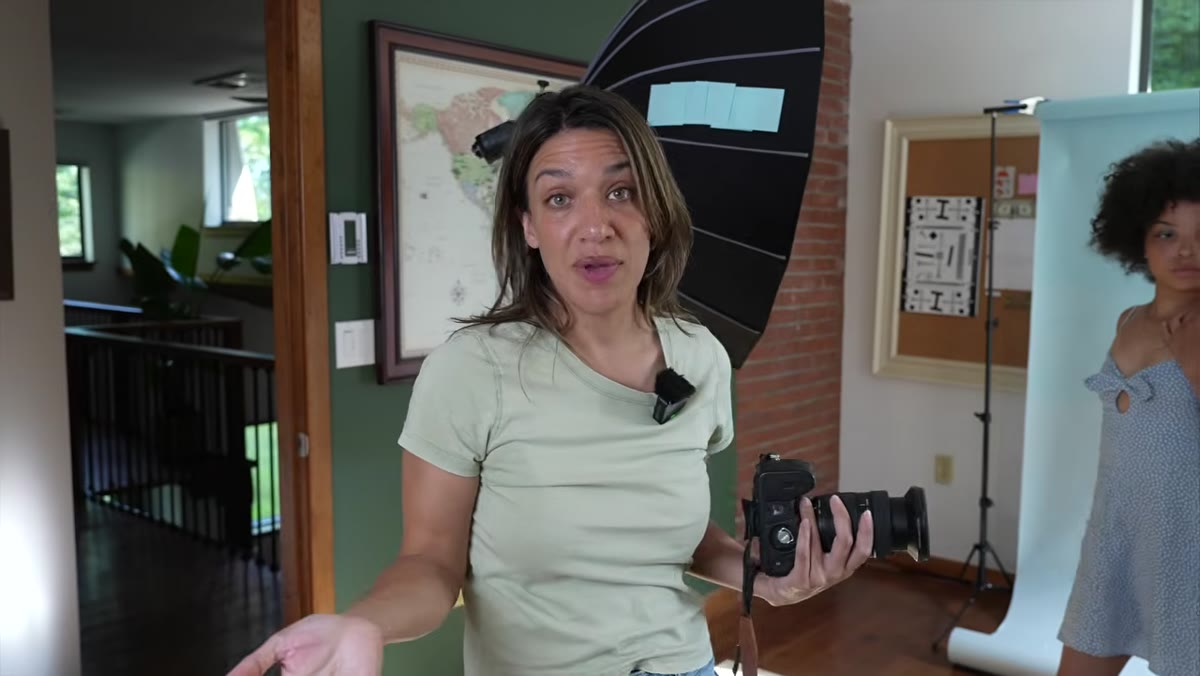 Small backdrop and single flash setup in spare bedroom
Chelsea shoots this entire tutorial in a spare bedroom. One flash, one reflector, a compact backdrop. The reflector is doing a job that a second flash would otherwise handle: bouncing light back into the shadow side of the subject’s face. That’s a legitimate one-two combination that keeps your kit minimal and your setup fast.
Small backdrop and single flash setup in spare bedroom
Chelsea shoots this entire tutorial in a spare bedroom. One flash, one reflector, a compact backdrop. The reflector is doing a job that a second flash would otherwise handle: bouncing light back into the shadow side of the subject’s face. That’s a legitimate one-two combination that keeps your kit minimal and your setup fast.
The practical floor plan here is simple. Position your key light at roughly 45 degrees to the subject and slightly above eye level. Place the reflector on the opposite side, angled in to fill the shadow. Your backdrop sits behind the subject with enough distance to keep light spill off it, which gives you separation and a cleaner gradient. You don’t need a ten-foot seamless roll to achieve this. A five-foot collapsible backdrop works fine if your subject isn’t full-length.
Step 6: Pose Your Subject Using Light Direction
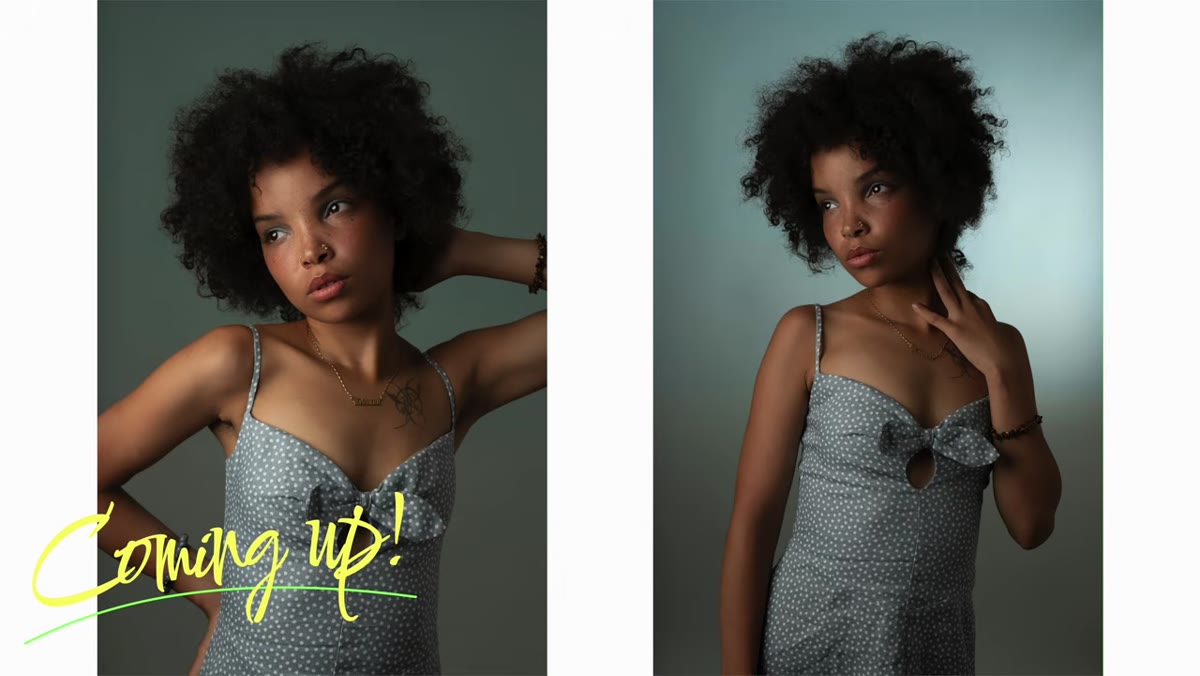 Subject turning face toward the light source
Chelsea introduces two foundational portrait lighting positions tied directly to where the subject looks. When the subject turns their face toward the light source, the broader part of their face catches the light. That’s called short lighting, and it’s slimming, dimensional, and generally flattering. When the subject faces the camera straight-on, the light wraps more evenly across both sides and produces a flatter, more symmetric result.
Subject turning face toward the light source
Chelsea introduces two foundational portrait lighting positions tied directly to where the subject looks. When the subject turns their face toward the light source, the broader part of their face catches the light. That’s called short lighting, and it’s slimming, dimensional, and generally flattering. When the subject faces the camera straight-on, the light wraps more evenly across both sides and produces a flatter, more symmetric result.
Neither approach is wrong. They serve different subjects and different moods. The important thing is that you’re making the choice deliberately. Before you fire a single frame, decide what the light is doing to the face and adjust the pose to serve that goal. I often photograph the subject in three positions, facing toward the light, facing away, and facing straight on, before I commit to a setup. The difference is visible immediately and it costs nothing but a few extra test frames.
Step 7: Slow Down and Check the Frame
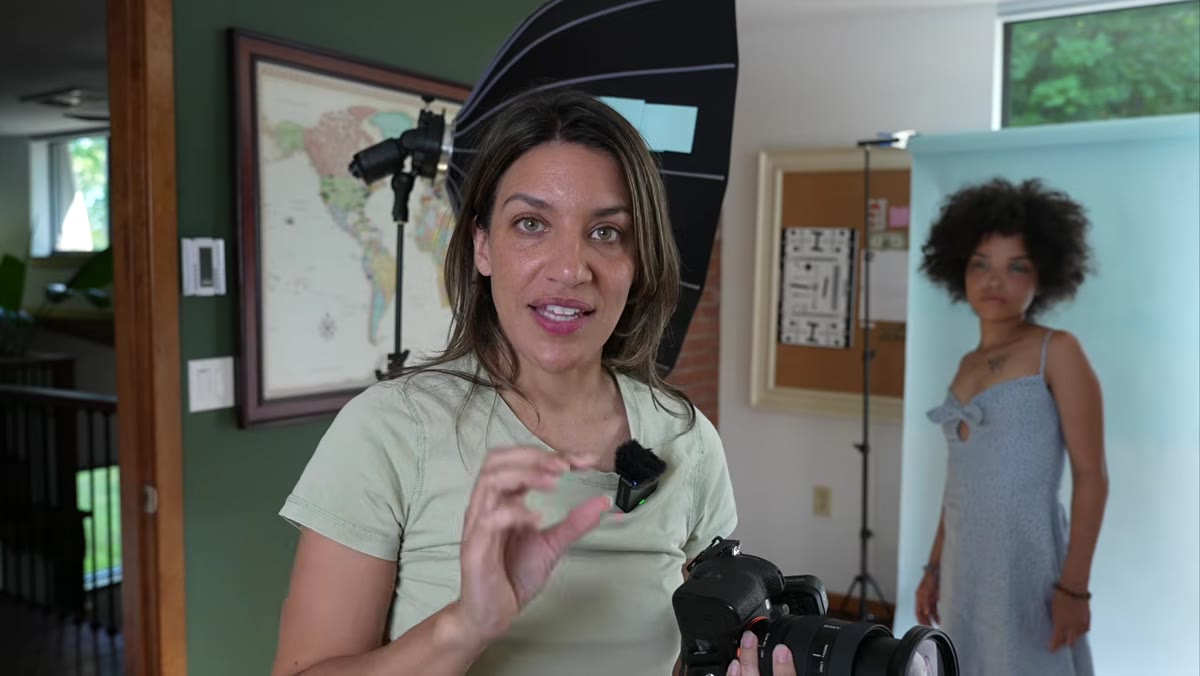 Chelsea reviewing an image on the camera rear screen
Chelsea is direct about the most common mistake she makes herself: rushing. In a studio situation, there is no reason to hurry. Your flash output is locked. Your subject is stationary. The only thing that changes is your composition and the expression you’re working with. Use the recycle time intentionally. While the flash recharges, check your frame edges. Look for distracting shadows, clipped limbs, or anything that reads strangely.
Chelsea reviewing an image on the camera rear screen
Chelsea is direct about the most common mistake she makes herself: rushing. In a studio situation, there is no reason to hurry. Your flash output is locked. Your subject is stationary. The only thing that changes is your composition and the expression you’re working with. Use the recycle time intentionally. While the flash recharges, check your frame edges. Look for distracting shadows, clipped limbs, or anything that reads strangely.
I developed this habit after a shoot early in my career where I came home with 200 frames and a stray light stand visible in the background of nearly all of them. It was invisible to me in the rush of shooting. Now I do a full frame audit on the first five shots of every setup before I move into the actual session. It takes thirty seconds and it has saved me from many re-shoots.
What I’d Add: Match Your Color Temperature Before You Shoot
One thing the tutorial doesn’t cover in depth is color temperature calibration. Flash units, even from the same manufacturer, can vary slightly in their Kelvin output, and if you’re mixing a flash with ambient room light or a modeling light, that variation compounds quickly. I ruined a full editorial shoot early in my career by not checking this, and the skin tones were unsalvageable in post. Before every studio session, I shoot a gray card at the power level I’ll be using, set a custom white balance in-camera, and lock it. It takes three minutes. If you’re using the Z3R or Z2 Pro’s built-in LED modeling lights for composition reference, note that their color temperature may differ from the actual flash output, so don’t use the modeling light exposure as your white balance reference.
The single most important idea in this tutorial is that professional portrait lighting is a system, not an equipment list. One flash, one reflector, and a clear understanding of how light direction affects the face will get you further than six heads with no conceptual framework behind them. Chelsea’s walkthrough is practical, honest about budget, and repeatable, which is exactly the standard a working tutorial should meet.
Watch the full tutorial on YouTube
The Neewer Z2 Pro and Z3R are available on Amazon and the Neewer website. Use code NEEWER10LHQ for a discount at checkout.
Comments (1)
Bookmarked. Coming back to this one for sure.
Leave a Comment