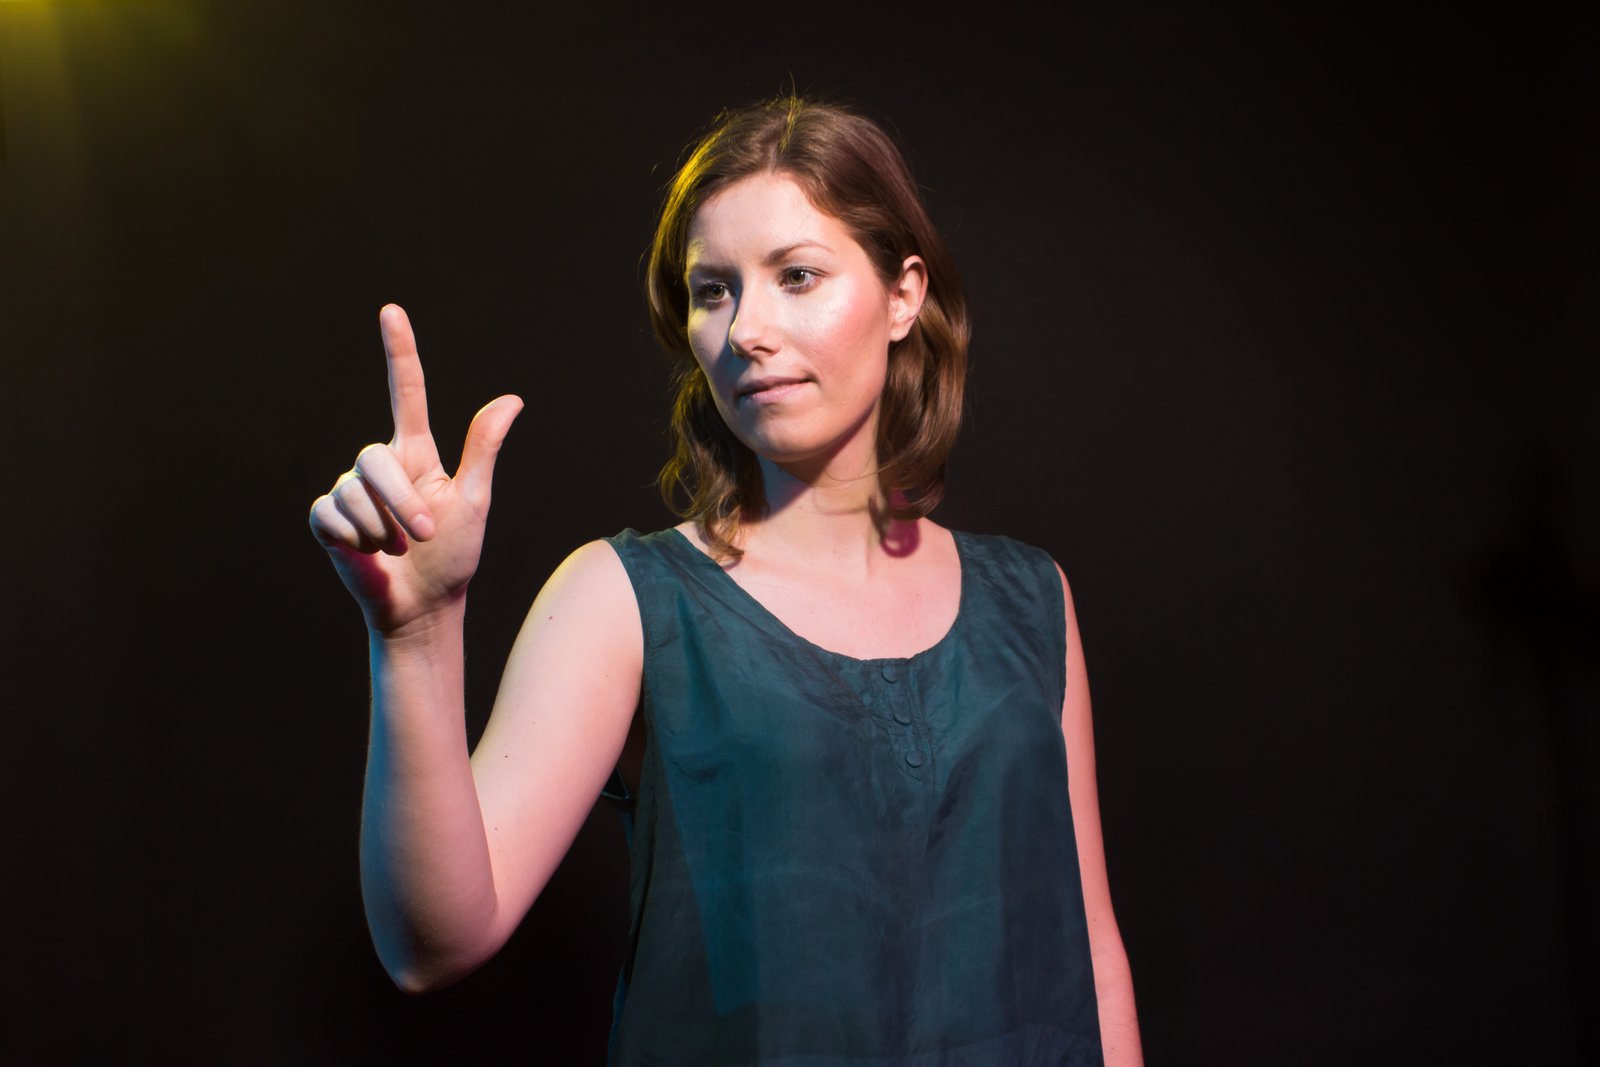
The Moment I Stopped Reaching for More Lights
A few years ago I was prepping a corporate headshot session, eight executives, ninety minutes, a lobby I’d converted into a temporary studio. I had four lights packed in the car. I set up two, tested, added a third for the background, decided the fourth might help with hair. By the time my first subject sat down, I had more variables than I could actually control. The shots were technically fine. They were also flat, forgettable, and looked like every other corporate headshot taken in 2011.
I packed everything back into cases, drove home, and taped a piece of masking tape to my Profoto B10. I wrote “START HERE” on it. I haven’t run a session with more lights than necessary since then.
One light is not a beginner compromise. It is a discipline. And if you understand what it’s actually doing to your subject, you’ll use it more deliberately than you’ve ever used six.
What One Light Actually Does to a Face
Every light source does two things simultaneously: it illuminates what it hits, and it creates shadow on everything it doesn’t. The relationship between those two zones, the ratio between highlight and shadow, is what gives a face dimension, mood, and credibility as a photograph.
When you stack multiple lights, you start filling in shadows you didn’t mean to fill. The drama you were trying to create gets washed out by your own equipment. With one source, every shadow is intentional because you only have one set of shadows to manage.
The physics here is simple. Light falls off according to the inverse square law: double the distance between your light and subject, and the intensity drops to one quarter. This means your modifier placement isn’t just a brightness decision, it’s a contrast decision. Move a 47-inch Westcott Zeppelin from three feet to six feet and the light doesn’t just get dimmer, it gets harder, with more defined shadow transitions. That’s a creative tool, not a problem to solve.
Choosing Your Modifier Before You Choose Your Power
I test every modifier the day it arrives. I shoot a gray card, a color checker, and my own forearm at three distances and three power levels. It sounds obsessive. It means I never guess on set.
For a one-light portrait setup, I default to one of three options depending on the job:
A large softbox, 36 by 48 inches minimum, positioned at 45 degrees to the subject and raised about a foot above eye level angled down, gives you classic Rembrandt shaping with enough wrap to keep the shadow side readable. This is my setting for most editorial work. I’m running the Profoto D2 500 at roughly 250 watt-seconds for a metered f/8 at ISO 100 on my Phase One. On a DSLR shooting at ISO 100, you’re looking at similar output requirements but check your sync speed first.
A parabolic reflector, either the 7-inch standard or something deeper like the Profoto Magnum, gives you a harder, more directional source. This is where one light becomes genuinely dramatic. I use this for fashion clients who want edge and structure. Power stays low, around 150 watt-seconds, because you want the falloff to do the work.
A beauty dish, 22-inch white, placed directly in front and slightly above the subject’s eye line, creates that signature even-yet-contoured look. It’s not as flat as a softbox. It’s not as harsh as a bare bulb. It’s the modifier that bridges both worlds and it’s the one I’d take to a desert island.
The Reflector Is Not a Second Light
Here is where most photographers undermine the whole exercise. They set up one strobe and immediately reach for a second strobe to fill the shadow side. That’s not a one-light setup anymore. That’s a two-light setup with one light being uncontrolled.
A white foam core board, 24 by 36 inches, placed on the shadow side of your subject at roughly the same distance as your light source, bounces maybe 20 to 30 percent of your key light back into the shadows. That’s a 3:1 to 4:1 ratio, which is flattering on most faces without looking artificially lit. A silver reflector gives you more punch. A black card subtracts light and deepens shadows if you want more drama.
I keep three foam core boards in my studio labeled “FILL SOFT,” “FILL HARD,” and “FLAG.” They’ve been on more shoots than most of my lenses.
What I Learned From My Wife About Shadow on Skin
Early in my career, I spent more money on lighting courses than I care to admit. The single most useful education I got was watching my wife get ready in the morning under a bare bathroom bulb at a specific angle to the mirror. She would tilt her face, adjust her position, find the light that worked for her features. She wasn’t thinking about inverse square law. She was thinking about how she looked.
I started paying attention to what she was actually finding: a source that was close, slightly above, and slightly to one side. A fill that came from the mirror itself, a reflective surface at roughly face level. Shadow falling under the cheekbones and jaw, not across the nose or into the eye sockets.
That bathroom setup, reconstructed with a large octabank and a foam core fill card, has become the foundation of every beauty client brief I take on. The gear is different. The logic is identical.
The Single Non-Negotiable Before You Press the Shutter
Before I trigger a single shot, I meter the key light at the subject’s position, I check my histogram on a test frame, and I verify the shadow side is giving me the ratio I want, not the ratio that happened by accident.
One light will expose every decision you didn’t make consciously. That’s exactly why you should use it.
Comments
Leave a Comment