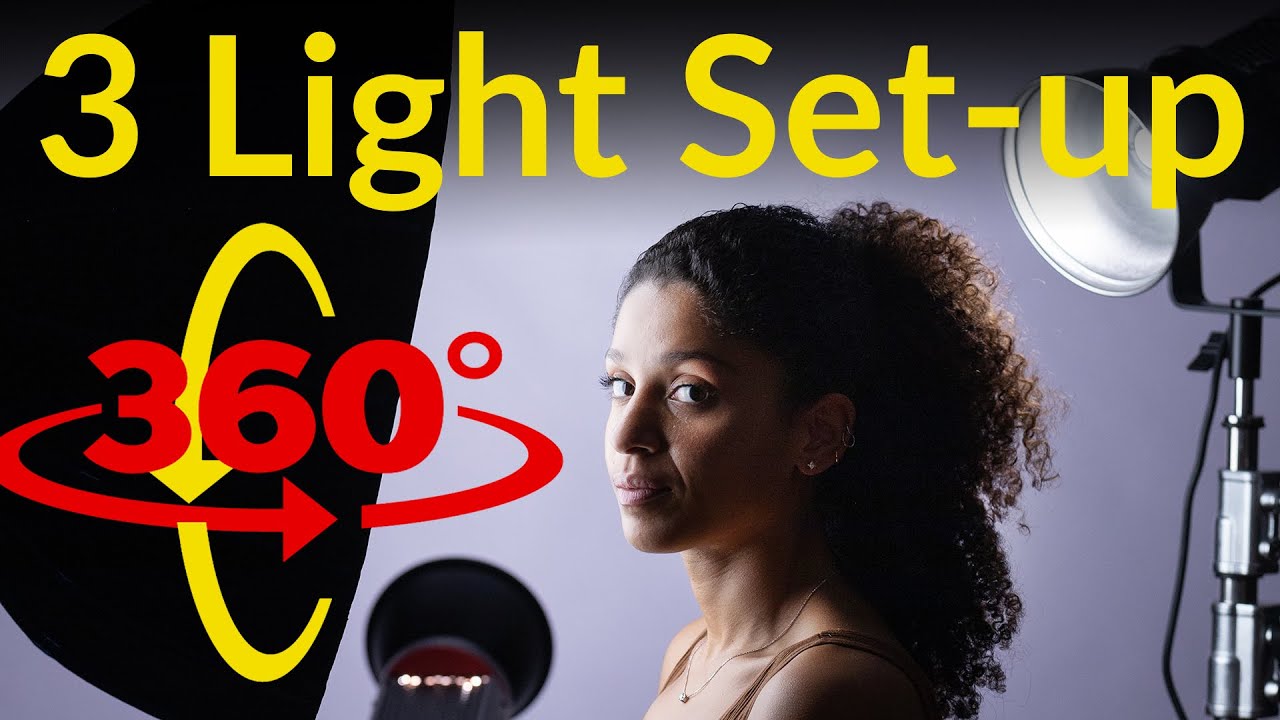
Every working portrait photographer eventually runs into the same problem: a technically correct key light that produces a flat, airless image. The subject is lit. The exposure is right. And the photo looks like a DMV headshot. What’s missing isn’t more light, it’s separation, depth, and the kind of shadow structure that makes a face look three-dimensional on a two-dimensional surface. That’s the problem this tutorial addresses directly.
In this The Slanted Lens tutorial, photographer Jay P. Morgan walks through a one-, two-, and three-light studio setup using an interactive 360-degree view that lets you see exactly where each light lands relative to the subject. Watch the full tutorial on YouTube — the interactive format alone is worth your time. But if you want the technique extracted and ready to apply in your own studio, here’s how the setup breaks down step by step.
I’ve been keeping a lighting journal for years, sketching every setup from every shoot I do. When I watched this video, I filled half a page. The logic Morgan uses to build his lighting rig is the same logic I learned the hard way over a decade of editorial and commercial work: start with one light, understand what it’s doing, then solve the specific problems it creates with each light you add. Nothing gets added without a reason.
Step 1: Choose a Key Light Position Before You Touch Anything Else
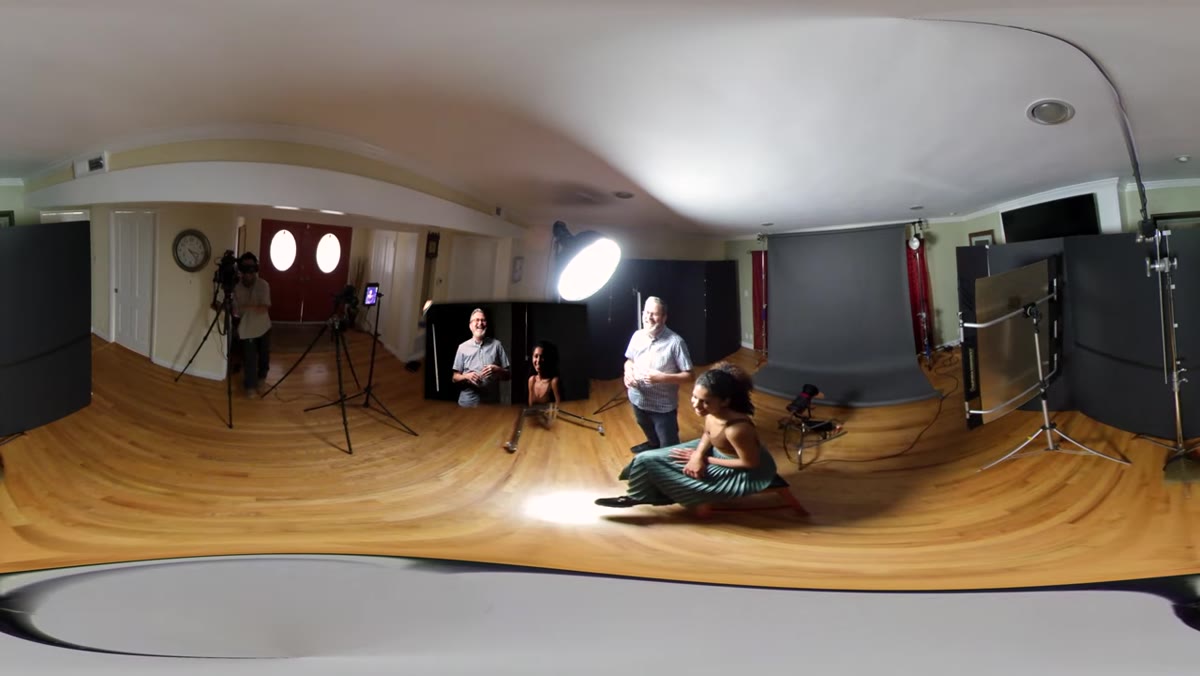 Photographer positioning key light in Rembrandt location
Morgan starts by making a deliberate choice about which of the five classic portrait lighting positions to use, and he recommends Rembrandt as the default starting point for most portrait work. The reasoning is practical: Rembrandt positioning gives you a face that’s partially in shadow, which means you have room to move in either direction. You can open it up for a clean, commercial look, or deepen the shadow for something moodier and more editorial. It’s the most flexible foundation.
Photographer positioning key light in Rembrandt location
Morgan starts by making a deliberate choice about which of the five classic portrait lighting positions to use, and he recommends Rembrandt as the default starting point for most portrait work. The reasoning is practical: Rembrandt positioning gives you a face that’s partially in shadow, which means you have room to move in either direction. You can open it up for a clean, commercial look, or deepen the shadow for something moodier and more editorial. It’s the most flexible foundation.
To dial in a Rembrandt position, place your key light roughly 45 degrees to the side of your subject and slightly above eye level. You’re looking for a small, distinct triangle of light to appear on the shadowed cheek, just below the eye on the opposite side from the light source. That triangle is your confirmation. If it’s not there, the light needs to come around or up.
Step 2: Control the Background Tone by Rotating the Key Light
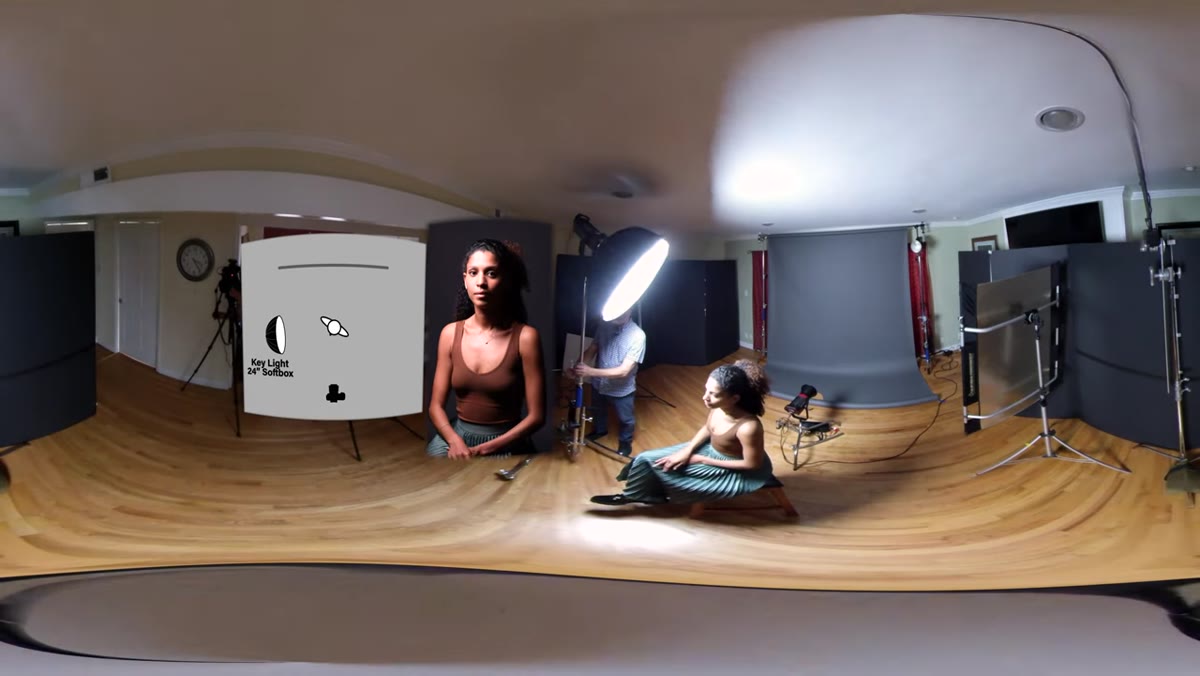 Key light rotating away from background, darkening it
Here’s something that doesn’t get talked about enough in beginner lighting guides: the direction your key light faces relative to the background changes how bright that background reads, even before you add a dedicated background light. Morgan demonstrates this clearly. Rotate the key light toward the background, and more spill hits it, brightening it. Rotate the light away from the background, and the background darkens because it falls further into shadow.
Key light rotating away from background, darkening it
Here’s something that doesn’t get talked about enough in beginner lighting guides: the direction your key light faces relative to the background changes how bright that background reads, even before you add a dedicated background light. Morgan demonstrates this clearly. Rotate the key light toward the background, and more spill hits it, brightening it. Rotate the light away from the background, and the background darkens because it falls further into shadow.
This gives you a built-in exposure tool. In my own studio, I use this trick constantly when I want a gray seamless to read as nearly black without gelling or flagging anything. It’s also worth noting that rotating the key light affects the shadow triangle on the face. As the light swings further around the subject, that triangle grows. Too large and it stops reading as Rembrandt and starts looking like split lighting. Adjust until the triangle is clean and contained.
Step 3: Identify What the Single Light Fails to Do
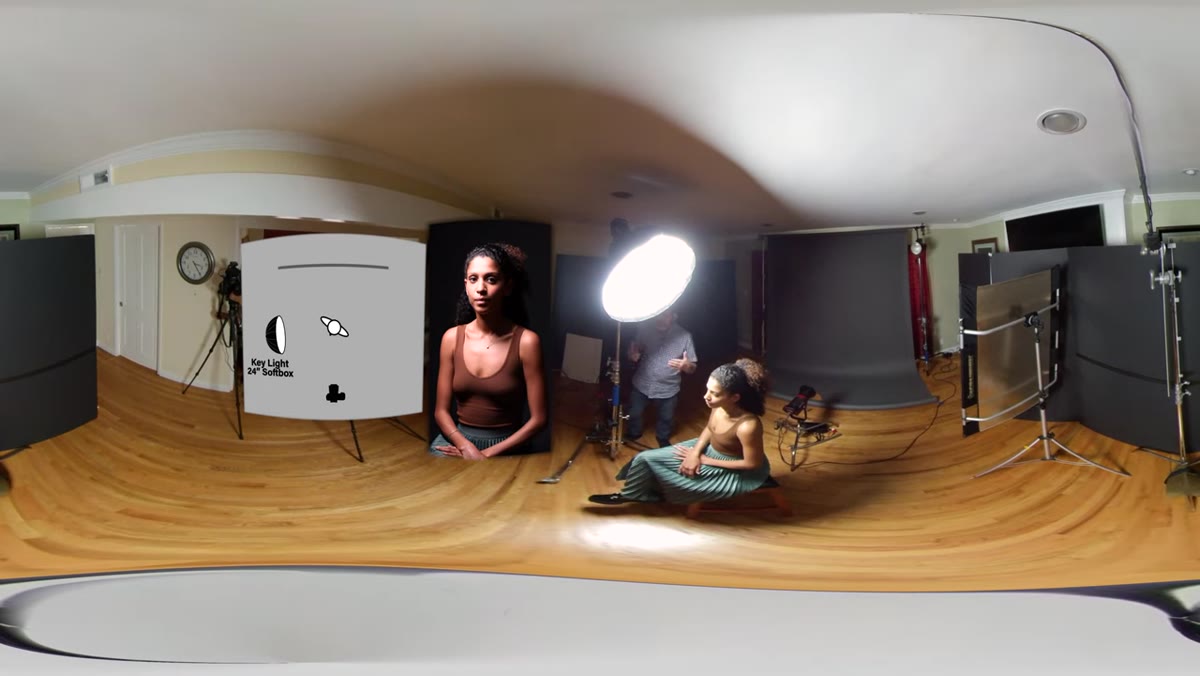 Single key light result showing hair merging with background
Before adding a second light, Morgan pauses to diagnose exactly what the single key light setup is missing. This is the step most photographers skip. They feel the image needs more, so they reach for another light without identifying the specific problem. Here, the issue is visible and precise: the subject’s hair on the shadow side of the frame is merging with the dark background. There’s no edge, no separation, no visual cue that tells your eye where the subject ends and the backdrop begins.
Single key light result showing hair merging with background
Before adding a second light, Morgan pauses to diagnose exactly what the single key light setup is missing. This is the step most photographers skip. They feel the image needs more, so they reach for another light without identifying the specific problem. Here, the issue is visible and precise: the subject’s hair on the shadow side of the frame is merging with the dark background. There’s no edge, no separation, no visual cue that tells your eye where the subject ends and the backdrop begins.
Name the problem before you solve it. In this case, the image needs edge definition, specifically along the hair and shoulder on the shadow side. That diagnosis points directly to the next light and where it needs to go.
Step 4: Add a Background Light for Separation
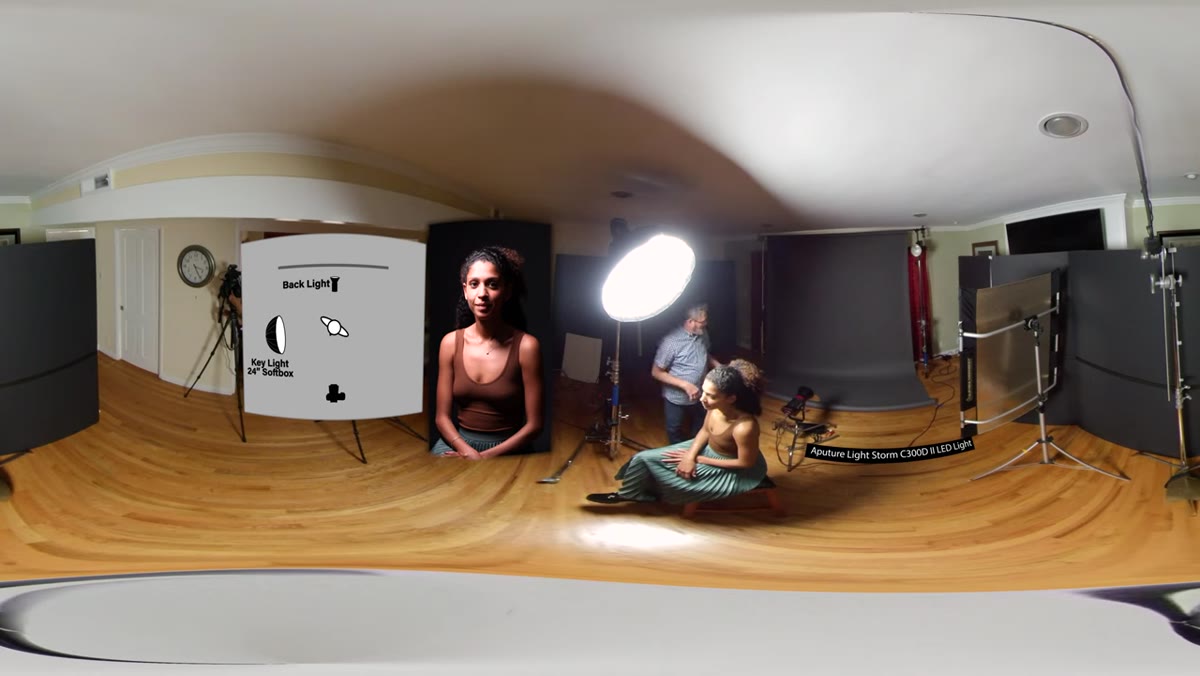 Background light activating, hair separating from backdrop
The second light Morgan introduces is aimed directly at the background, not at the subject. He’s using an Aputure C300D II, dialed down to around three percent because the fixture is powerful enough that even a low setting throws significant output. The goal is a wash of light across the backdrop that’s bright enough to separate the subject’s silhouette from the background, but not so bright that it blows out or competes with the key light.
Background light activating, hair separating from backdrop
The second light Morgan introduces is aimed directly at the background, not at the subject. He’s using an Aputure C300D II, dialed down to around three percent because the fixture is powerful enough that even a low setting throws significant output. The goal is a wash of light across the backdrop that’s bright enough to separate the subject’s silhouette from the background, but not so bright that it blows out or competes with the key light.
Aim this light straight at the backdrop from roughly behind and to the side of the subject. You want it to catch the edge of the hair and shoulder without wrapping around onto the face. The result is immediate: the subject lifts off the background and the image gains a sense of three-dimensional space. If you don’t have an Aputure at that power level, any strobe or LED pointed at the backdrop works, just pull it back or lower the output until the background reads about one stop under the key light exposure.
Step 5: Evaluate Depth and Shadow Before Adding a Third Light
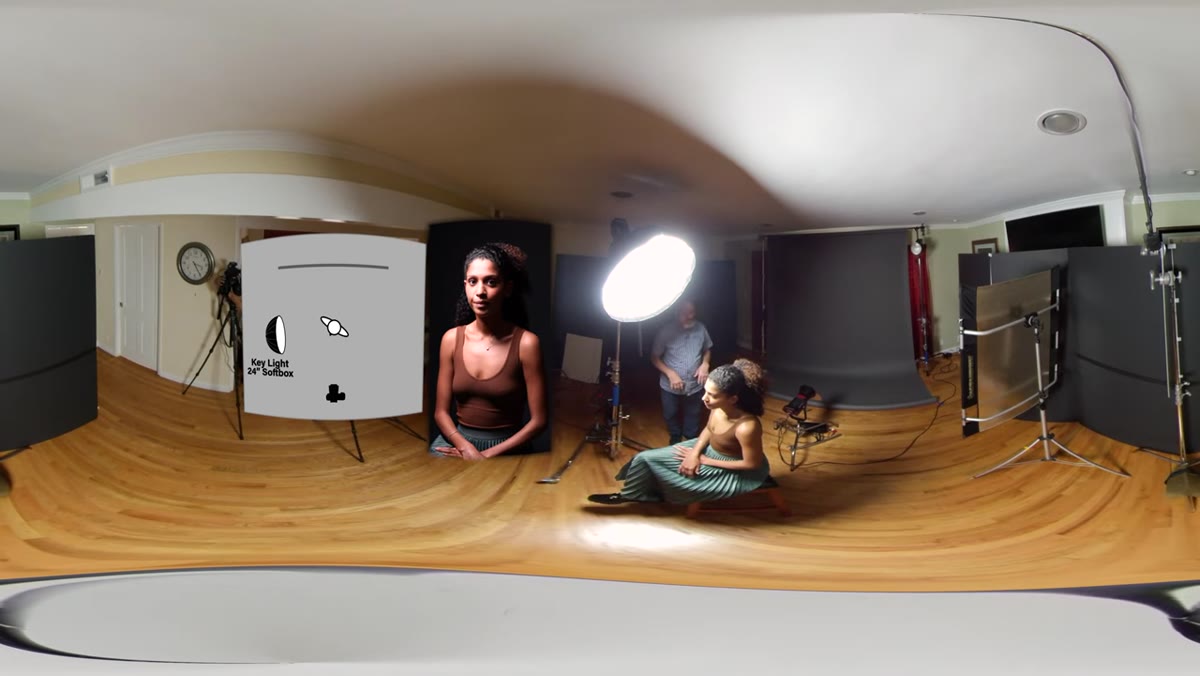 Single light portrait showing lack of depth and dimension
This is the step that separates photographers who understand light from photographers who just own lights. Morgan’s point here is that shadow is the primary tool for creating depth in a portrait. Color, texture, and contrast all contribute, but shadow definition is the most direct and controllable method available to you in a studio. Before you add a fill or a hair light, look at the image and ask whether the shadow side has enough detail, or too much, or too little.
Single light portrait showing lack of depth and dimension
This is the step that separates photographers who understand light from photographers who just own lights. Morgan’s point here is that shadow is the primary tool for creating depth in a portrait. Color, texture, and contrast all contribute, but shadow definition is the most direct and controllable method available to you in a studio. Before you add a fill or a hair light, look at the image and ask whether the shadow side has enough detail, or too much, or too little.
In this setup, the key question is whether the shadow side of the face needs any fill at all. Bringing in a fill card or a second strobe will reduce contrast and open up shadow detail. Whether that serves the image depends entirely on the look you’re going for. Editorial and fashion work often benefits from leaving those shadows alone.
What I Do Differently in My Own Studio
One thing Morgan doesn’t address in this particular segment, and something I’ve built into every studio session I run, is labeling the purpose of each light before the shoot starts. I put a strip of masking tape on every stand with the light’s role written on it: KEY, BACKGROUND, HAIR, FILL. It sounds obsessive, but when you’re deep into a shoot and making quick adjustments, you don’t want to be standing in the middle of the set trying to remember which light is doing what. The labels keep the logic of the setup legible at a glance.
I also always set the background light first, not last. Building the separation into the scene before I add the key light gives me a clearer read on how much contrast I have to work with. It’s a different order than Morgan demonstrates here, but the underlying principle is the same: know what each light contributes before you commit to it.
The single most important idea in this whole tutorial is this: every light you add should solve a specific problem created by the light you already have. That principle alone will make your setups cleaner, faster, and more intentional than most of what you’ll see in a working studio.
Watch the full tutorial on YouTube and use the 360-degree interactive view to study the light positions from multiple angles. There’s no substitute for seeing the actual geometry of the setup in space.
Comments (5)
Never thought of approaching it this way. Really creative.
Been doing this wrong for years apparently. Thanks for the wake-up call.
Really solid breakdown. This pairs perfectly with the color grading work I've been writing about.
Wow, I had no idea you could do this. Mind blown.
I've been looking for exactly this kind of tutorial. Perfect timing.
Leave a Comment