I used to over-light everything. Early in my career, I thought a complex setup meant a professional result. Four lights, two kickers, a hair light, a background light — the whole architecture. Then I had a client cancel half my setup time on a corporate headshot day, and I had to shoot 22 people in three hours with whatever I could rig in ten minutes. I used one Profoto B10 with a 3-foot octabox. The client called them the best headshots they’d ever had.
That shoot changed how I think about single-source lighting. Not as a limitation, but as a discipline.
Why One Light Forces You to Get the Physics Right
When you’re running multiple lights, you can hide a lot of mistakes. A fill light covers up bad modifier placement. A kicker rescues a flat setup. With one light, there’s nowhere to hide, and that’s exactly why it’s the best way to understand what light is actually doing.
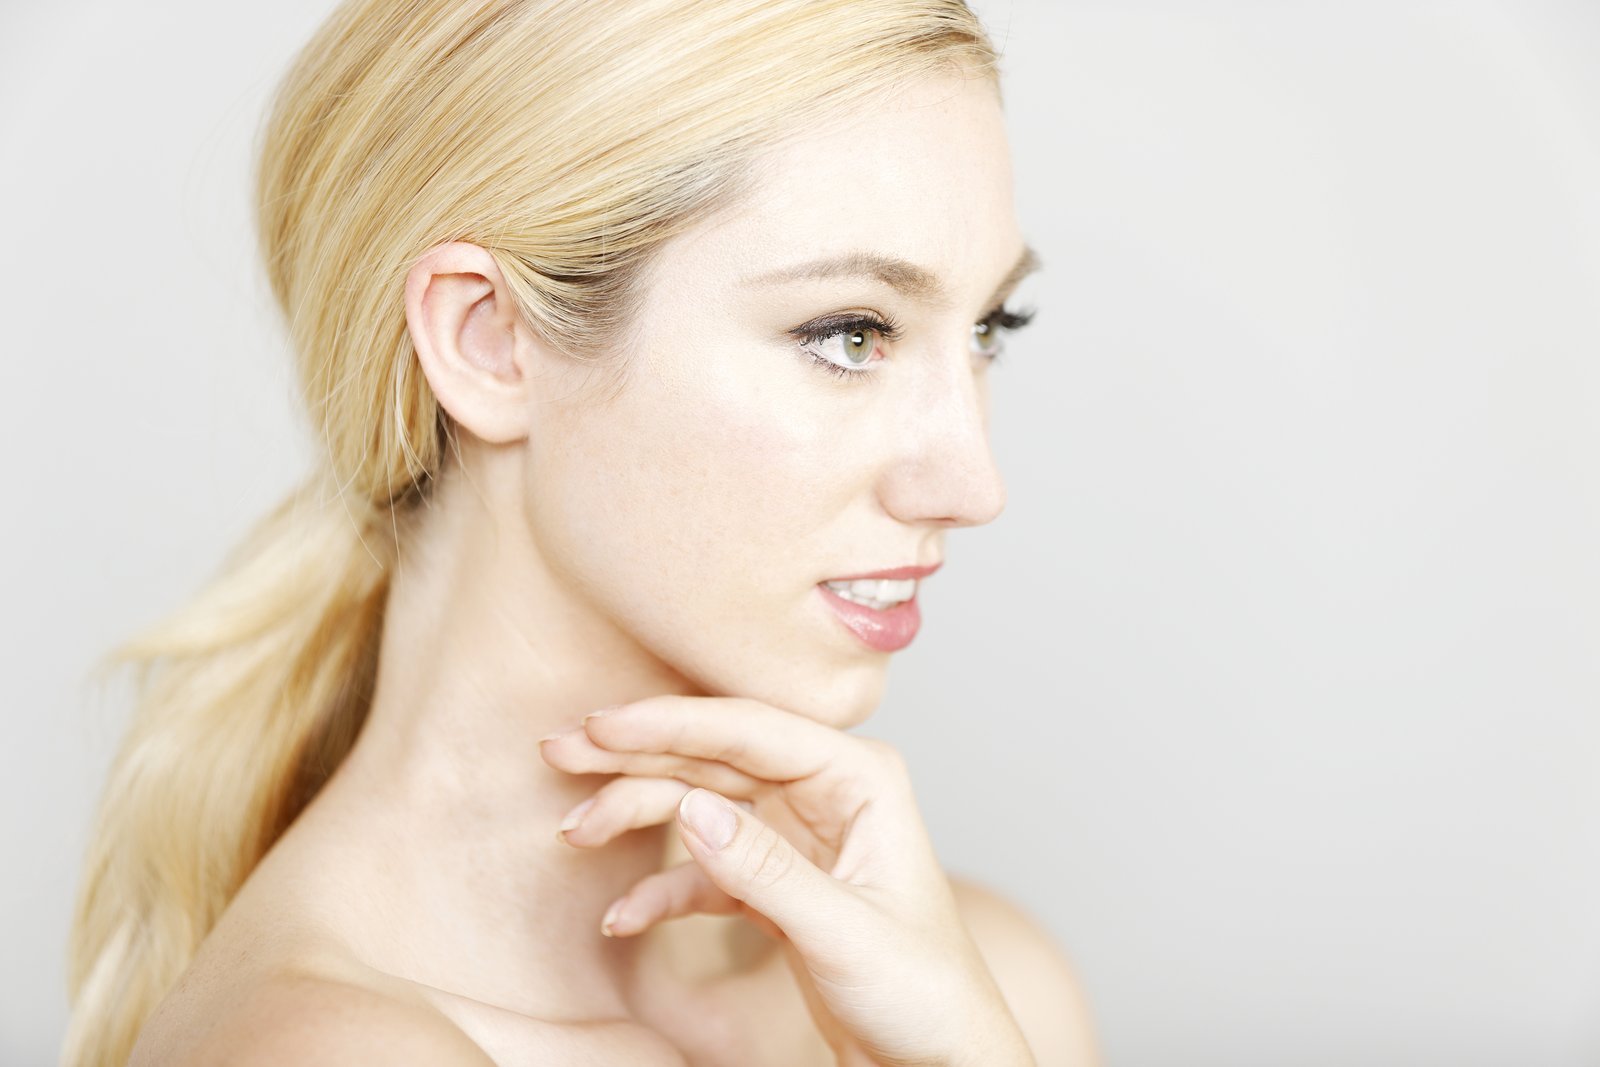
A single source creates a shadow on one side of the subject’s face. That shadow is doing all the heavy lifting. Its edge — what photographers call the “falloff” — is determined by the size of your light source relative to its distance from the subject. Move a large softbox close to the face and the shadow transition is gradual, almost creamy. Pull it back or swap it for a smaller modifier and the shadow gets harder, more defined.
This relationship is everything. The Inverse Square Law tells us that light intensity drops by the square of the distance. Double the distance, you don’t halve the light — you drop it to a quarter of the original power. This matters practically: if your one light is also illuminating a white backdrop, moving it further from the subject means the background gets significantly darker relative to the subject, even if you don’t touch a dial.
The Setup I Actually Use on Paid Shoots
For corporate and editorial portraits with one light, I default to this: a Profoto D2 500Ws monolight with a Profoto 2-foot by 3-foot RFi softbox, positioned at roughly 45 degrees to the subject’s left (camera right) and about 30 inches from their face. The front edge of the softbox is even with the front of the subject’s nose. Power is typically around f/8 at ISO 100 on a full-frame body, which gives me clean files with plenty of latitude in post.
That’s it. No reflector on the other side unless the client specifically needs a flatter, more commercial look. The natural shadow is what gives the image dimension.
For the background, I put it 6 to 8 feet behind the subject. At that distance, with the light aimed at the face, the background falls off to a medium gray even when it’s pure white. If I want it darker, I push the subject forward. If I want it lighter, I bring them back or feather the softbox slightly toward the backdrop. One light. Two very different looks.
When to Add a Reflector (and When Not To)
A white V-flat or a 42-inch silver reflector on the shadow side changes the character of the image entirely, and I want to be deliberate about when I use one. A silver reflector at 3 feet will cut your shadow ratio from roughly 4:1 down to 2:1 or less. That’s fine for beauty work where skin texture needs to read smoothly. It’s wrong for a magazine editorial where you want mood and contour.
I keep a piece of masking tape on every reflector in my studio with the label “FILL - SILVER” or “FILL - WHITE” so I’m making an active choice, not just grabbing whatever is nearest. The habit sounds small. It’s not. When you’re moving fast on a shoot, labeled gear makes you deliberate instead of reactive.
My general rule: if the subject’s shadow eye still has visible catchlight and detail, I don’t need fill. If the shadow side goes completely dead, I’ll bring in a white card, not silver, and I’ll start at 5 feet away before moving it closer.
The Mistake I See Constantly in One-Light Portraits
The light is too far back and too high. I see this everywhere. The modifier is behind the subject’s ear instead of in front of the nose, and it’s aimed down at a steep angle. What you get is a narrow highlight down the nose, deep raccoon shadows under the eyes, and a setup that looks like a horror movie still.
The fix is almost insultingly simple. Think of the softbox as a window. Where would a window need to be to give someone beautiful, natural light? Slightly in front of them and at eye level or just above it. Not above them. Not beside them. In front and to the side. I’ve watched assistants and newer photographers walk a light 6 inches forward and see an image transform completely. The geometry is unforgiving, and that’s what makes it teachable.
I sketch every setup I shoot in a small notebook I keep at the studio. Looking back at early sessions, I can see exactly when I started trusting one-light work. The diagrams get simpler. The notes get more specific about modifier distance and height angles rather than about how many heads I used.
The One Setting Most Photographers Skip
Modeling light. Most studio strobes have one, and most photographers leave it at full power or turn it off completely. I set mine to proportional mode, which means it scales with the output power of the strobe. This gives you an accurate preview of where your shadows will fall before you trigger a single frame. On a one-light setup, this preview is invaluable. It costs you nothing and saves you test shots.
The real skill in single-source studio work isn’t adding more gear. It’s learning to read what the one source is already telling you before you press the shutter.
Comments (1)
This is the kind of content that keeps me coming back.
Leave a Comment