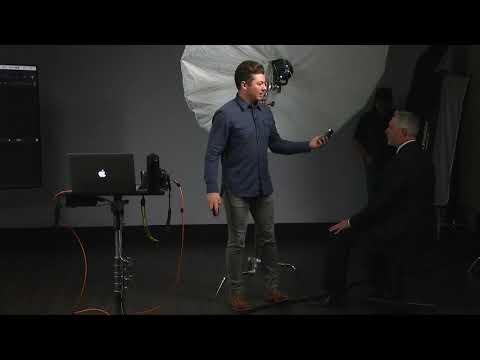
Every corporate headshot season, I watch photographers overcomplicate what should be a straightforward problem. They stack modifiers, add fill cards, chase catchlights with a second strobe, and end up with a lighting rig that takes forty minutes to build and still produces flat, unflattering results. The truth is that one well-placed light and the right modifier will outperform a four-light setup built without intention every single time.
In this CreativeLive tutorial on basic studio lighting setups, the instructor walks through exactly that philosophy using a corporate subject in a suit, which is as real-world a scenario as studio photography gets. Watch the full tutorial on YouTube before or after reading this breakdown. What I want to do here is pull the core technique apart and give you the context that makes it actually usable on a real shoot, not just a controlled demo.
What struck me watching this was how closely the decision-making mirrors my own process for editorial and corporate work. The reasoning behind each choice, where to position the light, how to tilt it, where to aim it, is the kind of thing that usually lives in a photographer’s head and never gets explained out loud. This tutorial explains it out loud.
Step 1: Choose a Large, Soft Modifier and Understand Why It Works
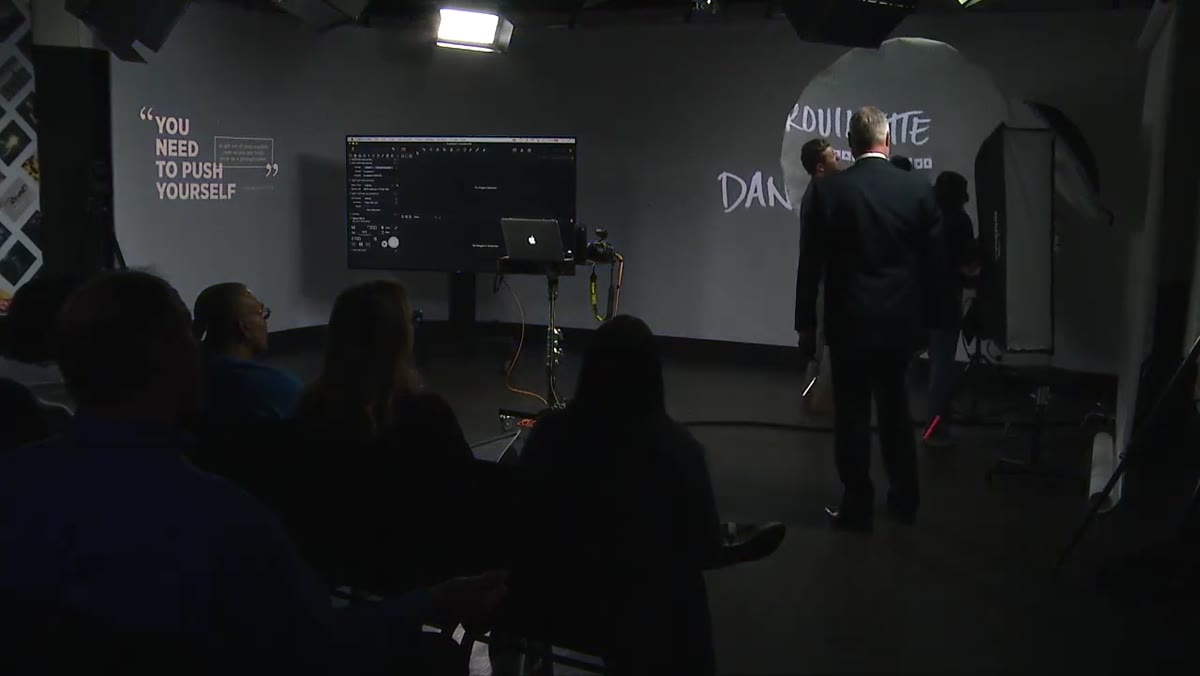 Large Profoto XL umbrella with baffle attached on stand
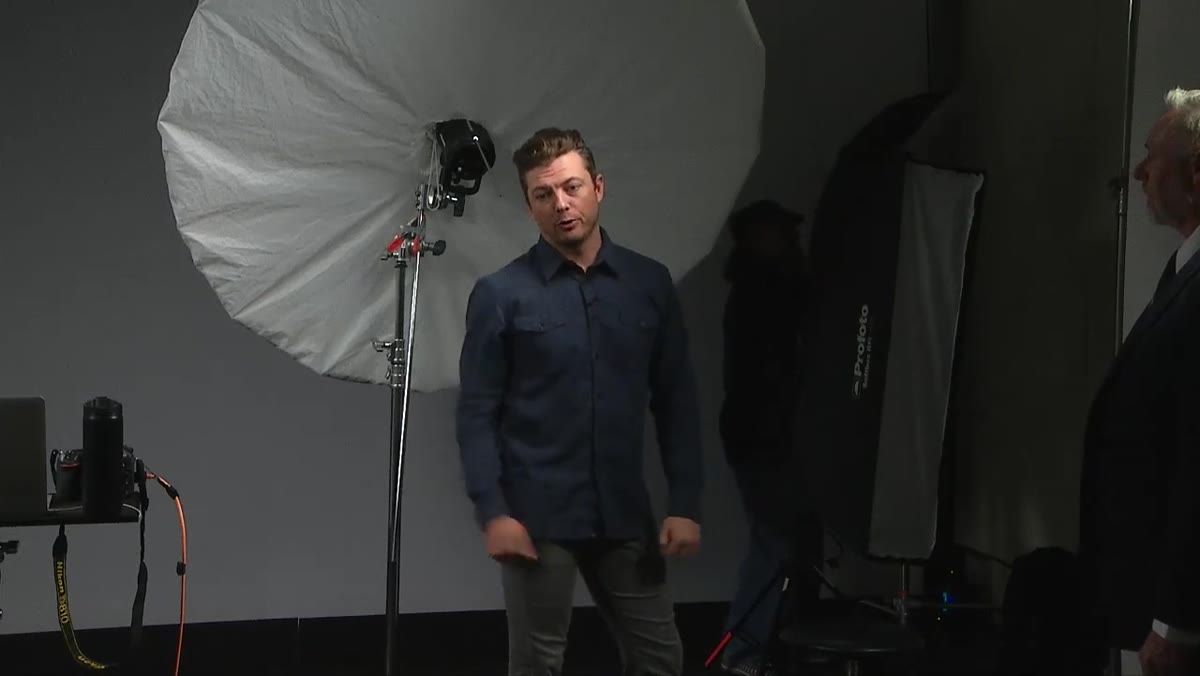
The tutorial opens with an XL Profoto umbrella fitted with a baffle, which shoots light into the umbrella and back out through a diffusion panel. The result is a light source that behaves like a large north-facing window, soft, even, and flattering across a wide range of skin tones and face shapes. Size matters here because larger sources wrap light around the subject rather than hitting from a single hard angle.
Large Profoto XL umbrella with baffle attached on stand
The tutorial opens with an XL Profoto umbrella fitted with a baffle, which shoots light into the umbrella and back out through a diffusion panel. The result is a light source that behaves like a large north-facing window, soft, even, and flattering across a wide range of skin tones and face shapes. Size matters here because larger sources wrap light around the subject rather than hitting from a single hard angle.
If you don’t own the Profoto version, any shoot-through or double-diffused umbrella in the 60-inch-plus range will produce a comparable quality of light. The modifier is the decision, not the brand. What you’re buying with a larger umbrella is forgiveness: slight posing shifts, minor position changes, and different face shapes all respond well without requiring you to rebuild the setup.
Step 2: Set the Light Height and Tilt It Downward
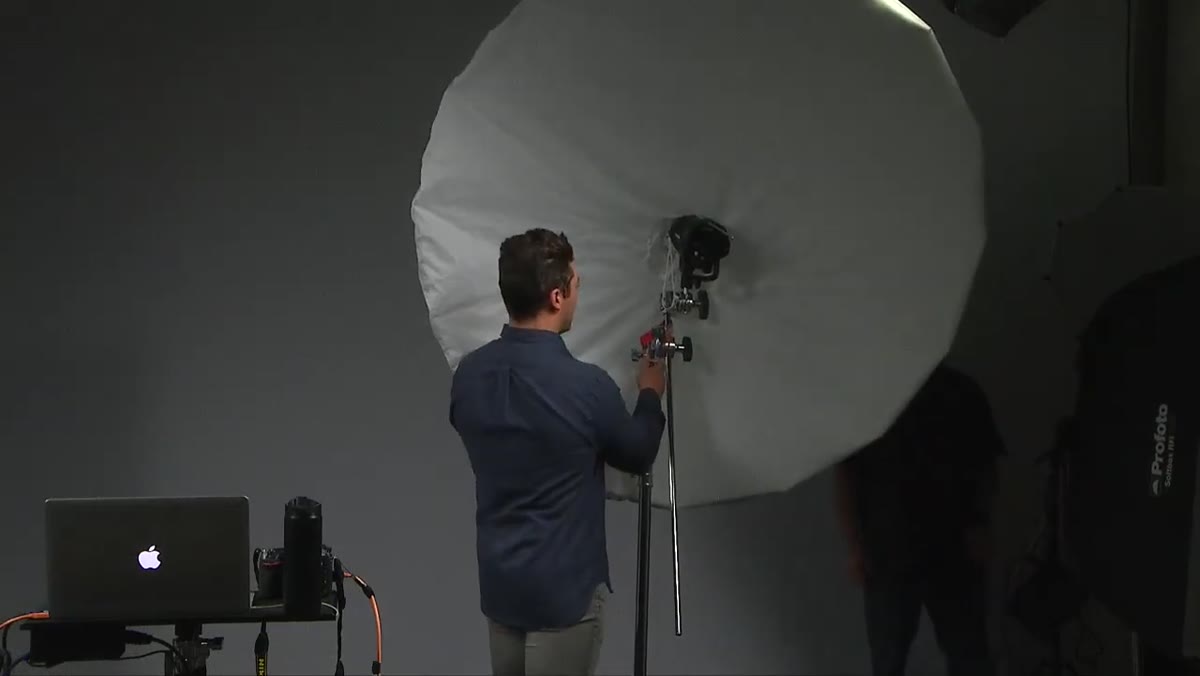 Instructor raising and tilting the umbrella downward on a C-stand
Once the umbrella is on the stand, the instructor raises it slightly above the subject’s head and tilts it downward so the closest edge of the light source is nearest to the forehead. This serves two purposes. First, the light falls off naturally from the face downward, which means on a three-quarter or full-length shot the illumination grades off rather than cutting out abruptly at the chest. Second, it avoids wasting output on the space above the subject’s head.
Instructor raising and tilting the umbrella downward on a C-stand
Once the umbrella is on the stand, the instructor raises it slightly above the subject’s head and tilts it downward so the closest edge of the light source is nearest to the forehead. This serves two purposes. First, the light falls off naturally from the face downward, which means on a three-quarter or full-length shot the illumination grades off rather than cutting out abruptly at the chest. Second, it avoids wasting output on the space above the subject’s head.
I use C-stands for this exact reason: the adjustable arm lets me dial in a precise tilt without fighting the stand. On location I often swap to lighter kit stands, but the tilt control on a C-stand arm is hard to replace when you need to lock a specific angle quickly.
Step 3: Apply the 35-Degree Rule for Light Angle
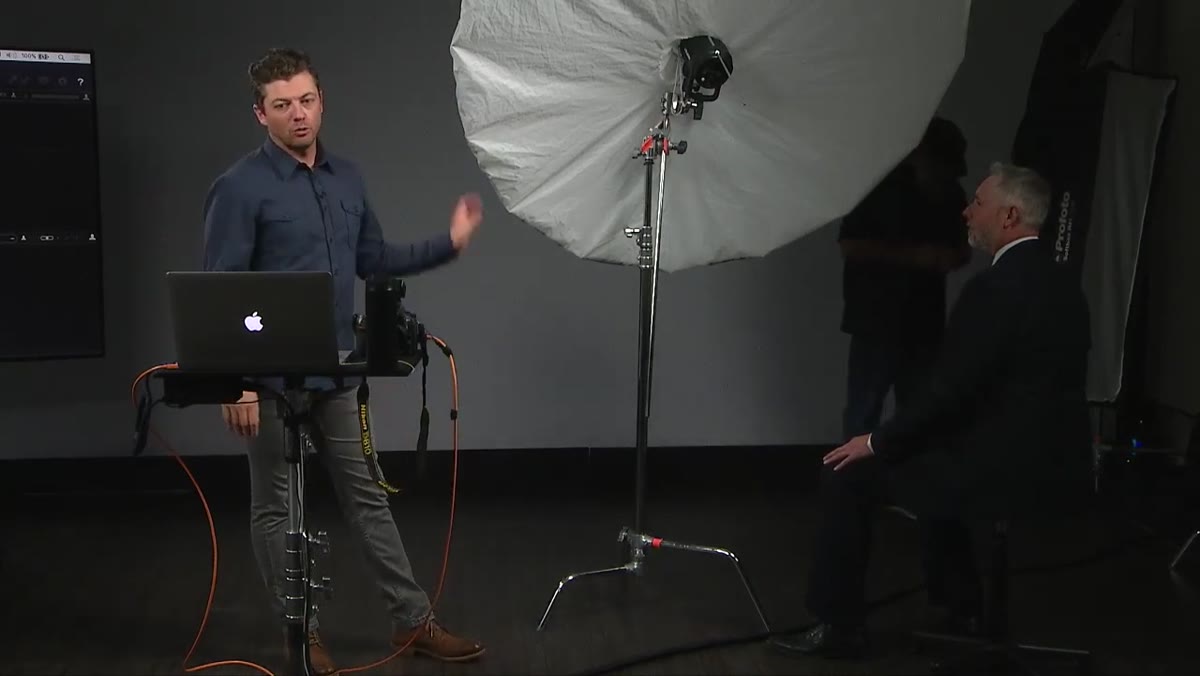 Instructor gesturing to demonstrate the 35-degree downward light angle
This is the part of the tutorial I’d frame and put on my studio wall. The instructor makes a connection that most lighting guides skip entirely: the reason golden hour light is flattering is because the sun sits at roughly 35 degrees above the horizon at that time of day. He replicates that same angle with his studio light. Too low and you get an unflattering upward cast. Too high and the brow bone shadows the eyes, killing your catchlight.
Instructor gesturing to demonstrate the 35-degree downward light angle
This is the part of the tutorial I’d frame and put on my studio wall. The instructor makes a connection that most lighting guides skip entirely: the reason golden hour light is flattering is because the sun sits at roughly 35 degrees above the horizon at that time of day. He replicates that same angle with his studio light. Too low and you get an unflattering upward cast. Too high and the brow bone shadows the eyes, killing your catchlight.
You don’t need a protractor. Stand back and look at the angle your light makes relative to the subject’s eye line. If the center of the modifier is roughly at 35 degrees from horizontal, you’re in the right territory. I usually walk around to the side of the subject and eyeball it from a 90-degree angle to the camera axis before locking anything down.
Step 4: Position the Subject Relative to the Background
 Subject seated at measured distance from the background paper
Background distance is treated as a lighting decision here, not a composition one, and that framing is exactly right. The instructor places the subject far enough from the background that the main light illuminates it clearly for clean extraction in post, but not so close that the subject casts a shadow onto it. For a white or seamless background setup, that distance is usually somewhere between four and seven feet depending on the width of your modifier.
Subject seated at measured distance from the background paper
Background distance is treated as a lighting decision here, not a composition one, and that framing is exactly right. The instructor places the subject far enough from the background that the main light illuminates it clearly for clean extraction in post, but not so close that the subject casts a shadow onto it. For a white or seamless background setup, that distance is usually somewhere between four and seven feet depending on the width of your modifier.
If background extraction is part of your post-production workflow, this decision will save you hours. A shadow on the background means manual masking. A cleanly lit background means a quick luminosity selection or a straightforward subject selection in Lightroom or Photoshop. Build the edit into the lighting setup before you fire a single frame.
Step 5: Feather the Light in Front of the Subject
 Back of umbrella aligned with subject’s ear, light wrapping forward
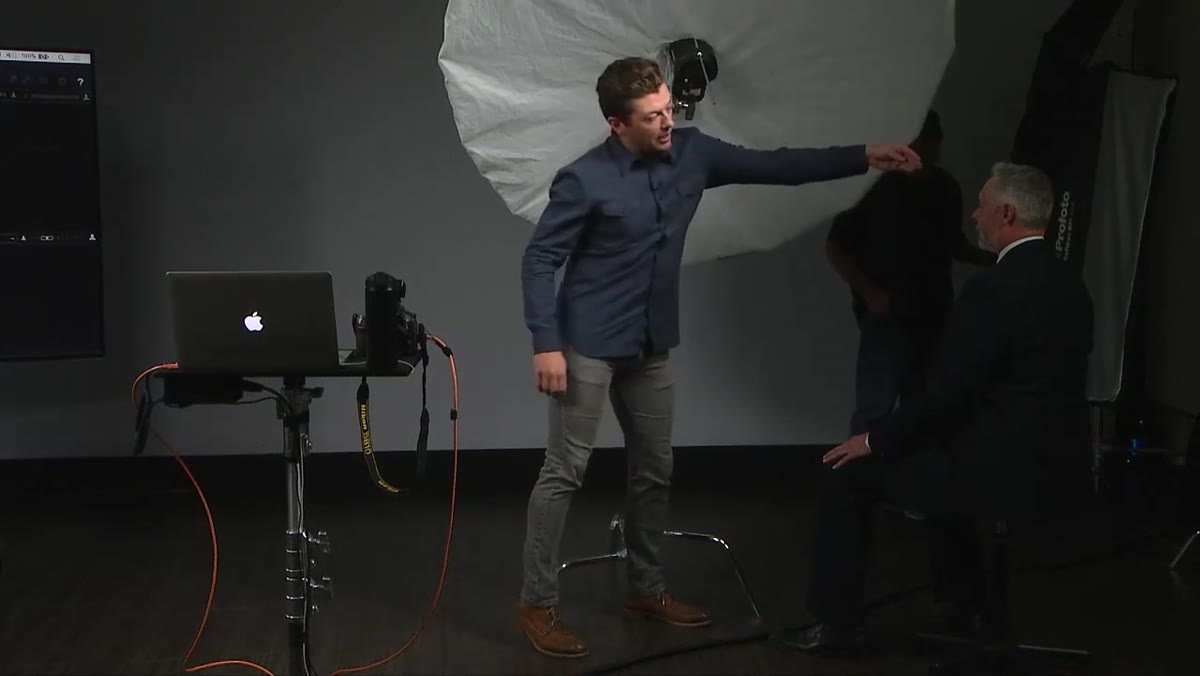
Feathering is the move that separates photographers who understand how modifiers work from those who just point and shoot. The instructor aligns the back edge of the umbrella with the subject’s ear, letting the forward portion of the light source wrap around the face rather than blasting directly at it. Direct aim creates hot spots on the nearest cheek and nose. Feathered light builds in a gradation that reads as dimension.
Back of umbrella aligned with subject’s ear, light wrapping forward
Feathering is the move that separates photographers who understand how modifiers work from those who just point and shoot. The instructor aligns the back edge of the umbrella with the subject’s ear, letting the forward portion of the light source wrap around the face rather than blasting directly at it. Direct aim creates hot spots on the nearest cheek and nose. Feathered light builds in a gradation that reads as dimension.
To visualize this: if you drew a line from the center of the umbrella straight through to the far wall, that line would pass in front of your subject, not through them. You’re using the edge of the modifier’s output, not the center. The larger the modifier, the more you can feather without losing usable light on the face.
Step 6: Shoot Tethered to Evaluate the Light in Real Time
 Camera connected via tether to a laptop running Capture One
The instructor shoots tethered to Capture One throughout the session, which allows immediate evaluation of exposure, shadow quality, and catchlights on a calibrated screen rather than the camera’s rear LCD. Using a Nikon D850 with a Profoto Air Remote, he can adjust light power remotely without walking back to the strobe between frames.
Camera connected via tether to a laptop running Capture One
The instructor shoots tethered to Capture One throughout the session, which allows immediate evaluation of exposure, shadow quality, and catchlights on a calibrated screen rather than the camera’s rear LCD. Using a Nikon D850 with a Profoto Air Remote, he can adjust light power remotely without walking back to the strobe between frames.
Tethering changes how fast you can problem-solve. You see the shadow under the chin, you fix the light height, you see the result in six seconds. On a 50mm lens at a neutral focal length, there’s no distortion to factor out, which means what you see in the frame is an accurate representation of what the light is doing.
What I’d Add From My Own Experience
The tutorial covers the architecture of the setup cleanly. What it doesn’t address, and what I’ve learned through years of corporate and editorial work, is that feathering only works if you’ve already established where the subject’s strong side is. I always do a quick test with the subject before I finalize the modifier position: I ask them to turn slowly while I watch how the light falls across their nose and cheekbone. Where the shadow from the nose stays close to the lip is where I want the light coming from. Build the feather from that reference point, not before it.
I keep a lighting journal where I sketch every setup after a shoot, and the one-light umbrella arrangement from this tutorial is probably the most repeated entry in the last three years. It is the reliable baseline I return to when a client is nervous, the room is small, or I have less than twenty minutes to produce usable images.
The single most important takeaway from this tutorial is the 35-degree rule. If you calibrate every modifier you own to that angle first and adjust from there, you will have better light ninety percent of the time before you make a single other decision.
Watch the full tutorial on YouTube to see the complete session, including how the instructor handles posing once the lighting is locked in.
Comments
Leave a Comment