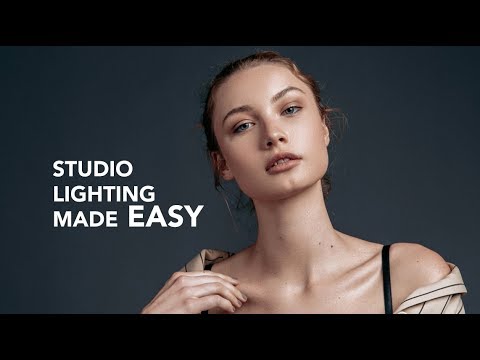
Most photographers overcomplicate their first studio setup. They buy three lights before they understand one, then wonder why their images still look flat. I did the same thing early in my career, and I’ve watched a lot of new photographers make that same expensive mistake. What I appreciate about this Jessica Kobeissi tutorial, shot with photographer Jake Thomas, is that it does the opposite: it builds from a single light outward, showing you what each additional source actually contributes before you spend a dollar on it. Watch the full tutorial on YouTube
I keep a lighting journal. Every setup from every shoot gets a quick diagram, sketched by hand, with notes on power output, modifier size, and distance to subject. I started it after a disastrous early editorial job where I trusted my instincts instead of my math. Watching this tutorial, I found myself reaching for that notebook more than once. The logic Jake and Jessica use maps cleanly onto how I think about building a scene: start with the quality of light, then worry about quantity.
What follows is a step-by-step breakdown of the three setups covered in the video, written so you can follow along without needing to pause and rewind every thirty seconds.
Step 1: Choose Your Light Source and Prioritize Modifier Size
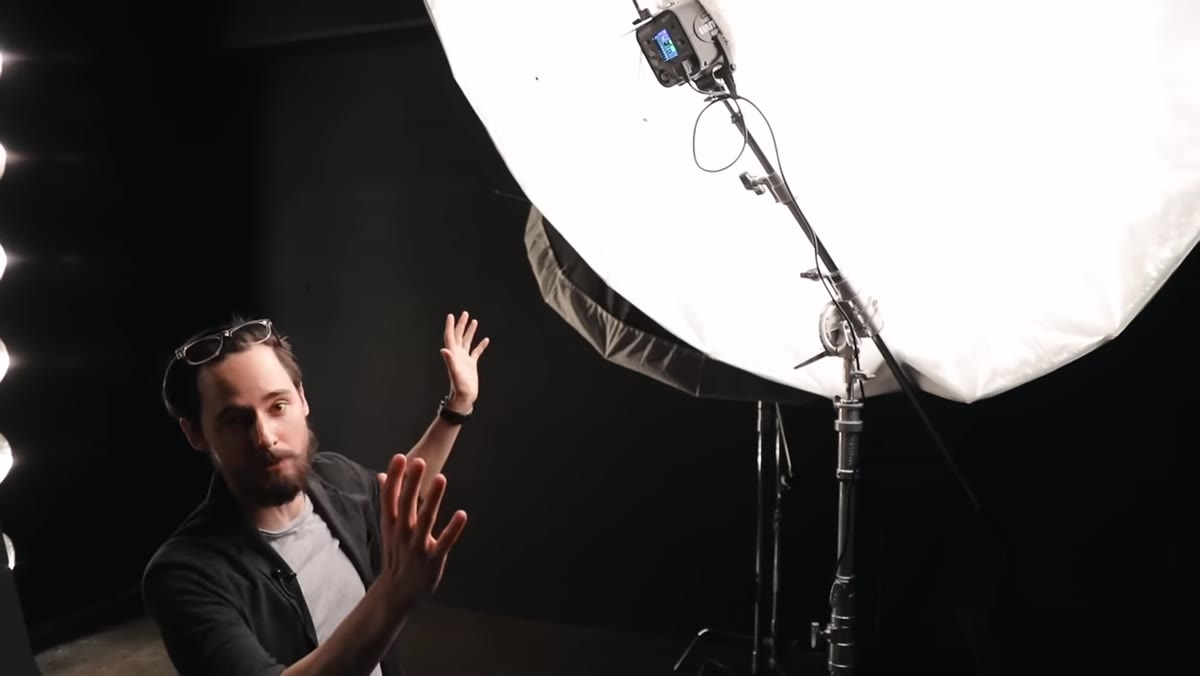 Large umbrella with diffusion fabric mounted on single strobe
Before anything else, decide how soft you want your light to be, and understand that softness is almost entirely a function of modifier size relative to your subject. The tutorial opens with an 86-inch umbrella stretched over a diffusion fabric panel. That is a massive light source, and that size is the whole point. A large source wraps around your subject, reducing harsh shadow transitions and filling the background without a dedicated background light.
Large umbrella with diffusion fabric mounted on single strobe
Before anything else, decide how soft you want your light to be, and understand that softness is almost entirely a function of modifier size relative to your subject. The tutorial opens with an 86-inch umbrella stretched over a diffusion fabric panel. That is a massive light source, and that size is the whole point. A large source wraps around your subject, reducing harsh shadow transitions and filling the background without a dedicated background light.
For budget-conscious shooters, this is genuinely good news. A used Alien Bee strobe can be found for $100 to $200, a large umbrella runs $50 to $70, and the diffusion sock costs almost nothing. You are looking at a complete one-light portrait kit for under $300. That is less than most mid-range portrait lenses, and it will do more for your image quality than glass will.
Step 2: Position the Single Light for Maximum Subject Fill
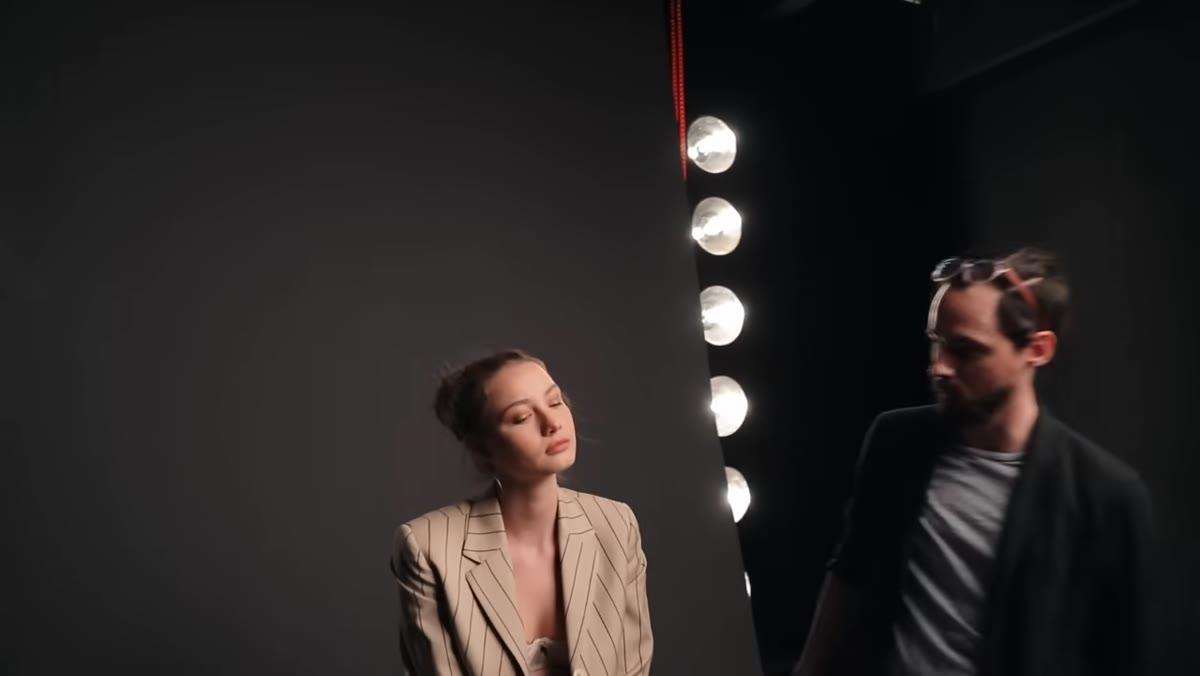 Strobe positioned close to subject, soft diffused light wrapping face
Place your single large light source close to your subject and slightly above eye level, angled down at roughly 30 to 45 degrees. Proximity is what activates the softness of a large modifier: the closer you move it, the larger it appears relative to your subject, and the smoother the highlight-to-shadow transition becomes. Pull it back too far and you lose that quality immediately.
Strobe positioned close to subject, soft diffused light wrapping face
Place your single large light source close to your subject and slightly above eye level, angled down at roughly 30 to 45 degrees. Proximity is what activates the softness of a large modifier: the closer you move it, the larger it appears relative to your subject, and the smoother the highlight-to-shadow transition becomes. Pull it back too far and you lose that quality immediately.
Jake specifically notes that the goal with this setup is a smooth, gradual falloff from highlight to shadow, with no hard edges anywhere in the frame. That is the visual signature of a large, close, diffused source. If you are seeing a sharp shadow line on your subject’s face, move the light closer before you do anything else.
Step 3: Watch the Catchlights
 Close-up of model’s eye showing catchlight reflection from umbrella
This is a detail that separates professional-looking portraits from technically correct but lifeless ones. With a single light source, you need to monitor where the catchlight lands in your subject’s eye. A catchlight is the small reflection of your light source visible in the iris, and it adds life and dimension to a portrait. Without it, the eyes can look flat and dull, regardless of how beautiful the overall lighting is.
Close-up of model’s eye showing catchlight reflection from umbrella
This is a detail that separates professional-looking portraits from technically correct but lifeless ones. With a single light source, you need to monitor where the catchlight lands in your subject’s eye. A catchlight is the small reflection of your light source visible in the iris, and it adds life and dimension to a portrait. Without it, the eyes can look flat and dull, regardless of how beautiful the overall lighting is.
Adjust your light’s horizontal position until you can see that small glimmer in the eye. With a single large source, you have some flexibility here because the modifier is big enough to be visible from multiple angles. I always check catchlights during my test shots by zooming into the eye on my camera’s LCD. It takes five seconds and it matters every single time.
Step 4: Add a Reflector as a Budget Fill Solution
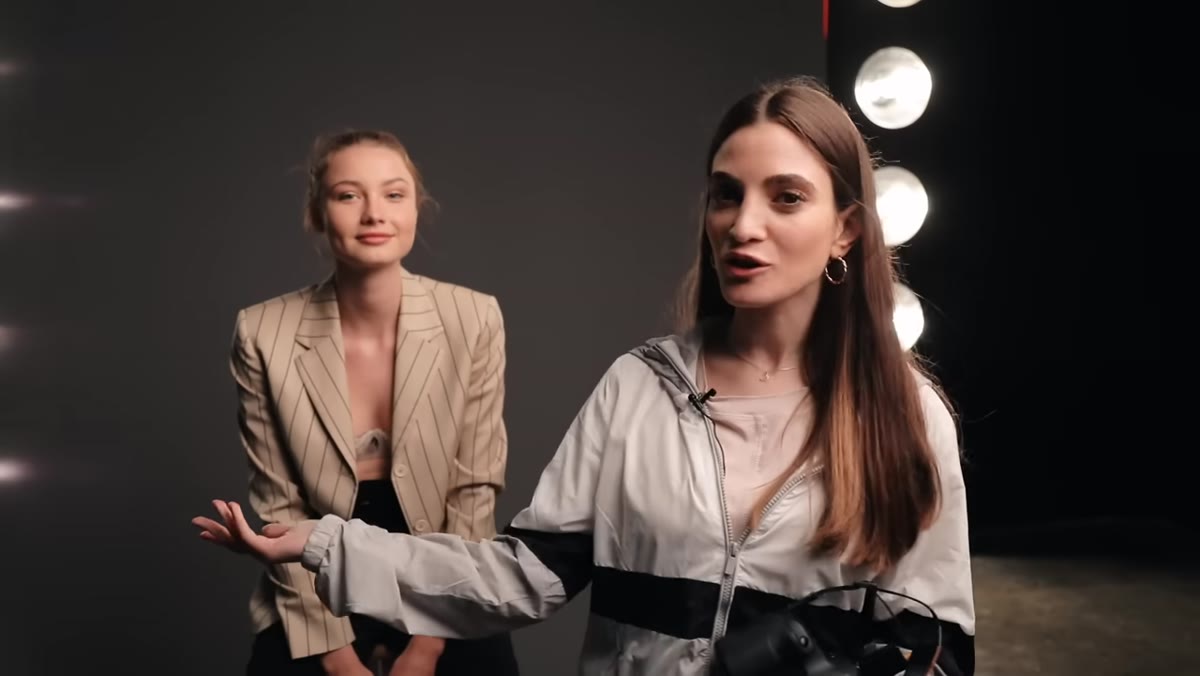 White reflector card positioned opposite main light to fill shadows
Once your main light is dialed in, the shadow side of your subject’s face will be darker than the lit side. How dark depends on your taste and the mood you want, but most commercial and beauty work calls for some fill. The tutorial’s solution here is elegant and cheap: a white reflector panel, or even a piece of white foam board from a dollar store, positioned on the opposite side of the subject from the main light.
White reflector card positioned opposite main light to fill shadows
Once your main light is dialed in, the shadow side of your subject’s face will be darker than the lit side. How dark depends on your taste and the mood you want, but most commercial and beauty work calls for some fill. The tutorial’s solution here is elegant and cheap: a white reflector panel, or even a piece of white foam board from a dollar store, positioned on the opposite side of the subject from the main light.
The reflector bounces light back from the main source, lifting the shadows without adding a second power unit or creating a competing light direction. You can have your subject hold it, prop it on a stand, or tape it to a chair. The fill ratio, meaning how much shadow detail you recover, depends on how close you move the reflector to the subject. Closer equals more fill. Start at about two feet away and adjust from there. This single technique can make a one-light setup look like a two-light setup in the final image.
Step 5: Build to Two Lights by Adding a Dedicated Background Light
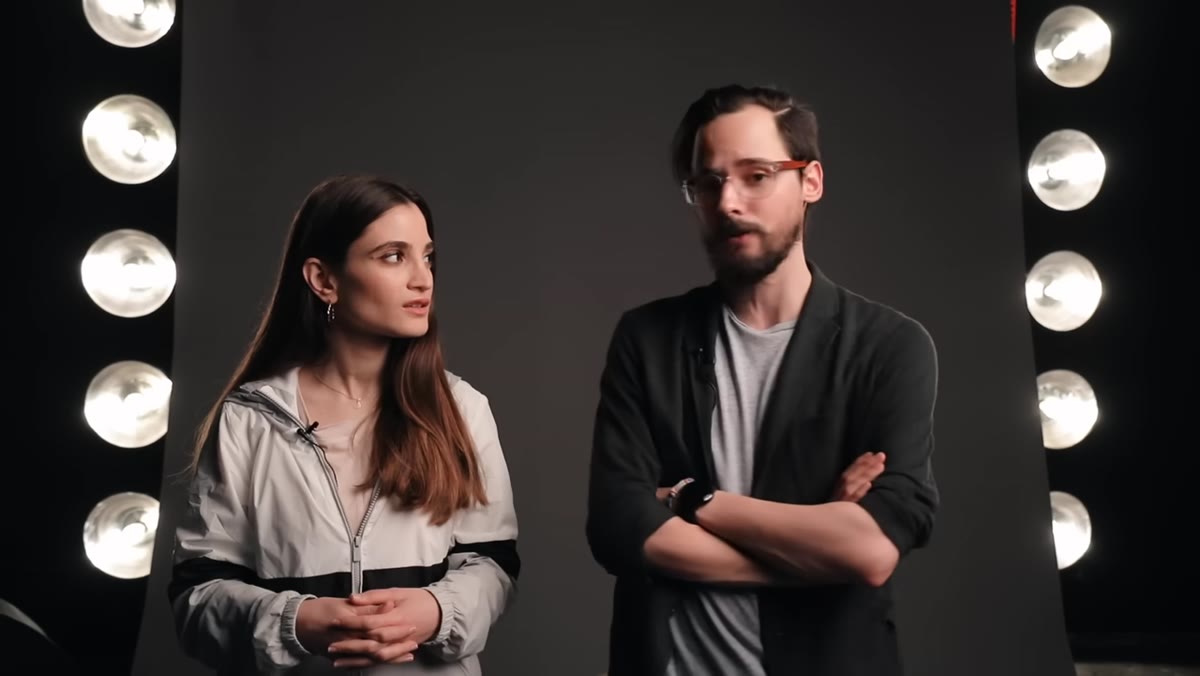 Two-light setup with background illuminated separately from subject
When you add a second strobe, the logical place to put it is on the background. A lit background separates your subject from the surface behind them, adds depth, and gives you tonal control over the entire frame. Without it, your background takes on whatever ambient light spills from your main source, which is usually uneven and dull.
Two-light setup with background illuminated separately from subject
When you add a second strobe, the logical place to put it is on the background. A lit background separates your subject from the surface behind them, adds depth, and gives you tonal control over the entire frame. Without it, your background takes on whatever ambient light spills from your main source, which is usually uneven and dull.
Set the background light to a lower power than your main light, pointed directly at the backdrop. Start at roughly one to two stops below your main exposure. A DigiBeef or similar budget strobe works perfectly here since background lights do not need high output or premium modifiers. A bare bulb or a small reflector dish is enough.
Step 6: Introduce a Third Light for Hair or Rim Separation
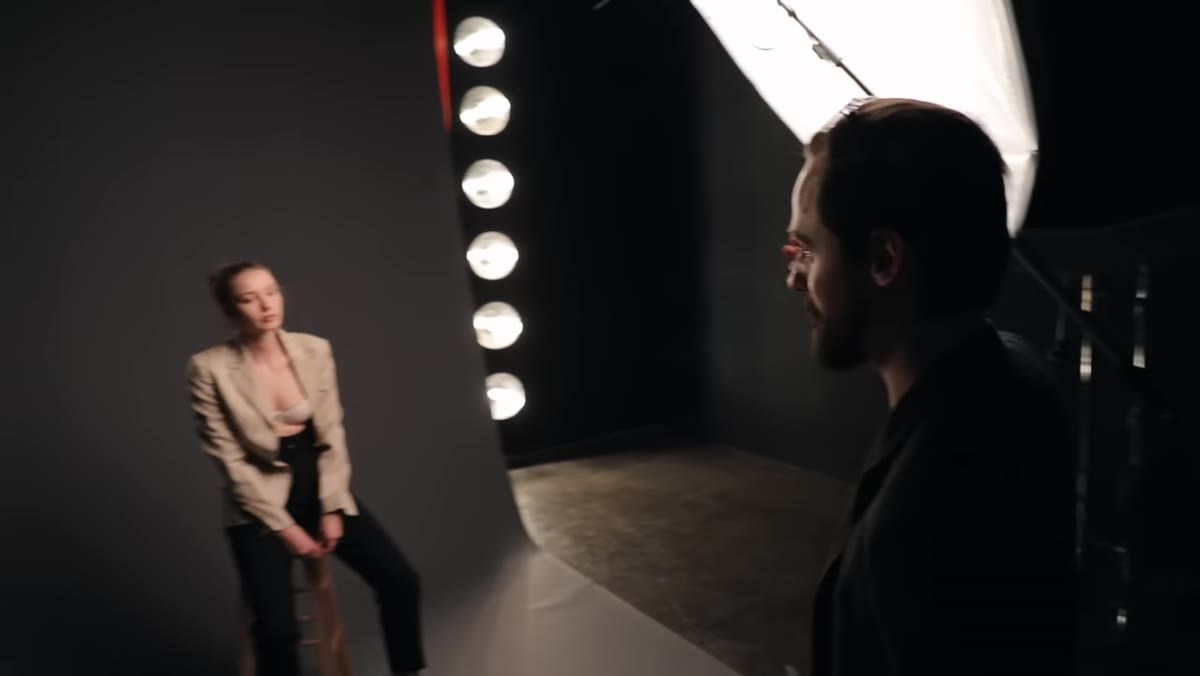
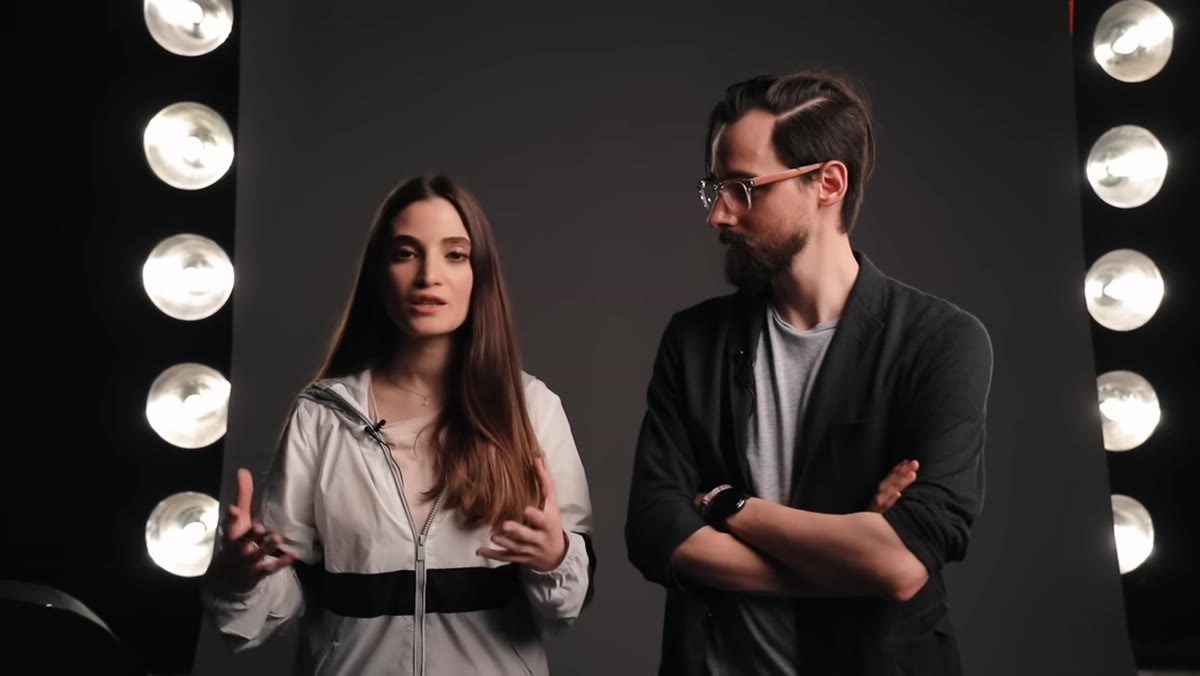 Three-light setup with rim or hair light visible behind subject
The third light in the setup is a hair or rim light, placed behind and above the subject, aimed back toward camera. Its purpose is to create a thin edge of light along the subject’s shoulder and hair, separating them from the background even when background and subject tones are close. This is a common setup in fashion and editorial work because it adds a three-dimensional quality that two lights simply cannot achieve on their own.
Three-light setup with rim or hair light visible behind subject
The third light in the setup is a hair or rim light, placed behind and above the subject, aimed back toward camera. Its purpose is to create a thin edge of light along the subject’s shoulder and hair, separating them from the background even when background and subject tones are close. This is a common setup in fashion and editorial work because it adds a three-dimensional quality that two lights simply cannot achieve on their own.
Keep this light tight and controlled. A grid or snoot prevents it from spilling onto your subject’s face or into the lens. Power it down significantly, around two to three stops below main. You want separation, not a second sun behind their head.
A Note From My Own Practice
I have run some version of this exact three-light progression for years, and the thing I would add is this: test each configuration before adding the next light. When a new modifier lands at my studio, I have it mounted and fired within the hour. When I am building a setup on a shoot day, I photograph a test frame after every change. Do not add your background light until you love what your main light is doing. Do not add your rim light until the background is right. Each element should earn its place in the frame before you move on. That discipline is what keeps a complex setup from becoming visual noise.
The single most useful idea in this tutorial is also its simplest: start with the biggest modifier you can afford and get it as close to your subject as your composition allows. Everything else is refinement. Watch the full tutorial on YouTube to see all three setups demonstrated side by side, which makes the progression especially easy to follow.
Comments
Leave a Comment