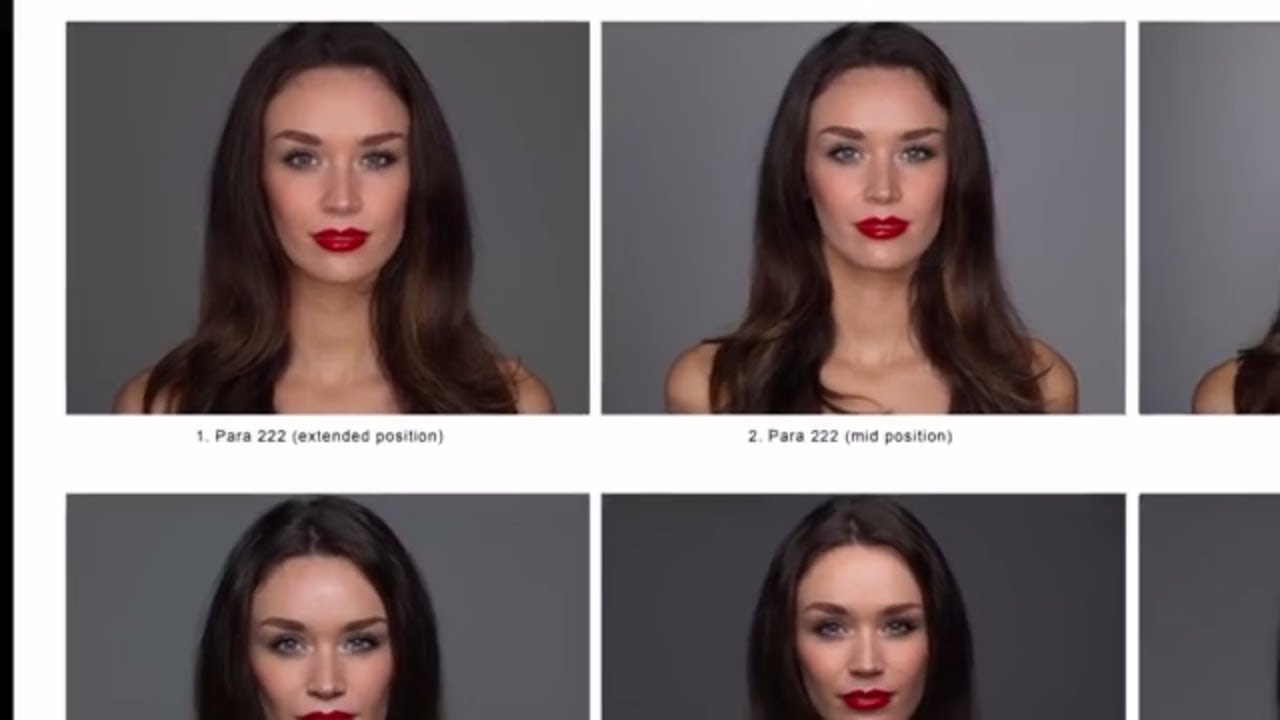
Every beauty photographer eventually hits the same wall. You own a softbox, maybe a beauty dish, and both produce decent results. But there’s a quality of light you keep seeing in high-end editorial work that you can’t quite replicate. It has depth to it. A kind of directionality that feels both soft and precise at the same time. For years I assumed it was retouching. It wasn’t. It was the modifier.
In this Visual Education tutorial by Karl Taylor, he walks through a direct comparison of parabolic light modifiers from Broncolor’s Para range against more common options like softboxes and beauty dishes. What makes this tutorial worth studying isn’t just the side-by-side results. It’s the explanation of the physics behind why parabolic modifiers behave differently. Once you understand the geometry, you stop guessing at setup positions and start making deliberate choices.
I keep a lighting journal where I sketch every setup from every shoot. After watching this one, I filled two pages. Here’s the breakdown.
Step 1: Understand What Makes a Parabolic Modifier Different from an Umbrella
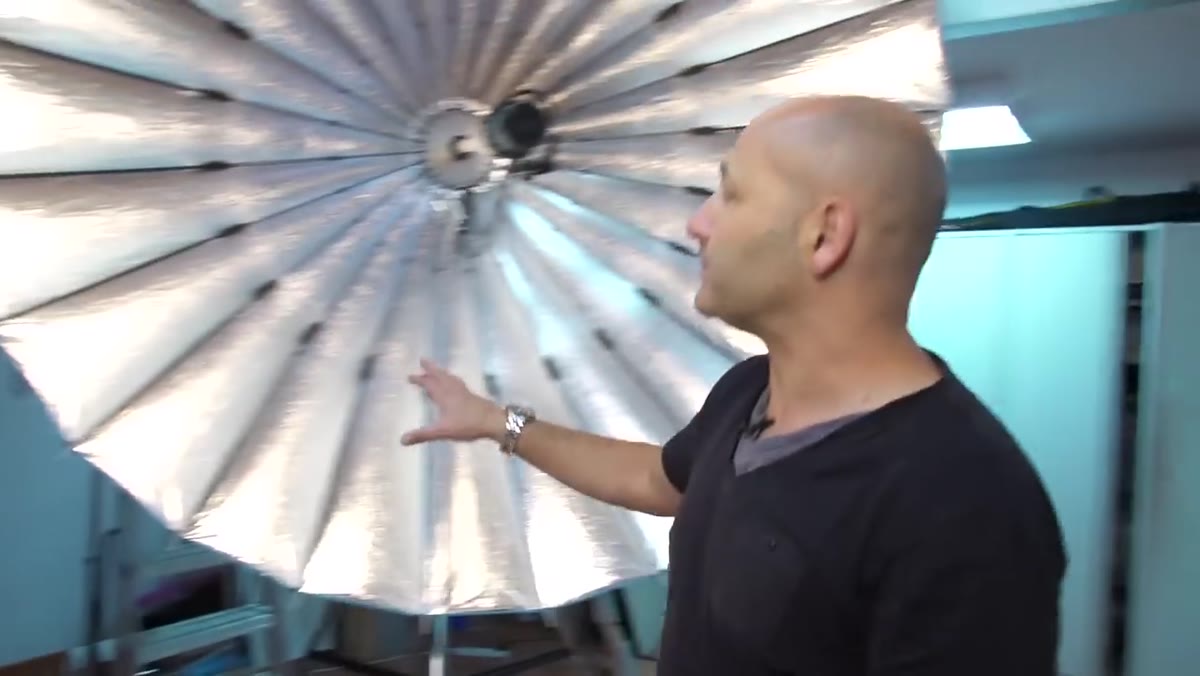 Parabolic modifier shown from front, then rotated to reveal depth
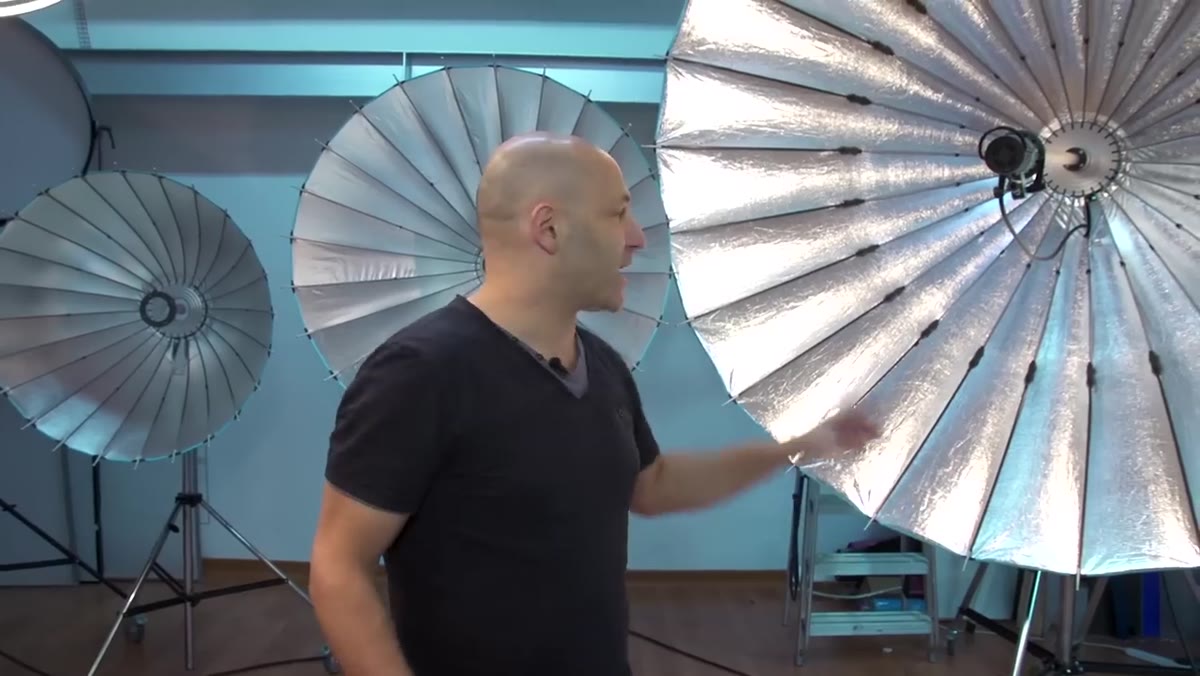
From the front, a parabolic modifier looks like a large umbrella. Photographers dismiss it for that reason. The critical difference only becomes visible when you look at it from the side. Where an umbrella is relatively shallow, a true parabolic modifier is dramatically deep. That depth isn’t cosmetic. It’s the whole mechanism.
Parabolic modifier shown from front, then rotated to reveal depth
From the front, a parabolic modifier looks like a large umbrella. Photographers dismiss it for that reason. The critical difference only becomes visible when you look at it from the side. Where an umbrella is relatively shallow, a true parabolic modifier is dramatically deep. That depth isn’t cosmetic. It’s the whole mechanism.
The curved shape of a true parabola causes light from the flash head to reflect outward along a path that runs parallel to the modifier’s central axis. Instead of light spraying in all directions the way it does from a shallow reflector, it exits the parabolic shape in a far more organized column. The result is a light source that throws its output efficiently across long distances while maintaining a quality that feels both directional and flattering. That combination is rare in a single modifier.
Step 2: Know the Size Differences and When Each Makes Sense
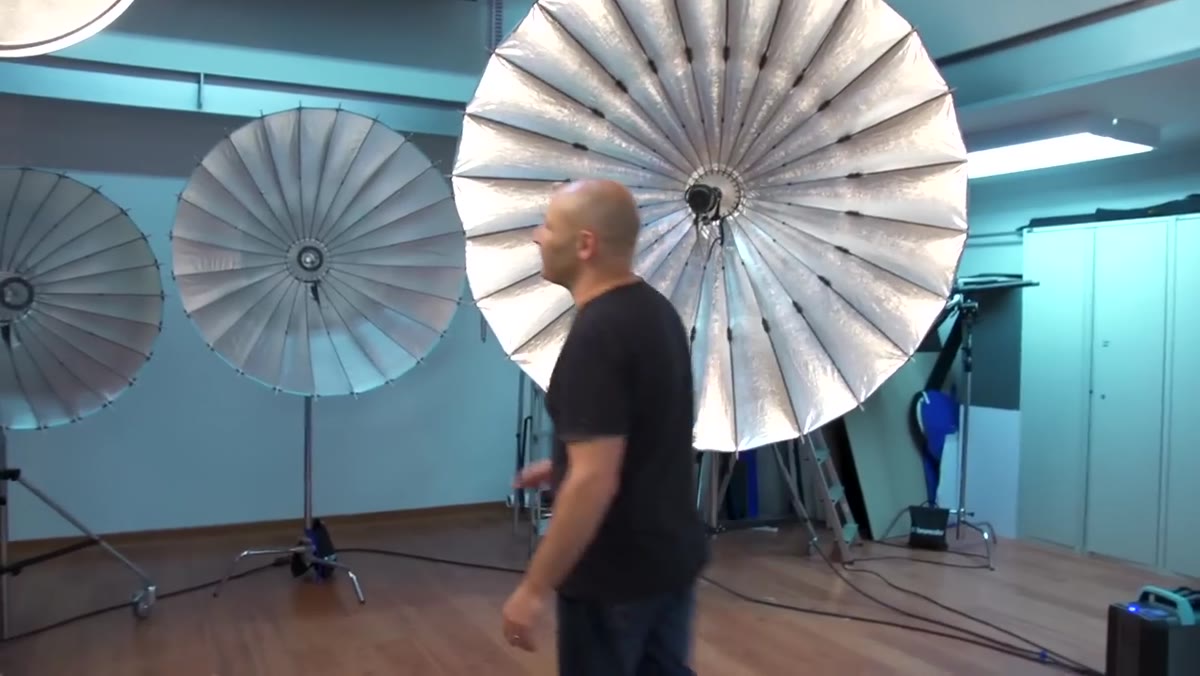 Three Para modifiers lined up: Para 88, Para 133, Para 222
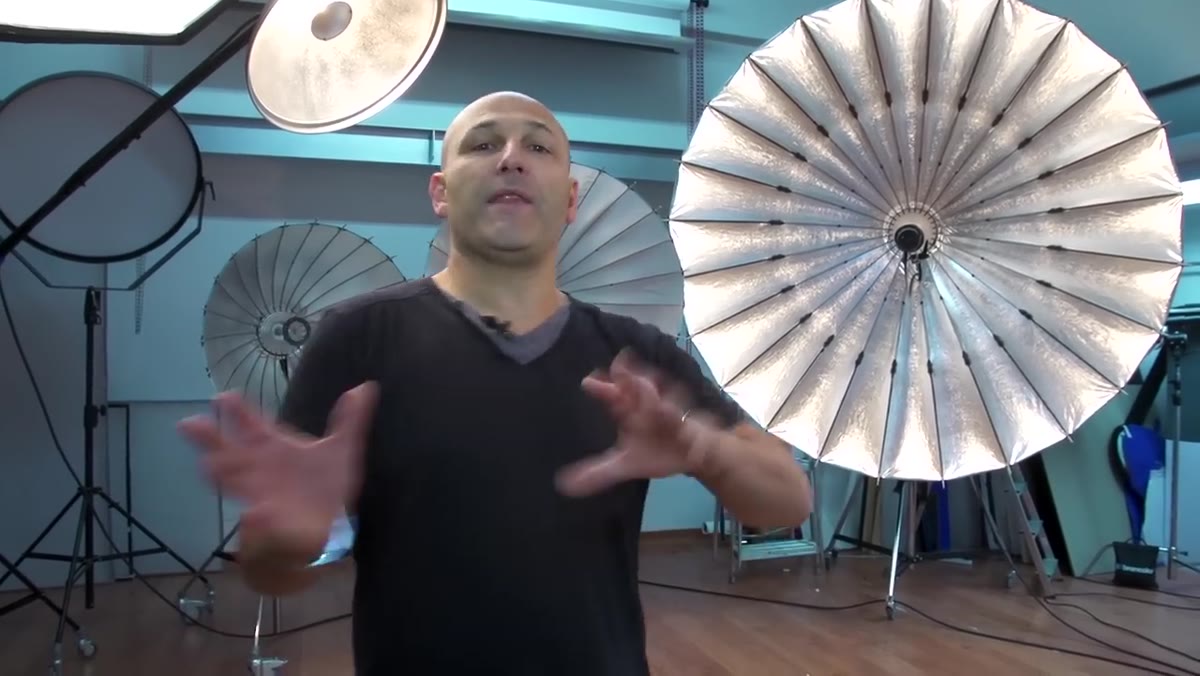
Broncolor’s Para range comes in three main sizes referenced by their names. The Para 88 has an 88-centimeter diameter. The Para 133 measures 1.3 meters across. The Para 222 reaches 2.2 meters in diameter. These aren’t arbitrary numbers. They directly determine how the light behaves at various working distances and how it wraps around a subject.
Three Para modifiers lined up: Para 88, Para 133, Para 222
Broncolor’s Para range comes in three main sizes referenced by their names. The Para 88 has an 88-centimeter diameter. The Para 133 measures 1.3 meters across. The Para 222 reaches 2.2 meters in diameter. These aren’t arbitrary numbers. They directly determine how the light behaves at various working distances and how it wraps around a subject.
For tight headshots and beauty close-ups, the 88 gives you control without overwhelming the frame. The 133 hits a sweet spot for three-quarter body shots and fashion work where you want more wrap. The 222 is a room presence. It creates that enveloping, almost daylight-through-a-window quality that makes full-length fashion images feel alive. Matching the modifier size to your shooting distance is not optional. Get it wrong and you either lose the quality advantage entirely or you lose control of where the light falls.
Step 3: Learn the Focus Point System Before You Touch the Power Settings
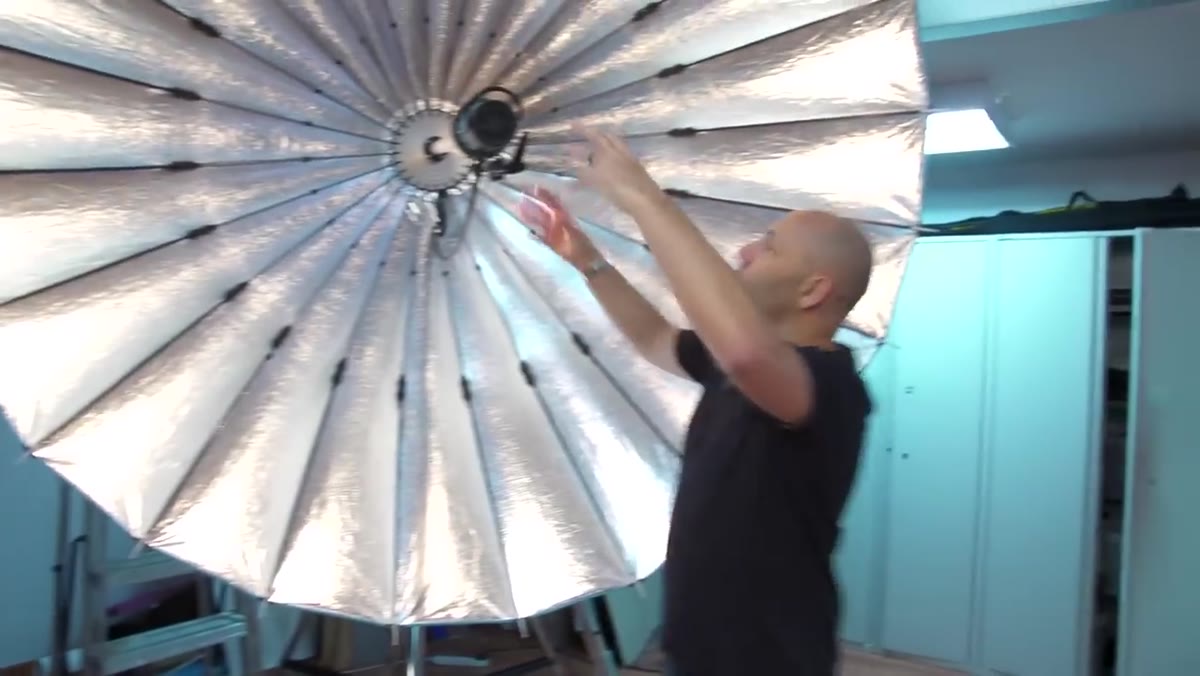 Flash head being slid along the mounting rod inside the Para modifier
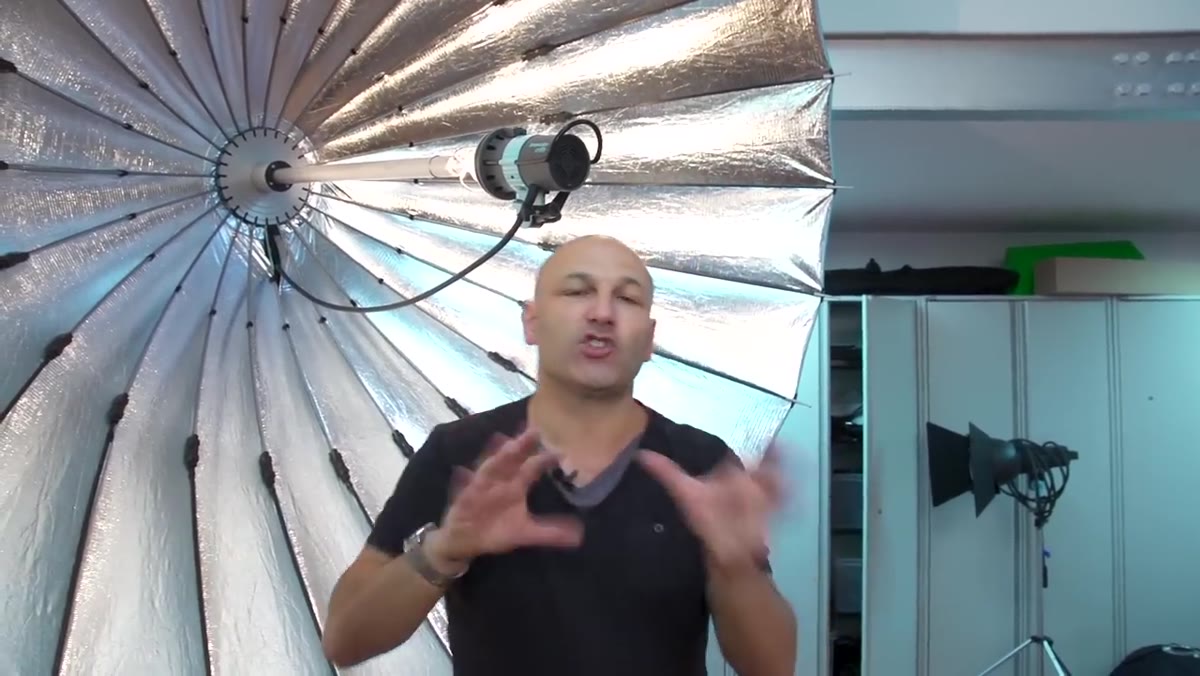
This is the detail most photographers miss the first time they use a parabolic modifier. The flash head doesn’t mount at a fixed point inside the modifier. It slides along a central rod, allowing you to move it closer to or further from the reflective surface. That position change is the primary control for the quality of the light output, not the power dial.
Flash head being slid along the mounting rod inside the Para modifier
This is the detail most photographers miss the first time they use a parabolic modifier. The flash head doesn’t mount at a fixed point inside the modifier. It slides along a central rod, allowing you to move it closer to or further from the reflective surface. That position change is the primary control for the quality of the light output, not the power dial.
When the flash head sits at its focal point, the light that bounces off the reflective panels exits the modifier in that organized parallel pattern described earlier. Move the head forward toward the front opening and more of the light hits the outer edge panels. This softens the output and increases the spread. Pull the head back toward the reflective surface and the modifier starts behaving more like a hard light source with a very pronounced central hot spot. You’re essentially changing the contrast ratio of the modifier itself, before any diffusion panel or grid enters the conversation.
Step 4: Set Up a Fixed Camera Position to Actually See the Difference
 Camera mounted on tripod pointed at modifier to measure output changes
Karl Taylor makes a point here that I do with every new modifier I test: lock the camera on a tripod before you start adjusting anything. If you’re handholding and repositioning between shots, you’ve introduced variables that make comparison useless. The tripod removes that.
Camera mounted on tripod pointed at modifier to measure output changes
Karl Taylor makes a point here that I do with every new modifier I test: lock the camera on a tripod before you start adjusting anything. If you’re handholding and repositioning between shots, you’ve introduced variables that make comparison useless. The tripod removes that.
Once the camera is fixed, stop the lens down enough that the modifier doesn’t blow out in your viewfinder. You’re not shooting a subject yet. You’re watching the pattern of light across the reflective surface change as you slide the head position. This is diagnostic work. The camera becomes a measuring tool. What you’re looking for is the shift in brightness distribution across the modifier’s panels, brighter in the center versus more even across the whole surface. That visual tells you exactly what kind of light quality you’re about to send toward a subject.
Step 5: Compare Results on Skin, Not on a Wall
 Model brought in for live comparison between modifiers
A modifier that looks interesting on a gray seamless will not necessarily perform the same way on skin. Taylor brings in a model specifically to demonstrate this. The parabolic modifier’s ability to throw specular highlights while maintaining smooth gradients across the face is something you cannot judge from a test card.
Model brought in for live comparison between modifiers
A modifier that looks interesting on a gray seamless will not necessarily perform the same way on skin. Taylor brings in a model specifically to demonstrate this. The parabolic modifier’s ability to throw specular highlights while maintaining smooth gradients across the face is something you cannot judge from a test card.
Pay attention to where the catchlights land in the eyes and how defined they are. A beauty dish at comparable distance will give you a single, round catchlight with a harder edge to the shadow under the cheekbone. The parabola produces a catchlight that looks almost like a window and the shadow transitions are gradual rather than abrupt. That specific quality is why beauty editors and art directors recognize the look immediately. The skin reads three-dimensionally without looking sculpted or harsh.
Step 6: Adjust Focus Position Before Reaching for Diffusion Panels
 Contrast change visible as head position shifts along mounting rod
The default instinct when light feels too contrasty is to add a diffusion sock or a scrim. Resist that instinct when working with a parabolic modifier. The focus point adjustment gets you most of the way there without sacrificing the efficiency that makes these modifiers worth the investment. Adding heavy diffusion to a parabolic is like buying a sports car and driving it in first gear.
Contrast change visible as head position shifts along mounting rod
The default instinct when light feels too contrasty is to add a diffusion sock or a scrim. Resist that instinct when working with a parabolic modifier. The focus point adjustment gets you most of the way there without sacrificing the efficiency that makes these modifiers worth the investment. Adding heavy diffusion to a parabolic is like buying a sports car and driving it in first gear.
Start with the head at focal point. Evaluate the result on your subject. Move the head forward by small increments and re-evaluate. Each position produces a meaningfully different result. Only once you’ve identified the focus position that gives you the quality you want should you consider whether any additional diffusion is necessary. That sequence matters.
What I’d Add From My Own Studio
I test every new modifier the day it arrives, and with parabolic modifiers specifically, the first thing I do before any subject enters the room is run the flash head through its full range of positions against a matte white foam core board about two meters out. I mark the rod positions with small strips of masking tape labeled S for soft focus, M for mid, and H for hard. Sounds obsessive. But on a live shoot with a client in the chair, I’m not sliding a rod back and forth guessing. I know exactly where to set it for the look I want before the first frame fires.
The other thing worth noting: these modifiers are built for strobe, not continuous LED panels. The parabolic shape depends on a near-point-source flash head to work correctly. A large LED panel mounted in the same housing won’t produce the same result because the light source itself is no longer a point. Match the modifier to the right light source.
The single most important takeaway from Taylor’s tutorial is this: with a parabolic modifier, the position of the flash head is your primary quality control. Power adjusts exposure. Head position adjusts character. Most photographers learn power first and never fully develop their instinct for the second variable. That instinct is what separates a technically exposed beauty image from one that actually looks like it belongs on a cover.
Watch the full tutorial on YouTube to see the live model comparison between modifiers and the full demonstration of how focus point changes read on skin.
Comments (1)
Great breakdown. The step-by-step approach really helps.
Leave a Comment