I shoot commercial work out of a studio in Los Angeles that I’ve spent years optimizing. The right modifiers, the right power packs, enough ceiling height to do almost anything. And yet some of my most technically instructive moments have come from watching experienced photographers deliberately strip all of that away. There’s a specific kind of clarity that comes from constraints, and it’s something I try to remind myself of every time a client assumes that the quality of the final image scales directly with the size of the equipment rental invoice.
Watch the full tutorial on YouTube
That’s exactly why this Visual Education tutorial from Karl Taylor stopped me mid-scroll. Taylor is a commercial photographer with three decades of high-impact advertising work behind him, and he deliberately walks into a cramped, modest space with budget gear to prove a single point: the most important tool is the one between your ears. What he demonstrates is a practical masterclass in product lighting logic, and whether you’re shooting on a kitchen table or in a purpose-built studio, the principles translate directly.
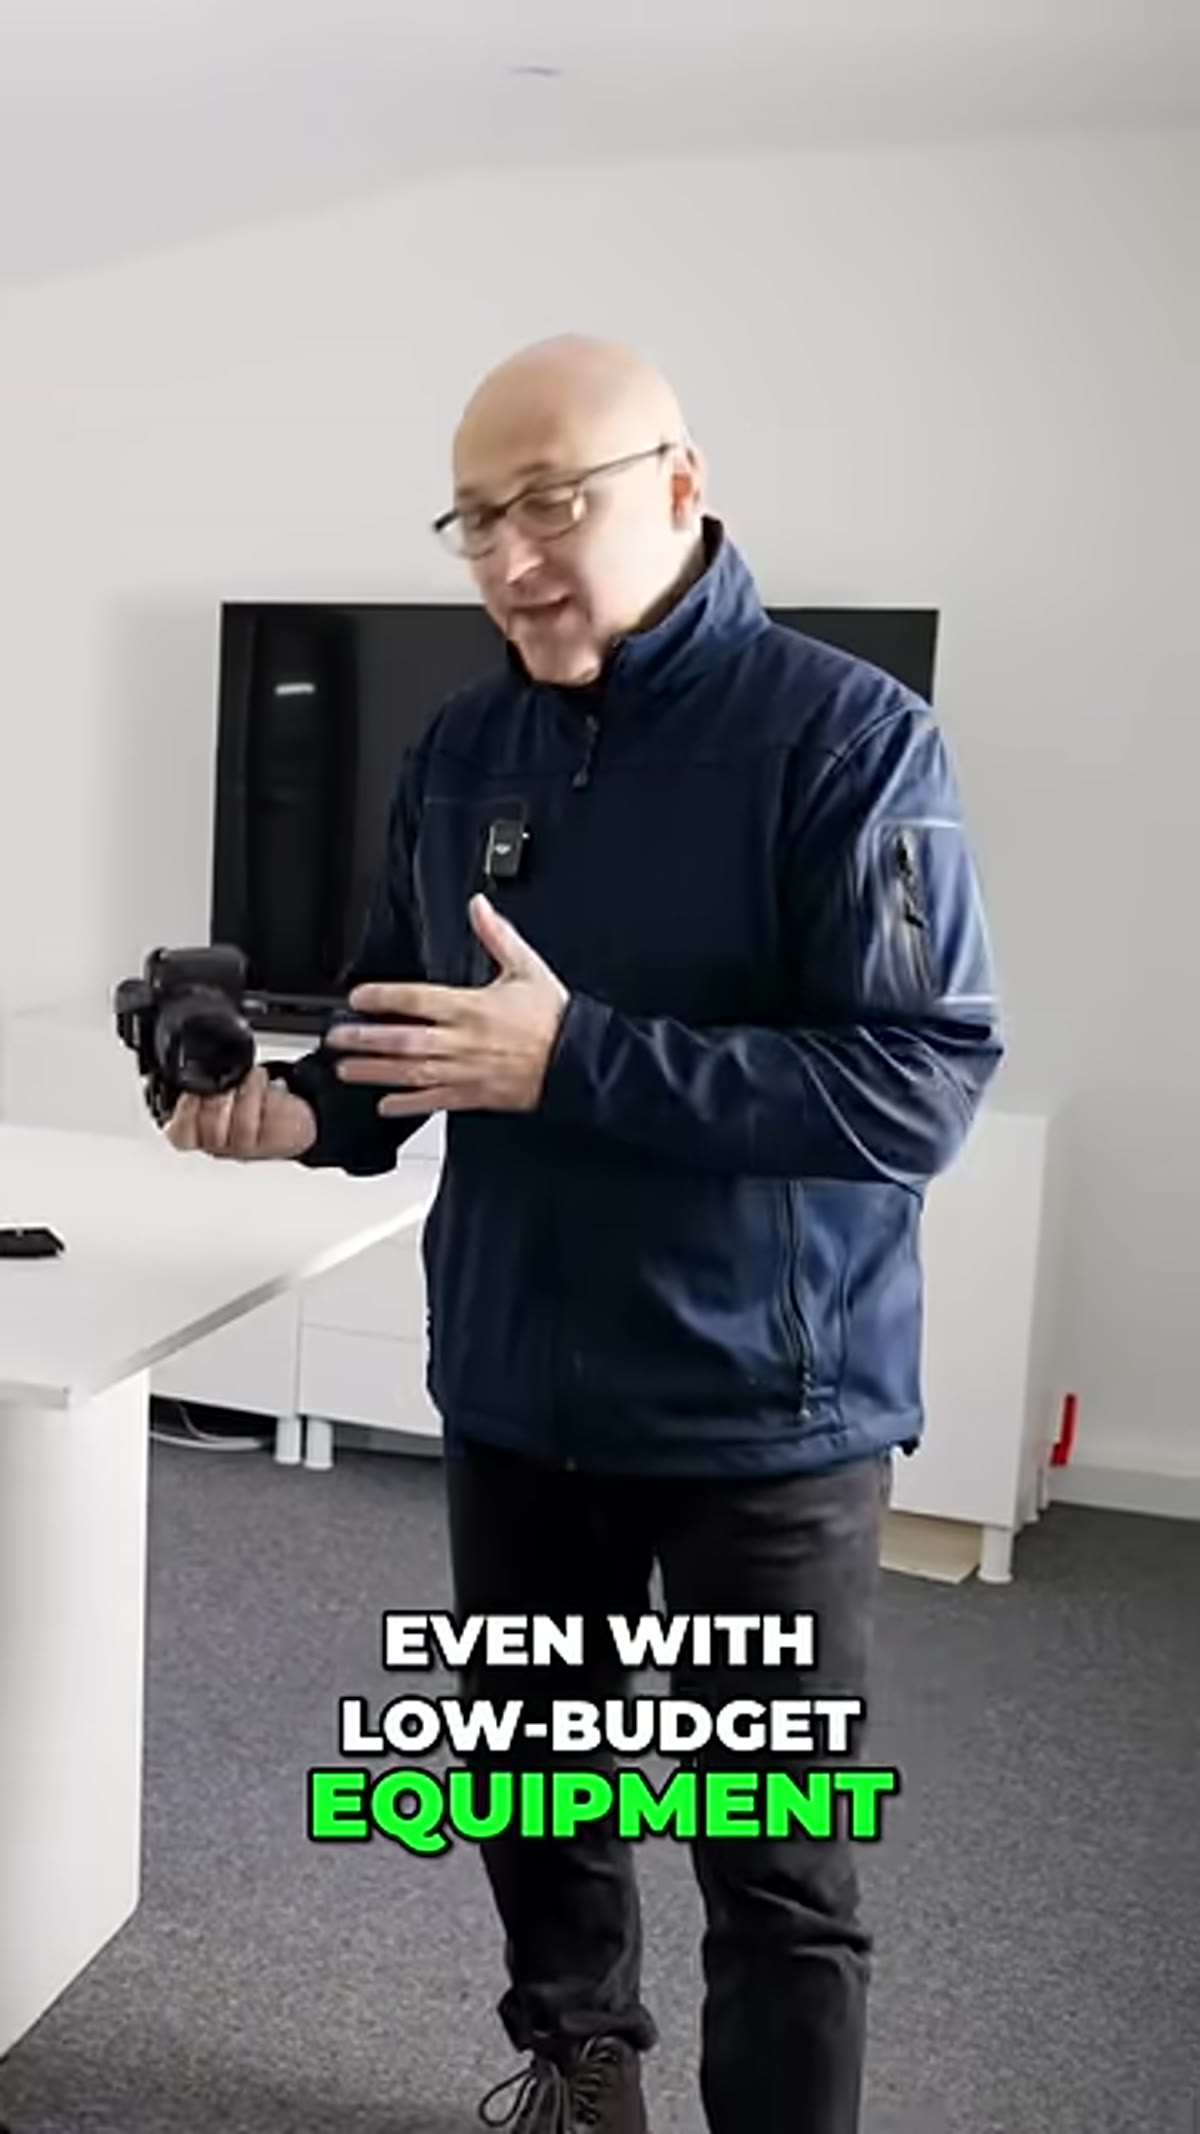
Step 1: Commit to the Constraint Before You Pick Up a Light
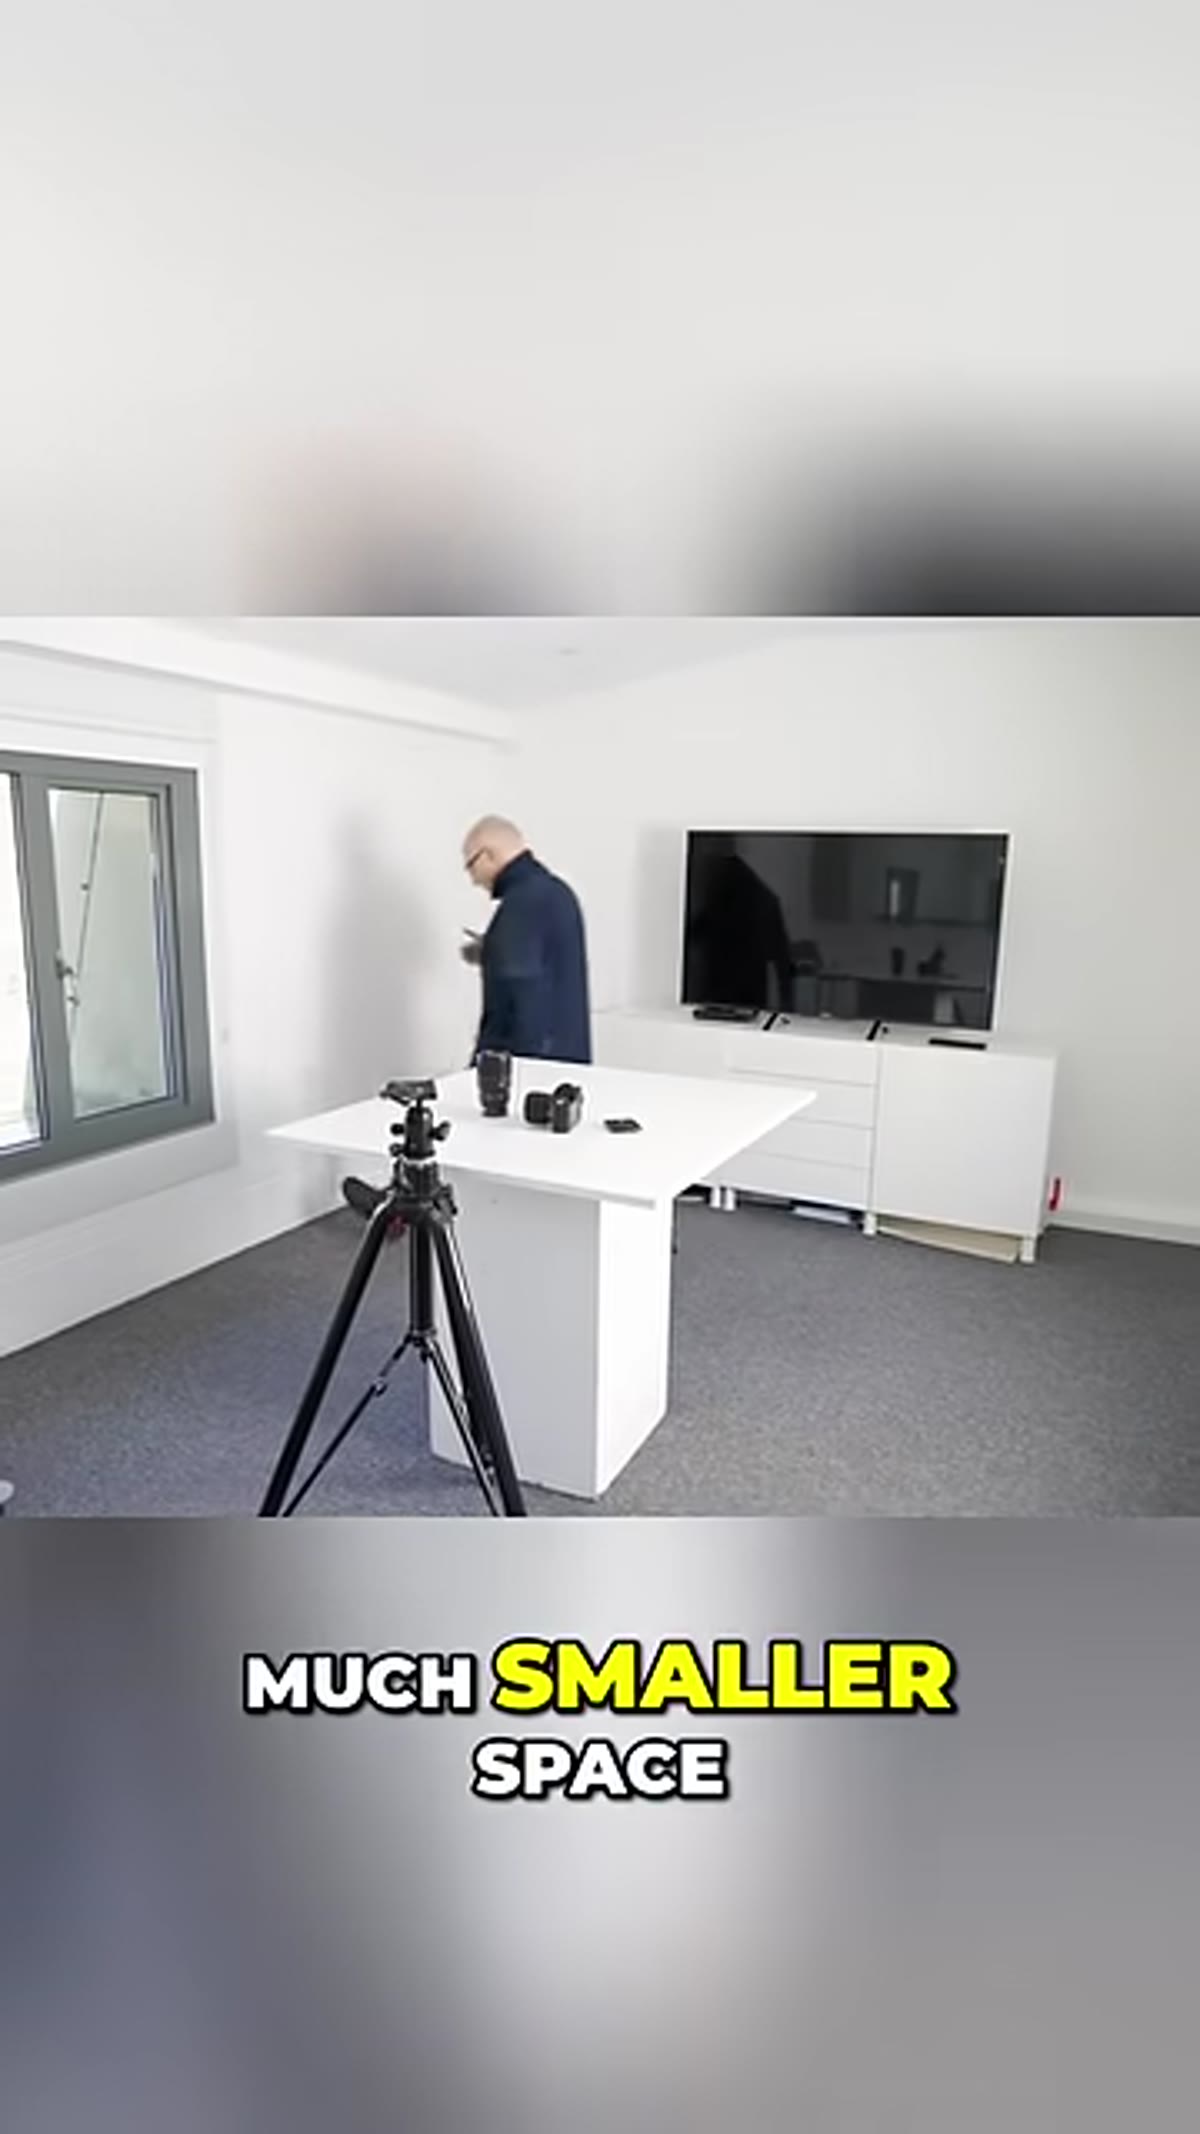
 Small cluttered studio space with budget lighting equipment visible
Taylor makes a deliberate choice before anything else: he defines the limitation and then works within it rather than against it. Small space, modest budget, no apologies. This mental commitment matters more than it sounds. When photographers work in suboptimal conditions while mentally wishing they were somewhere else, that conflict shows up in the images. Soft decisions, sloppy angles, setups that feel improvised rather than intentional. Decide what you have, then build toward it.
Small cluttered studio space with budget lighting equipment visible
Taylor makes a deliberate choice before anything else: he defines the limitation and then works within it rather than against it. Small space, modest budget, no apologies. This mental commitment matters more than it sounds. When photographers work in suboptimal conditions while mentally wishing they were somewhere else, that conflict shows up in the images. Soft decisions, sloppy angles, setups that feel improvised rather than intentional. Decide what you have, then build toward it.
In practice, this means doing a proper assessment of your space before you place a single light. Measure your distance from subject to background. Note where your ceiling is. Identify any surfaces that will bounce or absorb light unexpectedly. I keep a small sketchpad in my bag specifically for this, and I rough out the room before I start moving gear. It takes ten minutes and saves an hour of trial and error.
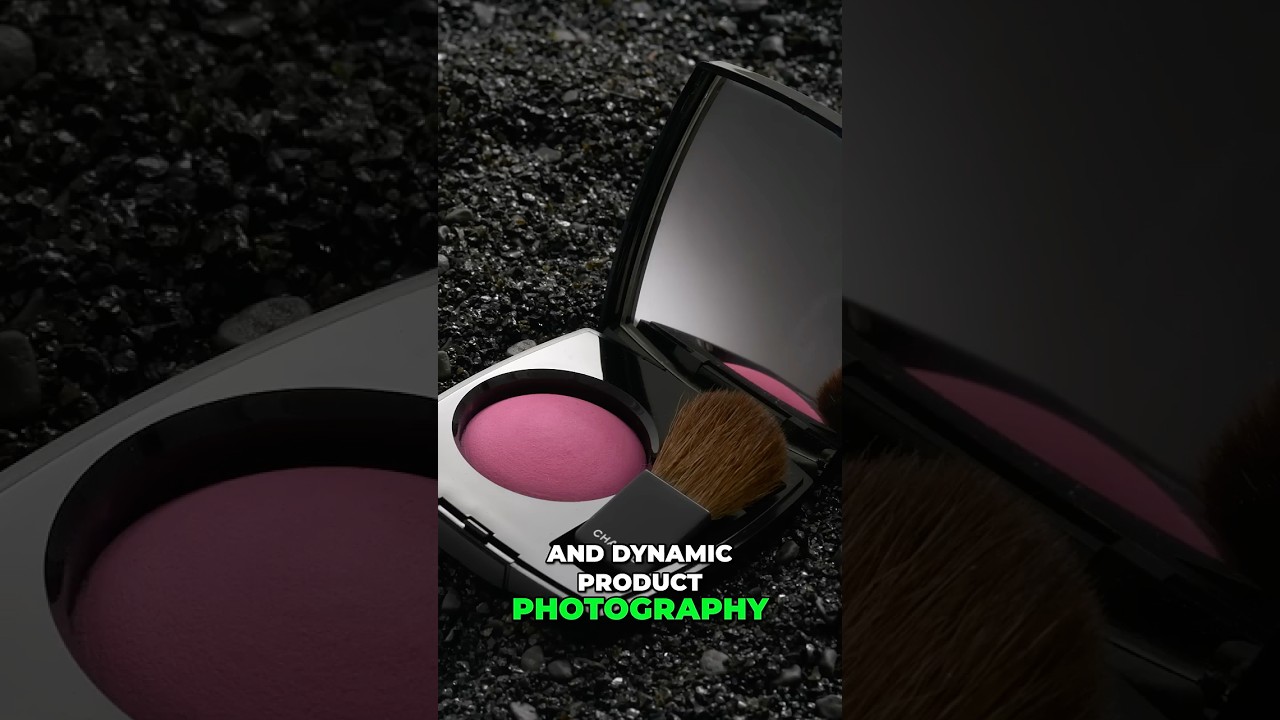
Step 2: Understand What Makes Product Photography “Dynamic”
 Karl Taylor gesturing while explaining composition and lighting concepts
Taylor talks early on about creating images that are exciting and dynamic, which sounds vague until you unpack what he actually means. In product photography, dynamic usually comes from controlled contrast: the relationship between your lit areas and your shadows, the angle of light relative to the product surface, and the separation between your subject and its background. Flat, even lighting kills product shots. Dimension is what sells.
Karl Taylor gesturing while explaining composition and lighting concepts
Taylor talks early on about creating images that are exciting and dynamic, which sounds vague until you unpack what he actually means. In product photography, dynamic usually comes from controlled contrast: the relationship between your lit areas and your shadows, the angle of light relative to the product surface, and the separation between your subject and its background. Flat, even lighting kills product shots. Dimension is what sells.
Think about it in terms of information. A flat lit bottle tells you it exists. A bottle lit from a deliberate angle with controlled highlights tells you it has weight, texture, and form. Buyers respond to the second image because it communicates more. Your lighting job is to reveal the product’s physical character, not just illuminate it.
Step 3: Use Your Light Source Angle to Control Surface Texture
 Product subject lit from a specific angle showing texture and highlights
The angle of your key light relative to a product’s surface determines how much texture the viewer reads. Light raking across a surface at a low, oblique angle will emphasize every imperfection and grain. Light coming more directly from the front or slightly above will smooth those same surfaces out. Neither is wrong. The question is what you want to communicate about that specific product.
Product subject lit from a specific angle showing texture and highlights
The angle of your key light relative to a product’s surface determines how much texture the viewer reads. Light raking across a surface at a low, oblique angle will emphasize every imperfection and grain. Light coming more directly from the front or slightly above will smooth those same surfaces out. Neither is wrong. The question is what you want to communicate about that specific product.
For reflective surfaces like glass, metal, or lacquered packaging, the position of your light source determines where the specular highlight falls. Move the light, the highlight moves. This is where working in a small space actually teaches you faster than a large one, because the relationships between light, subject, and reflection are tighter and more immediately visible. Small adjustments produce obvious results.
Step 4: Work the Background Separately from the Subject
 Small studio showing subject and background as two distinct lighting zones
One of the clearest lessons in Taylor’s approach is treating the background as its own lighting problem. Beginners often light a scene and accept whatever happens to fall on the background. Working photographers light the subject, then independently address the background to create the separation and mood they want. These are two distinct decisions made in a specific order.
Small studio showing subject and background as two distinct lighting zones
One of the clearest lessons in Taylor’s approach is treating the background as its own lighting problem. Beginners often light a scene and accept whatever happens to fall on the background. Working photographers light the subject, then independently address the background to create the separation and mood they want. These are two distinct decisions made in a specific order.
In a small space, this is harder because your lights are closer together and spill is more difficult to control. Use flags, black foam core, or even black cardboard to cut light from areas you don’t want it. I keep a stack of foam core panels in my studio that I’ve labeled by size with masking tape. They cost almost nothing and they solve problems that no amount of expensive modifier will fix once light is going where you don’t want it.
Step 5: Bring the Knowledge, Not Just the Gear
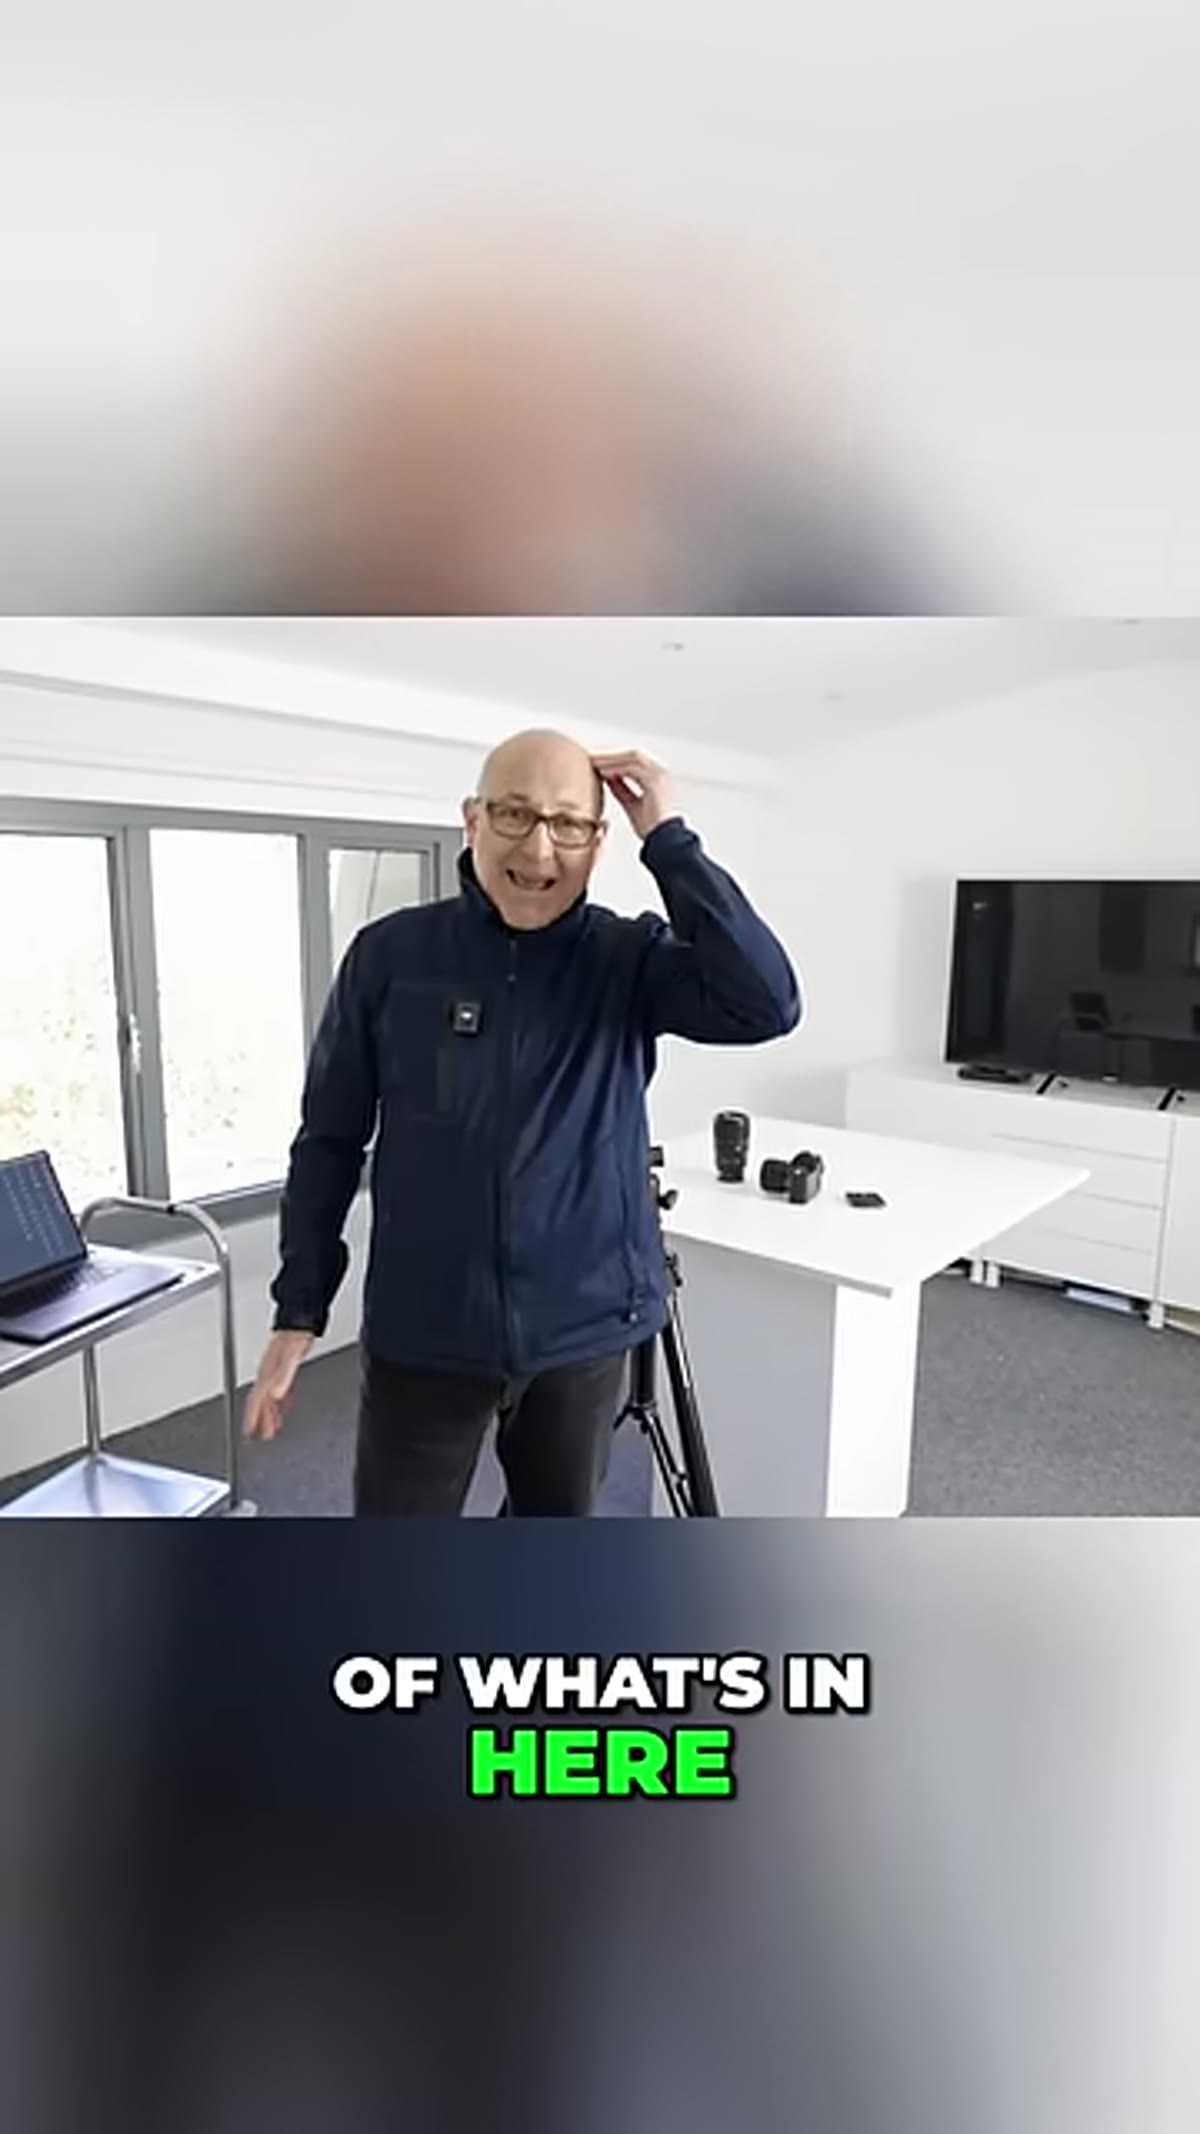 Karl Taylor pointing to his head emphasizing knowledge over equipment
Taylor’s core argument lands here: the knowledge you carry is what produces the image, not the gear you arrive with. This isn’t motivational poster material. It’s a practical claim about how lighting decisions get made. When you understand why a softbox at 45 degrees above your product creates a specific quality of light, you can replicate that effect with a window, a reflector, and a white card. The physics doesn’t change because your budget did.
Karl Taylor pointing to his head emphasizing knowledge over equipment
Taylor’s core argument lands here: the knowledge you carry is what produces the image, not the gear you arrive with. This isn’t motivational poster material. It’s a practical claim about how lighting decisions get made. When you understand why a softbox at 45 degrees above your product creates a specific quality of light, you can replicate that effect with a window, a reflector, and a white card. The physics doesn’t change because your budget did.
This is the argument for studying lighting systematically rather than just copying setups. I keep a lighting journal where I sketch every setup I use on a shoot, including what didn’t work and why I changed it. After years of this, I can look at a product image and reverse-engineer the setup with reasonable accuracy. That skill came from repetition and documentation, not from expensive gear.
A Note from My Own Experience: Small Spaces Force Better Decisions
The first time I shot product work in a genuinely small space, I was frustrated for the first hour. Then something shifted. Because I couldn’t rely on distance to soften problems, I had to solve them optically and technically. I started understanding light fall-off not as an abstract concept but as a physical reality I had to manage in real time. The cramped setup taught me more about controlling spill and using negative fill than any large studio session had.
If you have access to a big, well-equipped space, use it. But deliberately shooting in a constrained environment at least occasionally will sharpen your problem-solving in ways that comfort never will. Set yourself a limitation on purpose and see what it forces you to figure out.
The single most important takeaway from Taylor’s tutorial is this: product photography quality is a function of lighting intelligence, not square footage or gear budget. Every principle he demonstrates works because it’s grounded in how light actually behaves, and that doesn’t change based on what studio you’re standing in.
Watch the full tutorial on YouTube and pay close attention to how Taylor sequences his decisions. The order matters as much as the technique.
Comments
Leave a Comment