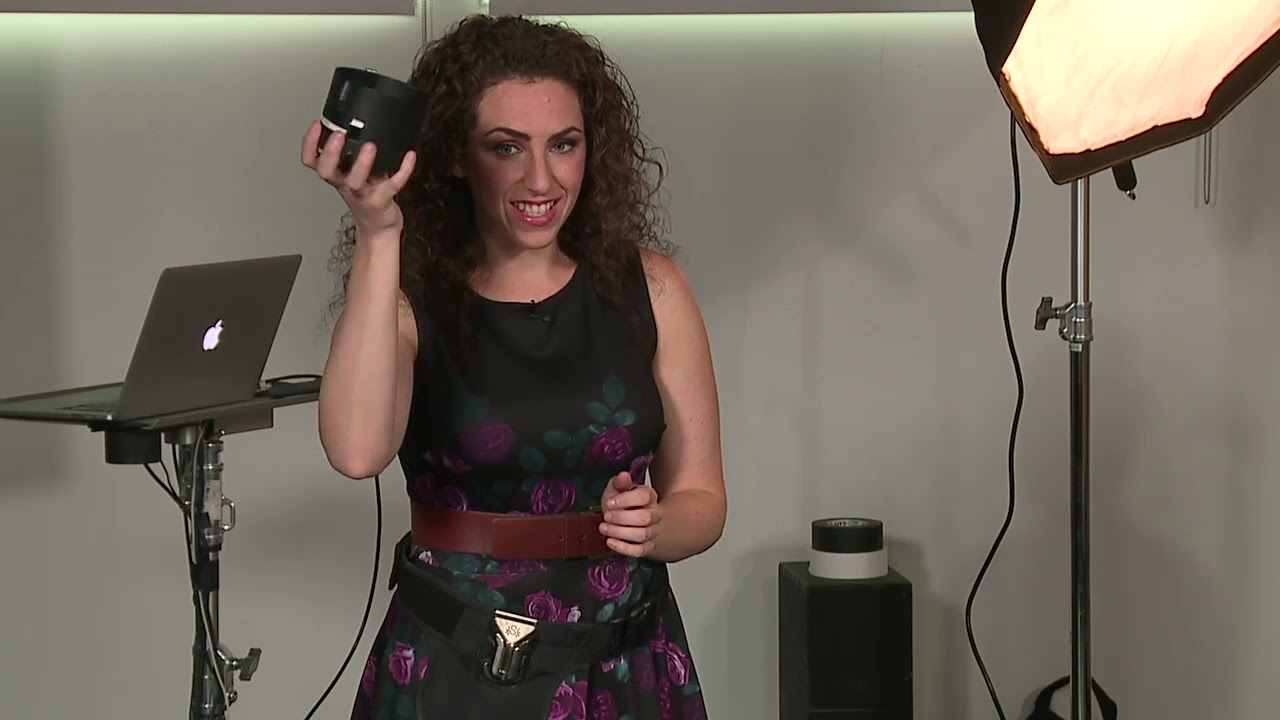
Every time I take on a new editorial client, I pull out my phone and open the lighting diagram app I built myself. Before a single strobe fires, I want a plan. But that habit only developed because I spent years doing the opposite — guessing, adjusting, guessing again — and occasionally ruining shots because I couldn’t read what the light was actually doing. The skill I was missing wasn’t gear knowledge. It was the ability to look at a photograph and reverse-engineer how it was lit.
That’s exactly what this CreativeLive tutorial addresses head-on. Watch the full tutorial on YouTube — the instructor walks through a live studio demo, building a lighting setup piece by piece and training the viewer to identify each light’s role from the shadows and highlights it leaves on the subject’s face. If you’ve ever stared at a magazine portrait and wondered how to recreate it, this tutorial gives you the analytical framework to start answering that question yourself.
The approach here is practical and sequential: start with one light, understand what it does, then add the next. I’ve structured my own studio sessions the same way for years. Every modifier in my space gets a strip of masking tape with its role written on it before a shoot. It forces the same kind of intentional thinking the instructor is demonstrating, because once you’ve got three or four lights firing simultaneously, it’s very easy to lose track of what’s contributing what.
Step 1: Start With a Single Main Light and a Reflector
 Silver reflector positioned beside main strobe in studio
Begin with just your key light and a silver or white reflector positioned on the opposite side of the subject’s face. The reflector is not a fill light in the traditional sense here — it’s a diagnostic tool. With a single main light bouncing back from a reflector, you get a clean, readable shadow structure. The nose shadow, the cheek shadow, and the transition zone between highlight and shadow are all visible and uncluttered. This is your baseline read.
Silver reflector positioned beside main strobe in studio
Begin with just your key light and a silver or white reflector positioned on the opposite side of the subject’s face. The reflector is not a fill light in the traditional sense here — it’s a diagnostic tool. With a single main light bouncing back from a reflector, you get a clean, readable shadow structure. The nose shadow, the cheek shadow, and the transition zone between highlight and shadow are all visible and uncluttered. This is your baseline read.
The instructor sets up with a silver reflector on the subject’s shadow side and a single strobe as the main light. Take your test shot, then stop and study the image before touching anything. Ask yourself: where is the shadow of the nose falling? Is it dropping straight down, or angling toward the cheek? The answer tells you which pattern you’re working in.
Step 2: Learn to Distinguish Loop from Rembrandt by Shadow Length
 Close-up of subject’s face showing nose shadow position
This is the step most beginners skip, and it costs them. Loop lighting and Rembrandt lighting are defined by one thing: where the nose shadow falls relative to the cheek shadow. In loop, the nose shadow points downward and slightly toward the mouth but stops short of connecting with the cheek shadow. In Rembrandt, the two shadows merge, creating that classic triangular highlight on the shadowed cheek.
Close-up of subject’s face showing nose shadow position
This is the step most beginners skip, and it costs them. Loop lighting and Rembrandt lighting are defined by one thing: where the nose shadow falls relative to the cheek shadow. In loop, the nose shadow points downward and slightly toward the mouth but stops short of connecting with the cheek shadow. In Rembrandt, the two shadows merge, creating that classic triangular highlight on the shadowed cheek.
The instructor makes a point I find genuinely useful: the exact label matters less than your ability to see what’s happening. If the nose shadow almost reaches the cheek shadow, you’re somewhere between loop and Rembrandt. That’s fine. What matters is that you’ve trained yourself to look for that specific relationship and can reproduce or adjust it deliberately. I keep a lighting journal where I sketch these shadow positions after every shoot, and looking back at six months of entries, you can see the pattern recognition developing like a muscle.
Step 3: Add Fill and Learn to Read Light Despite It
 White reflector moved close to subject’s face, filling shadows
Now bring the fill source in close. The instructor uses a white reflector pulled near the subject, and the effect is immediate: the shadows compress, the contrast drops, and suddenly the image looks much harder to read in terms of light position. This is the trap that confuses intermediate photographers. Heavy fill doesn’t erase the evidence of the main light — it just makes you work harder to find it.
White reflector moved close to subject’s face, filling shadows
Now bring the fill source in close. The instructor uses a white reflector pulled near the subject, and the effect is immediate: the shadows compress, the contrast drops, and suddenly the image looks much harder to read in terms of light position. This is the trap that confuses intermediate photographers. Heavy fill doesn’t erase the evidence of the main light — it just makes you work harder to find it.
The technique the instructor demonstrates is to ignore the shadows temporarily and focus on the highlights. Look for the catchlight in the eyes, and look for the specular highlight sitting just below the cheekbone on the lit side of the face. That highlight tells you where the main light is, even when the shadows have been flooded with fill. Once you’ve located the main light from the highlight, then return to the shadows to confirm and refine your reading.
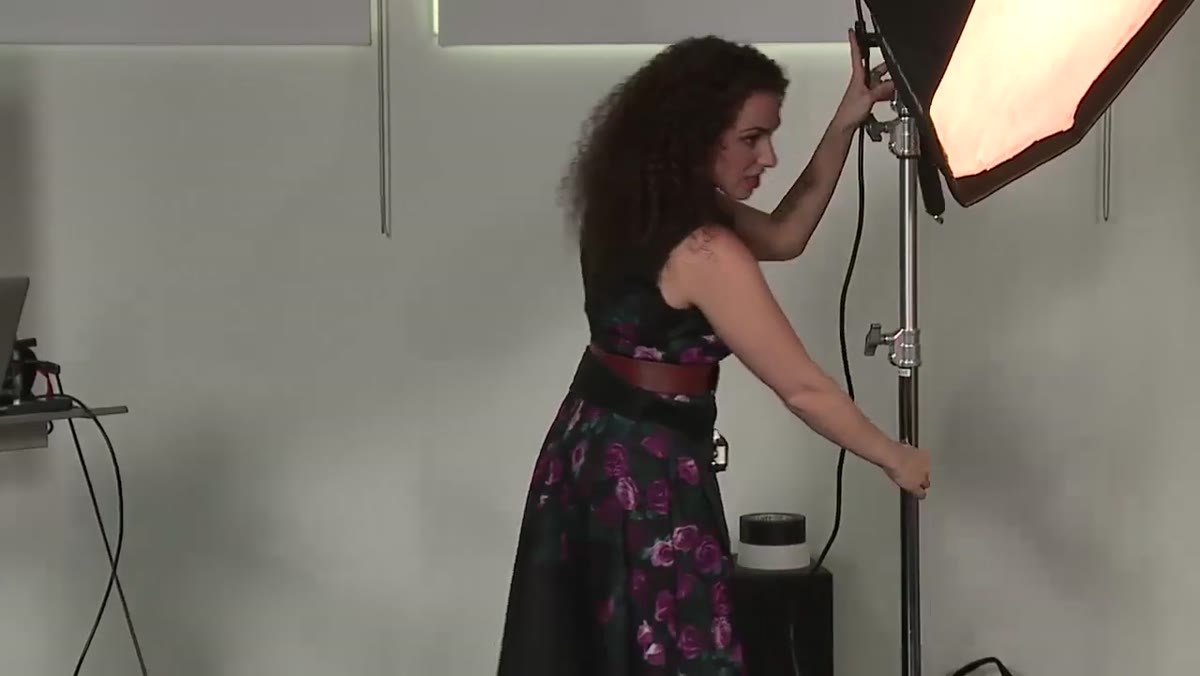
Step 4: Introduce a Rim Light or Kicker From Behind
 Silver reflector positioned behind subject as rim light source
A rim light separates the subject from the background. Without it, the shadow side of the face can blend into a dark backdrop and the subject loses dimensionality. The instructor demonstrates this using a silver reflector positioned behind and to the side of the subject, catching light from the main strobe and throwing a thin strip of highlight along the edge of the face and hair.
Silver reflector positioned behind subject as rim light source
A rim light separates the subject from the background. Without it, the shadow side of the face can blend into a dark backdrop and the subject loses dimensionality. The instructor demonstrates this using a silver reflector positioned behind and to the side of the subject, catching light from the main strobe and throwing a thin strip of highlight along the edge of the face and hair.
What I want you to notice is that the light source here is a reflector, not a dedicated strobe. Rim lights can come from strobes, from light bouncing off a wall, from a strip softbox, or from a reflector catching spill. The specific tool is less important than the effect: edge separation. In my own work, I often start with a reflector for rim and only upgrade to a strip softbox if the reflector isn’t giving me enough control over the intensity or the spill.
Step 5: Test the Rim in Isolation Before Balancing
 Subtle rim highlight visible on edge of subject’s face
Fire the rim light at a low power setting and shoot a test frame with nothing else changed. You’re looking for a thin, defined highlight along the cheekbone or jaw edge — not a blown-out streak, not an invisible suggestion. If the rim is too strong, it competes with the main light and looks like a mistake. If it’s too subtle, it disappears in print.
Subtle rim highlight visible on edge of subject’s face
Fire the rim light at a low power setting and shoot a test frame with nothing else changed. You’re looking for a thin, defined highlight along the cheekbone or jaw edge — not a blown-out streak, not an invisible suggestion. If the rim is too strong, it competes with the main light and looks like a mistake. If it’s too subtle, it disappears in print.
The instructor notes something worth repeating: if you look at a finished image and can’t tell whether the edge highlight came from a reflector or a strip softbox, that’s not a failure. The goal is reproduction, not archaeology. If you use a reflector and the result matches what you were going for, you’re done. If the reflector isn’t giving you what you want, swap to a strip softbox and adjust. The result is the standard, not the method.
What I’d Add From My Own Experience
The tutorial stays focused on the mechanics, which is exactly right for a demo format. But the thing that accelerated my own understanding wasn’t just looking at highlights and shadows in isolation — it was looking at skin tone transitions. My wife has a much more refined eye for how light wraps around facial contours than I do, and she pointed out early in my career that the gradation from lit to shadow on the cheek tells you almost as much about light quality as the shadow shape itself. A hard source creates an abrupt transition. A large softbox creates a long, gradual falloff. Learning to read that gradient alongside the shadow position gives you a much more complete picture of what a lighting setup is doing.
I now include a note in my lighting journal about the falloff quality on every setup I sketch. It’s an extra thirty seconds of observation, and it has saved me hours of guessing on setups where I was trying to match a reference image.
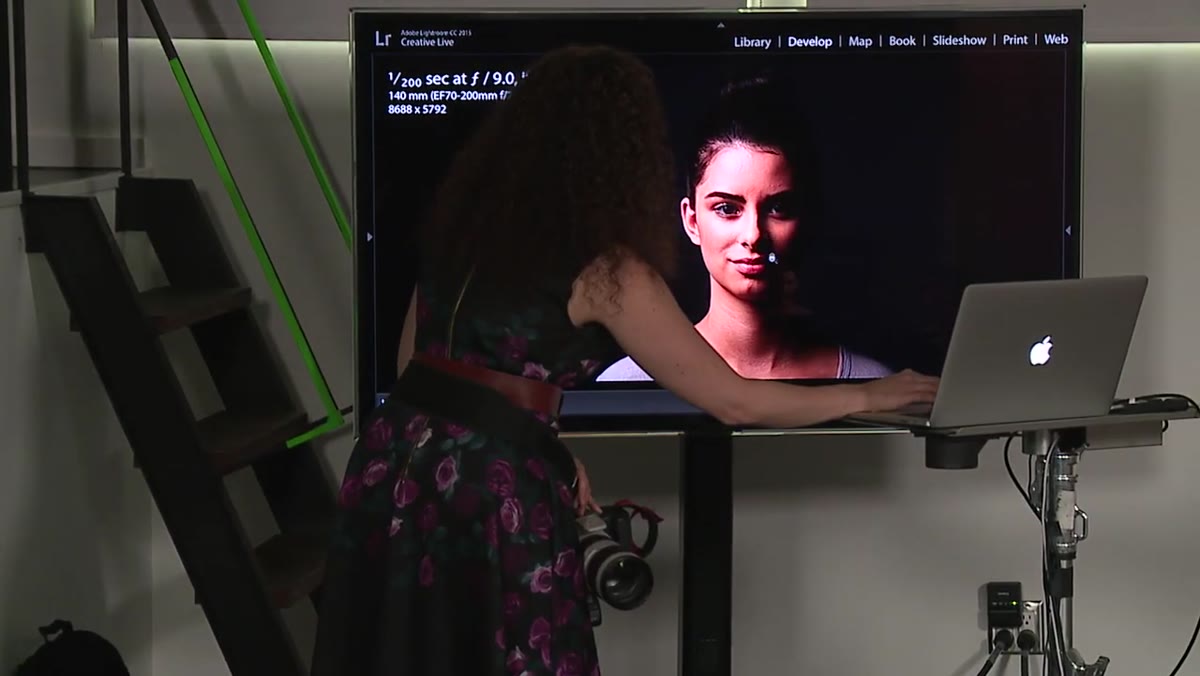
The single most transferable idea from this tutorial is this: you don’t need to identify every light in a photograph correctly. You need to reproduce the result. Study the highlights to find the main light, study the shadows to understand placement, and study the edges to see what separation work has been done. Then build toward that outcome with whatever tools you have. Watch the full tutorial on YouTube and pause on every test shot the instructor takes — those frames are the real lesson.
Comments
Leave a Comment