I pulled a tear-out from a magazine once, a full-page beauty editorial, and spent about forty minutes staring at the catchlights and shadow edges trying to reverse-engineer the setup. Two rim lights, one key, a reflector below the chin. I sketched it in my lighting journal, taped it to the wall, and built it. The first test frame looked almost identical to the tear-out. That was the day I understood that rim lighting is not a creative accident. It follows rules, and if you follow them precisely, it delivers every time.
That experience changed how I teach this. Rim lighting is one of those techniques that photographers either wildly overthink or carelessly underexpose. Neither works.
What Rim Lighting Is Actually Doing to Your Subject
Rim lighting places one or more lights behind and slightly to the side of your subject, aimed back toward the camera. The goal is to create a thin line of illumination along the edges of hair, shoulders, or the profile of a face, separating the subject from the background.
The physics here are straightforward. When light skims across the surface of an object at a steep angle, it scatters off the outermost layer of texture, whether that’s hair, fabric, or skin. It does not illuminate the full surface. That edge glow is specular in nature, meaning it behaves more like a highlight than diffused fill. This is why rim lights appear so bright relative to their actual output. They are efficient. A single strobe set at 1/4 power behind a subject can produce a rim that reads as bright as your key light set to full.
If you ignore this and treat your rim like a fill light, dialing it to match your key, you will blow out the edges of your subject and the whole image will read as overlit and amateurish. Fashion editors notice this immediately. I have seen selects rejected for exactly this reason.
The Ratio That Actually Holds Up in Print
My standard starting point for a two-light rim setup is a 3:1 ratio between key and rim. Key at full power, rims at 1/3 power. From there I adjust by eye, but I almost never go above 1/2 power on the rims and almost never drop below 1/8.
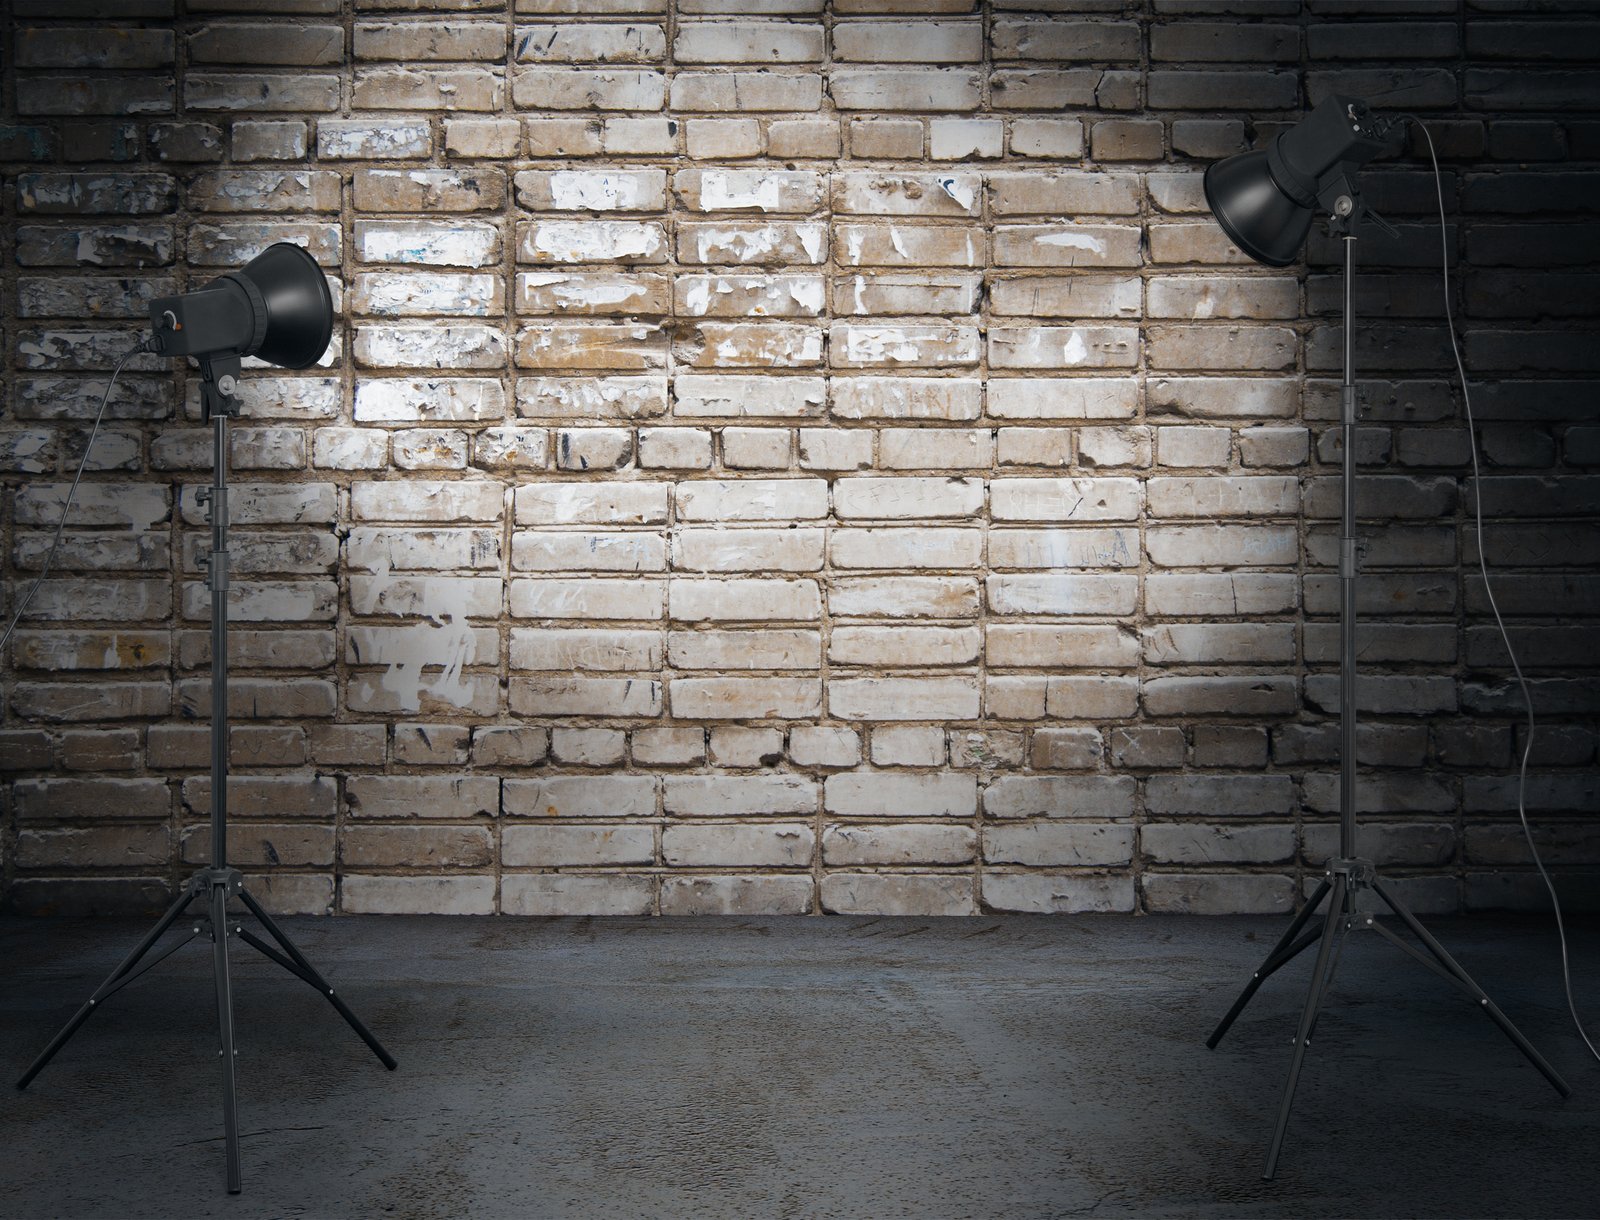
For the key, I use a 36-inch octabox placed camera left, approximately 45 degrees to the subject and about five feet away. For the rims, I use two strip softboxes, 12x36 inches, positioned at roughly 7 o’clock and 5 o’clock behind the subject. The strip modifier is important here. A round modifier spreads light too broadly and eats into the background. The strip keeps the light narrow and controlled, which is what produces that clean separation line.
I label every light in my studio with masking tape before a shoot: Key, Rim L, Rim R, Fill, Background. It sounds obsessive, but when you are calling adjustments to an assistant during a shoot, “push Rim R back six inches” is a faster conversation than pointing at things.
Gridded strip softboxes are worth the extra cost. A Westcott 12x50 strip with a 40-degree grid runs around $120. Without the grid, you get spill onto the background and into the lens. With the grid, the light stays exactly where you put it.
Positioning Errors That Kill the Effect
The most common mistake I see is placing the rim lights too far forward. If your rim light is level with or in front of your subject’s shoulder line, you are no longer creating a rim. You are creating a side fill with a confusing name.
The rear edge of the light modifier should be behind the back plane of the subject’s head. I use a simple check: if I can see the front of the modifier from the camera position without moving, the light is too far forward. Pull it back until the modifier is just barely visible at the edge of the frame, then flag it if needed.
Height matters too. For standing portraits, I position rim lights at shoulder height or slightly above, angled down at about 15 degrees. This keeps the rim on the upper edge of the shoulder and along the jawline without spilling onto the floor and bouncing back up as unwanted fill.
When to Use One Rim Instead of Two
Two rims creates symmetry. It works well for beauty, fashion, and product work where the subject is centered and you want even separation on both sides. But for corporate portraiture or editorial work where the subject is turned at an angle, one rim placed on the shadow side of the face does more interesting work.
My wife pointed something out to me years ago when I was testing a setup at home. She said that the light on one side of my test subject looked “alive” while the other side looked “pasted on.” She was right. The rim on the lit side of the face was competing with the key, not complementing it. One well-placed rim on the shadow side of a three-quarter pose consistently produces a more dimensional result than two rims fighting each other for attention. That observation has informed probably a hundred shoots since then.
The Exposure Check You Cannot Skip
Rim lights are almost never set correctly from the first test frame. The specular efficiency I mentioned earlier means small power changes produce large visible results. I always shoot a dedicated rim-only test: key light off, both rims on, one frame. This shows me exactly where the light is landing and whether the edges are clipping.
If any part of the rim highlight is blowing to pure white, I pull the power down until there is just barely recoverable detail in the highlight, typically around 240-245 on the RGB histogram. Then I bring the key back in and re-evaluate the full frame.
The rim should feel present. It should not feel like the point.
Get that balance right and you have a setup that reads clearly on a magazine page, holds detail in digital delivery, and makes your subject look like they exist in three dimensions rather than sitting in front of a canvas. That is the entire job.
Comments (4)
I've been looking for exactly this kind of tutorial. Perfect timing.
Love this. I referenced a similar technique in one of my recent posts. Always good to see other perspectives.
This should be required reading for anyone starting out.
Clear and practical. No fluff. Appreciate that.
Leave a Comment