Every so often I watch a tutorial and feel two things at once: relief that someone said it plainly, and mild frustration that it needed to be said at all. That’s exactly where I landed watching this short but sharp breakdown from Visual Education. Watch the full tutorial on YouTube before or after reading this, because seeing it in motion reinforces everything written here.
The topic is shadow direction. Specifically, why shadows fall where they do, and how to move them deliberately. I’ve been shooting commercial work in Los Angeles for nearly two decades, and I still encounter photographers, assistants, even some working professionals, who treat shadow placement like something that just happens to them rather than something they choose. I keep a lighting journal where I sketch every setup from every shoot, and if I flipped back through it, I could point to dozens of diagrams where shadow direction was the first decision made, not an afterthought. This tutorial codifies that thinking in about two minutes flat.
What makes the Visual Education approach work here is that it strips out any mysticism. Light is physical. Shadows are geometry. Once you internalize that, your instincts on set change completely.
Step 1: Understand the Core Relationship Between Light and Shadow
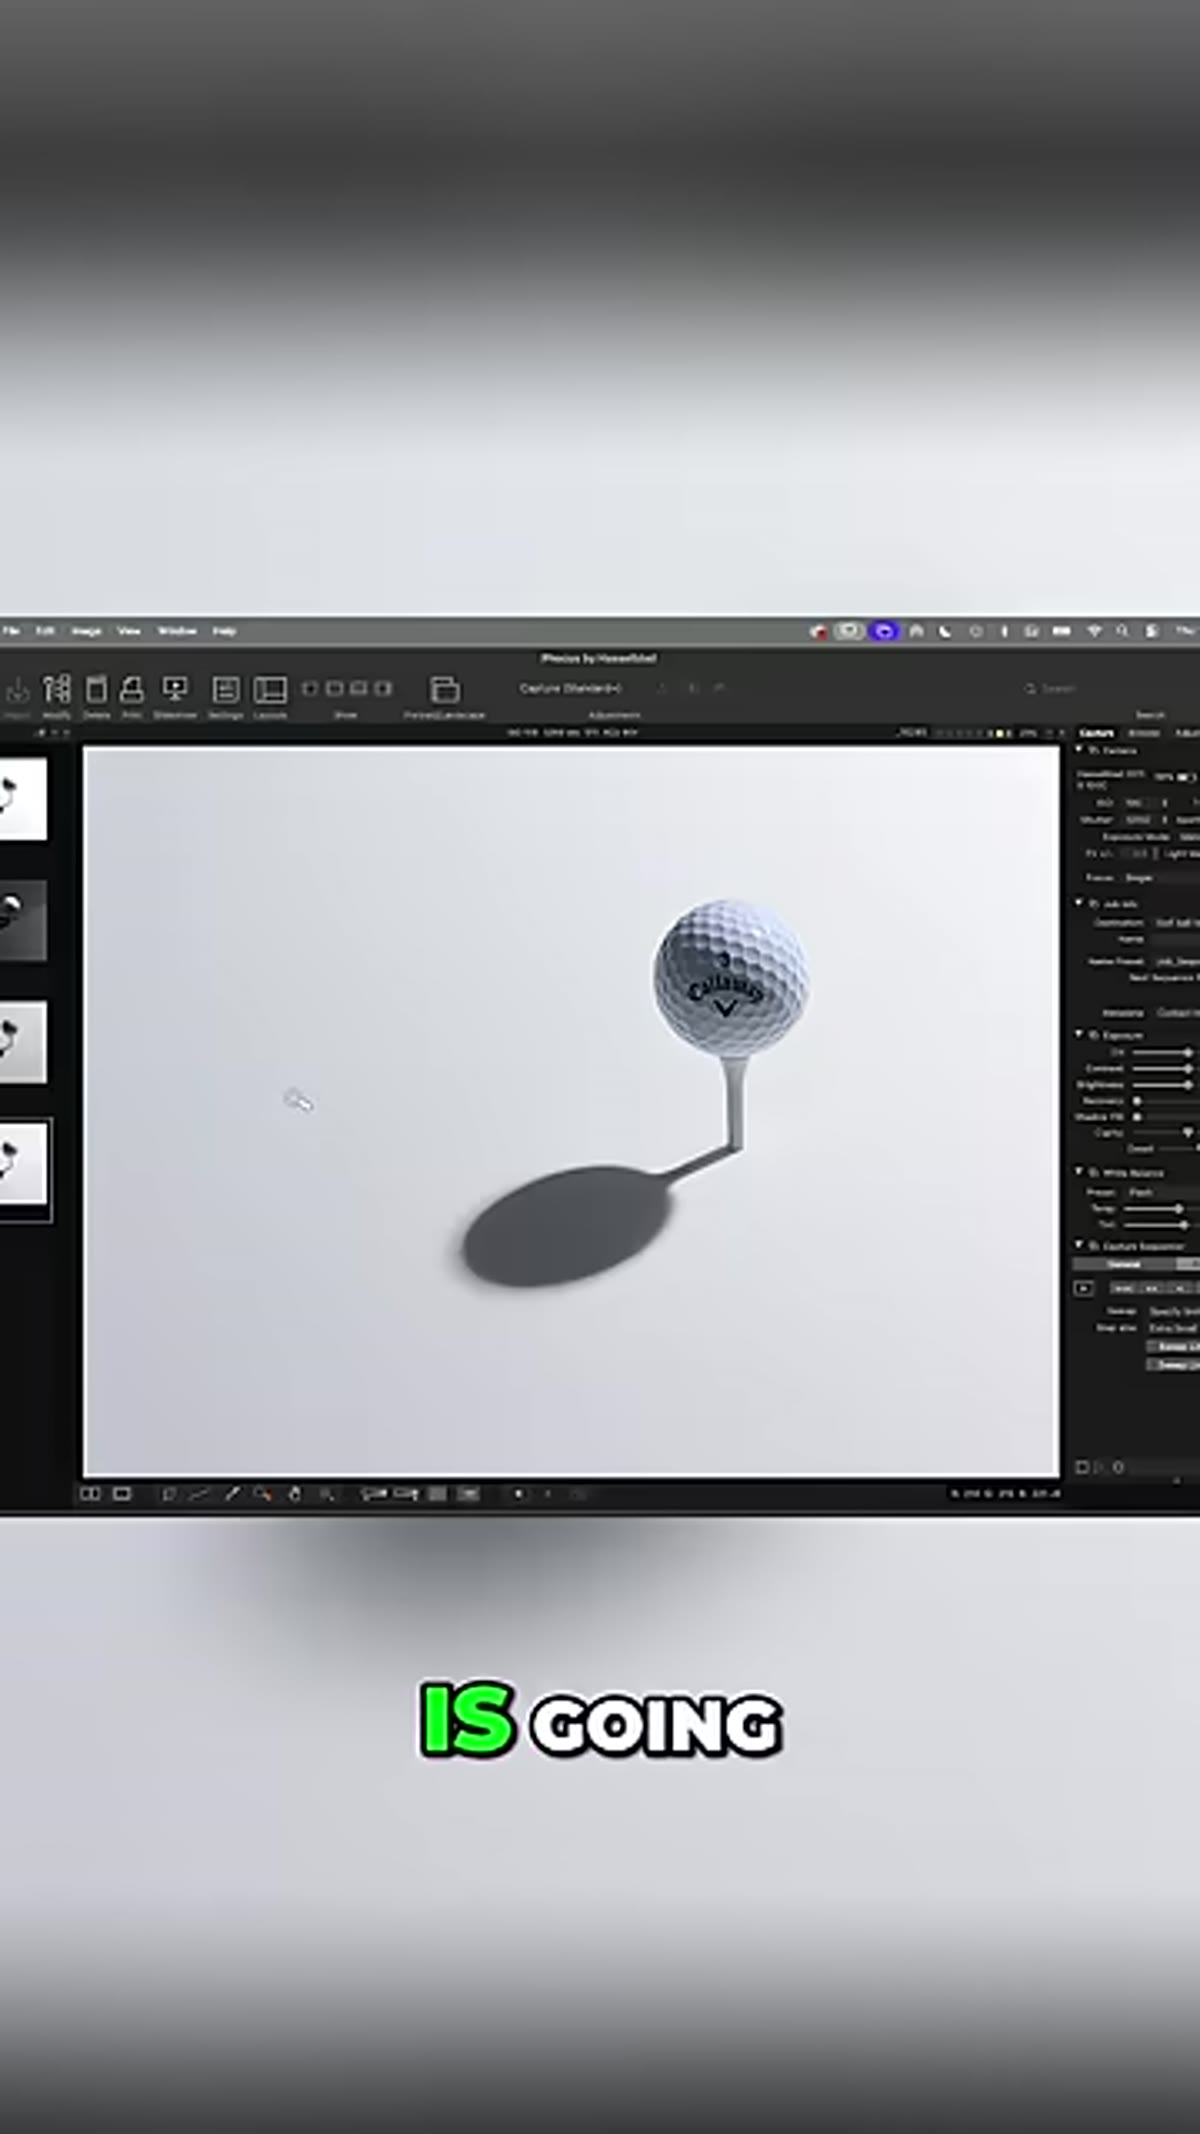 Instructor points to shadow falling in the direction of the light source
A shadow is simply what happens when an object interrupts the path of light. That’s the complete explanation. The shadow will always appear on the opposite side of the object from the light source, and it will extend outward in the same general direction the light is traveling. Think about standing outside on a sunny afternoon. Your shadow stretches behind you because the sun is in front of you. Nothing about that feels complicated in real life, but in a studio it somehow becomes confusing. It shouldn’t. The physics are identical.
Instructor points to shadow falling in the direction of the light source
A shadow is simply what happens when an object interrupts the path of light. That’s the complete explanation. The shadow will always appear on the opposite side of the object from the light source, and it will extend outward in the same general direction the light is traveling. Think about standing outside on a sunny afternoon. Your shadow stretches behind you because the sun is in front of you. Nothing about that feels complicated in real life, but in a studio it somehow becomes confusing. It shouldn’t. The physics are identical.
If you can place yourself mentally in that outdoor scenario every time you set up a studio light, you already understand the foundation. The modifier, the power setting, the color temperature, all of that comes later. Direction is first.
Step 2: Recognize That Shadow Direction Is Exclusively Controlled by Light Position
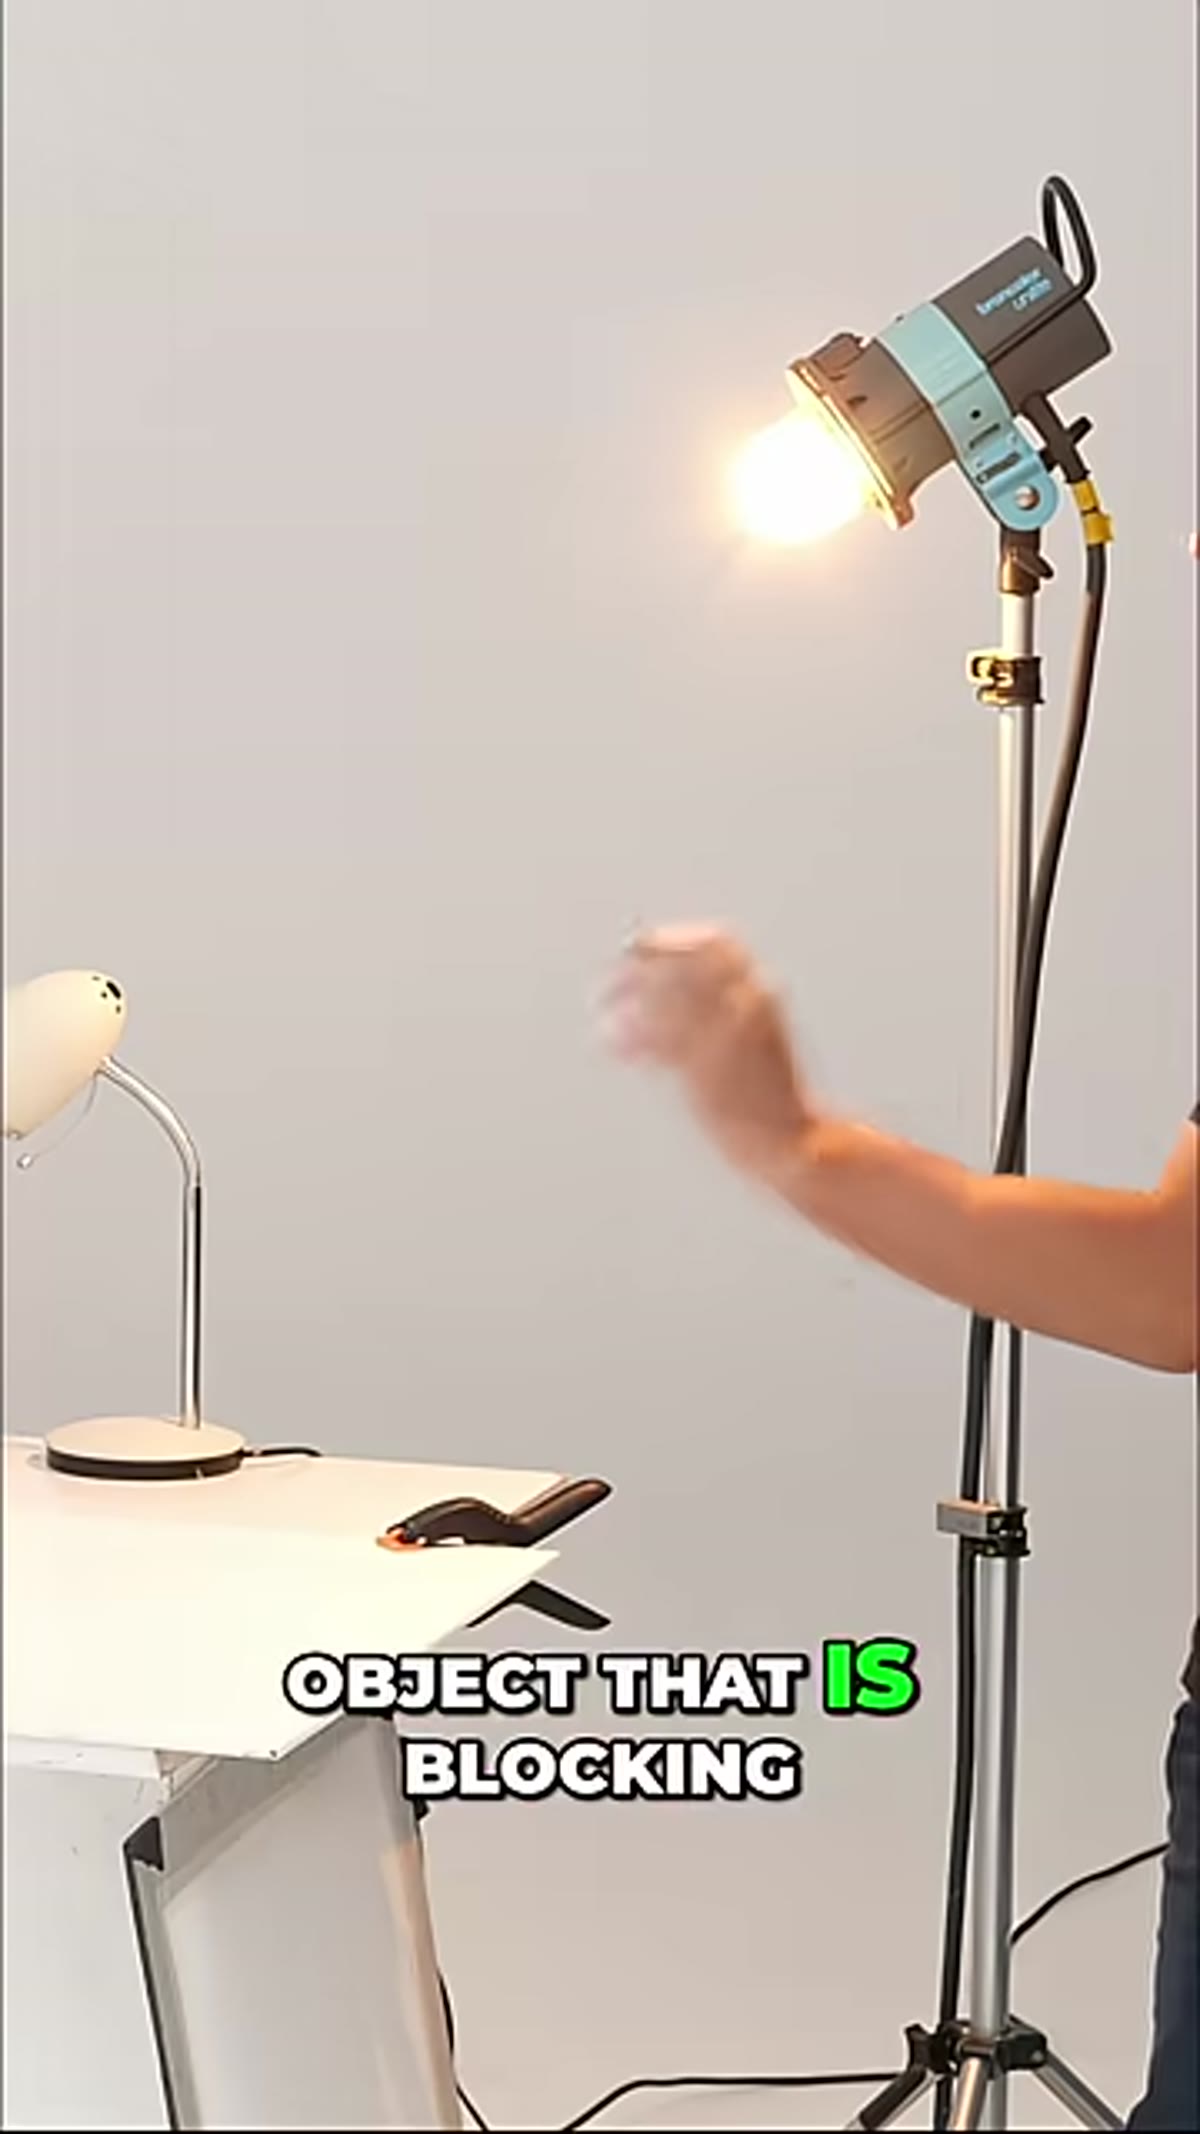 Light source repositioned showing shadow shifting in response
This is the point the tutorial drives home with real clarity: shadow behavior is not influenced by the subject, the background, the camera angle, or any other variable. It is only influenced by where the light is. Move the light, the shadow moves. Leave the light in place, the shadow stays in place regardless of anything else you adjust.
Light source repositioned showing shadow shifting in response
This is the point the tutorial drives home with real clarity: shadow behavior is not influenced by the subject, the background, the camera angle, or any other variable. It is only influenced by where the light is. Move the light, the shadow moves. Leave the light in place, the shadow stays in place regardless of anything else you adjust.
In my studio, I label every light with masking tape. Position, modifier, distance from subject. I started doing this years ago because I kept second-guessing myself mid-shoot about what was causing a shadow to land in an unexpected place. The answer was always the light position. Having it written down and visible saved me from chasing phantom problems in other parts of the setup.
Step 3: Control Shadow Length by Raising or Lowering the Light
 Instructor lowers light, demonstrating how the shadow grows longer
The vertical angle of your light source determines shadow length. Lower the light toward the horizon line of your subject, and the shadow grows longer because the light is raking across at a shallower angle. Raise the light higher overhead, and the shadow shortens and tucks underneath the subject because the light is now striking more directly from above.
Instructor lowers light, demonstrating how the shadow grows longer
The vertical angle of your light source determines shadow length. Lower the light toward the horizon line of your subject, and the shadow grows longer because the light is raking across at a shallower angle. Raise the light higher overhead, and the shadow shortens and tucks underneath the subject because the light is now striking more directly from above.
This is one of the first things I test whenever I’m working with a new modifier on set. I’ll bring a softbox or a beauty dish in from directly above and gradually lower it, watching how the shadow on the backdrop and the shadow on the subject’s face change together. The relationship is consistent and predictable every single time, which is what makes it useful.
Step 4: Shift Shadow Toward or Away From Camera by Moving the Light Horizontally
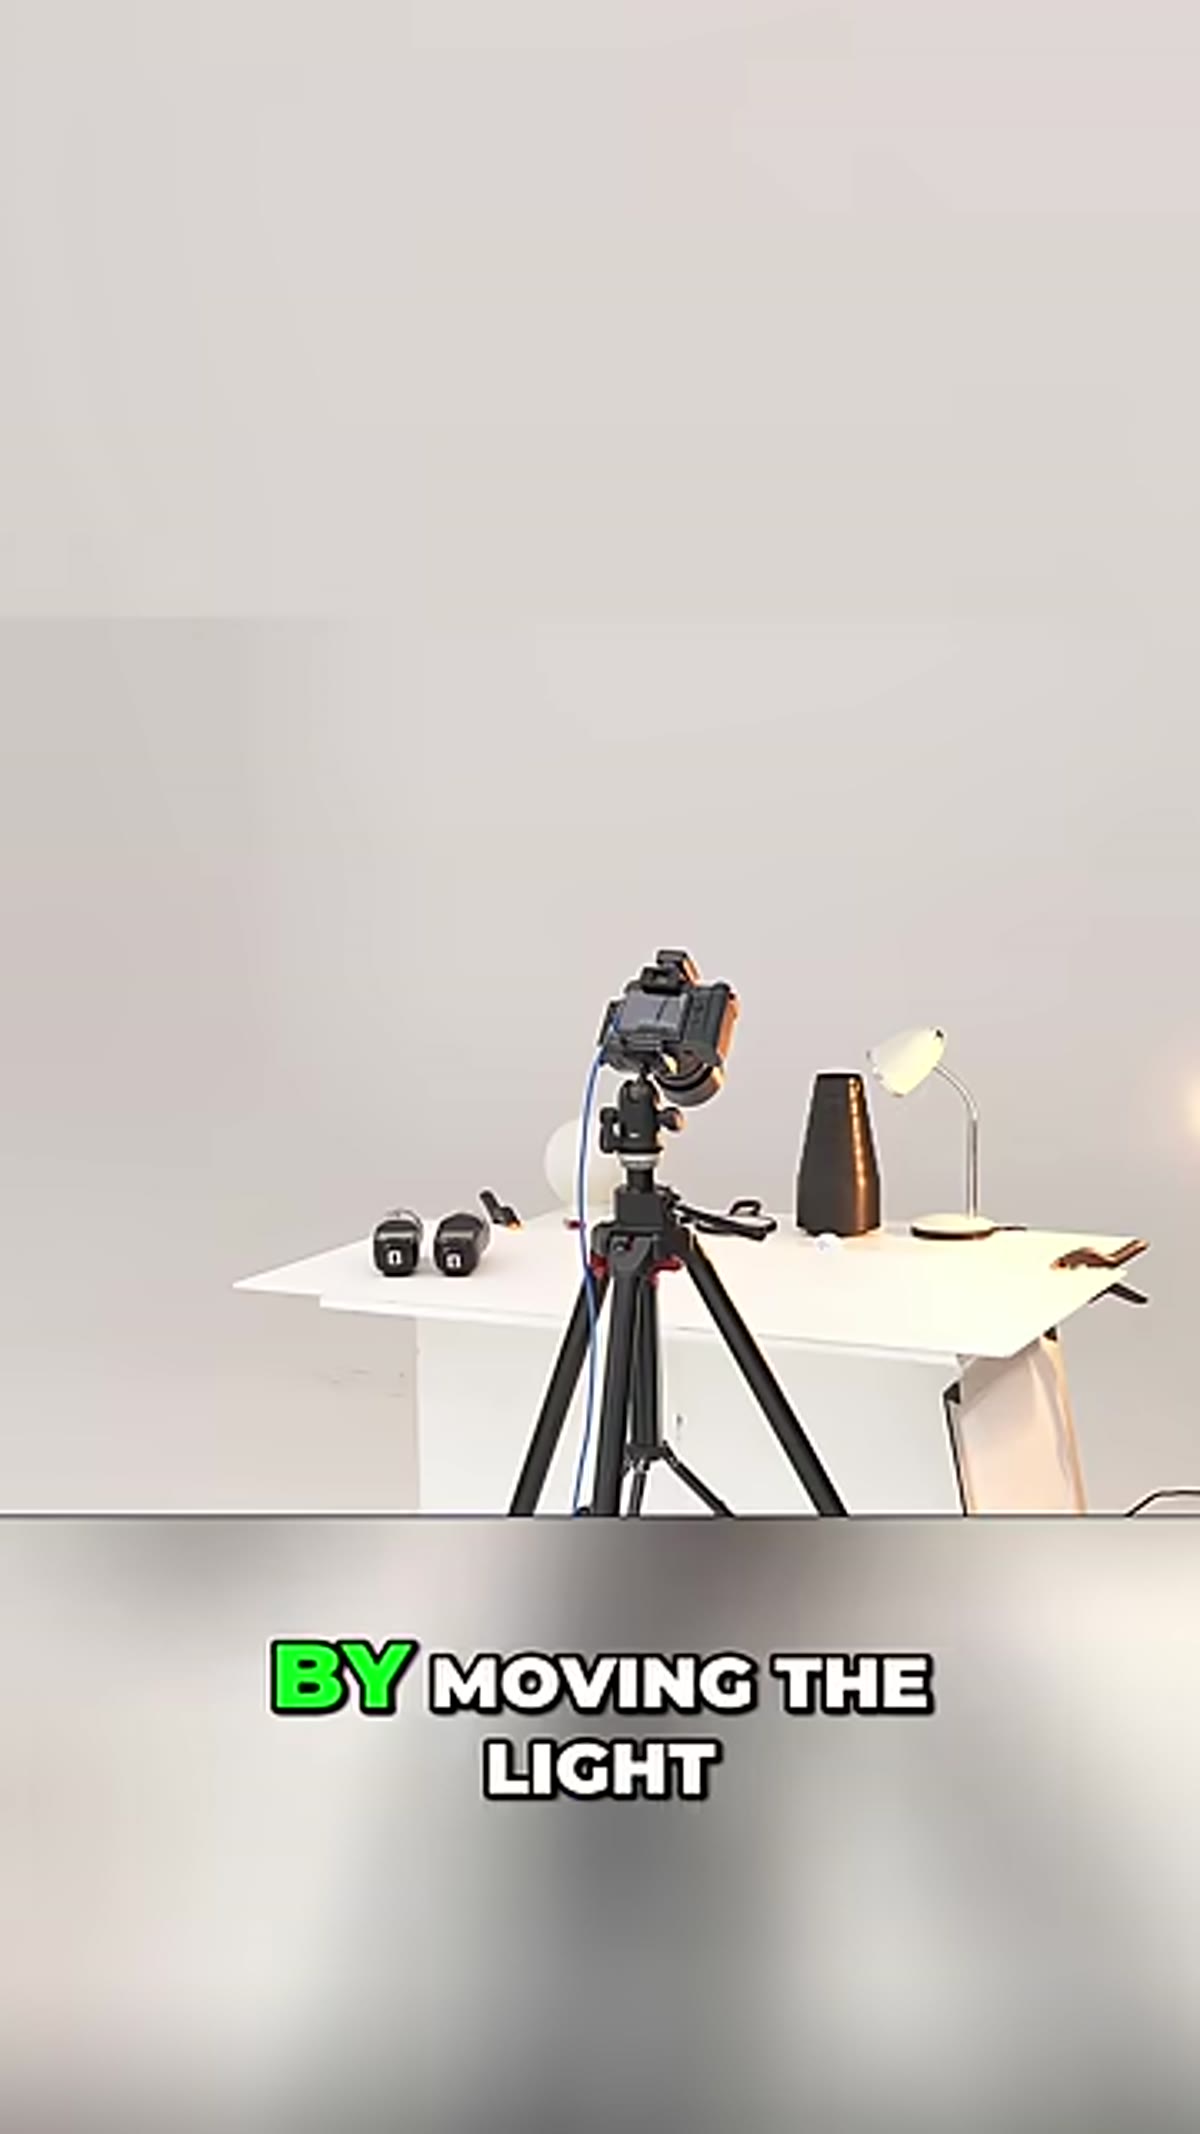
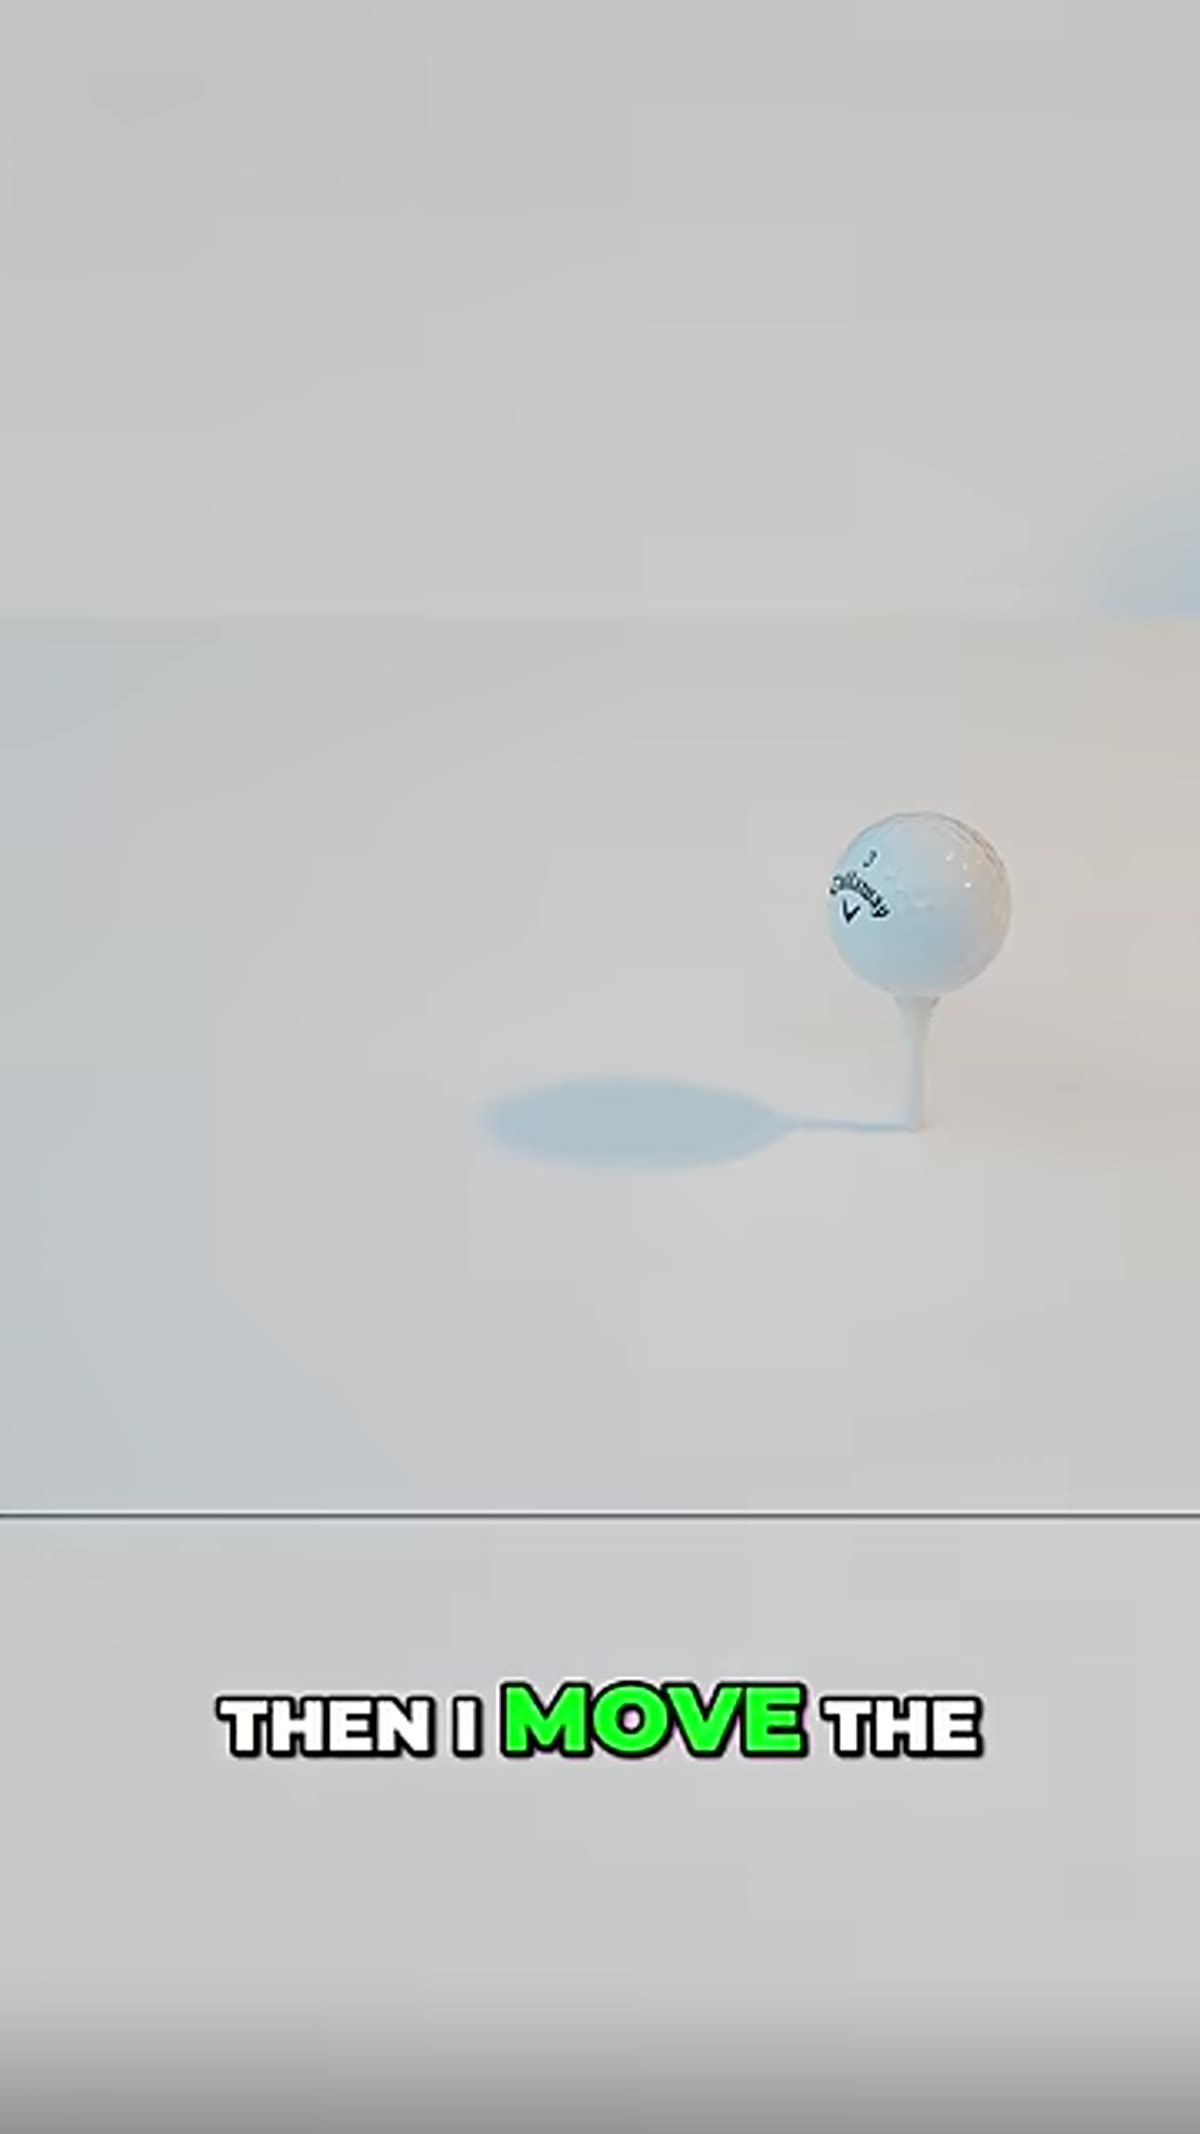 Instructor moves light behind subject, shadow swings toward camera
Vertical position controls length. Horizontal position controls direction relative to the camera. Move the light source behind the subject and the shadow swings forward, toward the lens. Move the light around to the front and to the side, and the shadow pushes away from camera, often off the visible frame of the image entirely.
Instructor moves light behind subject, shadow swings toward camera
Vertical position controls length. Horizontal position controls direction relative to the camera. Move the light source behind the subject and the shadow swings forward, toward the lens. Move the light around to the front and to the side, and the shadow pushes away from camera, often off the visible frame of the image entirely.
This horizontal axis is where a lot of intentional shadow design happens in portrait and fashion work. If I want a hard shadow to appear on a background for a dramatic editorial look, I position the light partially behind and to the side of the subject. If I want a clean commercial result with no visible shadow, I push the light around to create a shadow that either falls behind something or exits the frame. The camera position doesn’t change. Only the light moves.
Step 5: Use These Two Axes Together to Place Shadows Precisely
 Instructor summarizes shadow direction principles with hand gestures
Once you understand that vertical angle controls length and horizontal angle controls direction relative to camera, you’re working with a simple two-axis system. Every shadow placement decision becomes a combination of those two adjustments. Want a long shadow angling off toward camera left? Lower the light and position it to camera right. Want a short shadow tucked cleanly beneath your subject’s chin? Raise the light and bring it forward. The variables are finite. The control is total.
Instructor summarizes shadow direction principles with hand gestures
Once you understand that vertical angle controls length and horizontal angle controls direction relative to camera, you’re working with a simple two-axis system. Every shadow placement decision becomes a combination of those two adjustments. Want a long shadow angling off toward camera left? Lower the light and position it to camera right. Want a short shadow tucked cleanly beneath your subject’s chin? Raise the light and bring it forward. The variables are finite. The control is total.
I designed a lighting diagram app for my own use partly because I wanted a faster way to communicate these two axes to assistants on set. When I sketch a top-down diagram and a side-view diagram together, the shadow placement becomes obvious before we even fire a test shot.
What I’d Add From My Own Work
The tutorial keeps the focus on a single light, which is exactly right for learning this principle. Where it gets genuinely interesting, and occasionally complicated, is when you introduce a second source. Every additional light creates its own shadow. Sometimes those shadows reinforce each other and create depth. Sometimes they conflict and produce the dreaded double-shadow effect that reads as amateurish even to non-photographers.
My rule on set: before adding a second light, I decide which shadow from which source is the one I actually want the viewer to see. The second light then gets modified, flagged, or repositioned until its shadow either disappears or becomes invisible against the primary shadow. You don’t eliminate the physics. You just manage which result is visible.
Shadow direction is one of those things that feels obvious in retrospect and genuinely useful the moment it clicks. The principle is simple enough to explain in two minutes, but it’s the kind of simple that changes how you see a set. Every light you place is a decision about where a shadow goes. Make that decision consciously.
Watch the full tutorial on YouTube and pay attention to how the shadow responds in real time as the light moves. Seeing it happen once is worth reading about it ten times.
Comments
Leave a Comment