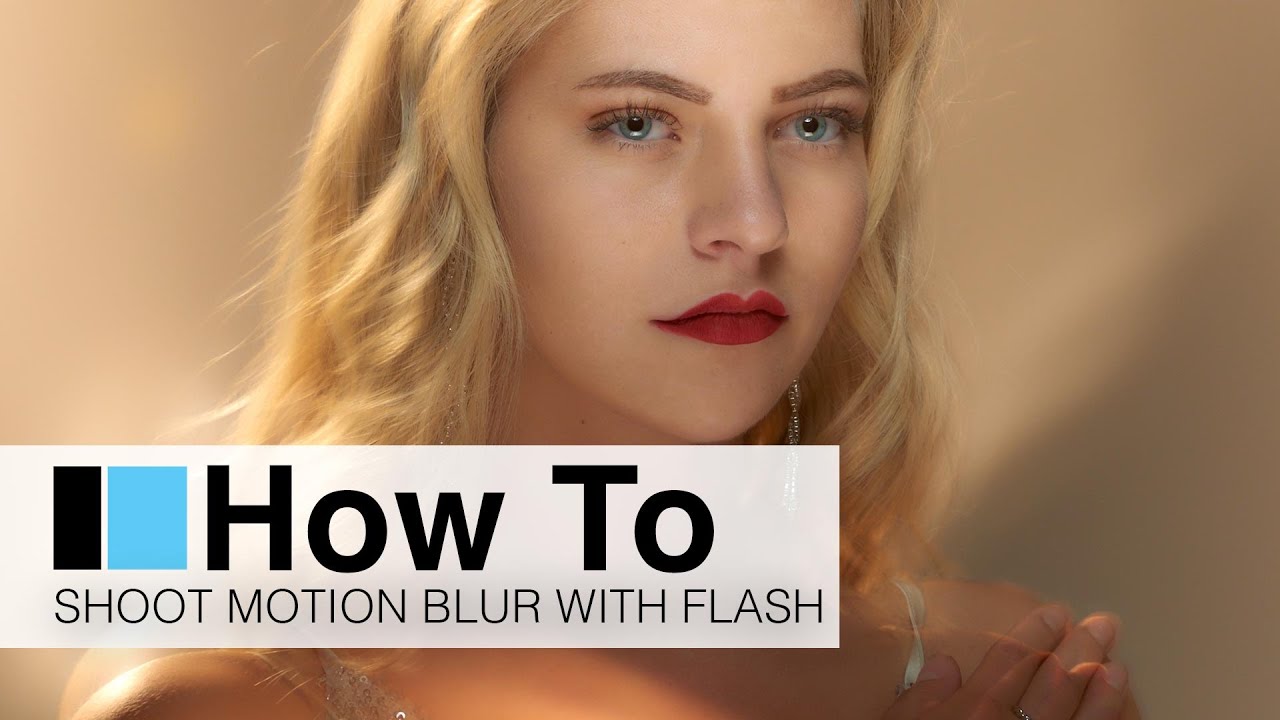
There’s a particular kind of fashion image I’ve always struggled to nail in the studio: the one that feels like it has air in it. Not motion blur exactly, but that sense that something is happening, that the sequins caught a moment, that the hair has weight. Most of my studio work is deliberately frozen. That’s the job. But occasionally a client wants something with a little more cinema in it, and for years I defaulted to pulling the shutter speed down and hoping for the best. The results were usually muddy. Sharp where I wanted movement, blurry where I needed detail.
That changed when I watched this Visual Education tutorial with photographers Urs Recher and Karl Taylor. Watch the full tutorial on YouTube before or after reading this, because seeing the setup physically arranged helps. What Urs demonstrates is a genuinely elegant solution: use flash to freeze the face with absolute precision, and let a continuous LED source build movement into everything else. It sounds simple. The execution, as I found when I rebuilt it in my own studio, is all in the details.
The tutorial runs through a complete fashion setup that combines a gridded beauty dish, a softbox, an LED continuous light, hand mirrors for fill, and a white background used as a reflective surface. Every element earns its place. Here’s how to build it yourself.
Step 1: Set Up a Gridded Beauty Light Over the Face
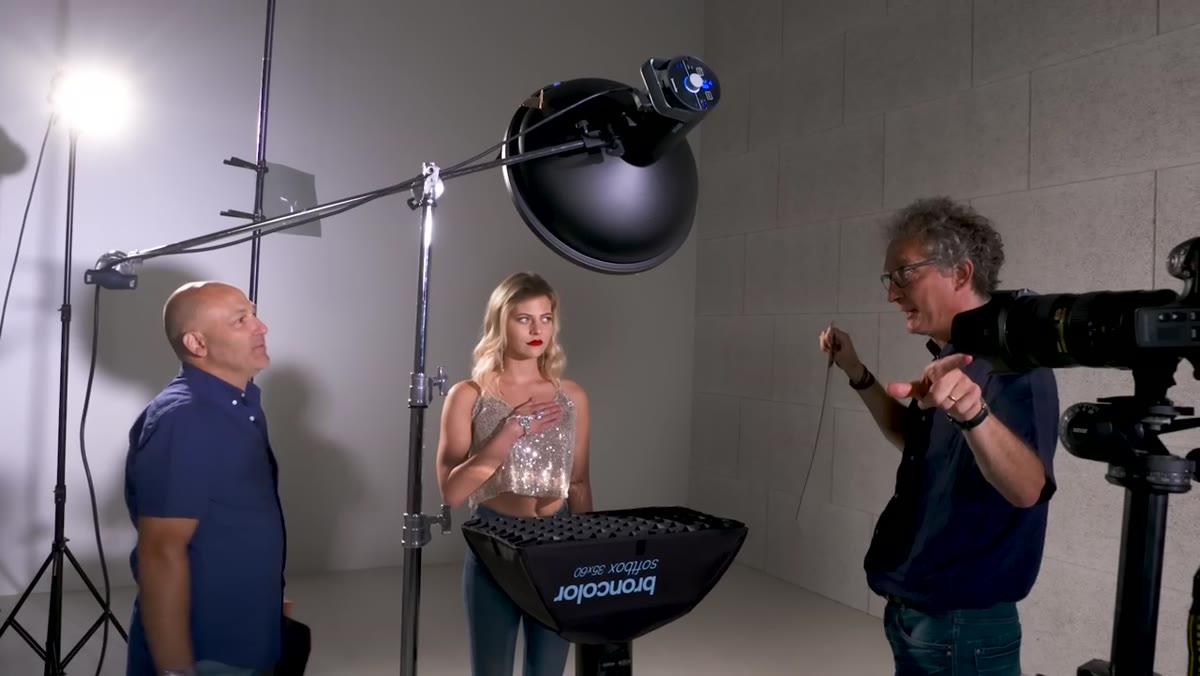
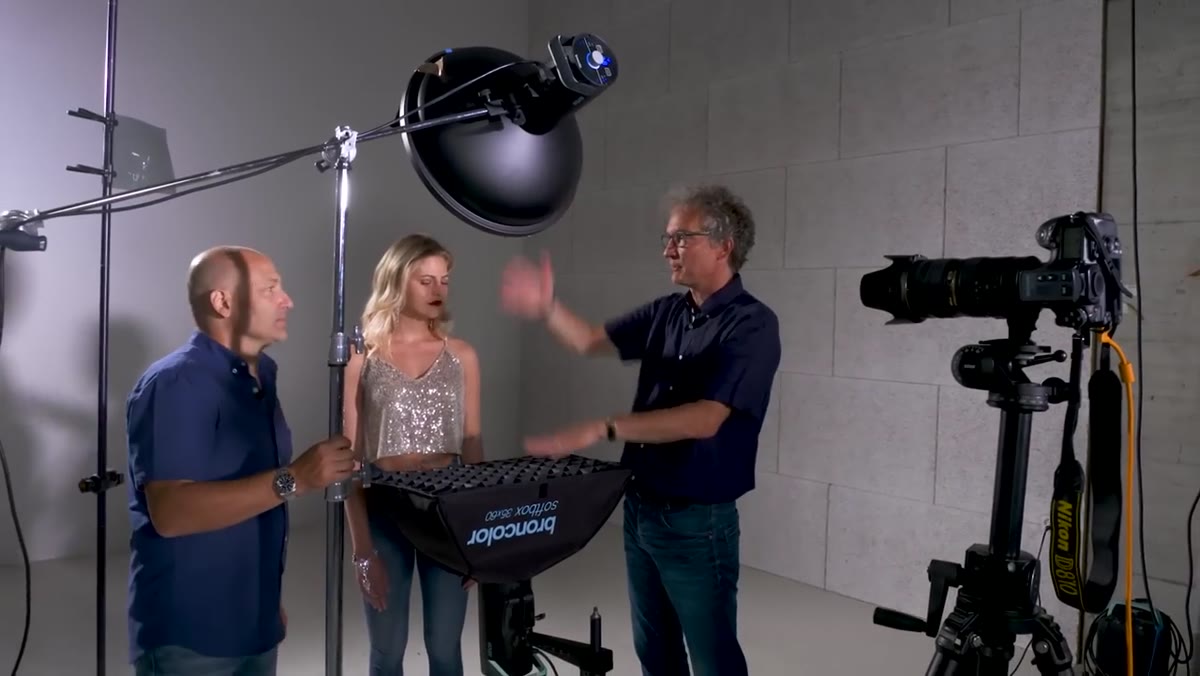 Beauty dish and softbox positioned above the subject with honeycomb grids attached
The foundation of this setup is a classic beauty configuration: a softbox above and a beauty dish below (or two softboxes if that’s what you have), both aimed at the face. What makes this work specifically is that both modifiers are fitted with honeycomb grids. Without grids, a softbox throws light in a wide cone, maybe 180 degrees. That light spills down the body, onto the background, everywhere you don’t want it. The grid narrows that spread dramatically, keeping the light pointed at the face and chin and nothing below it.
Beauty dish and softbox positioned above the subject with honeycomb grids attached
The foundation of this setup is a classic beauty configuration: a softbox above and a beauty dish below (or two softboxes if that’s what you have), both aimed at the face. What makes this work specifically is that both modifiers are fitted with honeycomb grids. Without grids, a softbox throws light in a wide cone, maybe 180 degrees. That light spills down the body, onto the background, everywhere you don’t want it. The grid narrows that spread dramatically, keeping the light pointed at the face and chin and nothing below it.
Position the modifiers so the light hits from the chin upward and stops there. The rest of the body should fall into shadow. This controlled falloff is what gives the final image its contrast and drama. The grids aren’t just a nice-to-have here, they are the technique.
Step 2: Position the LED Continuous Light for Hair and Background
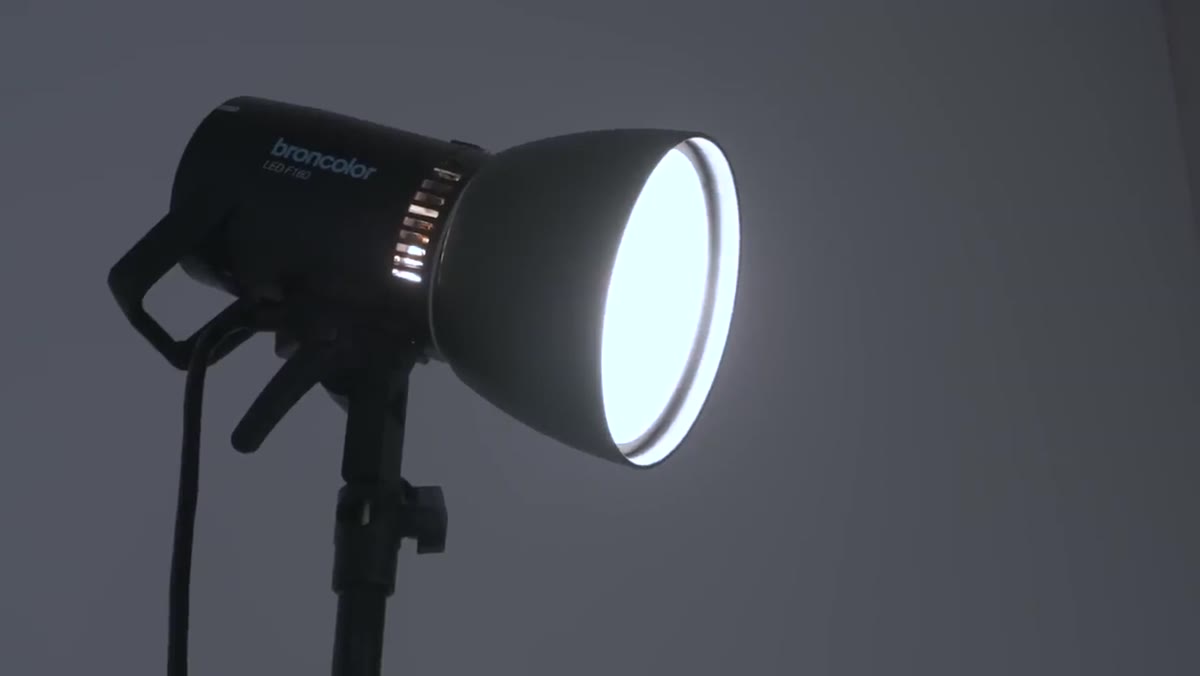 LED continuous light positioned to the side aimed at hair and background
The LED sits off to the side and serves two purposes: hair light and background illumination. Because it’s a continuous source, it will record during the entire exposure, not just at the peak of the flash. That’s the whole mechanism behind the creative effect. Urs points out that LED has a specific advantage here because you can dial in the color temperature. Most units will let you shift between roughly 3200K (tungsten, warm) and 5500K (daylight, neutral). Match it to your flash output, or deliberately mismatch it if you want a color split between the sharp face and the softer background elements.
LED continuous light positioned to the side aimed at hair and background
The LED sits off to the side and serves two purposes: hair light and background illumination. Because it’s a continuous source, it will record during the entire exposure, not just at the peak of the flash. That’s the whole mechanism behind the creative effect. Urs points out that LED has a specific advantage here because you can dial in the color temperature. Most units will let you shift between roughly 3200K (tungsten, warm) and 5500K (daylight, neutral). Match it to your flash output, or deliberately mismatch it if you want a color split between the sharp face and the softer background elements.
This light is relatively strong and positioned close, so you won’t need maximum power. Start conservatively. You’ll dial it in once you see your test frames.
Step 3: Block the Beauty Dish From Hitting the Background
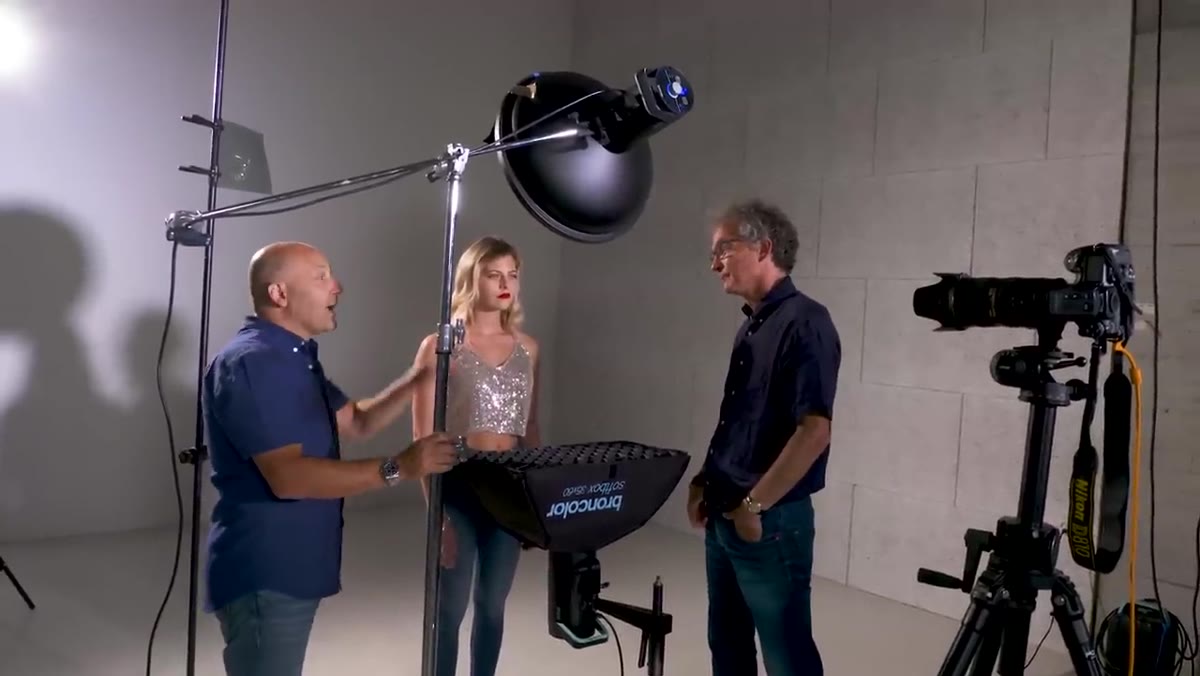 White card taped over the top portion of the beauty dish blocking spill toward background
Here’s the detail I almost skipped the first time and regretted it. Because the beauty dish is angled and close to the background, even with the grid, some light from the bottom portion of the dish travels toward the white background and lifts it. Urs fixes this with a simple piece of card taped over the top of the beauty dish, blocking that lower spill path.
White card taped over the top portion of the beauty dish blocking spill toward background
Here’s the detail I almost skipped the first time and regretted it. Because the beauty dish is angled and close to the background, even with the grid, some light from the bottom portion of the dish travels toward the white background and lifts it. Urs fixes this with a simple piece of card taped over the top of the beauty dish, blocking that lower spill path.
His principle is one I’ve come to live by: only set up the light you actually need. If a portion of a modifier is doing something you didn’t ask for, block it. This is faster and more precise than pulling the whole modifier back or changing its angle. A piece of black card and some gaffer tape handles it in thirty seconds.
Step 4: Use an ND Gel to Tame the LED on Bright Hair
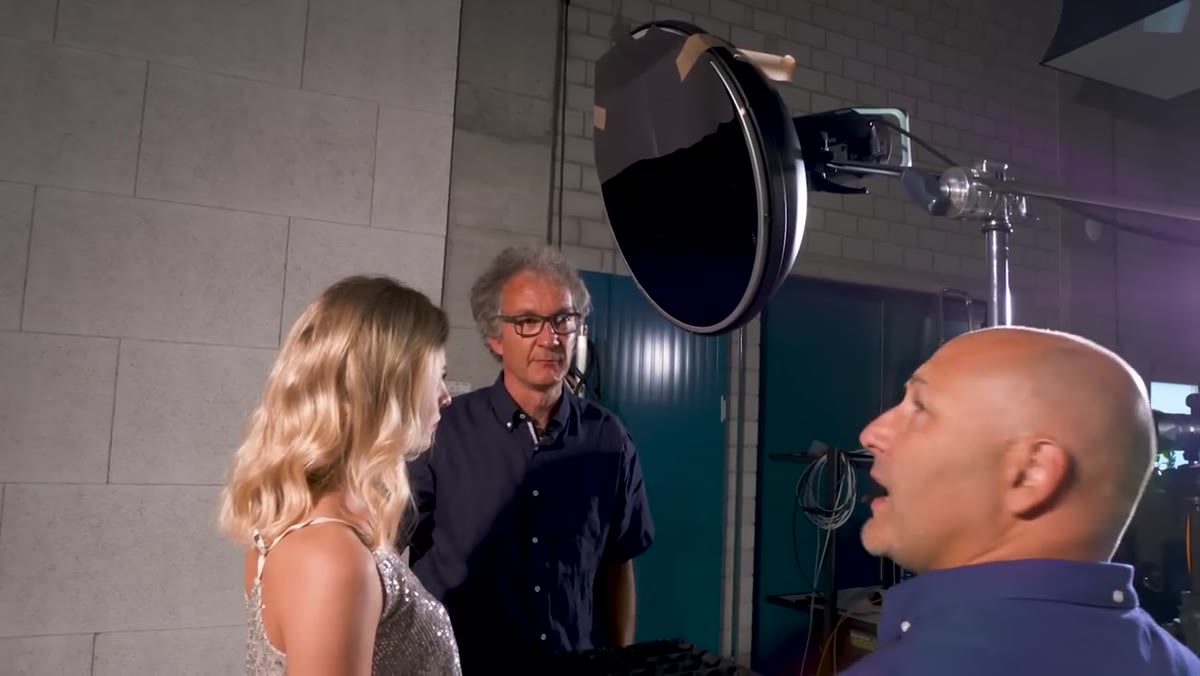 ND gel positioned over part of the LED light path toward the model’s hair
This step is easy to overlook because it’s small, but it matters a lot if your subject has light or blonde hair. The continuous LED runs for the full duration of the exposure, which in this setup is around a quarter of a second. On very light hair, that duration plus the light’s intensity will blow the detail completely. Urs places a small ND gel in the path of the LED where it hits the hair, reducing intensity without killing the light entirely.
ND gel positioned over part of the LED light path toward the model’s hair
This step is easy to overlook because it’s small, but it matters a lot if your subject has light or blonde hair. The continuous LED runs for the full duration of the exposure, which in this setup is around a quarter of a second. On very light hair, that duration plus the light’s intensity will blow the detail completely. Urs places a small ND gel in the path of the LED where it hits the hair, reducing intensity without killing the light entirely.
Crucially, the gel only covers that specific portion of the beam. The rest of the LED output, the part that bounces off mirrors toward the body and background, remains at full strength. This is precise light management, not a blunt correction.
Step 5: Use Hand Mirrors to Redirect Light Into the Body
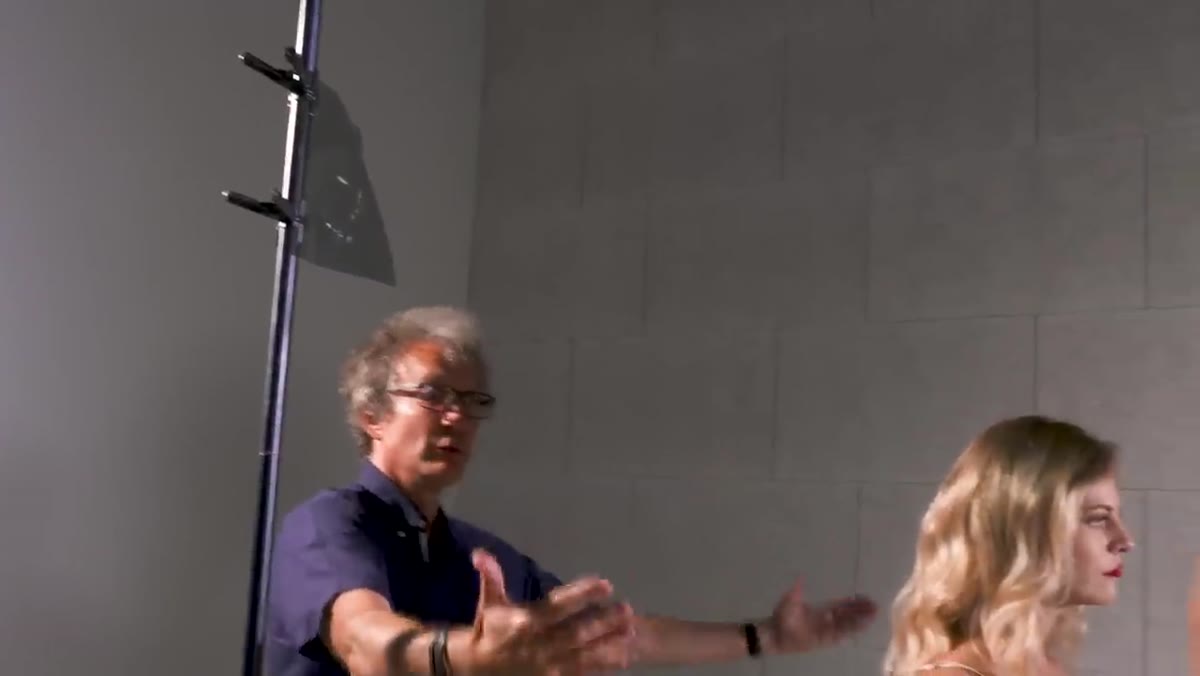 Small mirrors positioned at the sides to reflect LED light back onto the model’s body and jewelry
The body isn’t lit by any direct source in this setup. Instead, Urs uses small mirrors, handheld or stand-mounted, to bounce the LED light back in from the sides. This is what catches the sequins and jewelry. Because the continuous light is moving slightly, and the mirrors are catching and redirecting it, those reflective surfaces record as living, shifting points of light over the quarter-second exposure.
Small mirrors positioned at the sides to reflect LED light back onto the model’s body and jewelry
The body isn’t lit by any direct source in this setup. Instead, Urs uses small mirrors, handheld or stand-mounted, to bounce the LED light back in from the sides. This is what catches the sequins and jewelry. Because the continuous light is moving slightly, and the mirrors are catching and redirecting it, those reflective surfaces record as living, shifting points of light over the quarter-second exposure.
The white background also functions as a large reflector here, which is why the background choice matters. A grey or darker surface wouldn’t bounce enough light back to make the effect work. White gives you the reflective punch you need from a source that you’re not paying for with extra lights.
Step 6: Set Your Exposure for Flash-Freeze Plus Motion
 Camera settings being discussed with a roughly quarter-second shutter speed indicated
The camera settings are what tie this together. Your flash duration is doing the work of freezing the eyes and face. Set your shutter speed to something in the range of a quarter second, slow enough for the LED to register movement, fast enough that the overall frame doesn’t fall apart. The flash fires within that window and imprints a sharp image of the face on top of the motion data the sensor is collecting from the continuous light.
Camera settings being discussed with a roughly quarter-second shutter speed indicated
The camera settings are what tie this together. Your flash duration is doing the work of freezing the eyes and face. Set your shutter speed to something in the range of a quarter second, slow enough for the LED to register movement, fast enough that the overall frame doesn’t fall apart. The flash fires within that window and imprints a sharp image of the face on top of the motion data the sensor is collecting from the continuous light.
If the model shifts slightly, if the sequins catch the light differently, if her hair moves at all, that will show up as a soft secondary layer beneath the sharp flash image. That layering is the effect. Test your flash power against ambient to make sure the face reads sharper and brighter than the surrounding movement.
What I’d Add From My Own Experience
When I rebuilt this setup, the single adjustment I made was using a V-flat instead of just the white background as my primary reflector for the body. The white wall worked, but a large white V-flat positioned just outside frame gave me more directional control over where the fill actually landed. It also meant I didn’t have to be as precise with the mirror placement. If you don’t have hand mirrors, a second shooter holding a small reflector is a reasonable substitute, though you lose some of the spontaneity.
I’d also strongly recommend running a test sequence before your subject comes to set. Dial in the LED-to-flash balance on a stand-in and review the frames. The ratio between those two sources is the variable that makes or breaks the image. Once I had it dialed, I taped my settings on the LED unit so I could return to that starting point if anything shifted during the shoot.
The most important thing this tutorial taught me is that flash and continuous light aren’t competing. They’re doing different jobs in the same frame. Flash gives you precision. Continuous light gives you life. Knowing which one to aim where is the whole skill.
Watch the full tutorial on YouTube to see Urs and Karl walk through the setup in real time. Watching him adjust the card over the beauty dish is worth the watch alone.
Comments (2)
This saved me so much time on my last edit. Wish I'd found this sooner.
I tried this on a client project yesterday and the results were way better than expected.
Leave a Comment