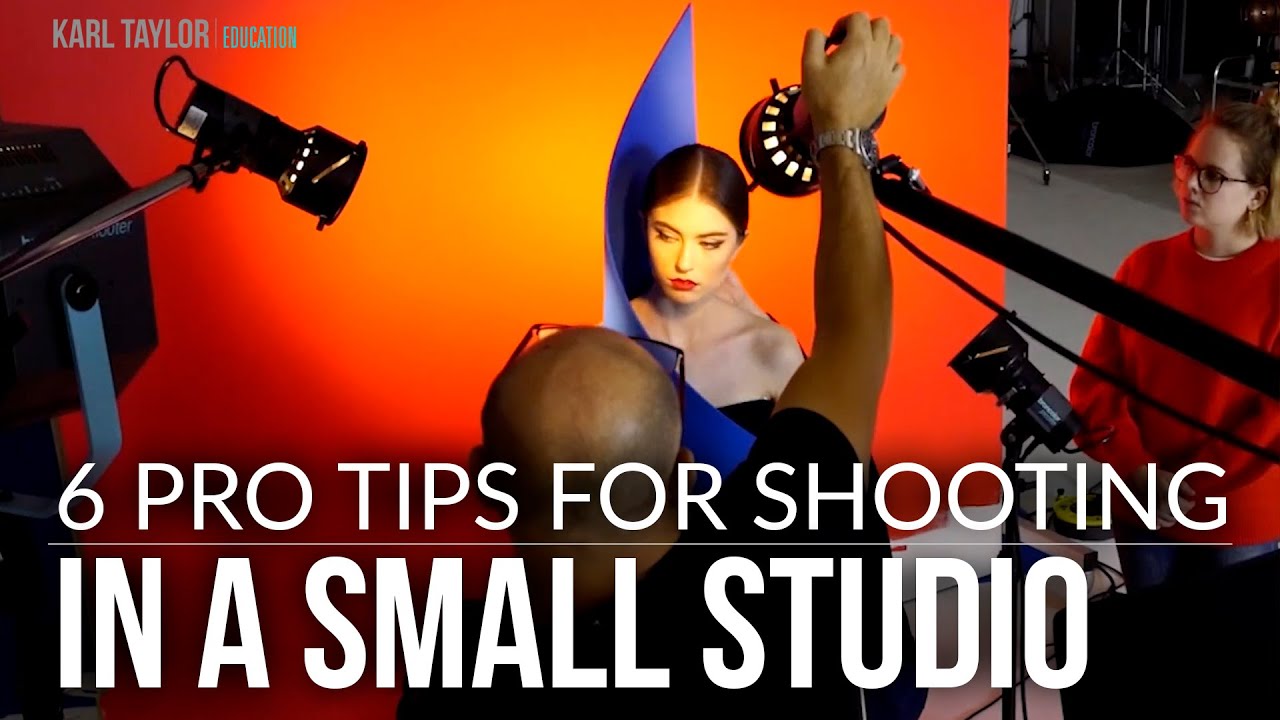
I shoot a fair amount of my commercial work in rental studios, and some of those spaces are genuinely cramped. We’re talking eight feet of usable width after you account for the background stand, the subject, and wherever I’m standing with a camera. For years I assumed tight spaces were just a limitation to route around. Then I started paying closer attention to the physics of what was actually happening with my light, and the problem became a lot more manageable. This Visual Education tutorial, Watch the full tutorial on YouTube, covers six specific strategies for shooting in a small studio, and while I already had some of these habits baked in, watching someone lay them out systematically reminded me why the fundamentals matter more than any new piece of gear.
What I appreciate about this tutorial is that it leads with physics rather than product recommendations. Most small-studio advice skips straight to “buy a grid” without explaining why the light was misbehaving in the first place. Understanding the cause puts you in control. Guessing at fixes just gets expensive.
Step 1: Understand the Inverse Square Law Before You Touch a Light Stand
 Diagram illustrating light falloff over increasing distances
The core reason small studios cause lighting headaches is that light spreading across a short distance behaves differently than light traveling across a large space. The inverse square law tells us that light intensity drops off in proportion to the square of the distance from the source. The practical consequence: if your light is sitting far from your subject, its exposure value changes more gradually as it travels, which means it has time to bounce off every white wall and ceiling in the room before it lands anywhere. Move the light closer to your subject, and that falloff happens faster and tighter. Less spill. Less bounce. More control.
Diagram illustrating light falloff over increasing distances
The core reason small studios cause lighting headaches is that light spreading across a short distance behaves differently than light traveling across a large space. The inverse square law tells us that light intensity drops off in proportion to the square of the distance from the source. The practical consequence: if your light is sitting far from your subject, its exposure value changes more gradually as it travels, which means it has time to bounce off every white wall and ceiling in the room before it lands anywhere. Move the light closer to your subject, and that falloff happens faster and tighter. Less spill. Less bounce. More control.
This is not a workaround or a trick. It is the foundational reason that a softbox pressed in close to a face produces cleaner separation than the same softbox pushed back toward the wall. I keep a note in my lighting journal reminding myself to check source distance before I touch the power dial whenever a setup starts looking muddy.
Step 2: Treat Your Walls and Ceiling as Active Lighting Variables
 Dark-painted studio walls contrasted with white-walled space
White walls are not neutral. They are giant reflectors, and in a small room they are close enough to your subject to actually affect the exposure. The tutorial recommends painting studio walls dark grey or black to absorb rather than bounce light. If permanent paint is not an option, black curtains on a track around the perimeter of the room accomplish the same thing and can be drawn back when you want the space to feel less oppressive between shoots.
Dark-painted studio walls contrasted with white-walled space
White walls are not neutral. They are giant reflectors, and in a small room they are close enough to your subject to actually affect the exposure. The tutorial recommends painting studio walls dark grey or black to absorb rather than bounce light. If permanent paint is not an option, black curtains on a track around the perimeter of the room accomplish the same thing and can be drawn back when you want the space to feel less oppressive between shoots.
The ceiling gets its own solution: black foam board panels attached with velcro. This is a detail I had not formalized before, but it makes complete sense. A low white ceiling in a small studio acts like a giant fill card directly overhead, which is sometimes useful and often not. Being able to toggle that surface on or off with a few foam panels gives you a variable you actually control.
Step 3: Handle Daylight on Your Terms
 Blackout blinds fully drawn in a studio window
Daylight is either an asset or interference. There is rarely a middle ground in a small space. The tutorial is direct about this: blackout blinds that completely seal the windows are not optional equipment for a serious small studio. Partial control means inconsistent color temperature mixing with your strobes at unpredictable ratios throughout the day. I learned that lesson the hard way early in my career on an editorial job, and I have never shot in a space with uncontrolled ambient light since.
Blackout blinds fully drawn in a studio window
Daylight is either an asset or interference. There is rarely a middle ground in a small space. The tutorial is direct about this: blackout blinds that completely seal the windows are not optional equipment for a serious small studio. Partial control means inconsistent color temperature mixing with your strobes at unpredictable ratios throughout the day. I learned that lesson the hard way early in my career on an editorial job, and I have never shot in a space with uncontrolled ambient light since.
Once you have blackout blinds installed, daylight becomes something you can consciously invite when you choose, rather than something that keeps changing your exposure without permission.
Step 4: Use Grids in Small Spaces Even If You Rarely Need Them Elsewhere
 Softbox with honeycomb grid attached facing subject
The tutorial makes an honest admission here: grids are not standard equipment in a large studio because they reduce the softness of a modifier and that tradeoff is not worth it when you have room to control spill through distance and black panels alone. In a small space the calculation changes. A grid narrows the beam of light coming out of a softbox, reducing the amount that sprays sideways to hit nearby walls.
Softbox with honeycomb grid attached facing subject
The tutorial makes an honest admission here: grids are not standard equipment in a large studio because they reduce the softness of a modifier and that tradeoff is not worth it when you have room to control spill through distance and black panels alone. In a small space the calculation changes. A grid narrows the beam of light coming out of a softbox, reducing the amount that sprays sideways to hit nearby walls.
The key word is “nearby.” When you cannot move your light far enough from a reflective surface for distance alone to reduce bounce, a grid becomes the tool that compensates. I test every new modifier including grids the day it arrives, just to understand exactly what it does to the spread. That habit has saved me from surprises on set more times than I can count.
Step 5: Position Your Subject Away From the Background
 Subject standing well forward of background paper
This is one of those steps that sounds obvious until you watch someone violate it on a tight set. The closer your subject stands to the background, the more your key light spills onto that background, contaminating your shadows and reducing your ability to control the tonal separation between subject and background independently.
Subject standing well forward of background paper
This is one of those steps that sounds obvious until you watch someone violate it on a tight set. The closer your subject stands to the background, the more your key light spills onto that background, contaminating your shadows and reducing your ability to control the tonal separation between subject and background independently.
Even in a small studio, pulling your subject forward by a meter or more dramatically improves your control. Yes, it eats into the space. Yes, it sometimes means your light stand is practically in the shot. But the image quality improvement is not subtle. If the room is genuinely too short to create that separation, your background options are limited to tones that work with the spill rather than against it, which means planning your setup before you book the space.
Step 6: Keep Your Light Source Large and Close, Not Small and Far
 Large softbox positioned close to subject’s face
A softbox only produces soft light when it is physically large relative to the subject’s distance from it. Push that same softbox to the back of a small studio and it becomes a small, hard source. This is a physics fact that no amount of diffusion material changes. The tutorial circles back to this point as a summary of everything else: proximity is control.
Large softbox positioned close to subject’s face
A softbox only produces soft light when it is physically large relative to the subject’s distance from it. Push that same softbox to the back of a small studio and it becomes a small, hard source. This is a physics fact that no amount of diffusion material changes. The tutorial circles back to this point as a summary of everything else: proximity is control.
In my own practice I treat modifier size and subject distance as a single decision, not two separate ones. A 150cm octa at one meter behaves completely differently than the same octa at three meters, and the small-studio version of that choice almost always means the light belongs closer than your instincts suggest.
What I’d Add From My Own Small-Studio Work
The tutorial does not spend much time on black foam board used as negative fill rather than ceiling cover, and I think that application deserves mention. A single piece of foam board held or clamped between your key light and a reflective wall acts as a flag, blocking the light before it ever reaches the surface. In a rental studio where I cannot paint anything or install velcro on the ceiling, a few foam board flags and a roll of gaffer tape are the first things out of my bag. They solve the bounce problem at the source rather than the destination.
The single most important idea in this tutorial is that controlling a small studio is a physics problem with physics solutions. When you understand why light behaves the way it does in a confined space, the fixes become obvious. Guessing and adjusting in post is slower, more expensive, and teaches you nothing you can apply on the next job. Watch the full tutorial on YouTube and take notes on the inverse square law section especially. That five minutes alone is worth the time.
Comments
Leave a Comment