
Every working photographer I know has a box of speedlights sitting in a closet somewhere. They bought them early on, used them for events or fill flash, then graduated to strobes and never looked back. I did the same thing. For years I treated my speedlights as backup gear, the kind of thing you grab when a power outlet isn’t available or a client wants something “run and gun.” It took me an embarrassingly long time to understand that with the right approach, those little units can produce images that hold up against full studio setups.
That perspective shift is exactly what Mark Wallace delivers in his CreativeLive class on working with speedlights in the studio. Watch the full tutorial on YouTube and you’ll see a photographer who has clearly thought deeply about how to extract maximum quality from minimal equipment. The live kickoff session alone is worth your time, and what follows is my breakdown of the core ideas, rewritten the way I’d explain them to a commercial shooter who’s serious about making this work on a real shoot.
The class is designed for beginners but it doesn’t talk down to experienced photographers. If you’ve been shooting with studio monolights for years, there’s still useful recalibration here around how you think about portability, light shaping, and the modern blur between “speedlight” and “off-camera flash.”
Step 1: Understand What “Speedlight” Actually Means in 2024
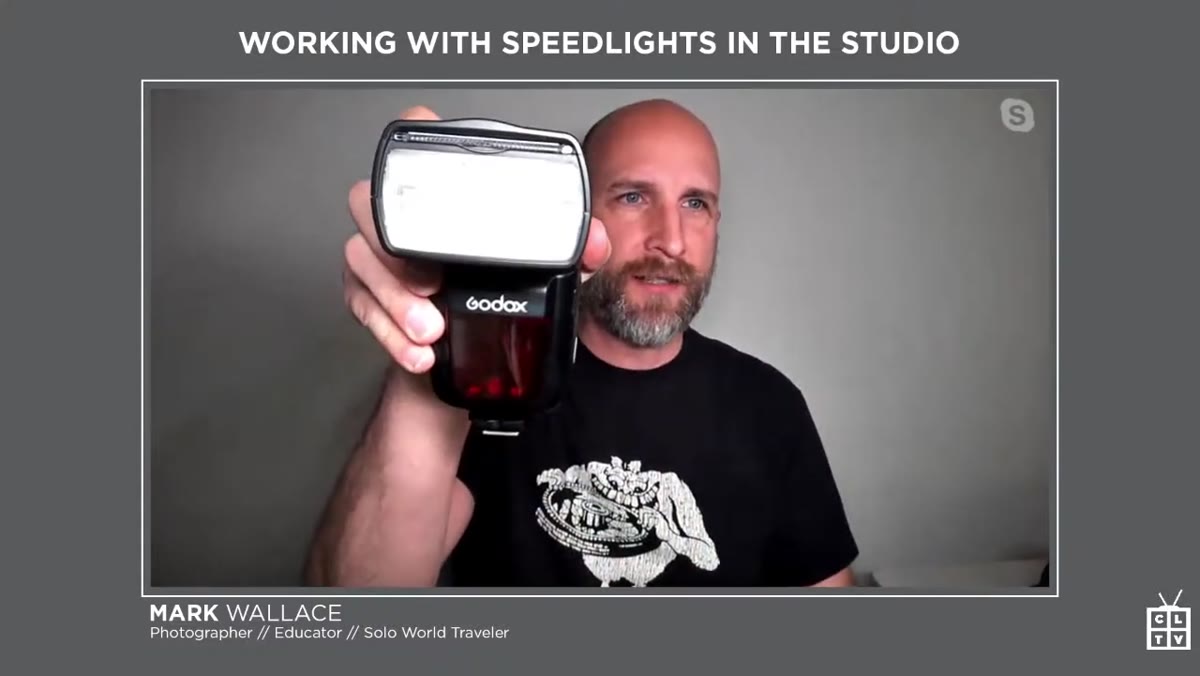
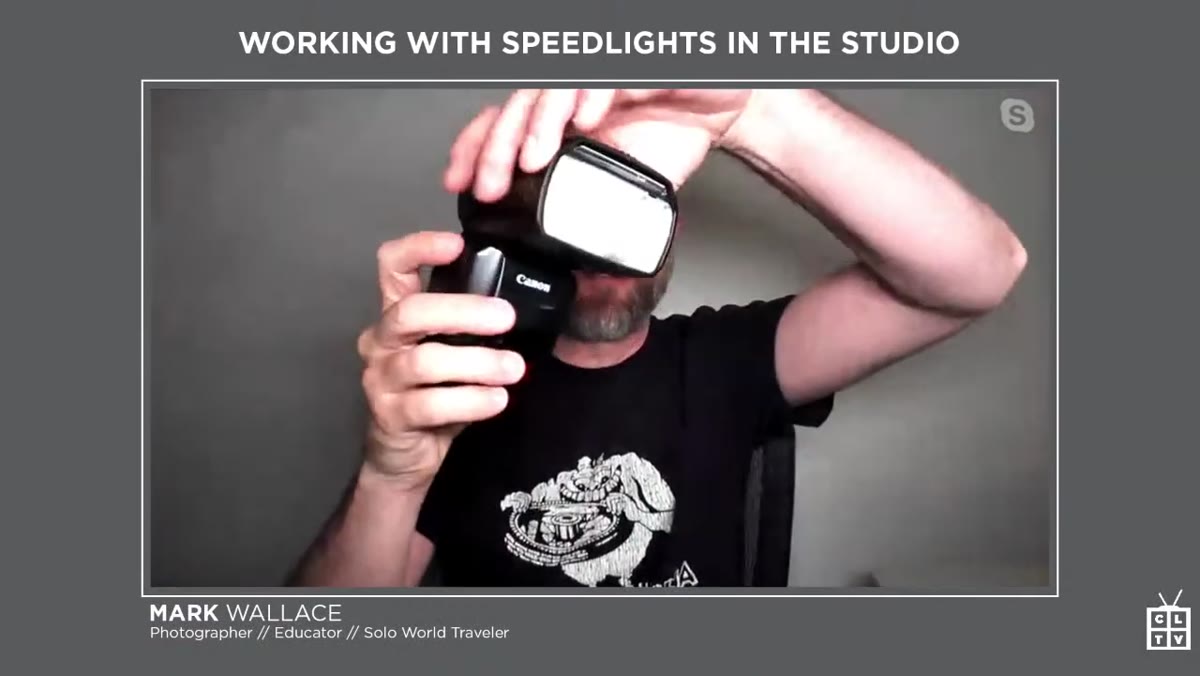 Mark holding a speedlight mounted on a camera body
The definition has drifted. Traditionally, a speedlight is the small flash unit that mounts to your hot shoe. But the category has expanded considerably. Mark Wallace draws a clear line here: if it’s not a traditional plug-in studio monolight, it probably falls under the speedlight or off-camera flash (OCF) umbrella. That includes dedicated hot shoe flashes, battery-powered OCF units with different shaped heads, and everything in between.
Mark holding a speedlight mounted on a camera body
The definition has drifted. Traditionally, a speedlight is the small flash unit that mounts to your hot shoe. But the category has expanded considerably. Mark Wallace draws a clear line here: if it’s not a traditional plug-in studio monolight, it probably falls under the speedlight or off-camera flash (OCF) umbrella. That includes dedicated hot shoe flashes, battery-powered OCF units with different shaped heads, and everything in between.
Why does this matter practically? Because it tells you which techniques and light modifiers apply to your gear. If you own a Godox AD200 or a similar battery-powered unit, the same principles Wallace covers apply directly to your setup. Don’t let the word “speedlight” make you think this is only for the small rectangular flash on top of a camera.
Step 2: Stop Worrying About Brand Menus, Focus on Shared Functions
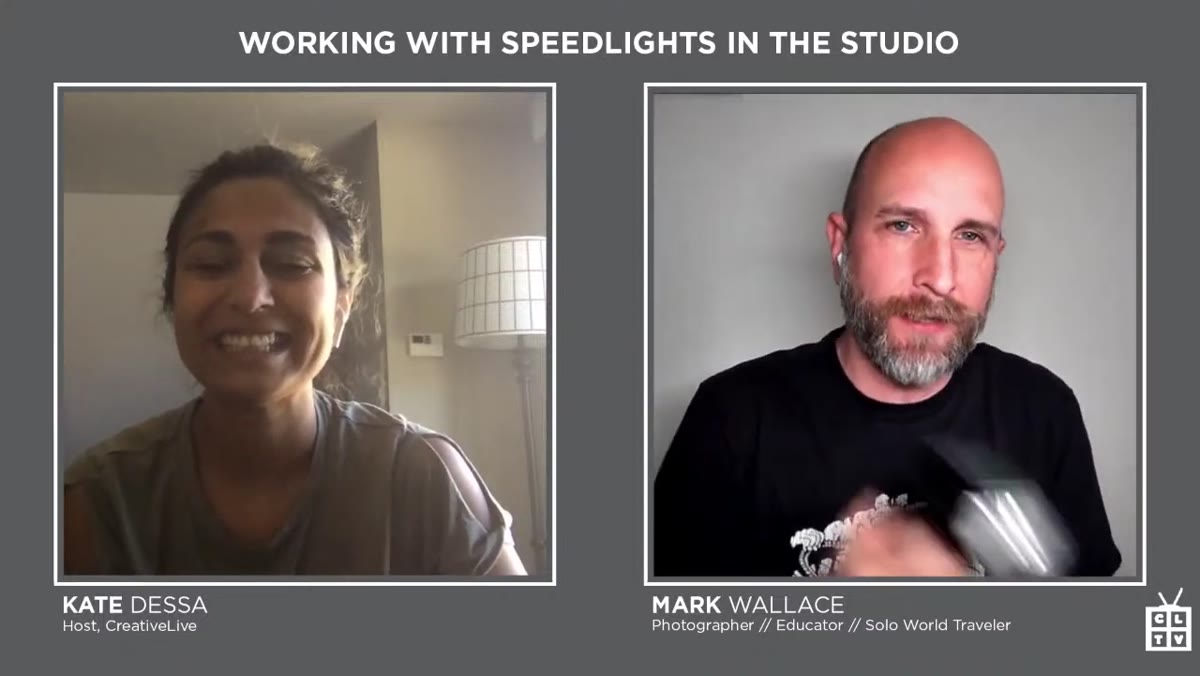
 Two different brand speedlights shown side by side on a table
One of the most practical points in the tutorial is about brand anxiety. Canon menus look different from Nikon menus, which look different from Godox, Sony, and Olympus. Photographers switching systems often feel like they’re starting from scratch. Wallace’s reframe is useful: every speedlight from every manufacturer has the same core functions. Rear curtain sync, high speed sync, manual power control, TTL mode. The features exist on all of them. The navigation is just slightly different.
Two different brand speedlights shown side by side on a table
One of the most practical points in the tutorial is about brand anxiety. Canon menus look different from Nikon menus, which look different from Godox, Sony, and Olympus. Photographers switching systems often feel like they’re starting from scratch. Wallace’s reframe is useful: every speedlight from every manufacturer has the same core functions. Rear curtain sync, high speed sync, manual power control, TTL mode. The features exist on all of them. The navigation is just slightly different.
His analogy to driving a different car brand is accurate. I keep a small cheat sheet taped inside my gear case for every flash unit I own, just a quick reference for where key functions live in the menu. It takes five minutes to make and eliminates the mental friction on a shoot day when you’re troubleshooting under pressure.
Step 3: Accept That Small Gear Produces Professional Results
 Mark explaining the class focus to the camera, speedlights visible on table
Wallace frames the whole class around a specific promise: beautiful portraits with minimal gear and maximum results. This isn’t marketing language. It reflects a real shift in what’s achievable with speedlights. Photographers like Joe McNally and David Hobby demonstrated in the early 2000s that you could do serious editorial and portrait work off-camera with these units. The industry took note and the gear improved accordingly.
Mark explaining the class focus to the camera, speedlights visible on table
Wallace frames the whole class around a specific promise: beautiful portraits with minimal gear and maximum results. This isn’t marketing language. It reflects a real shift in what’s achievable with speedlights. Photographers like Joe McNally and David Hobby demonstrated in the early 2000s that you could do serious editorial and portrait work off-camera with these units. The industry took note and the gear improved accordingly.
The mental adjustment for professional photographers is the harder part. When I’m shooting a beauty campaign, my instinct is to reach for the 1200 watt-second packs. But I’ve done tests in my own studio where a two-speedlight setup with a quality softbox matched output and quality closely enough that the client couldn’t tell the difference in the final image. The portability advantage is real. You can set up in a hotel room, a parking garage, or a location with no power access and still deliver.
Step 4: Choose Your Modifiers Based on the Light Quality You Need, Not the Modifier’s Size
 Discussion of adding modifiers, umbrellas, and softboxes to speedlights
Speedlights accept the same modifiers as studio strobes, umbrellas, softboxes, beauty dishes, grids, and gels. The limitation isn’t modifier compatibility, it’s power output. A single speedlight through a large 60-inch parabolic umbrella will lose significant light to spread. The practical approach is to either stack multiple speedlights into a bracket for a single modifier, or scale the modifier size to the output you’re working with.
Discussion of adding modifiers, umbrellas, and softboxes to speedlights
Speedlights accept the same modifiers as studio strobes, umbrellas, softboxes, beauty dishes, grids, and gels. The limitation isn’t modifier compatibility, it’s power output. A single speedlight through a large 60-inch parabolic umbrella will lose significant light to spread. The practical approach is to either stack multiple speedlights into a bracket for a single modifier, or scale the modifier size to the output you’re working with.
For portraits, I typically use a 24x36 inch softbox as my key light when I’m in speedlight mode. It’s large enough to produce soft, directional light on a face and small enough that a single speedlight at 1/2 to full power gives me a workable exposure at ISO 200 and f/8. That’s a real-world shooting combination, not a theoretical one.
Step 5: Treat Multi-Brand Setups as a Feature, Not a Problem
 Mark pointing to Godox and Canon units on the table
Wallace intentionally uses multiple brands in his class, Godox and Canon specifically. This mirrors how most working photographers actually operate. You buy what makes sense at the time, and over years you accumulate a mixed bag. The key is understanding how different triggering systems handle cross-brand communication.
Mark pointing to Godox and Canon units on the table
Wallace intentionally uses multiple brands in his class, Godox and Canon specifically. This mirrors how most working photographers actually operate. You buy what makes sense at the time, and over years you accumulate a mixed bag. The key is understanding how different triggering systems handle cross-brand communication.
Godox’s ecosystem is particularly well-suited to mixed setups because their trigger protocol works across a wide range of third-party units. If you’re building a speedlight kit from scratch, it’s worth considering a single-ecosystem approach from the start. But if you already have mixed gear, test your triggers thoroughly before any paid shoot and keep a reference card showing which units respond to which channel settings.
What I’d Add From My Own Studio Work
Wallace covers the fundamentals cleanly, but there’s one variable the tutorial doesn’t address in depth: color temperature consistency. Speedlights vary in color temperature between brands and even between units of the same model, sometimes by 200 to 400 Kelvin. When I’m mixing a Godox unit with a Canon unit in the same frame, I gel both to a known value rather than trusting that they’ll match out of the box. I use 1/4 CTO as a starting point for skin tones and set a custom white balance on camera to match. It adds five minutes to setup but eliminates a color correction problem in post that can easily cost you an hour.
I keep a lighting journal where I sketch every setup from every shoot, including which gels I used on which units. It sounds like extra work until you need to recreate a look from six months ago and you have an exact reference instead of a vague memory.
The single most important thing to take from Mark Wallace’s approach is this: the constraint of small gear forces disciplined, deliberate lighting decisions. When you have unlimited power and a full lighting grid, it’s easy to throw light at a problem. When you’re working with two speedlights, every modifier choice and placement angle has to be intentional. That discipline transfers back to your big-rig work and makes you a better technical photographer across the board.
Watch the full tutorial on YouTube and then head to CreativeLive to catch the complete class. The full version covers considerably more ground than the live kickoff, and for photographers serious about building a portable studio kit, it’s time well spent.
Comments (3)
I keep coming back to this article. It's that useful.
Applied this to my portfolio shots and the improvement is noticeable.
This saved me so much time on my last edit. Wish I'd found this sooner.
Leave a Comment